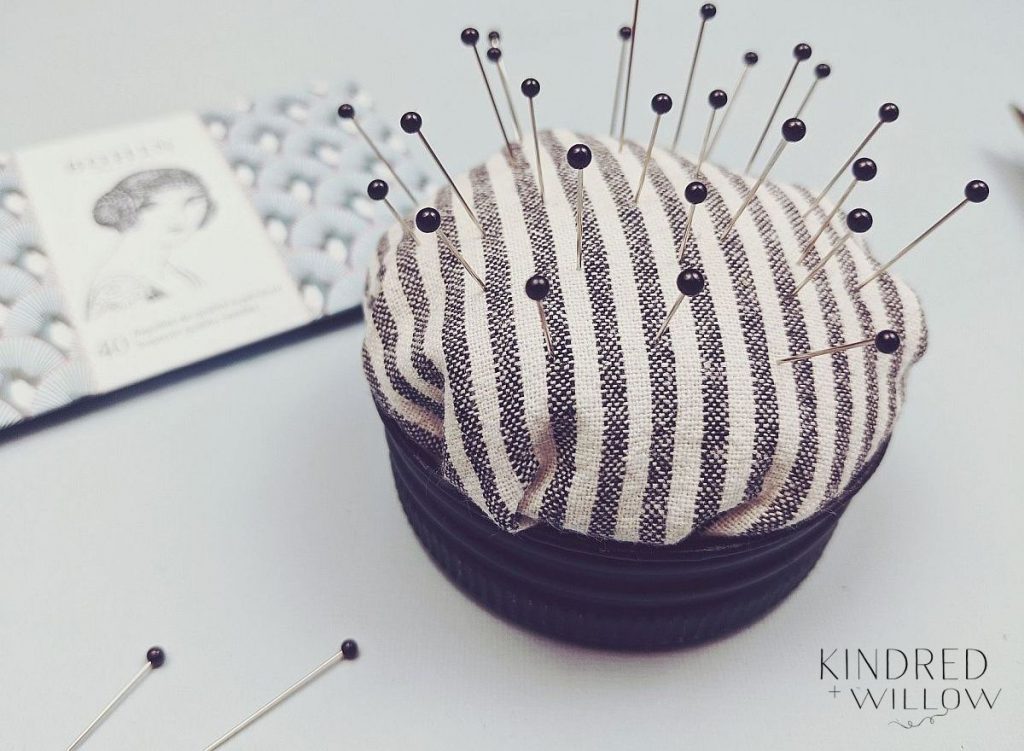
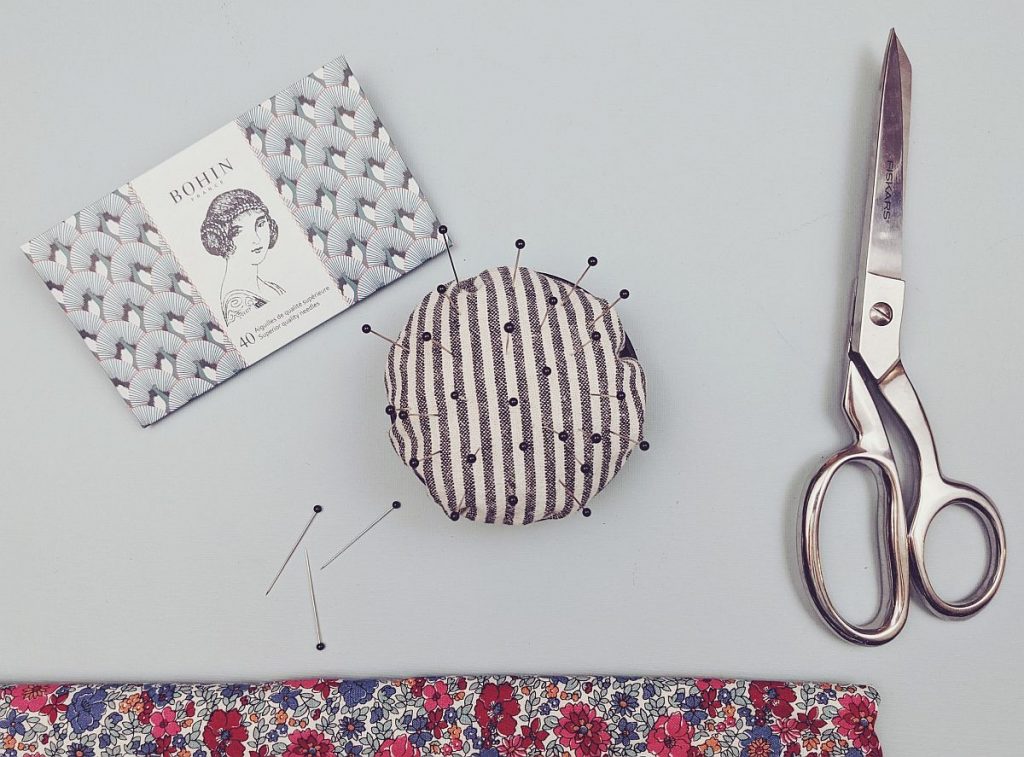
Quite a few years ago now, knowing how much I loved to sew, my aunt and uncle gave me a gift of a little pin cushion they had made – it had a lovely blue felt fabric and had a black ribbon tied in a cross through the centre and the base was made from a painted mason jar lid. I’ve happily used that little pin cushion for many years now and it has always served me well. Recently however, I noticed that the fabric was wearing out and it was about time to replace it.
I decided to make a tutorial here for how you can make your own simple pin cushion – it is quite easy to make up and so makes a lovely and quick gift for the sewist in your life! If giving as a gift and you’d like to include some pins along with it, I recommend Dritz Extra Fine Glass-Head pins – quality pins can make all the difference!
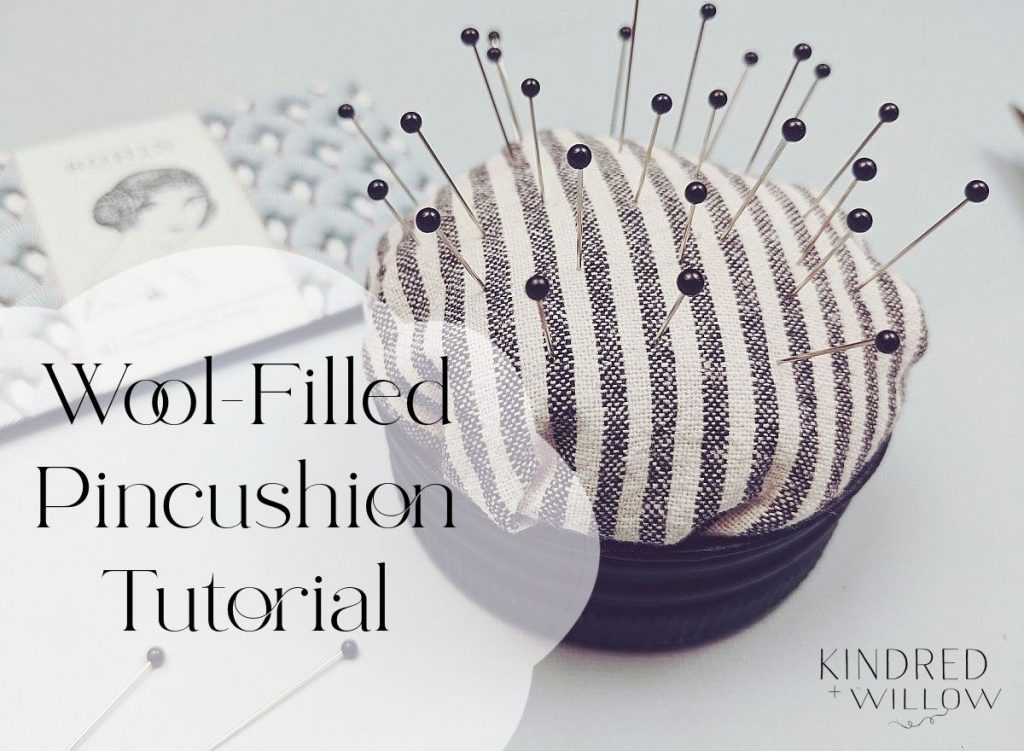
Using wool as the stuffing for your pincushion is a great way to keep your pins in good shape as the lanolin helps to keep them rust-free and can even help pins slide more easily into the fabric.
I love that you can make this little pin cushion easily with things you likely have lying around your house. Everyone has carded wool lying around, right? Well, if not…you can always use an alternate stuffing such as poly-fil, or even some fabric scraps!
Wool-filled pincushion supplies
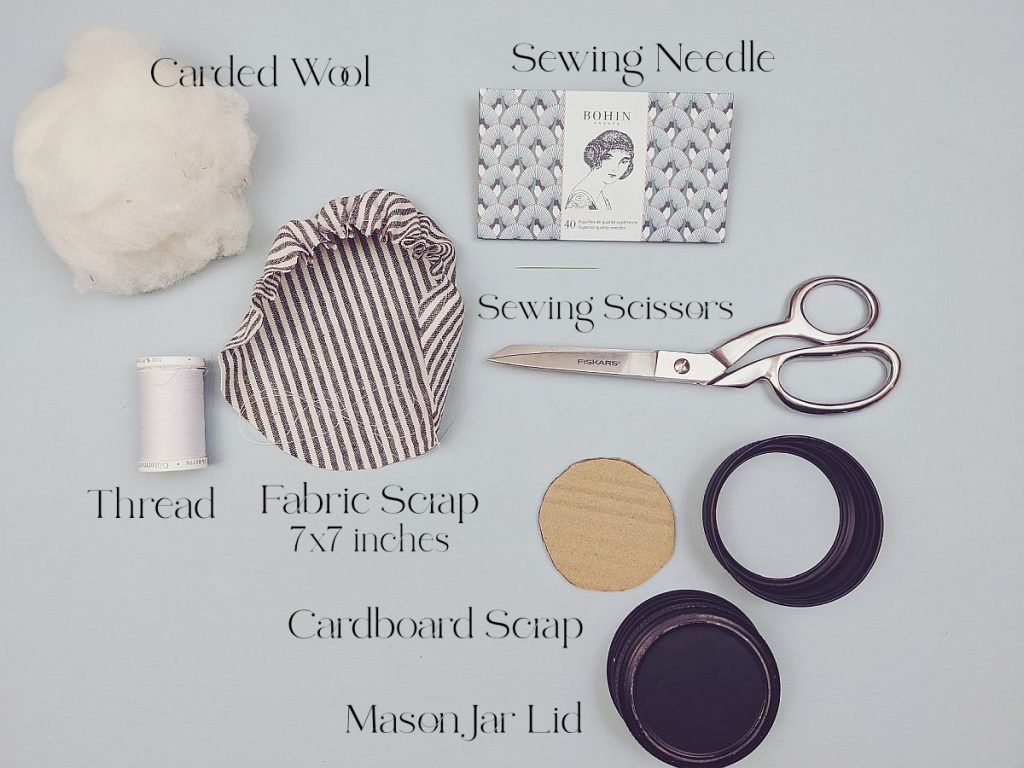
- small amount of clean, carded wool
- fabric scrap – 7×7 inches
- mason jar lid
- scrap of cardboard
- thread
- sewing needle
- scissors
- paint – acrylic craft paint or spray paint *optional
wool filled pin cushion tutorial
Step 1: First prepare your mason jar base – paint with acrylic craft paint, let dry. If you have the type of mason jar lid used for canning that has a removeable centre, you’ll need to glue it to the outer ring – use a glue gun for this.
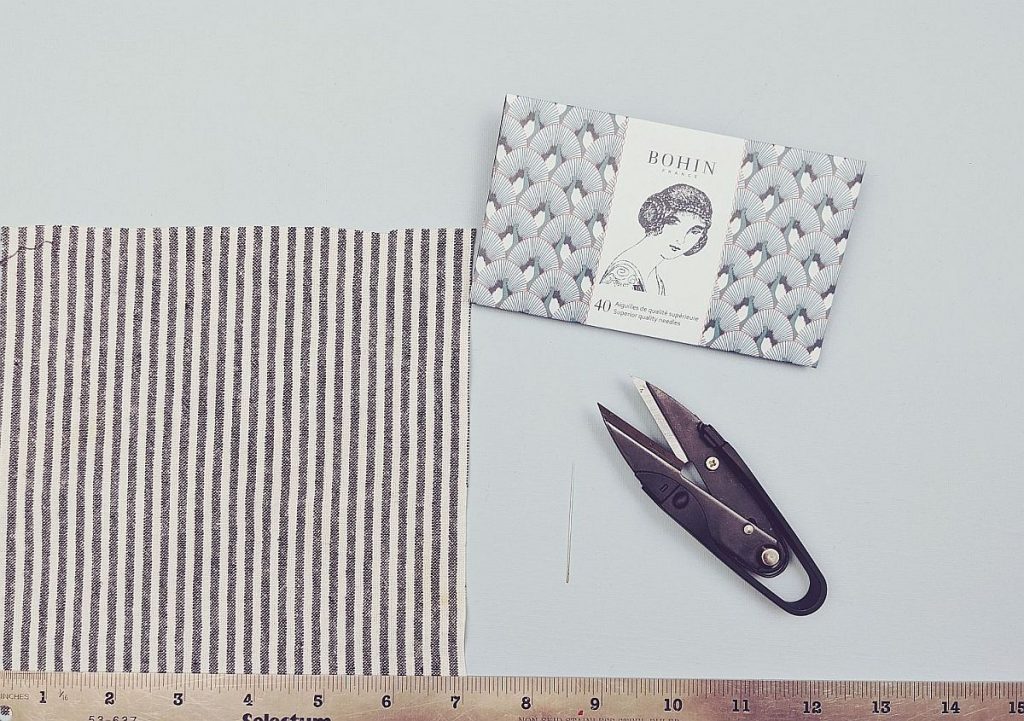
Step 2: Now measure out a 7 x 7 inch square of fabric and cut out.
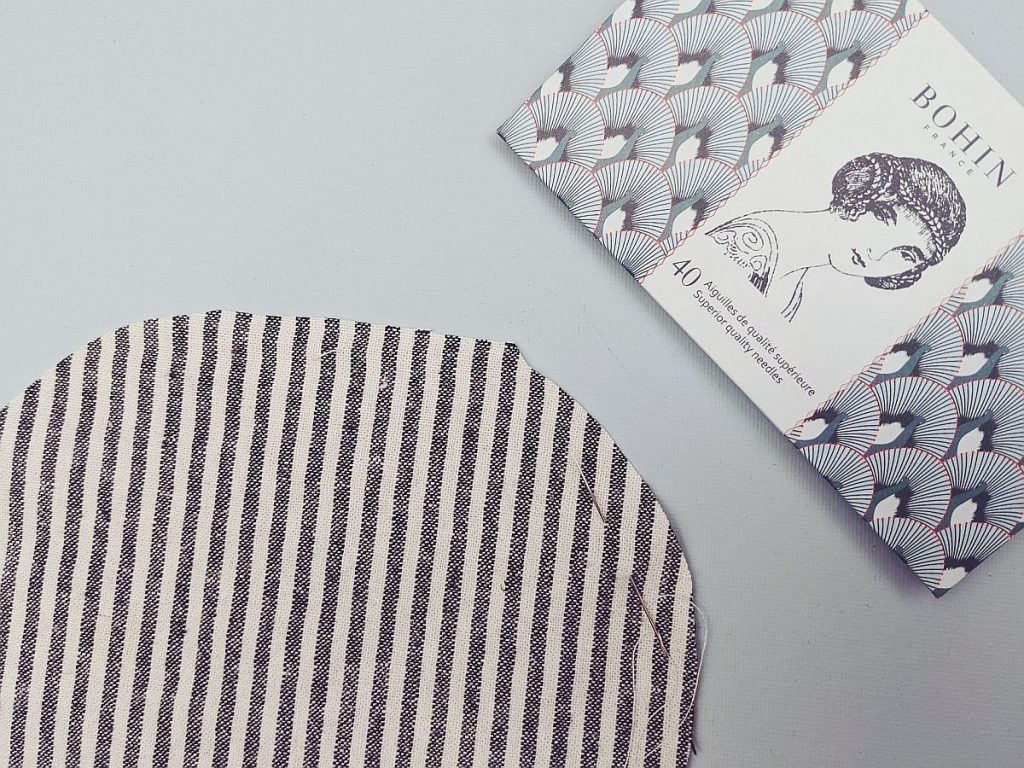
Step 3: Using your scissors, round off the corners of the fabric scrap – it doesn’t need to be too precise!
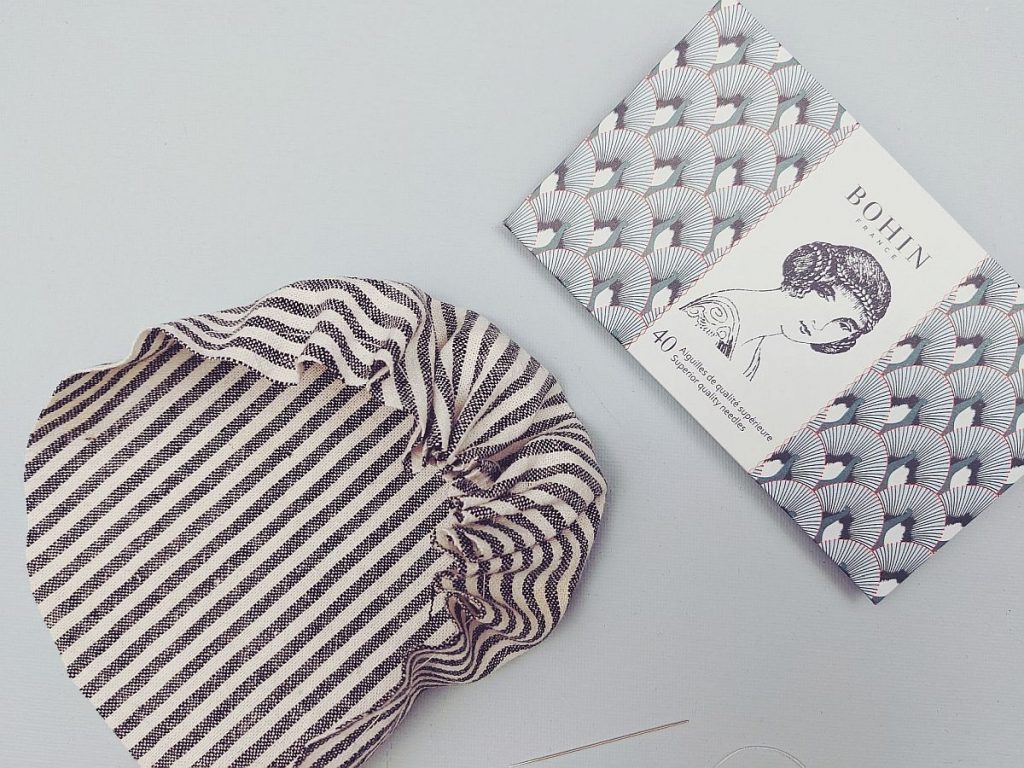
Step 4: Thread your needle and knot one end. Half an inch in from the edge of the fabric, pull thread through and do a couple back-tack stitches to secure. Now start doing a running stitch around the edge of the fabric, staying at about 1/2″ from edge. Pull up as you go to form gathers. Stop when you have gone about halfway, holding thread taught to maintain gathers.
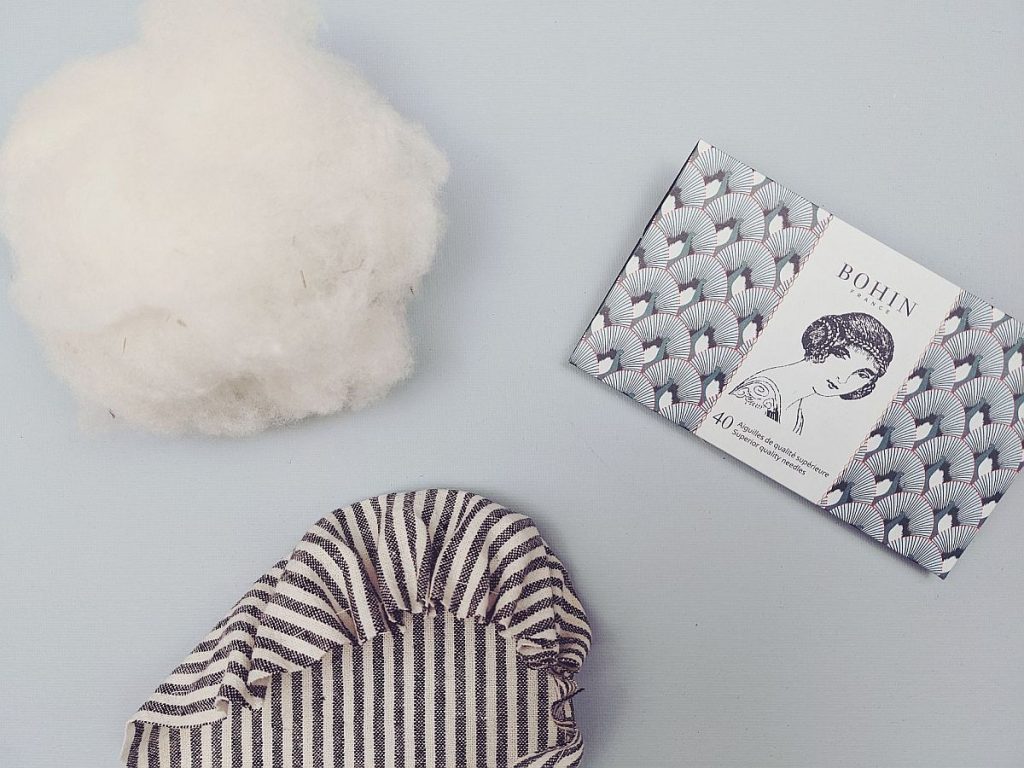
Step 5: Holding thread taught so that gathers don’t come out, take your carded wool and start to stuff the inside of your gathered fabric.
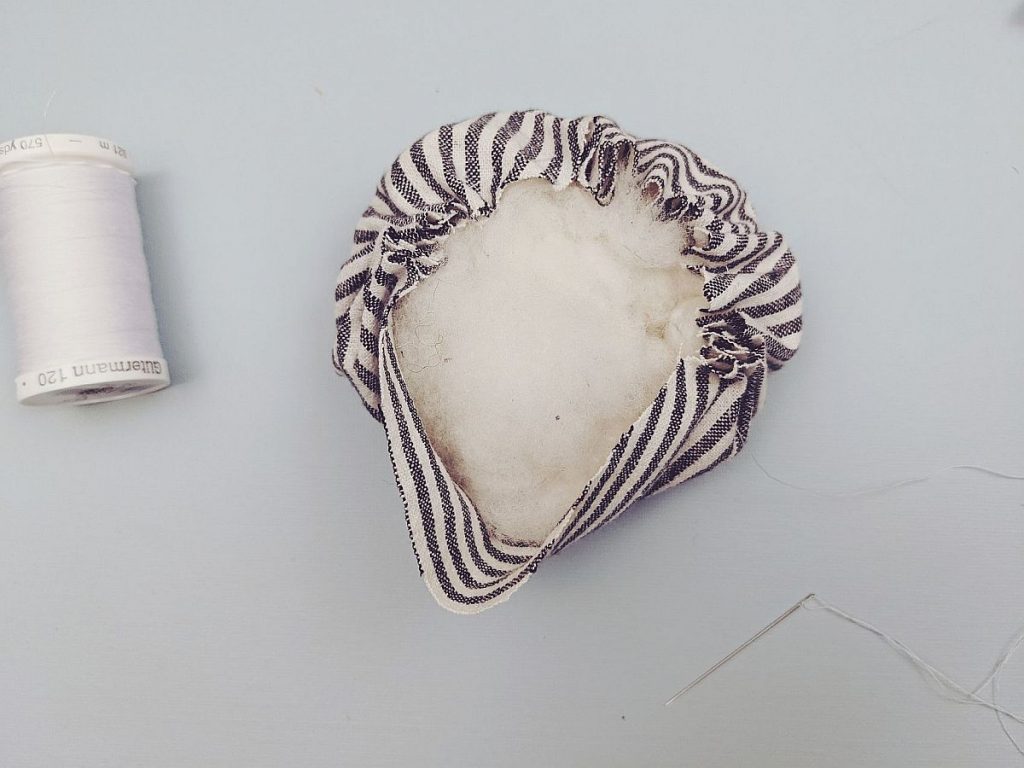
Step 6: Once you have stuffed all the wool inside, continue with your running stitch, pulling the thread to form gathers as you go along.
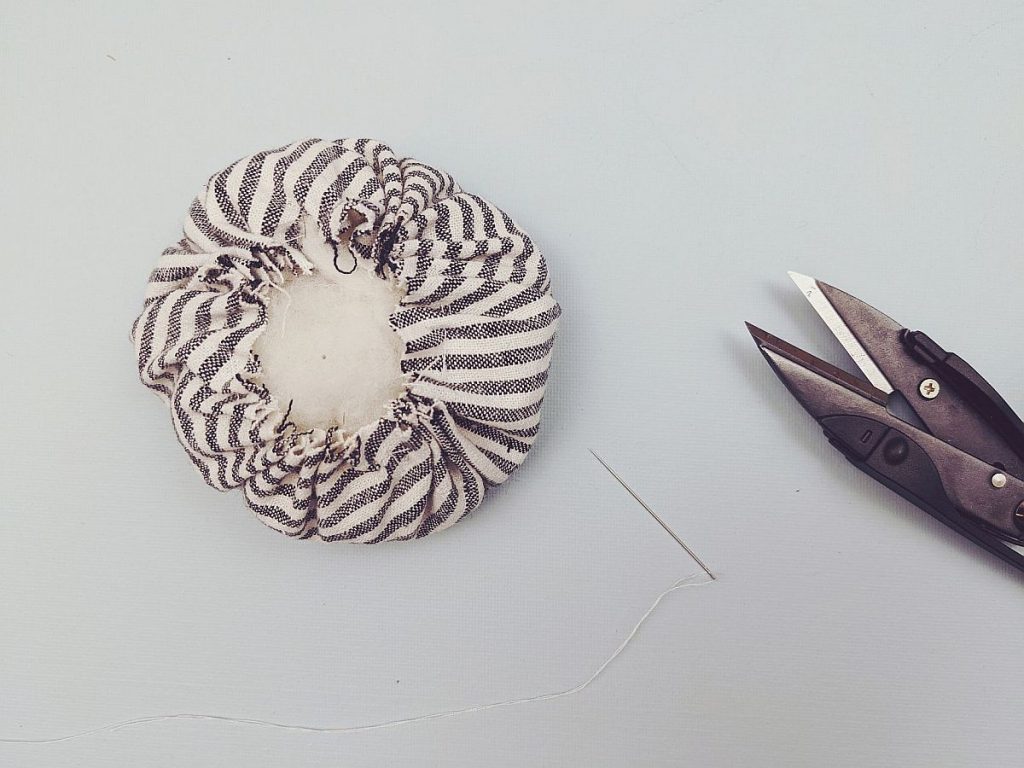
Step 7: When you reach your starting point, pull thread tight and form a knot close to fabric. You can also back-tack a few stitches and knot again to ensure thread is secured.
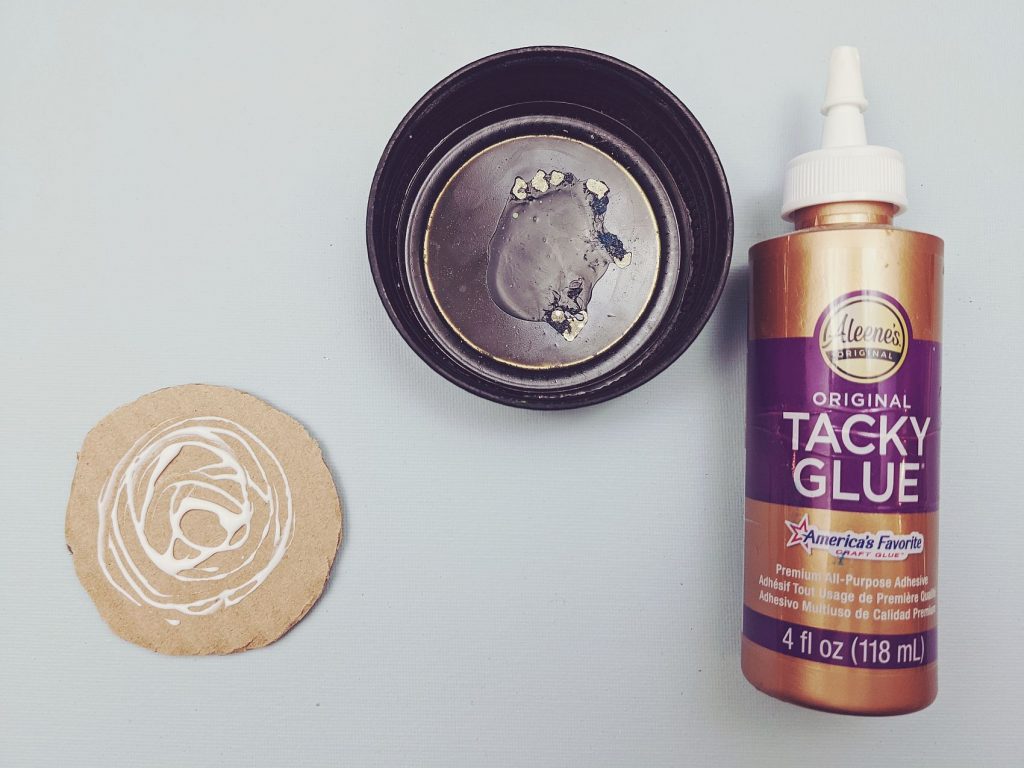
Step 8: Finish up preparing your mason jar lid base. When your painted lid is dry, cut a circle from the cardboard to fit inside the lid. Put some glue on the centre and press into lid. I use the ‘tacky glue’ above and it works quite well. You can skip this step if you’d like, but the cardboard acts as a bit of protection for the pins if you push them in too far and they hit the metal base.
Step 9: Add a ring of glue around the edge of the cardboard (or in the base of your lid if you skipped the last step). The tacky glue shown previously works well, or you could use a glue gun for this.
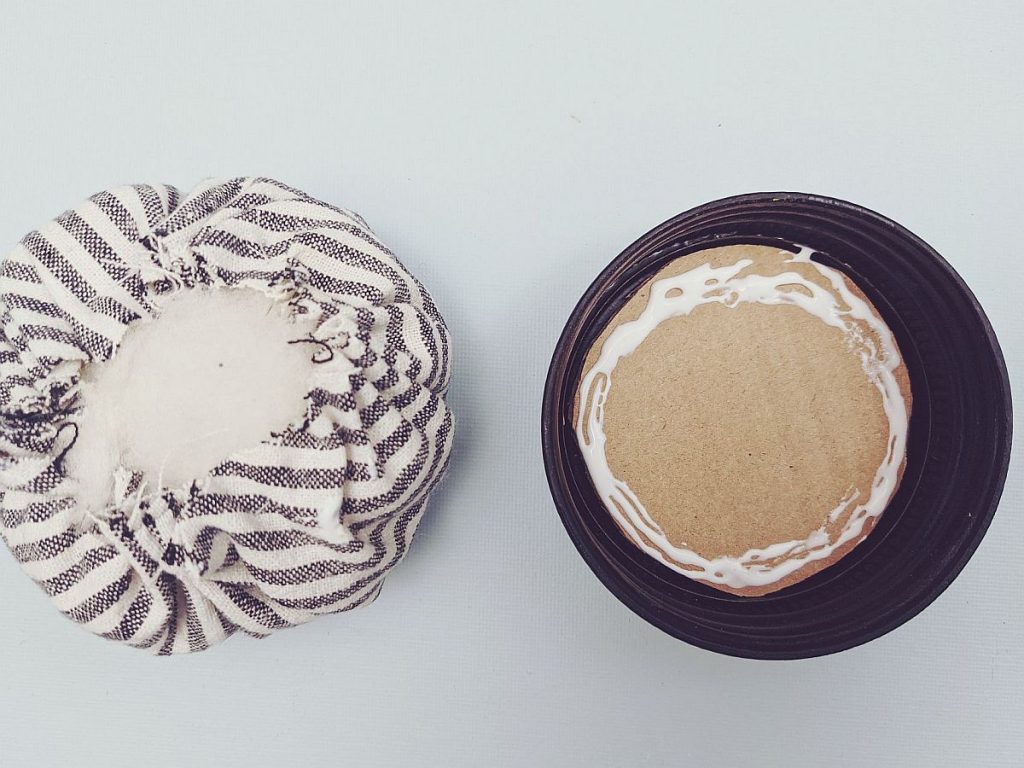
Step 10: Now take the wool-filled ‘cushion’ that you just made and turn it over so that the open side is facing down and press it into the base firmly, so that it makes contact with the ring of glue. You can place a book on top of it while it dried to ensure constant contact with the glue (if not using a glue gun, which dries faster).
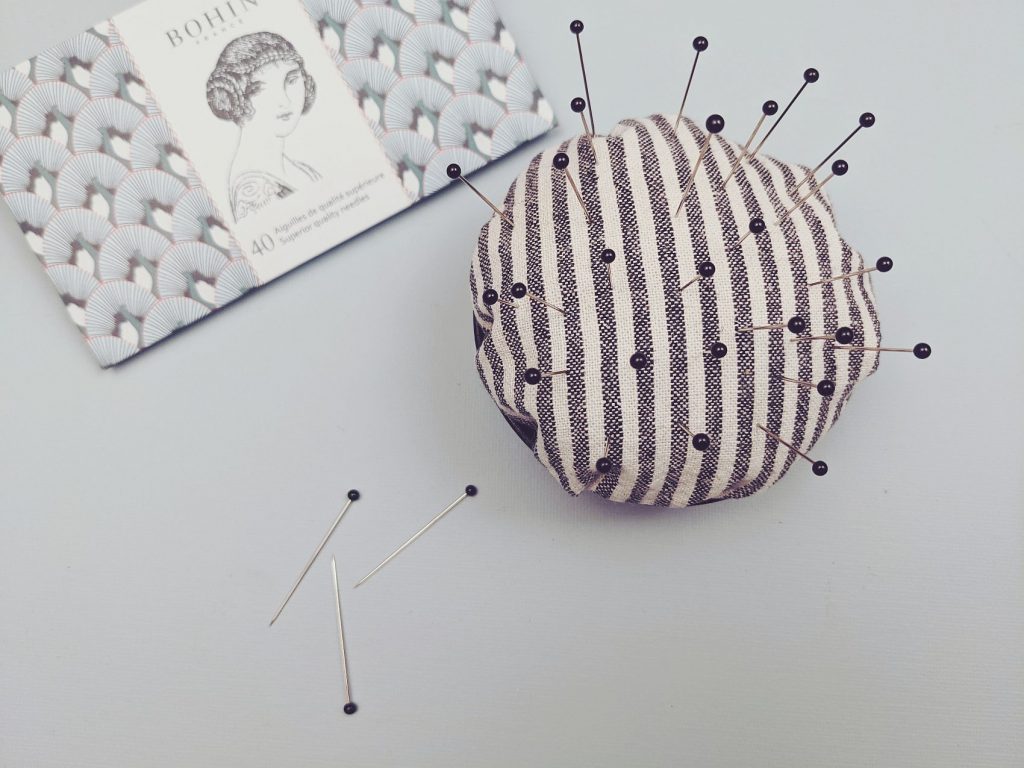
All done! A quick and simple little pin cushion that you can give as a gift or keep all for yourself!
I would love to hear if you’ve tried this tutorial and how it turned out – please leave a comment below!