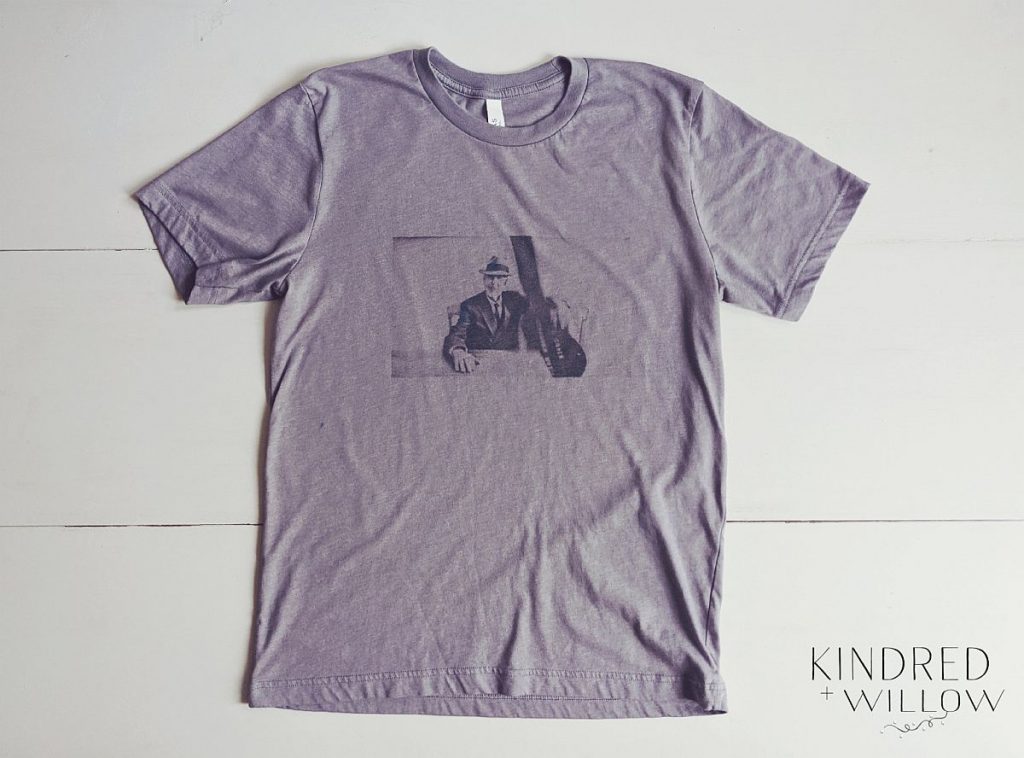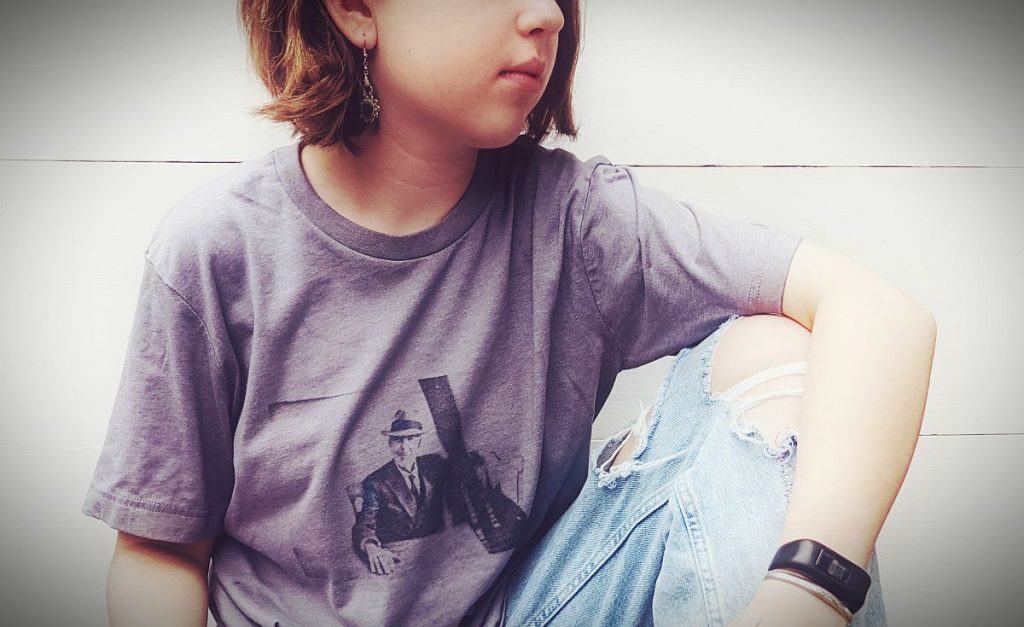
Printmaking with Solarfast dye is so fun and easy and the possibilities are endless! I’ve made a few t-shirts with this method – it’s wonderful if you want to make a custom shirt for yourself or a unique gift for someone else! So far I’ve made an Albert Einstein shirt for my son, a Christopher Walken shirt for my partner and a Kurt Cobain shirt for myself.
To make a photo print, all you need is a high resolution photo which you will turn into a negative and then print out on a transparency. And of course you will need a bottle of SolarFast and a t-shirt to make your print. I’ll have all the steps in my tutorial below!
I first discovered this type of printmaking when I heard about a company by the name of Lumi who produced a product called Inkodye. Inkodye is a photo-reactive dye that develops its colour through exposure to UV or sunlight. I’m not sure if Inkodye is still being produced as it became quite hard to find (especially in Canada) . I was pleased to discover that there is now another company producing the same sort of dye – Solarfast by Jacquard. You can use either type to the same effect.
It is my mum’s birthday coming up and she is a big Leonard Cohen fan, so I thought it would be nice to give her a t-shirt with a lovely photo of Leonard on it! I think the print turned out quite well, though I think next time I will try putting a piece of glass (such as from a photo frame) on top of the negative as it develops as I’ve read it will produce a crisper image – forgot about that tip, but will definitely try it next time!
how to make a diy photo print shirt with solarfast
what you will need
- High quality photo – high contrast images work best
- SolarFast dye
- Transparency film or SolarFast film – you will need 2 sheets per project
- Cotton t-shirt of fabric to print on (or any natural fibre)
- Sponge or paint brush
- Paper towel or rags
- Board to place inside your t-shirt (to prevent ink bleed-through to the back)
- Glass to cover your print
- Painter’s tape (optional)
- A sunny day! Or at least not a rainy one – slightly overcast is ok
Here is a link to the Jacquard SolarFast Instructions so you can read all their tips and tricks too!
solarfast photo print tutorial
Step 1. You will first need to take your photo and turn it into a negative image. SolarFast has a handy Negative Generator or you can do it yourself in various programs such as Inkscape by inverting the image. You can play with the contrast and brightness to get your image as contrasty as possible.
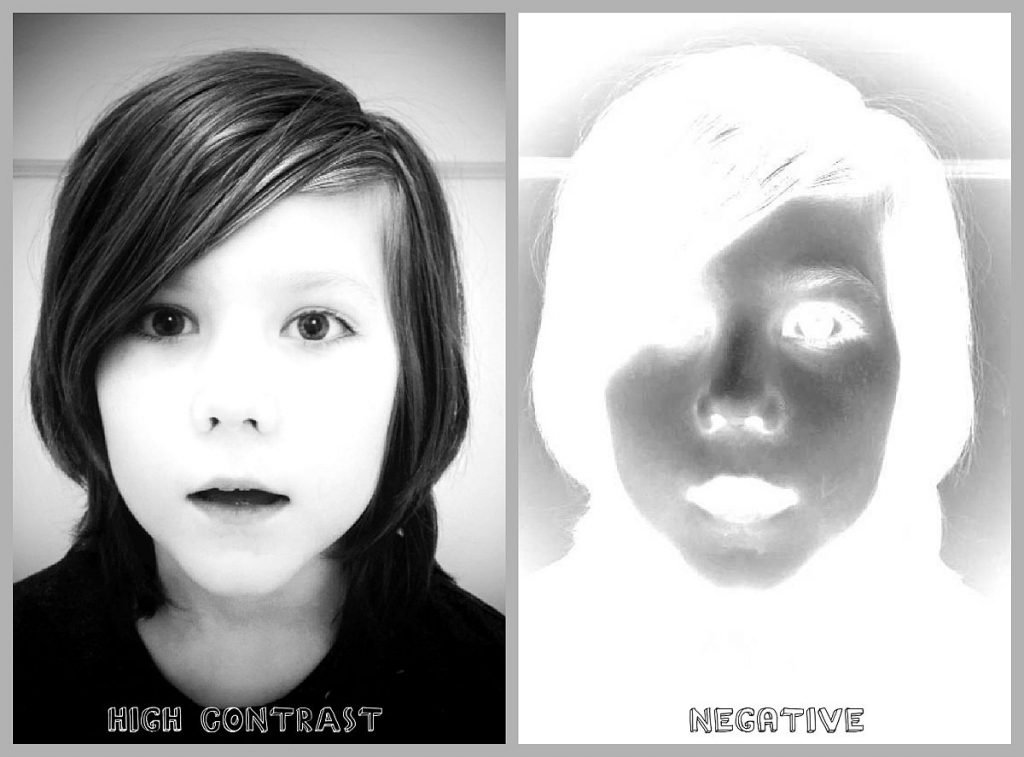
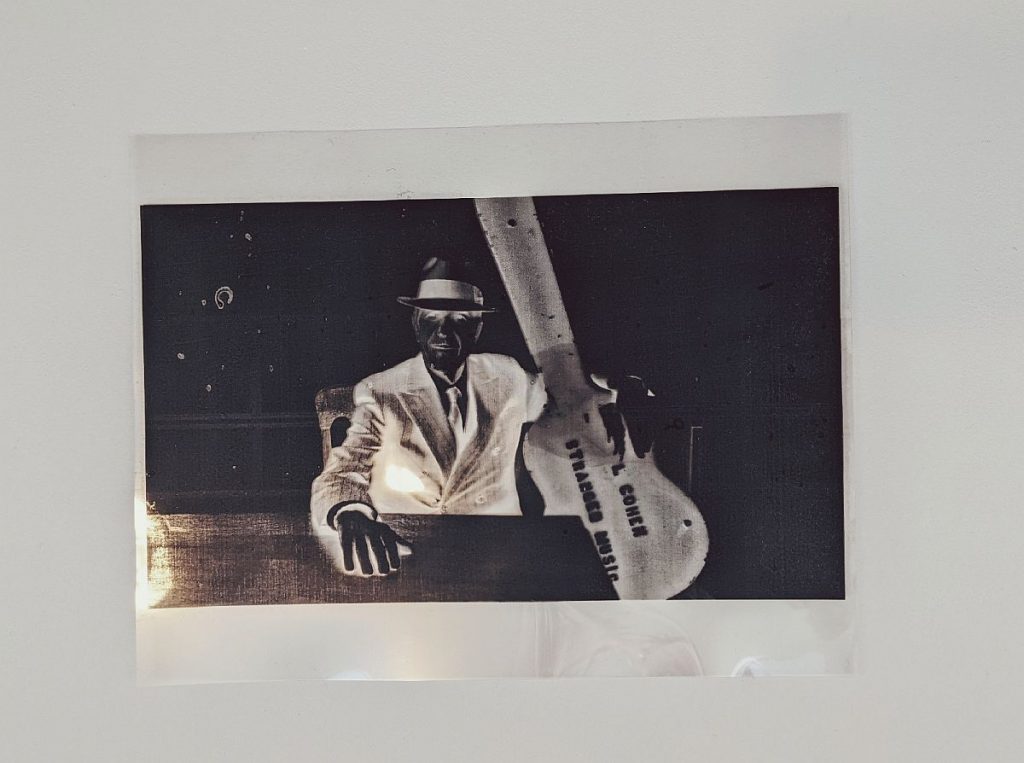
Step 2: You will now need to print two transparencies of your image. It is recommended that you make two transparencies and stack them together so that the dark bits are dark enough to block the UV – otherwise you might end up with a hazy print with no contrast.
Place your two transparencies together, making sure they match up exactly, and place a tiny bit of clear tape at the edges to hold them together.
Some printers will have a setting for printing transparencies, so you can check if yours does. My printer doesn’t have such a setting but it seems to print transparencies pretty well anyway.
Double check that your image is set to the size you want it to print to before clicking the print button!
I print my transparencies on a regular Samsung Laser printer. I read on the Jacquard site that it is best to use their film if printing on an inkjet. I had tried to print transparencies on an inkjet before and for some reason, no matter how many changes in settings, it just would not print on transparency. Luckily the laser printer does it just fine.
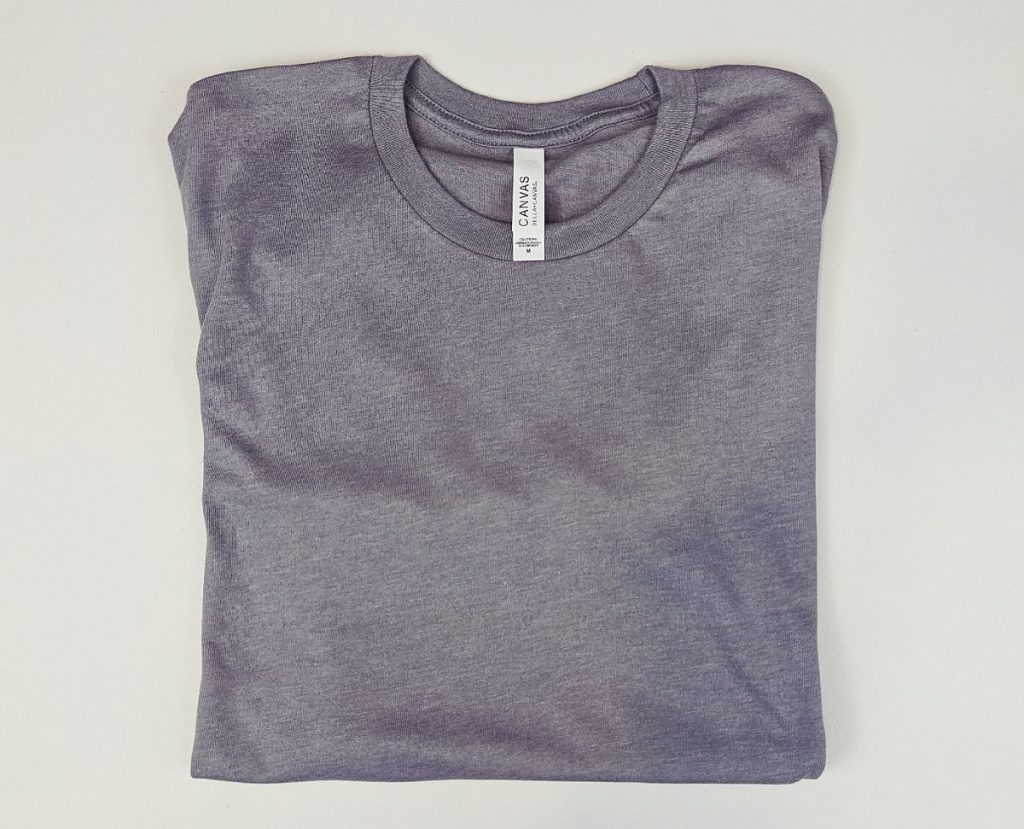
Step 3: Find a t-shirt to print on and give it a little ironing if it’s wrinkly! I like the shirts from Bella + Canvas – they’re not completely cotton but seem to print well anyway.
Step 4: Place a board or something thick, like cardboard, inside in the t-shirt – this will keep the ink from soaking through to the back.
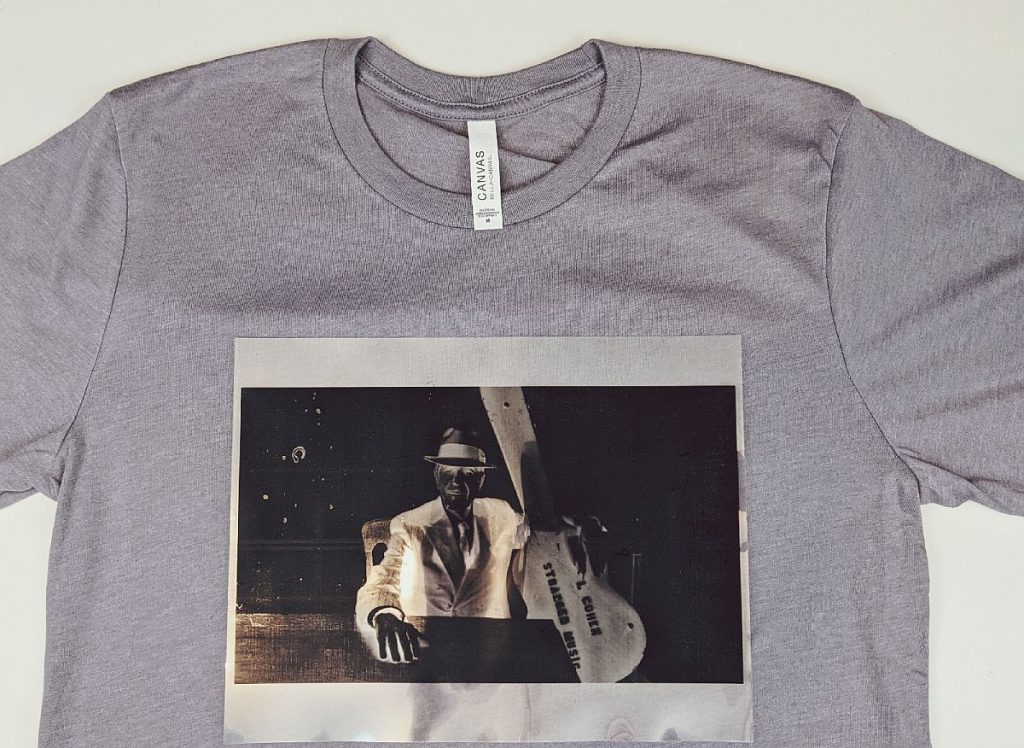
Step 5: Place your transparency printout on your shirt and find a good place for your image.
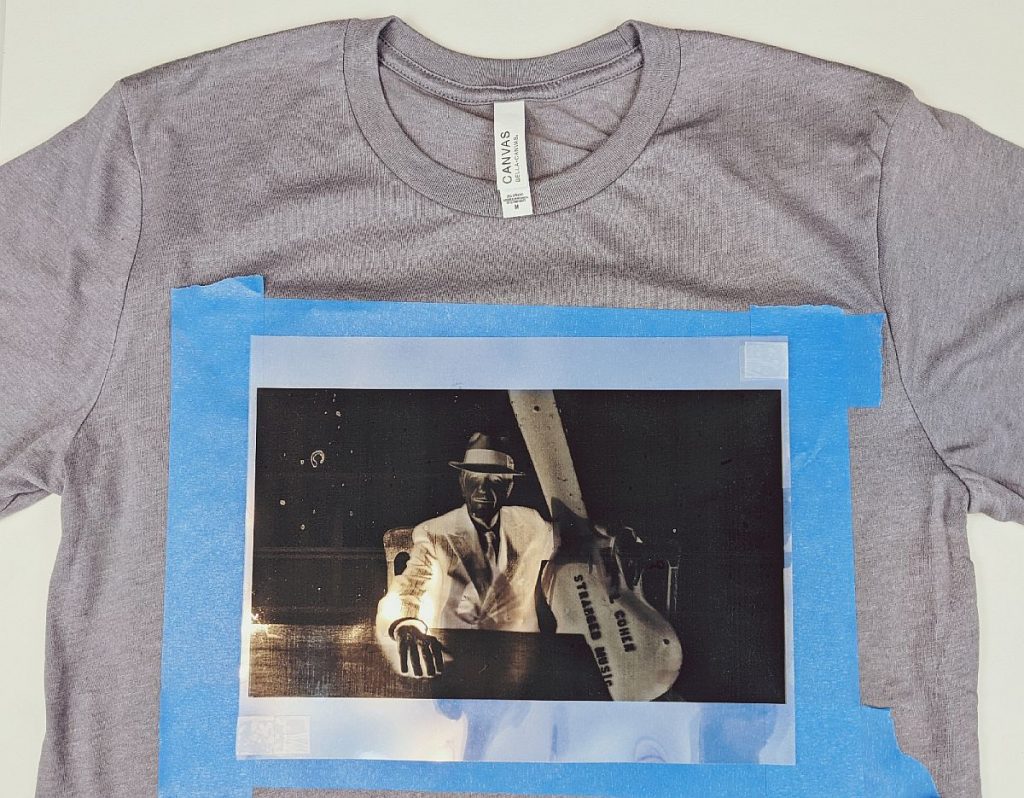
Step 6: Using painter’s tape you can tape off the perimeter of where your image will lie – this will give a crisper edge. If you’d like your edges to be ‘sketchier’ (couldn’t think of another word to use there), then you can skip this bit!
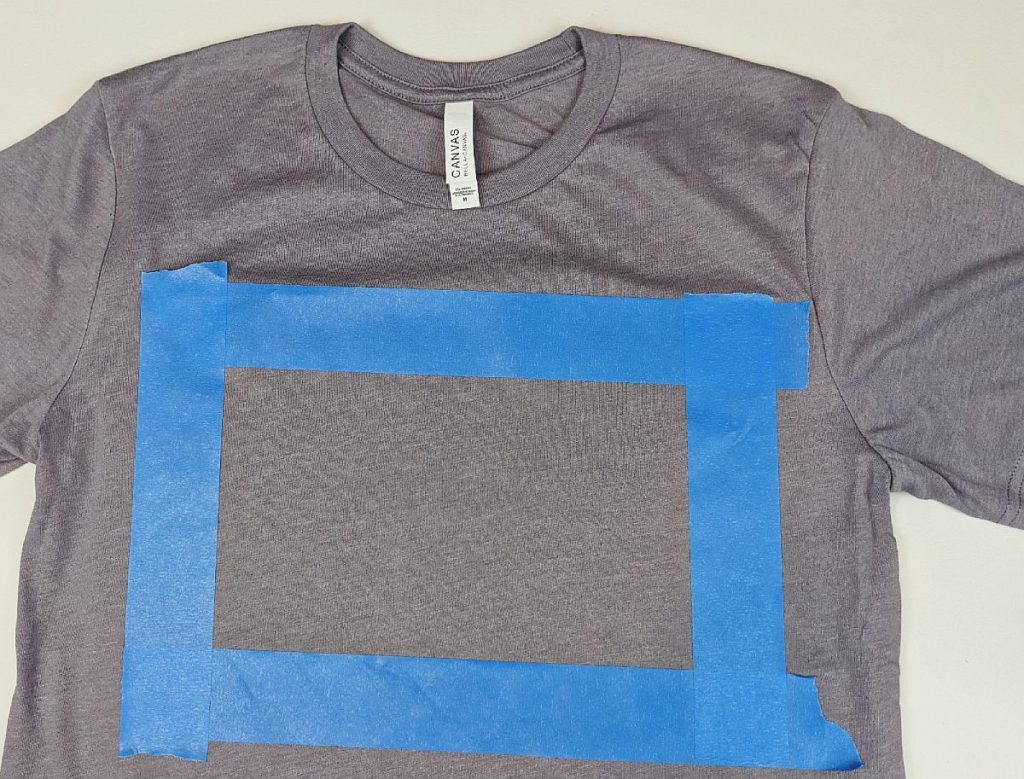
Step 7: Once you are happy with where you are going to place your image, get ready to apply the SolarFast. Strangely, I forgot to take a photo of putting on the dye itself… sorry about that! Just pour a little dye into a cup and then begin applying with a paintbrush or sponge. The key here is to not get the fabric too wet! If your shirt has gotten a bit too wet, take paper towels or a rag and sop it up a bit.
Step 8: Once you have the area covered in dye and not too wet, put your transparency in place atop the dye and place glass over top and then take your t-shirt outside where it can sit, undisturbed for a little bit. Developing time for black dye is 10-30 minutes.
I kept an eye out in case any of the neighbourhood kitties got any ideas about sitting down on the shirt while my print was developing. Watch out for falling leaves too – I had some land on another print but luckily saw them in time!
I left my shirt for 20 minutes on quite a sunny day in October. If your weather is overcast, your print will likely take longer to develop.
Here is a link to a handy chart that Jacquard has for the exposure times of the various colours they sell.
Step 9: Once your developing time is up, bring your shirt inside for washing. Don’t take the negative off outside in the sunlight, wait till you’re inside. Wash your shirt in hot water with detergent. I hand-washed mine first to get the dye out and then put it in with a regular load of laundry. It is recommended that if you hand-wash to keep the shirt submerged in the hot water for at least 10 minutes. You can also buy SolarFast Wash to wash out the dye.
After washing and drying, your shirt is complete and ready to wear! Enjoy!
