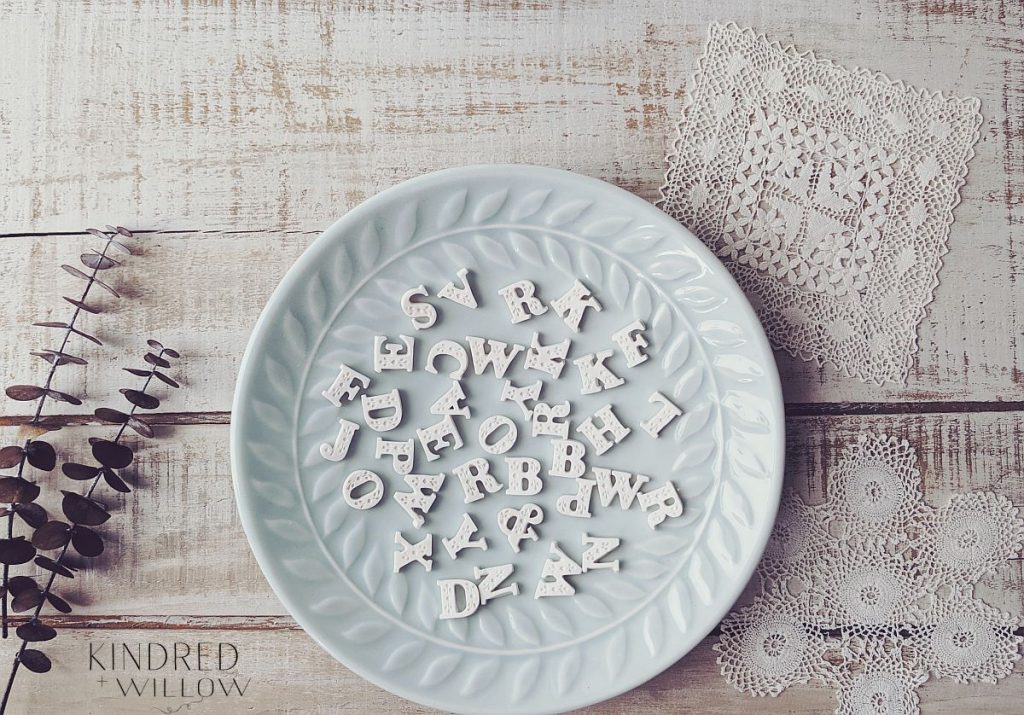
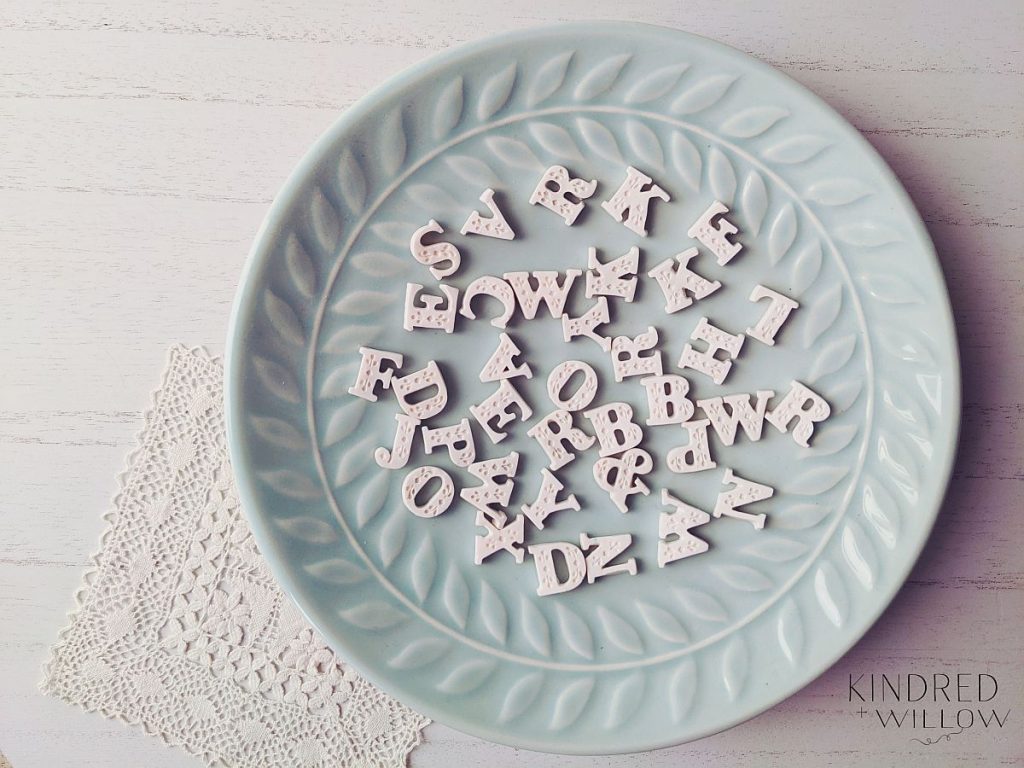
These DIY clay letter tiles are so easy to make and have many great uses from cards and gift tags, to scrapbooking, and even as a nice little tool to help your kids with spelling practice! Check out the rest of this post for some ideas for using clay letters and also some tips for using the letter mold to get perfect letters every time.
I have used polymer clay in all the images used in this post, but you could experiment with other types of clay too, such as air-dry clay. Just be sure you use something that isn’t too sticky as it could be difficult to remove from the mold.
The mold you see used in this post is by Martha Stewart and was purchased a few years ago. I’m not sure if they’re still being made, but I have seen them on Etsy and eBay for purchase. You can also search for other molds by searching ‘silicone alphabet mold’ or ‘silicone letter mold’.
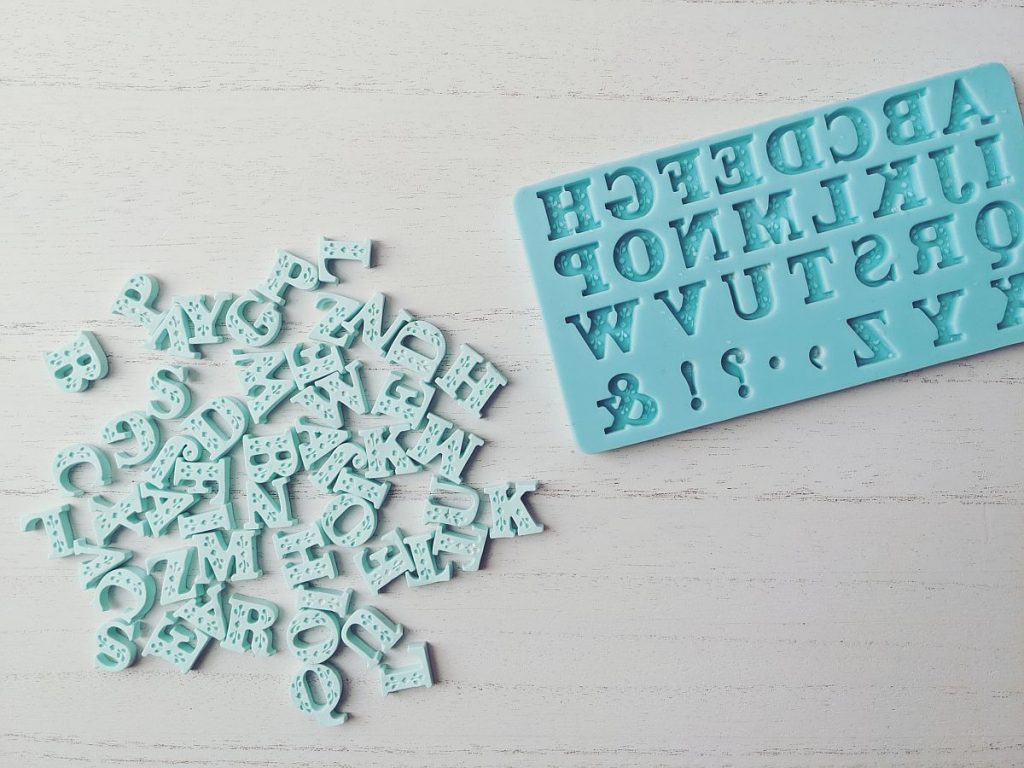
uses for clay letter tiles
- Decorating scrapbook pages
- Personalized gift tags
- Decorating a photo frame
- Adding a festive message on a wreath
- Mixed media projects
- Letter recognition & spelling practice for kids
- Digital art projects
Handmade gift tags using polymer clay letters
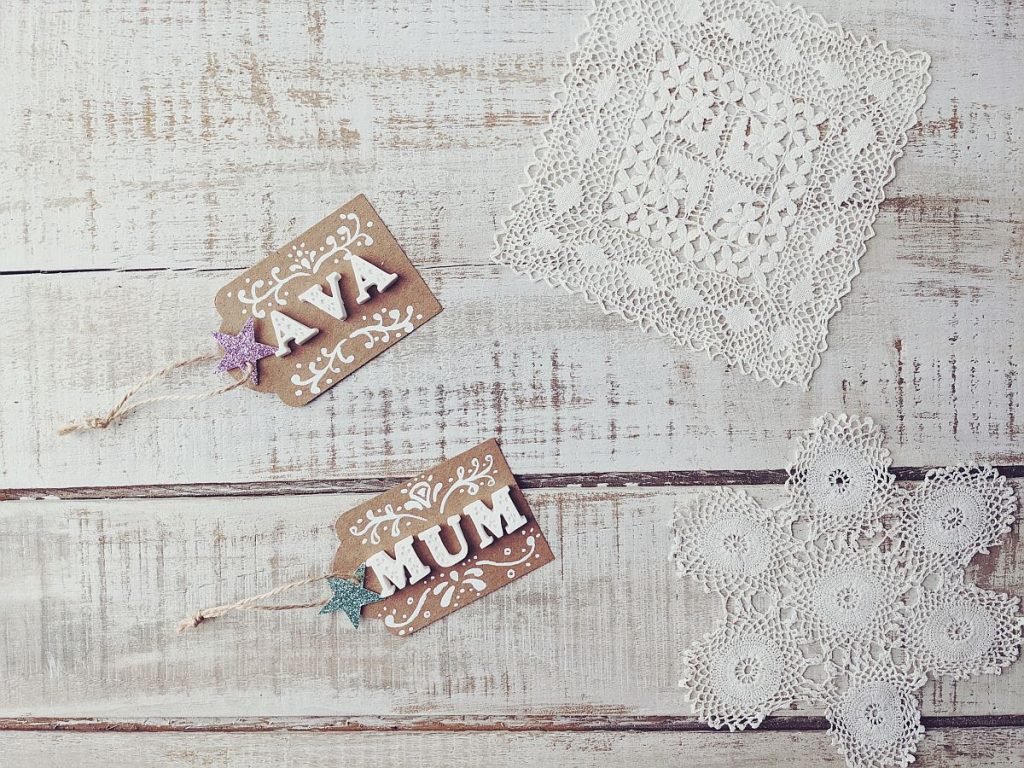
I think it would look lovely to use the letters to decorate some kraft paper wrapping,
giving you a larger area to work with ♥
You will need:
- silicone letter mold
- polymer clay
- cardstock tags – make your own with a tag punch
- white gauche and small paintbrush
- small glitter star with hole
- twine
how to make clay letter gift tags
- Determine what letters you need for your tags and make up your clay letters using a silicone letter mold. See further down this post for clay letter tips and baking time + temperature.
- Once your letters are ready, glue them to your tag using strong glue – I like to use Aleena’s Tacky Glue. Leave to dry.
- Once your tag is dry, use a tiny paintbrush and white gauche to paint on a design. Try not to drink lots of coffee beforehand or your designs will be a bit wobbly as mine are! Let dry thoroughly.
- Punch a small hole in the top of your tag and thread a short piece of twine through, thread on the small sparkly star and tie a knot at the top. Your tag is ready for giving!
MOre ideas for using diy clay letters
scrapbook pages
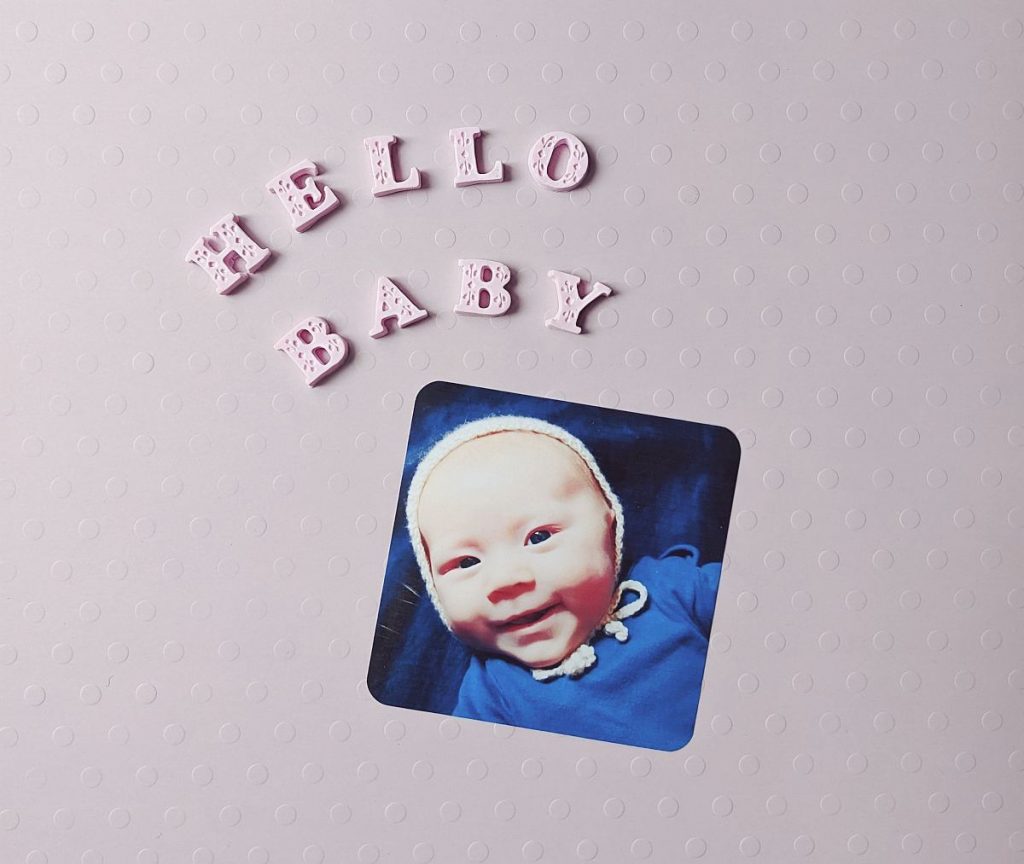
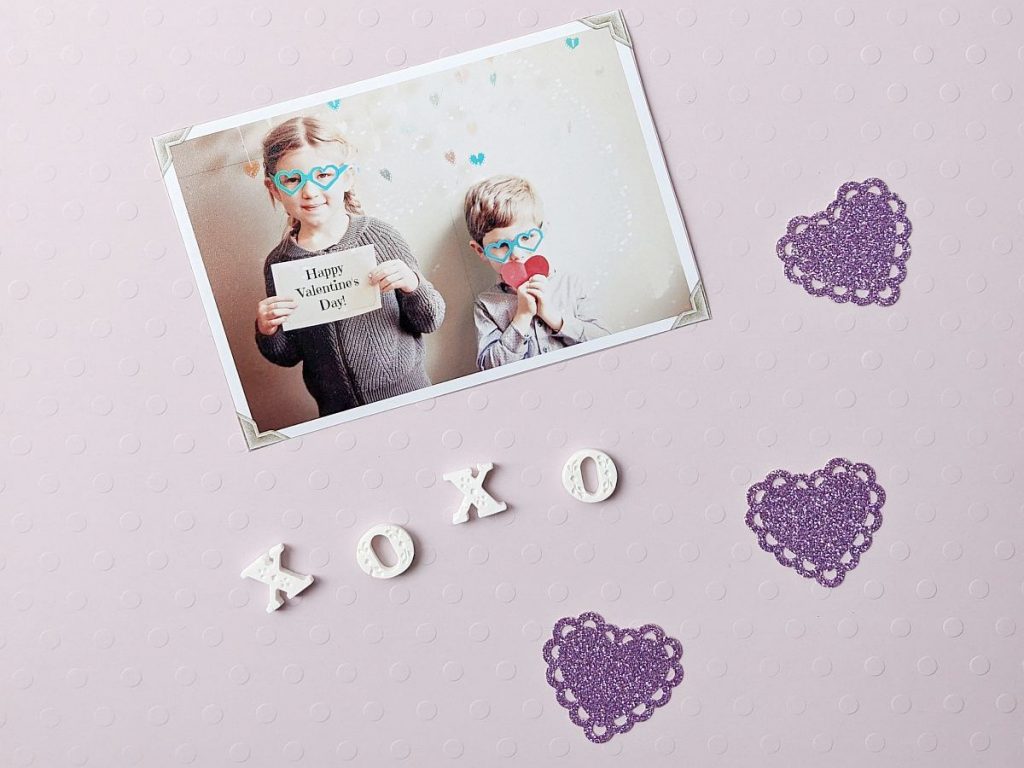
Use your clay letters to decorate a scrapbook page – be sure that your scrapbook paper is heavy enough to hold the letters or add a piece of cardstock to your paper first.
Photo Message
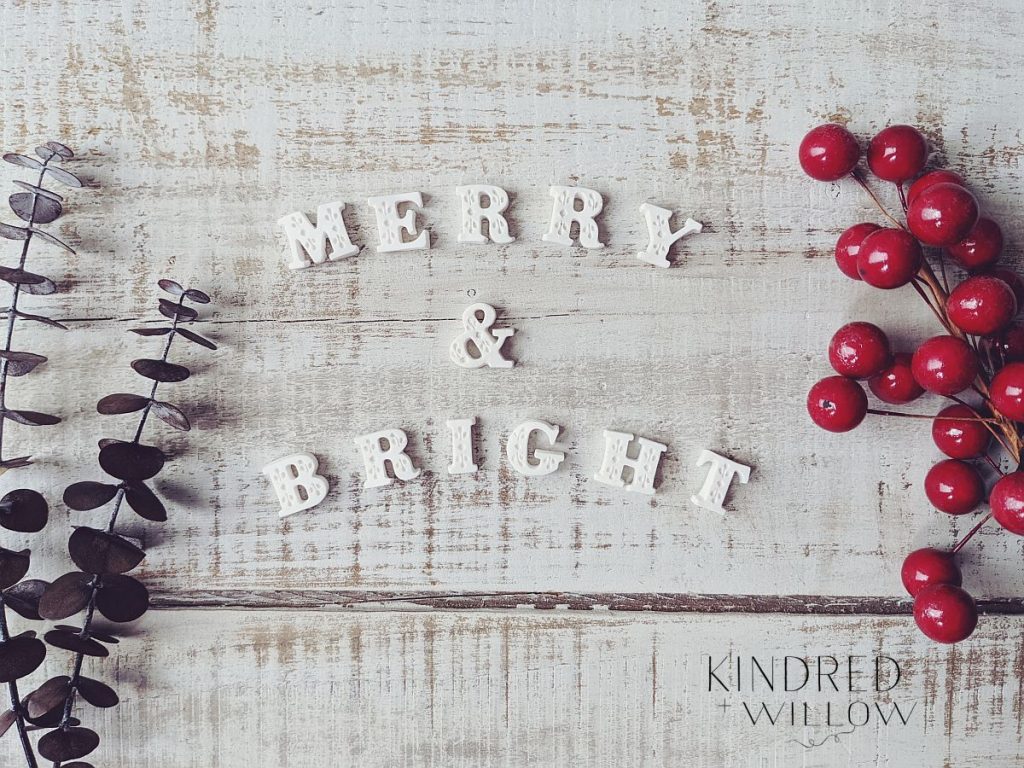
These tiles are great to use for social media images for a change from using a felt letter board or lightbox letters. You could also turn your image into a greeting card and get it printed ♥
Letter recognition & spelling Practice
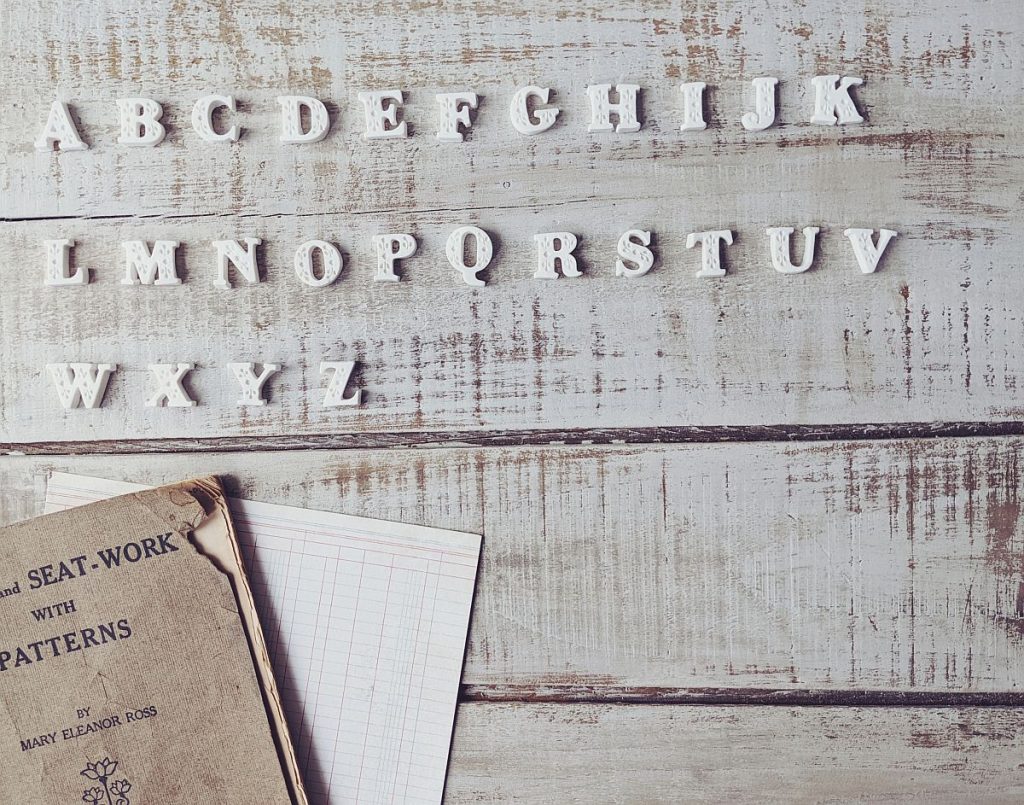
My 19-month-old is crazy about letters and loves nothing more than sitting and showing us which letters he knows. These tiles are great for helping your little one with letter recognition. These are pretty small so I always sit with my son when he plays with these.
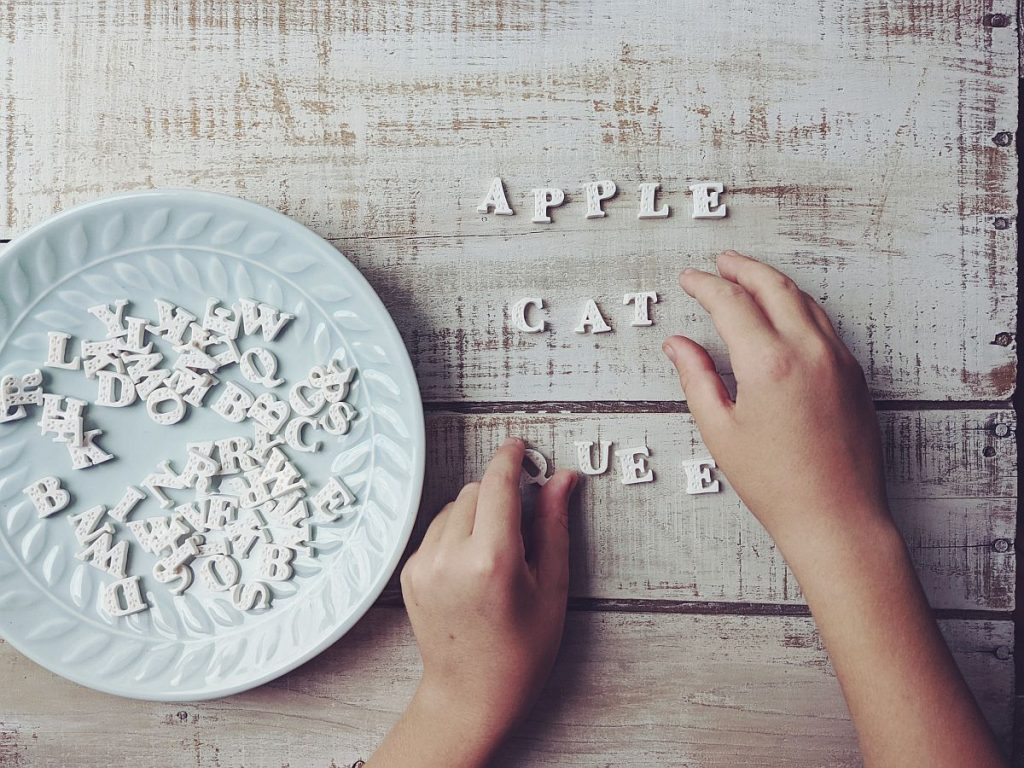
For older kids these are great for spelling practice! Be sure to make enough of the most frequently used letters.
Most commonly used letters in English:
E, T, A, I, O, N, S, H, R.
For the letters above, I made several of each to be sure there would be enough to spell words that use multiples of one letter.
making polymer clay letter tiles
you will need
- Polymer clay, such as FIMO or Sculpey
- Silicone letter mold
- Old baking tray, or cover in parchment if it is one you also use for food
- baking soda (optional)
I saw a tip once that you could cover your polymer clay pieces in baking soda to keep them from discolouring in the baking process and I have found that this helps when baking small polymer clay items. I make a little bed of baking soda to place the pieces on and then cover them before baking. You don’t have to do this, just be sure to keep a good eye on the oven to avoid overcooking and ruining all your hard work!
how to make clay letter tiles
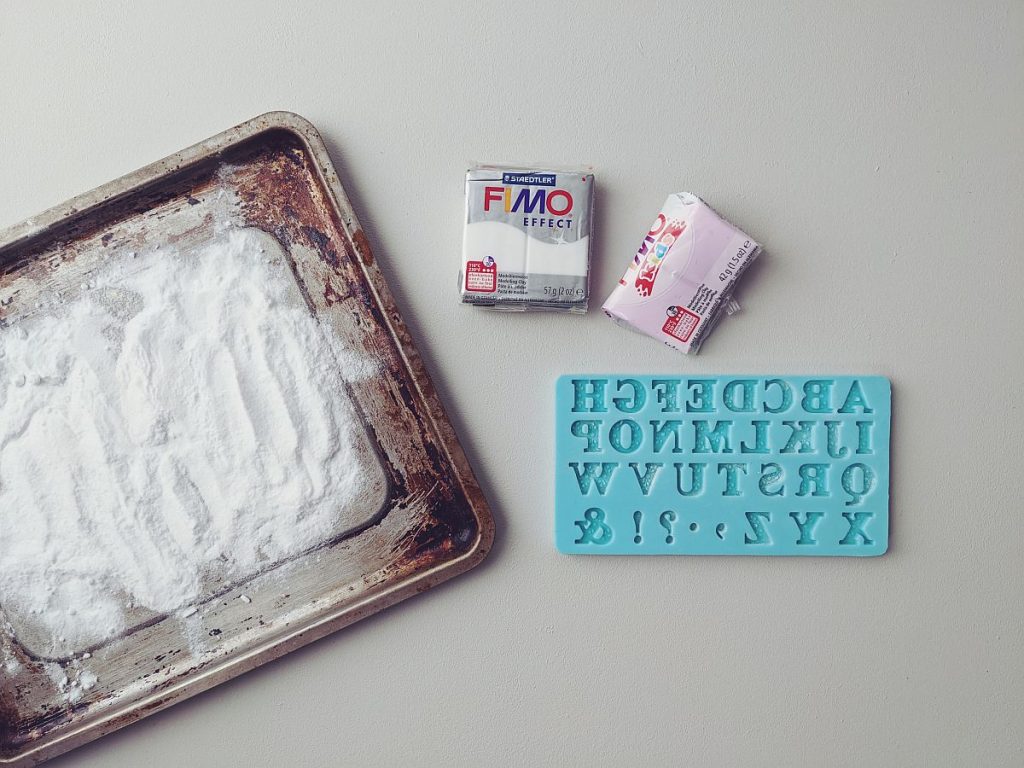
Step 1: Prepare your clay by working small pieces so they are a uniform consistency and pliable.
TIP: The FIMO Kids clay is quite soft, a bit too soft for this purpose, and I found it stuck in the mold a bit and made it hard to get the letters out with our disforming them. To remedy this I dusted the mold with a tiny bit of cornstarch and also kneaded a bit of cornstarch into the clay itself. I didn’t have this problem with regular FIMO or Sculpey as they are quite hard to begin with.
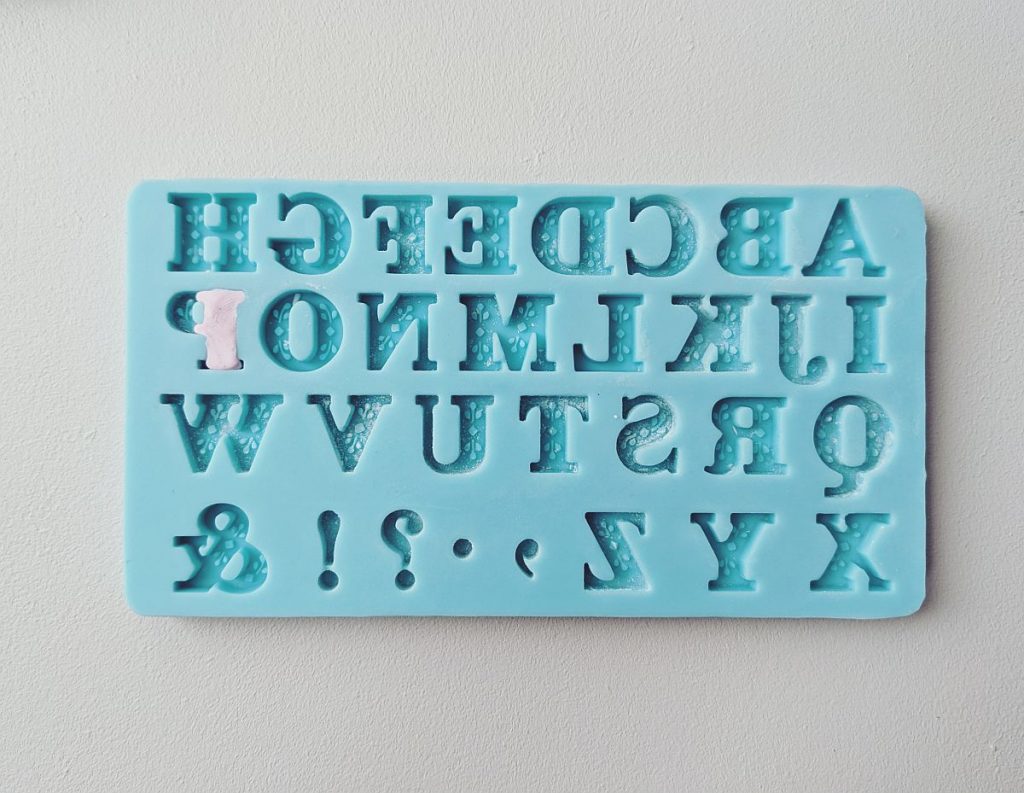
Step 2: Take a small amount of clay and start working it into the mold. Make sure the clay is pushed far into the mold – for the tiny areas I use a blunt needle to push it in.
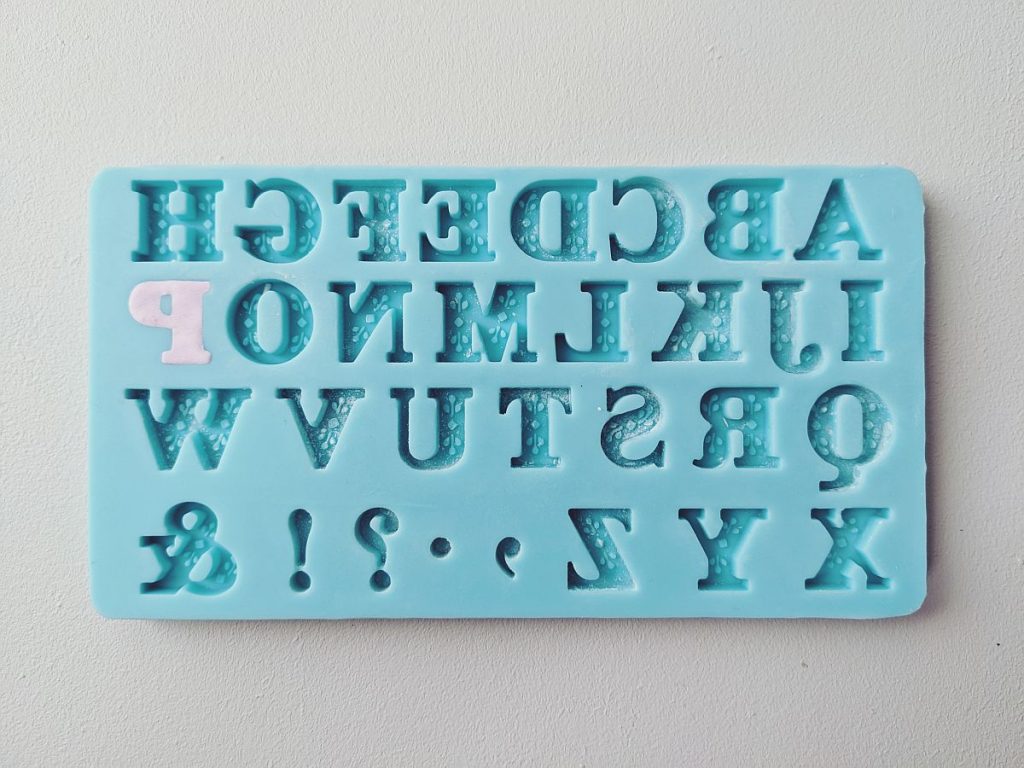
Step 3: Continue until the entire letter is filled, remove any excess around the edges as this will make for a ‘cleaner’ finish.
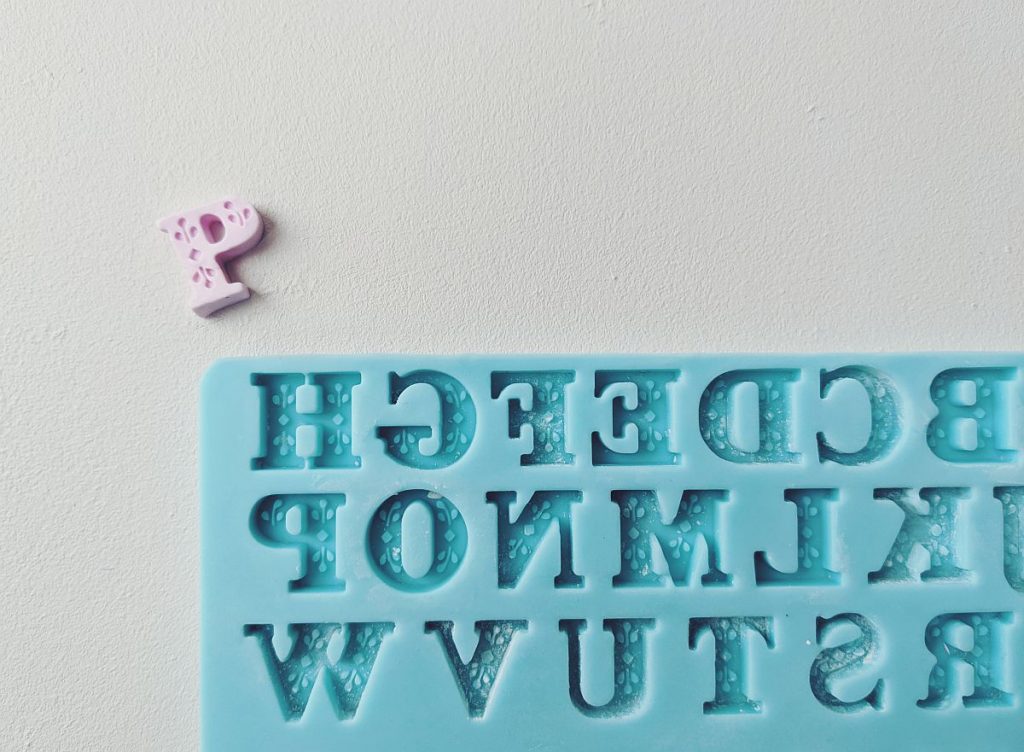
Step 4: Very carefully press the back of the mold to release the clay. Once you have the letter out, you mind need to reform it a bit as they can become a bit out-of-shape from trying to remove them from the mold.
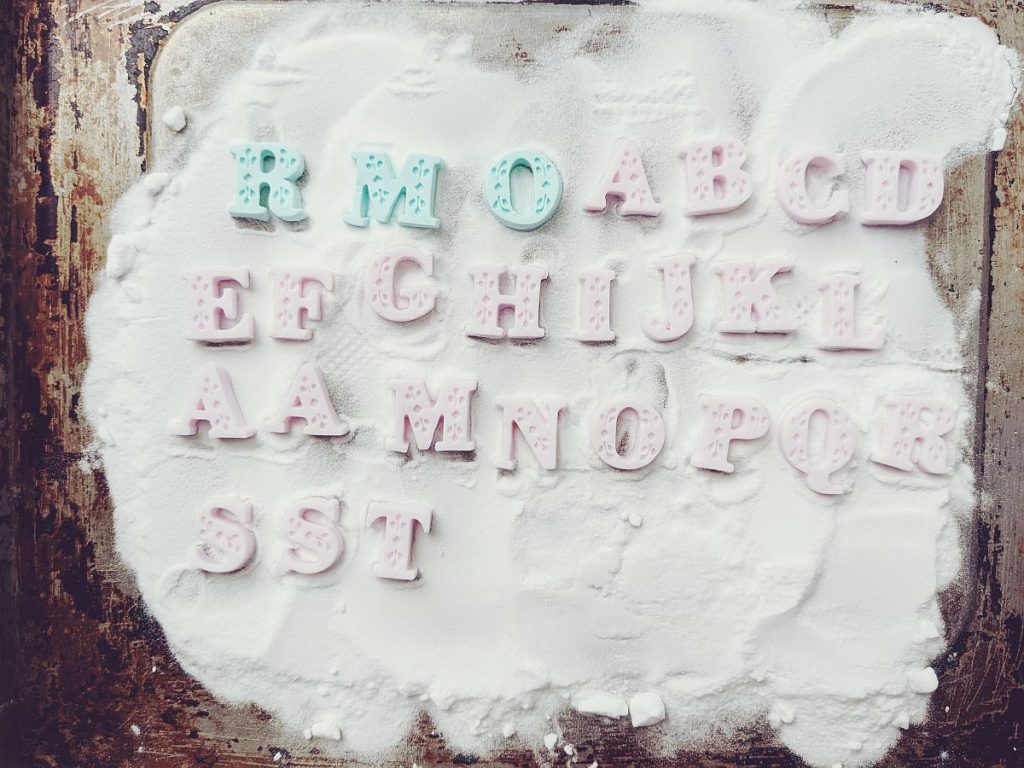
Step 5: Baking time! Preheat oven to 110°C/230°F. Bake for 20 minutes. Check often to ensure they aren’t getting brown. Remove from oven and let cool. Rinse off any baking soda (if using) and dry thoroughly. Your letters are ready to use!
I hope you have found this little tutorial useful! I aim to get these letters digitized at some point so I can offer them for use for digital art projects as well. Check back for updates. Happy crafting ♥
