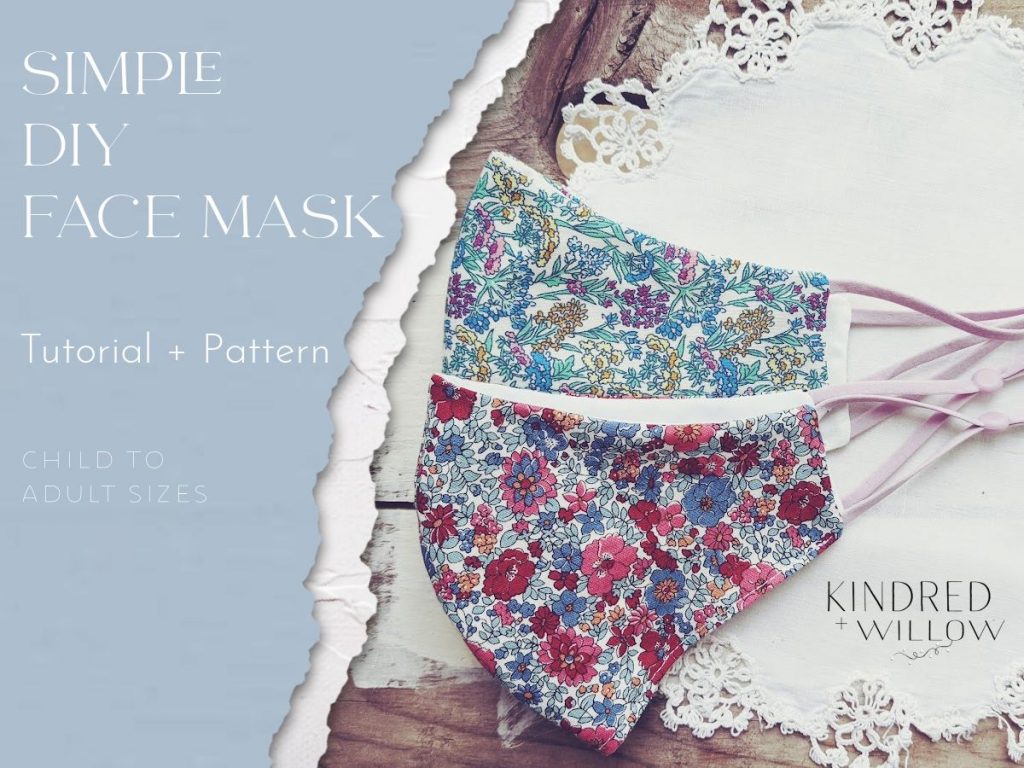
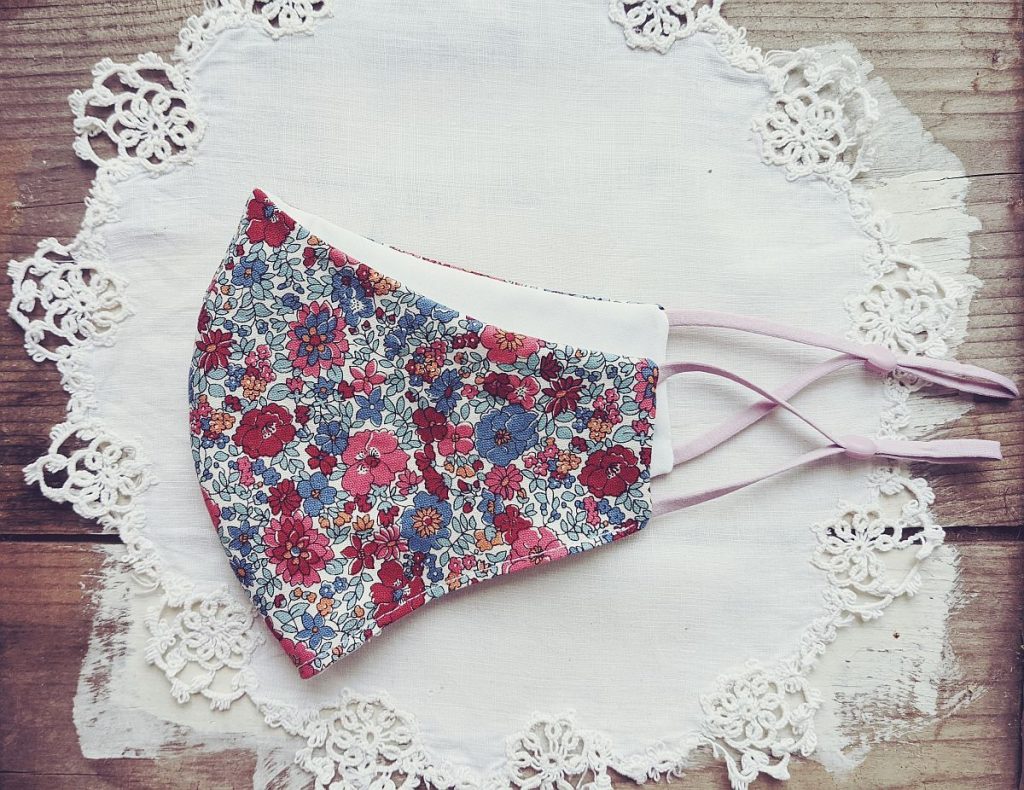
At that start of the pandemic I started making cloth face masks, initially to donate to the hospital, but as word got out I started getting requests from family and friends for masks as well. At first I used a free pattern that our local hospital had put out but then thought I’d try making my own pattern as the free pattern did not seem to fit as well on those with smaller faces. So I set about to make a mask that had a closer fit and made it in four different sizes to suit various ages and face shapes.
As the kids have just returned to school – quite happily after a year and a half away – I had to dig out my mask pattern to make up a bunch for their school needs and the inevitability of lost masks throughout the year.
There are numerous mask patterns online but thought I would put mine on here in case anyone is still looking for one, or is looking for one that better fits their face shape.
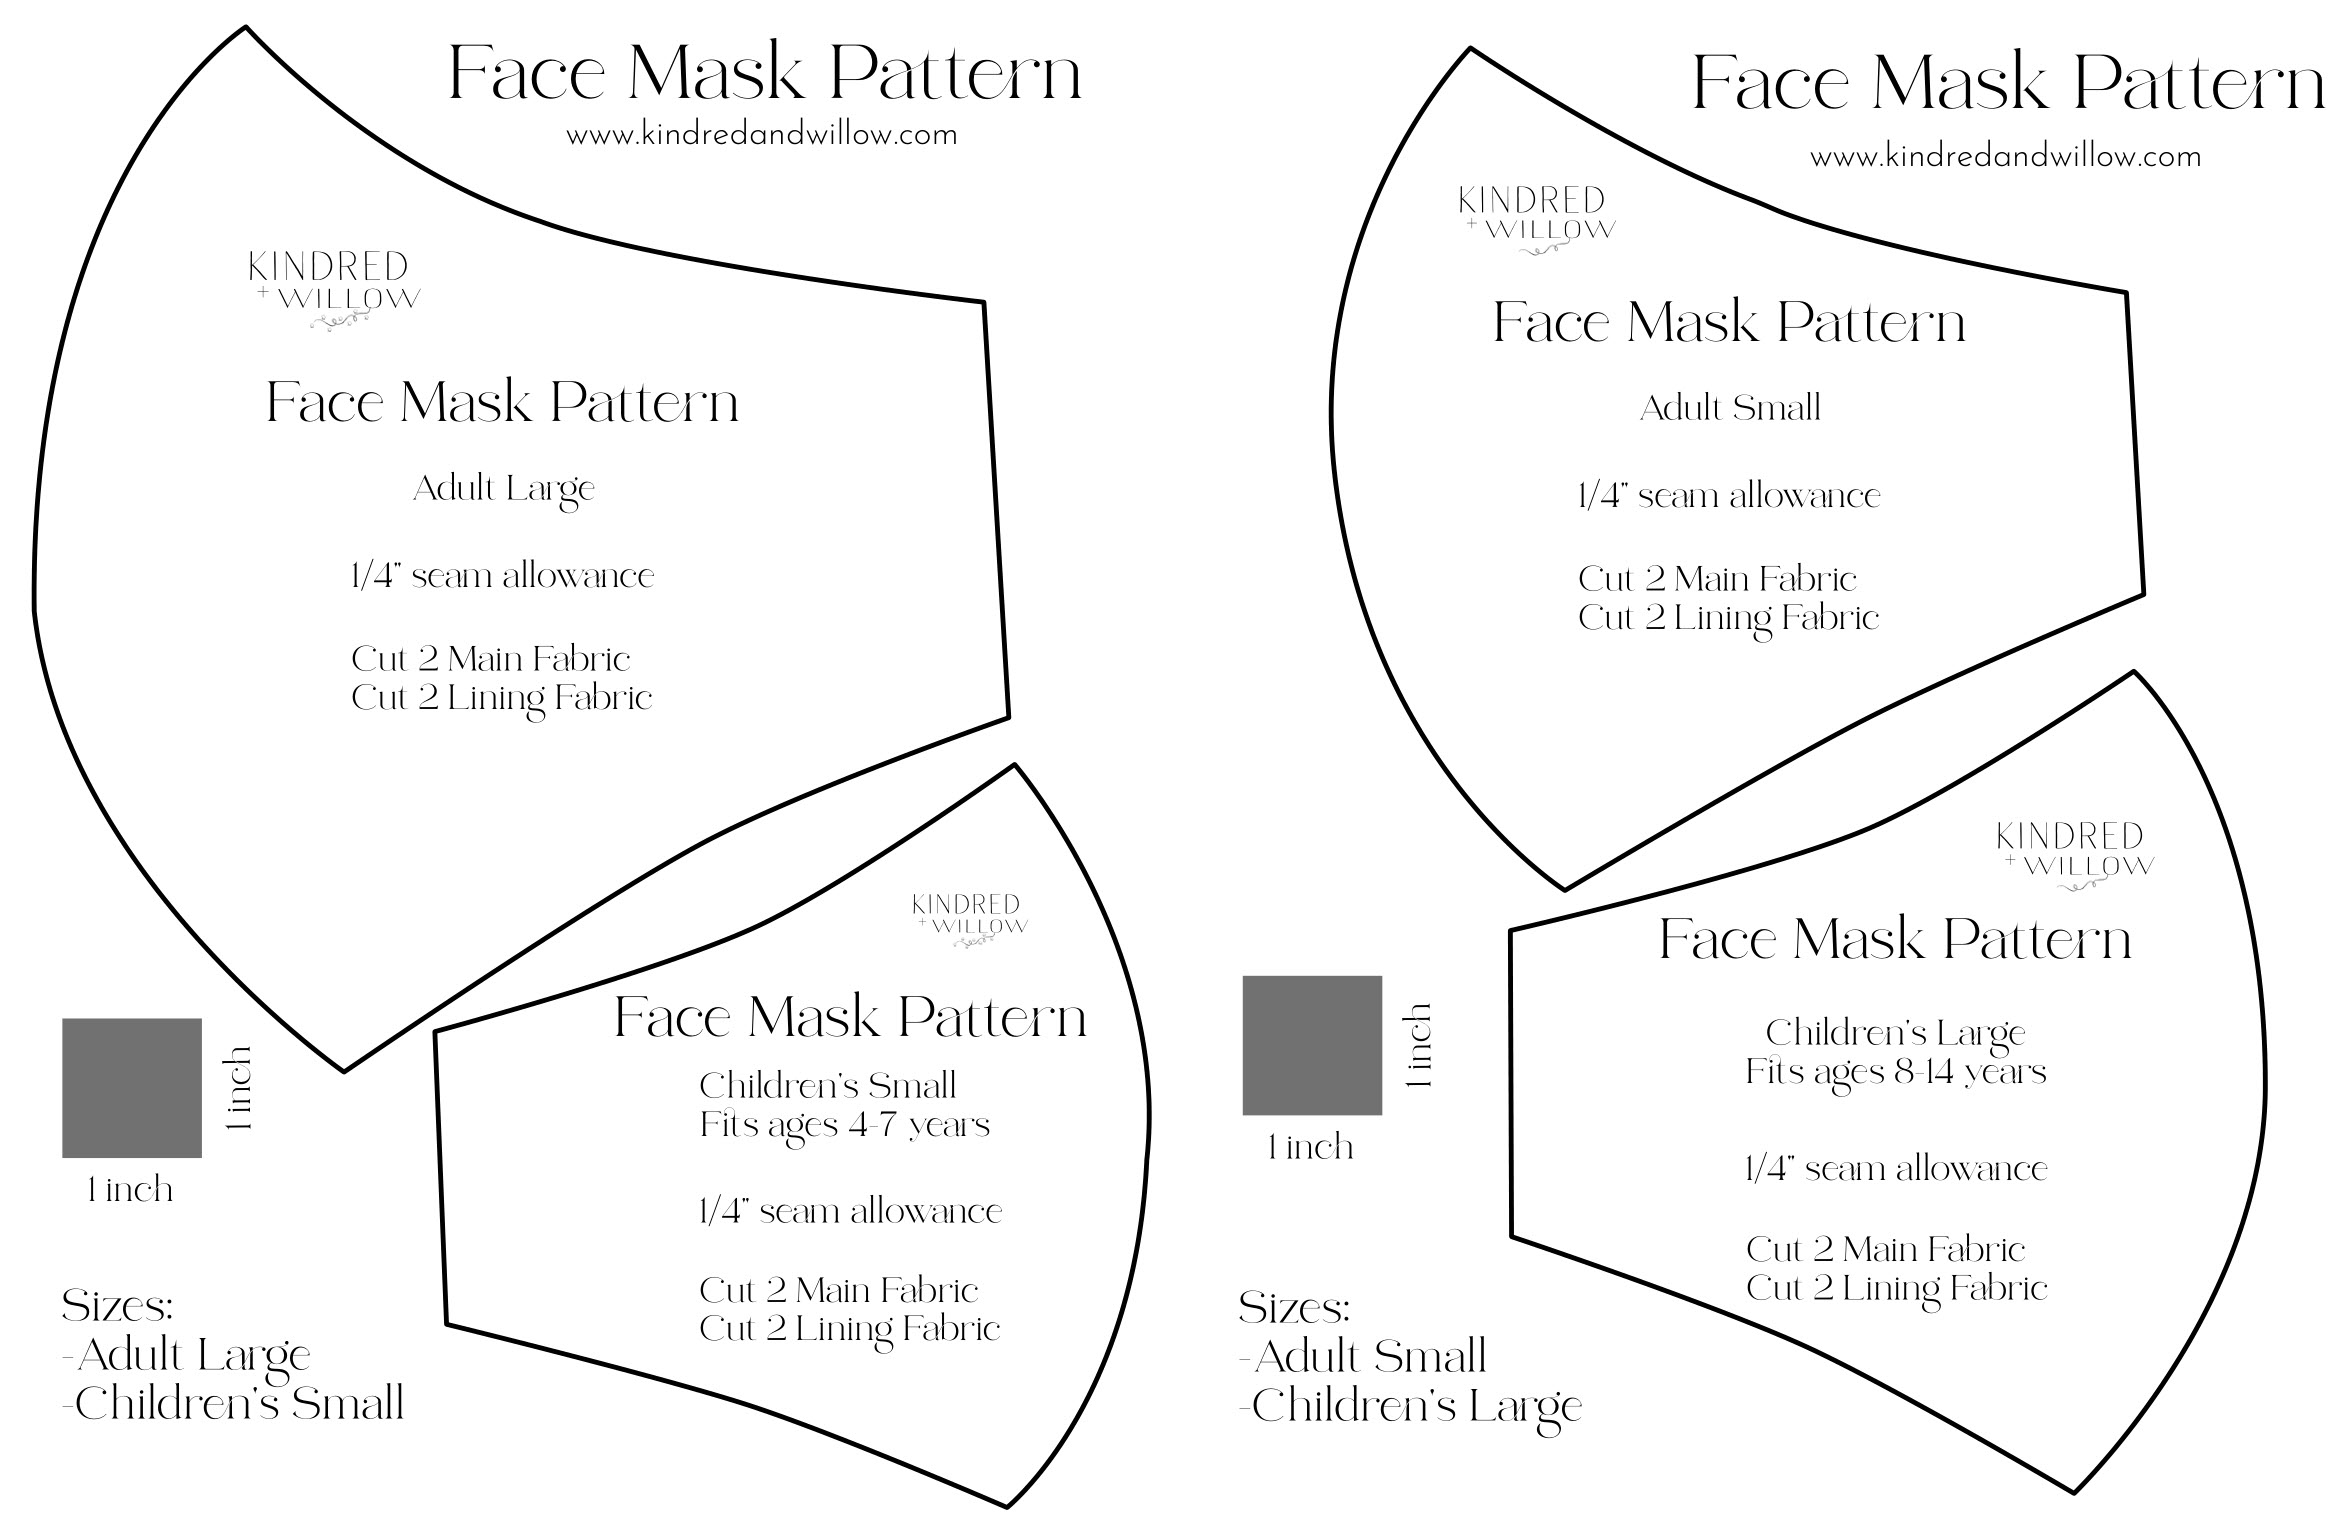
You can print out your free pattern below and follow along the tutorial in this post. I have made the mask in four sizes:
- Adult Large – typically fits most men’s faces
- Adult Small – typically fits most women’s faces
- Children’s Large – typically fits children from 8 to 14 years
- Children’s Small – typically fits children from 5 to 7 years
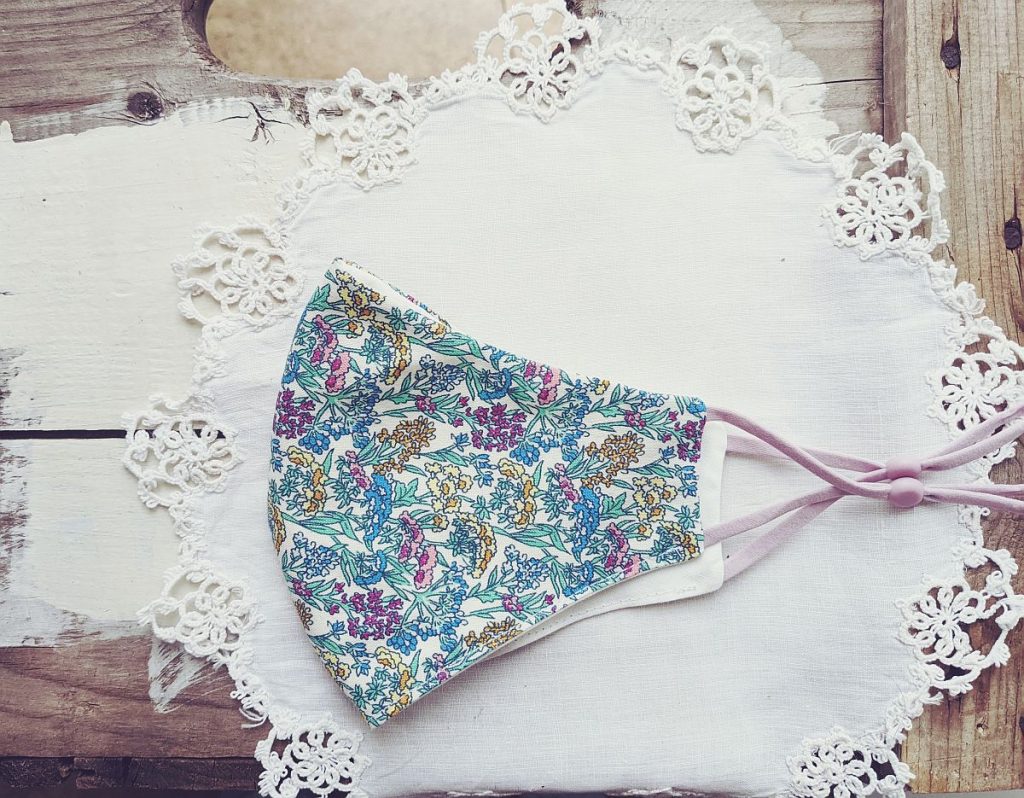
diy face mask tutorial
what you will need
- Outer fabric – you will need a remnant, folded double, that is at least 8″ x 8″ for the largest size, for the smaller size, you will need a remnant (folded double) that is at least 6″ x 6″.
- Lining fabric – you will need a remnant of the same size listed as for the outer fabric.
- Elastic – a number of fabric stores now carry the mask elastics you see used in this tutorial, complete with a silicone ‘adjustment bead’. I like these as they can help get the perfect fit on your mask. When I started out making this pattern, I used regular hair elastics, the medium-sized type that measure about 7″ across when flattened. Most dollar stores carry these, so it is inexpensive to buy a lot of them. I’ve found though that those elastics can be a bit uncomfortable if you’re wearing your mask for long hours, such as at school or work.
how to make it
Note: As you trace and cut out your pattern pieces, keep track of which way is up on your pieces by marking a small x (in chalk or sewing marker) on wrong side of fabric. The top of the mask curves a bit more than the bottom to fit well over your nose.
Step 1: Print out the free pattern (found at the bottom of this post) and cut out desired size. Place patterns on fabric and cut 2 out of main fabric and 2 out of lining fabric.
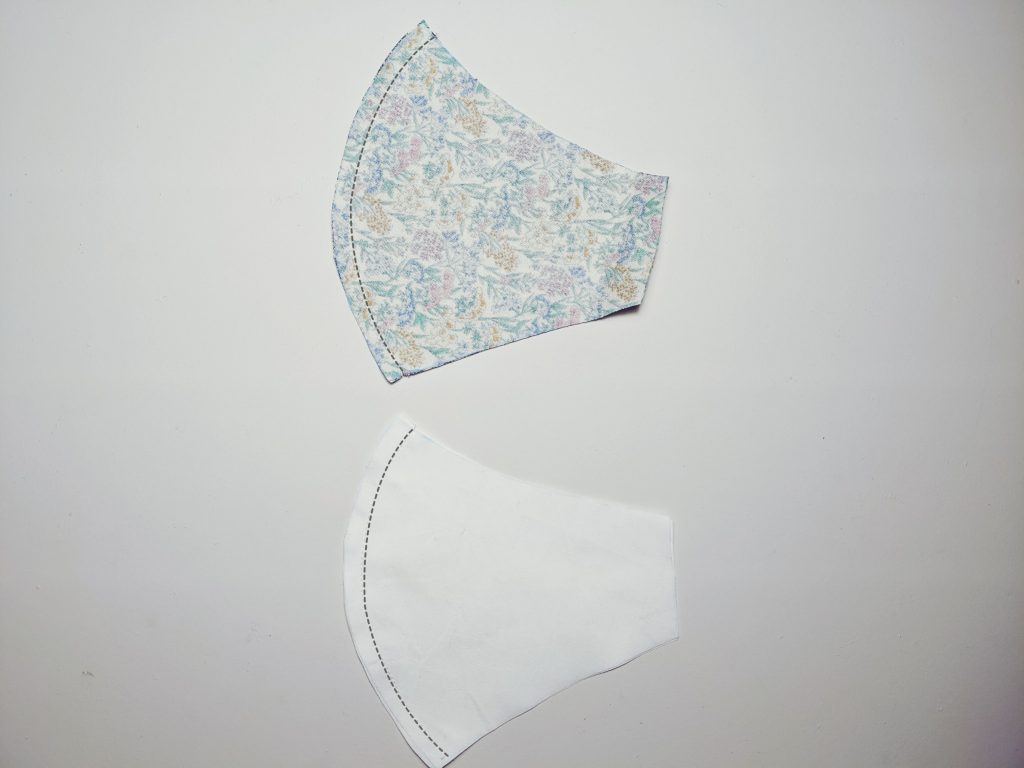
Step 2: With right sides of the main fabric pieces facing together, sew along the front (curved) edge with a 1/4 inch seam allowance (shown with black dotted line in the photo above). Do the same for the lining pieces.
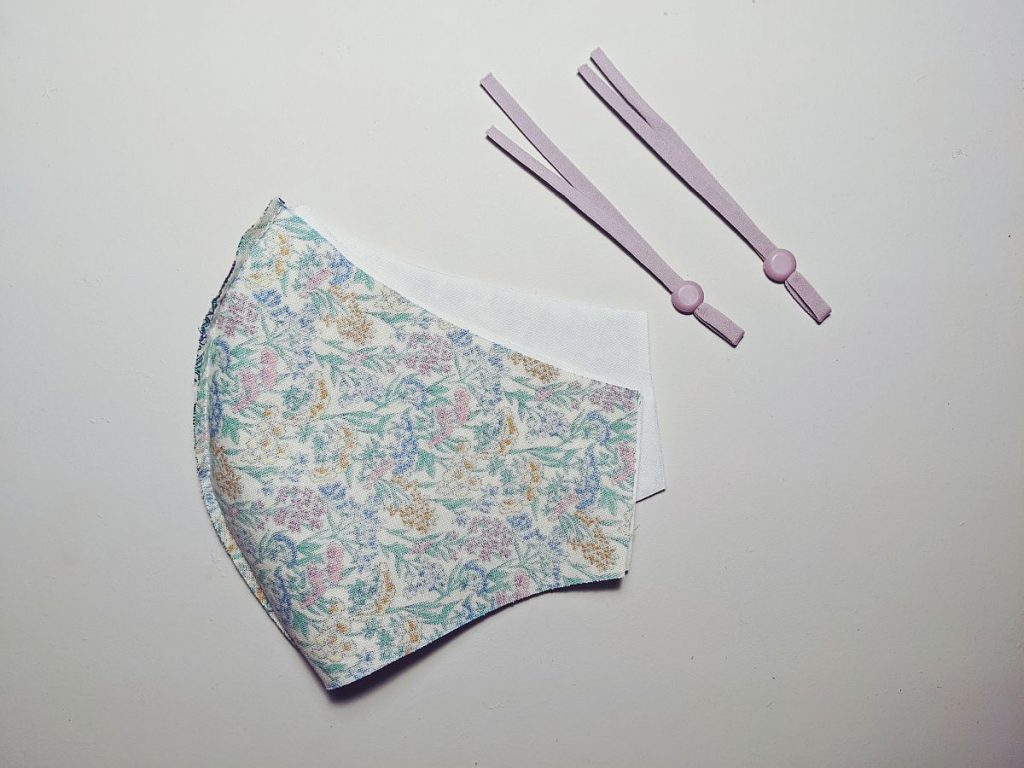
Step 3: Trim edge to 1/8 inch and press seam. With right sides together, and making sure that you have the tops of each piece matching, pin main and lining pieces together, matching edges and seams. Leave the straight edges open for now – you will be placing your elastic inside here.
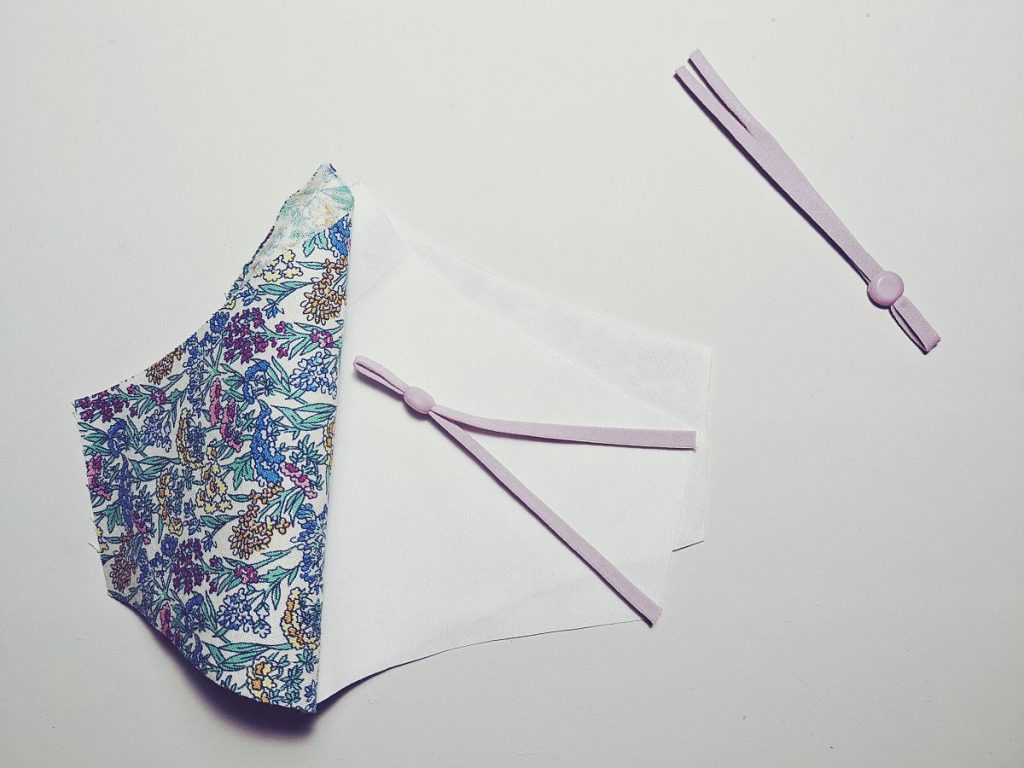
Step 4: Fold back your main fabric and place your elastic inside, as shown above. The elastic ends should be flush with the edges of the fabric and about 1/8″ in from the top and bottom edge (mine isn’t quite aligned in the photo above, I usually adjust it as I pin). If you are using hair elastics, you will place them with the loop inside the mask and one side of the elastic at each edge. Hair elastics are a bit more tricky to sew in, but if you go slow and carefully they work just fine!
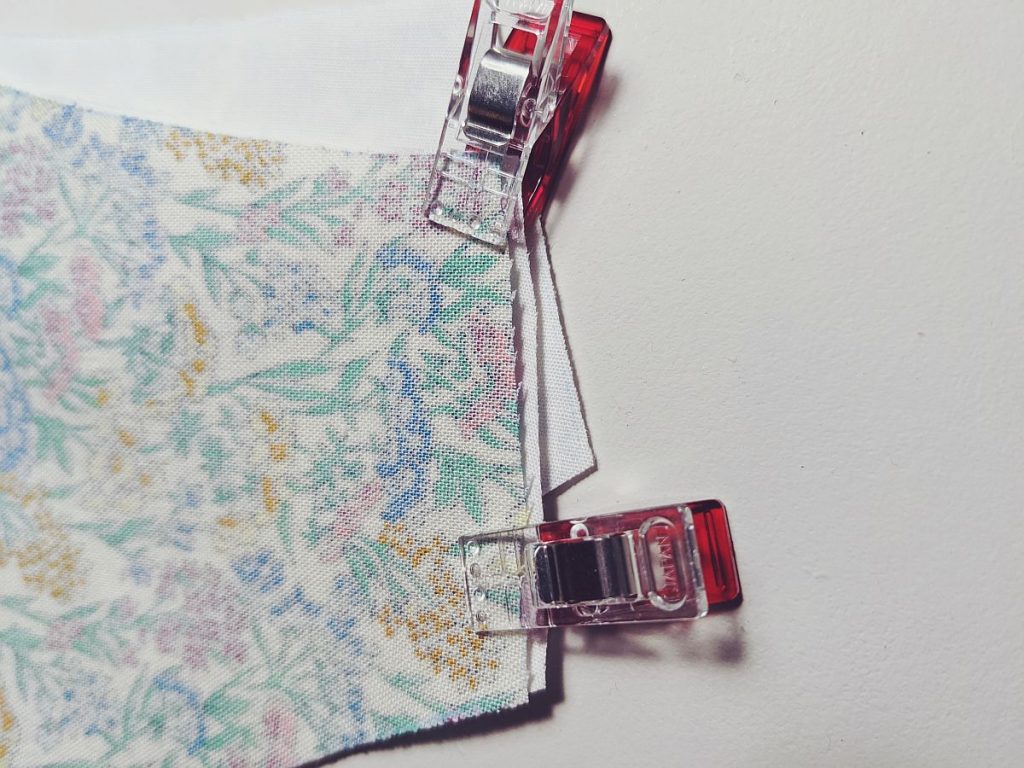
Step 5: Hold elastic in place using either pins or sewing clips.
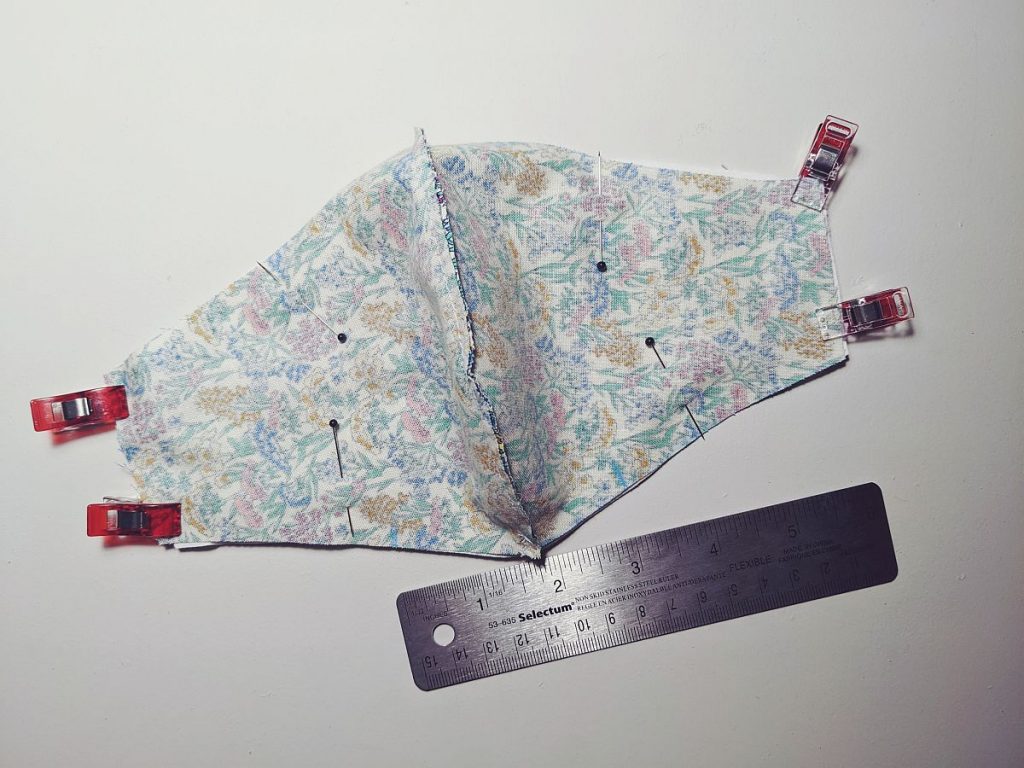
Step 6: At the bottom of your mask, make a mark using chalk about 1″ to 1.5″ on either side of your seam. This part you will leave open for turning your mask to the right side, once your next seam is complete.
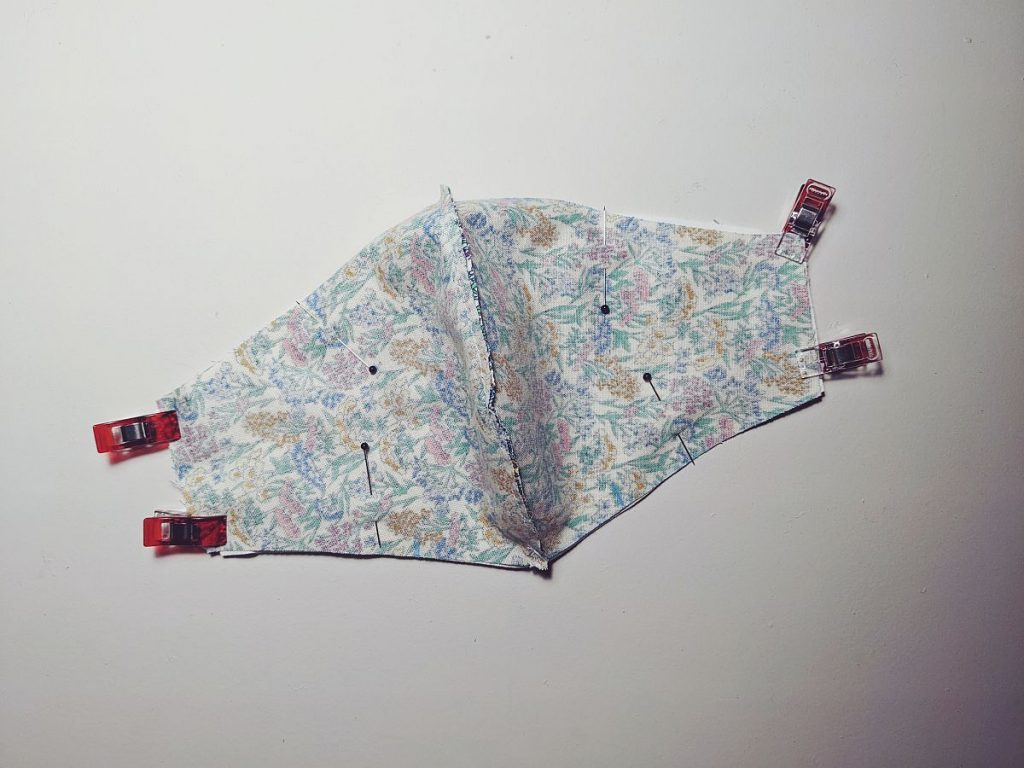
Step 7: Make sure you’ve got your elastic sandwiched in between your two layers of fabric – the main fabric and the lining and that you have your right sides together (how many times have I mistakenly managed to have one the wrong way around!).
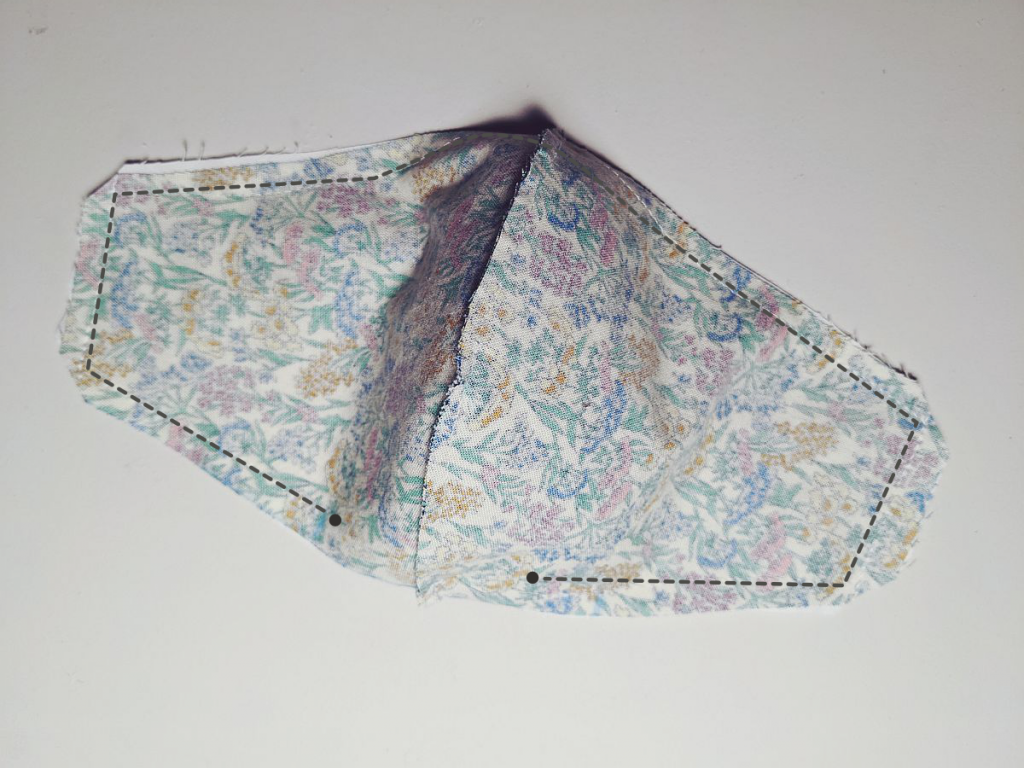
Step 8: Starting at the bottom edge, sew all around the mask with 1/4 inch seam allowance, remembering to leave a gap at the bottom edge for turning.
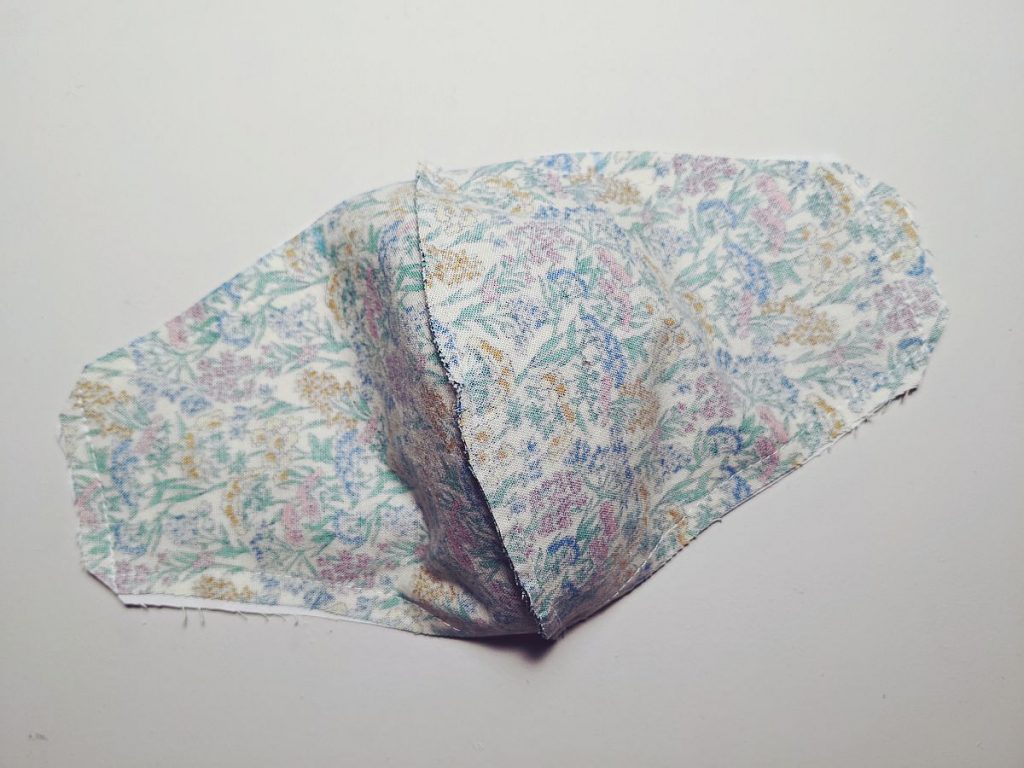
Step 9: Once your seam is sewn, trim edge to 1/8 inch and trim corners on the diagonal, as shown above, close to the stitching line, being very careful not to snip through seam.
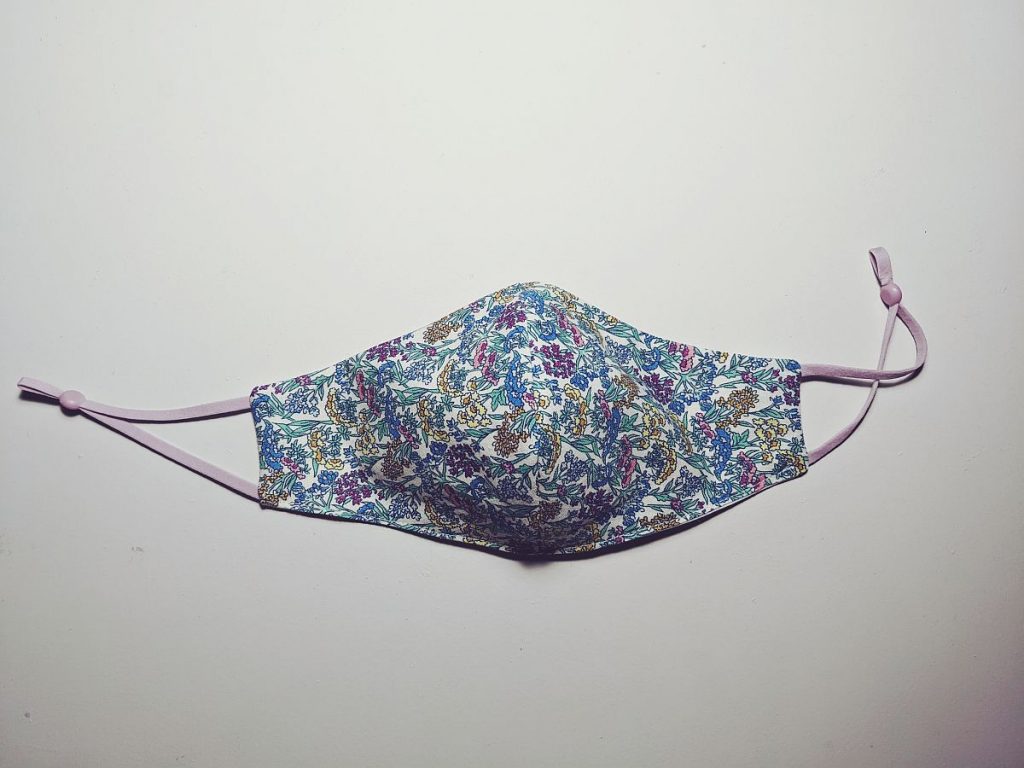
Step 10: Now you’re ready to turn your mask to the right side – almost done! Once your mask is turned, use something pointy (large knitting needles or chopsticks work nicely) to poke out your corners from the inside. Press seams.
Step 11: Ensure that the part along your seam that you left open for turning is pressed to the inside. Now seam at 1/8 inch along the bottom edge to close the opening. I sew all along the bottom, but you can just sew the gap closed if you’d like. This edge stitching also helps you remember that that is the bottom of the mask!
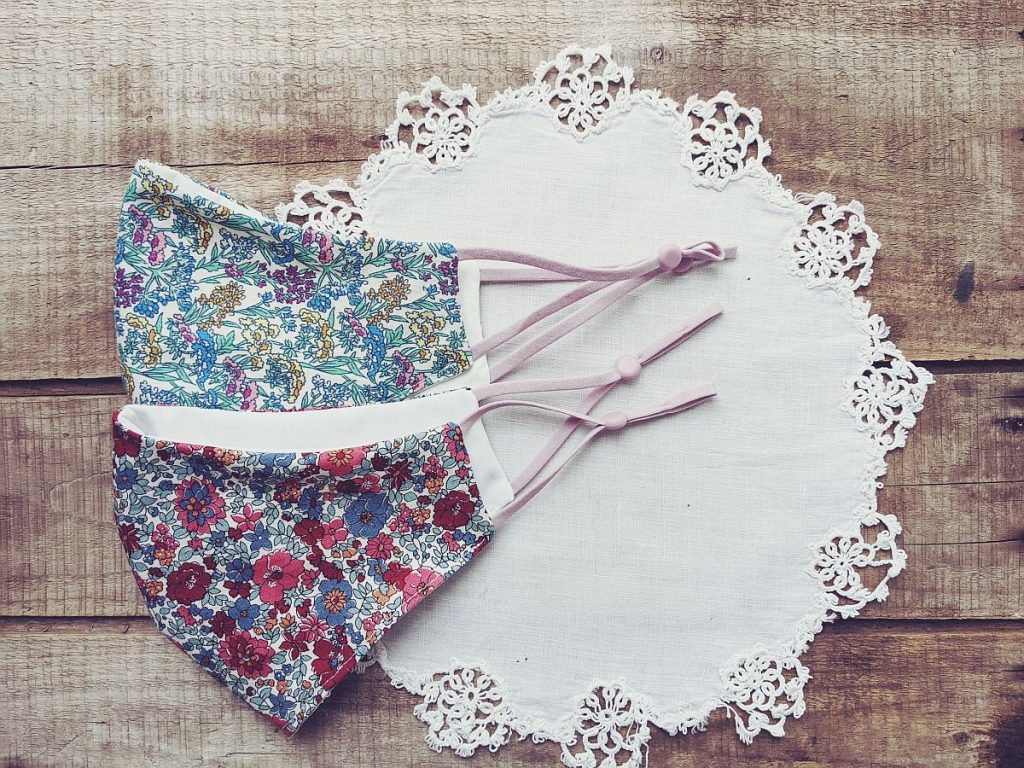
Free Printable face mask pattern
Four sizes available from child to Adult
I hope you’ve found this tutorial useful. If you have any questions, please feel free to send me a message!
