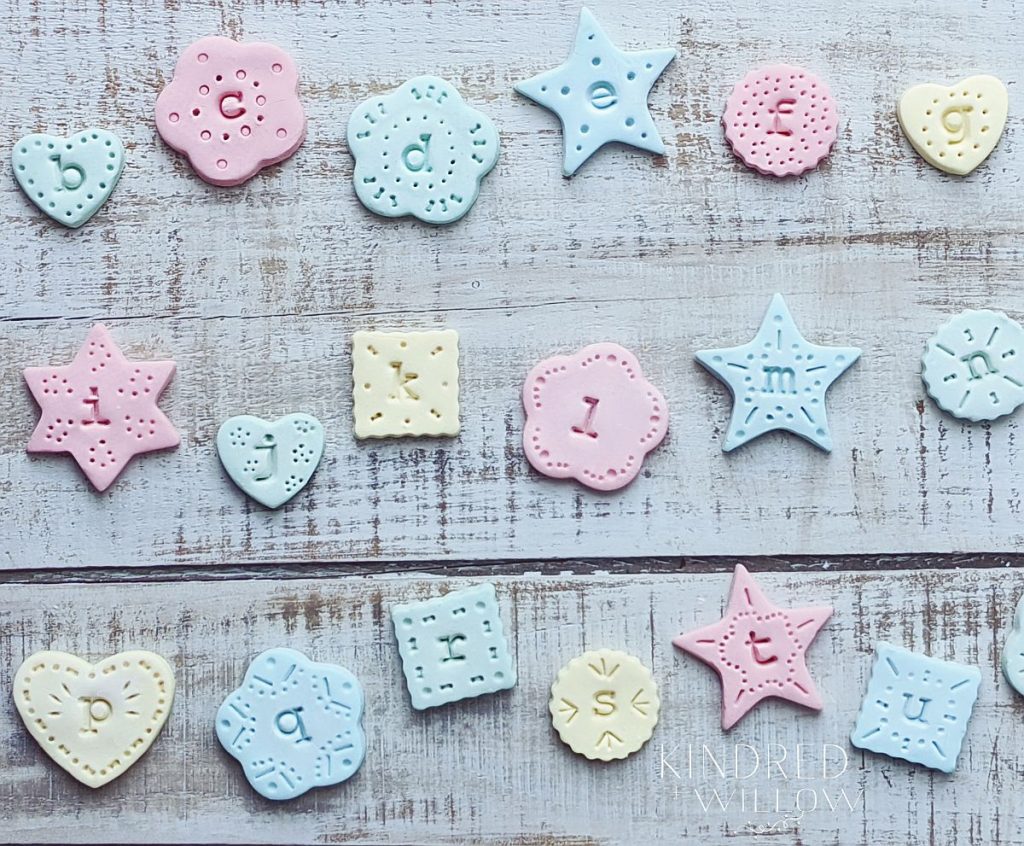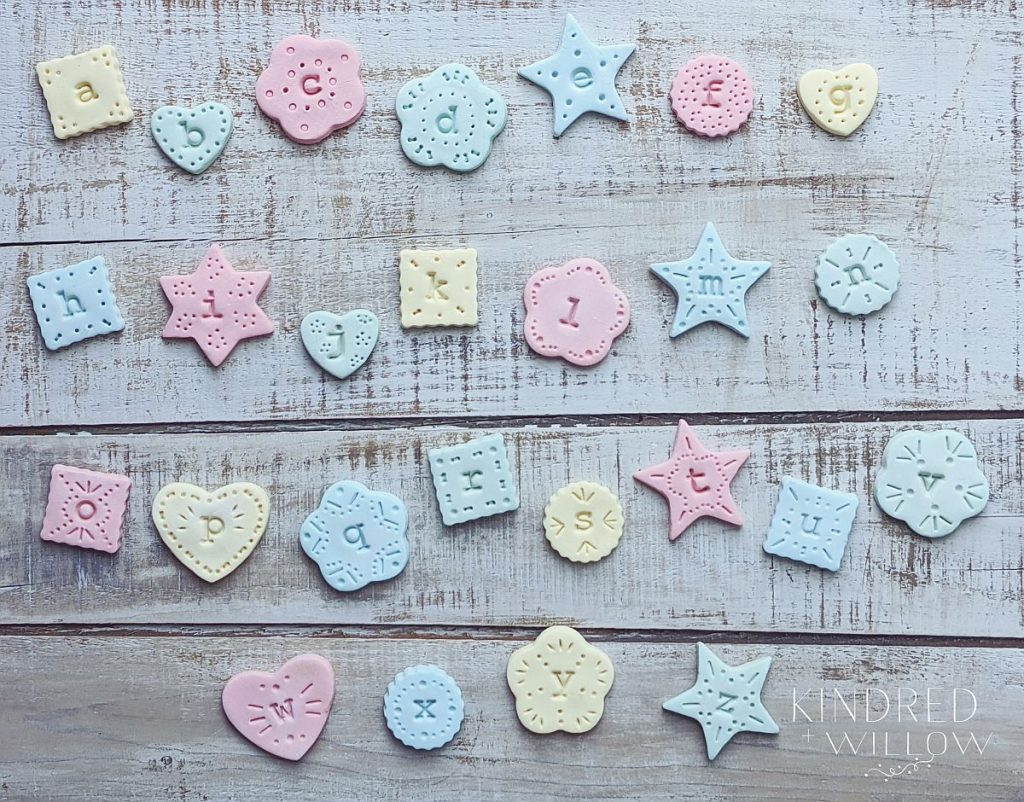
These little letter tiles are so much fun to make! They have so many great uses in teaching your little ones their alphabet, about vowels and consonants, and eventually to practice their spelling. It’s great to involve them in the making of the tiles too. Since they are made from simple homemade dough, they are completely safe for kids. I did the ones in this post myself since my littlest guy was mostly into trying to eat the dough, but if they’re a little older your children will quite enjoy the process of stamping and decorating the little tiles and they’ll be happy to see their creations in use later when it comes time to play with them.
These also make sweet little ornaments for the holidays – my daughter and I once made her entire Kindergarten class ornaments with each child’s initial stamped on each. It was a bit of an undertaking but we had lots of fun in the process! Don’t forget to make a little hole in the top of each before baking to thread a string or ribbon through for hanging ♥
Better than salt dough
So, even though I did say these were salt dough in the title, I actually used the recipe that is all over the internet (or at least Pinterest) for ‘Better Than Salt Dough’ which I actually now prefer when making ornaments or anything really that calls for salt dough. The ‘Better Than Salt Dough’ is actually a combination of cornstarch, baking soda and water and is cooked on the stove rather than just mixed in a bowl as regular salt dough is. I love the soft, silky dough that the ‘Better Than Salt Dough’ recipe makes and I would love to thank whoever invented this concoction!
better than salt dough recipe
This recipe makes enough dough to make 26 letters using cookie cutters 2 inches in size or less. If you’re aiming to make doubles of the most common letters, make sure to double the recipe!
ingredients
- 1 cup baking soda
- 1/2 cup cornstarch
- 3/4 cup water
method
- In a medium saucepan, combine all ingredients. Place over medium heat, stirring constantly. The mixture will begin to thicken as it heats.
- When it is thick and is about the consistency of mashed potatoes, remove from heat.
- Pour into a bowl and cover it with a wet cloth until it has cooled.
- Once cool, knead dough on a surface that is lightly dusted with cornstarch. I like to use a silicone mat, but I still dust it with cornstarch to prevent sticking. The dough will become very smooth – if it’s still a bit sticky, add a bit more cornstarch and knead some more.
- Roll out dough on your cornstarch dusted mat and cut out shapes with cookie cutters.
- Stamp with letter stamps and decorate how you’d like!
- Place ornaments on a baking sheet covered with parchment paper.
- Air dry or bake at 175 F for 1 hour – flip them halfway through baking time. If you are air drying, you can place a plastic bag loosely over the ornaments to help prevent them drying too fast and cracking.
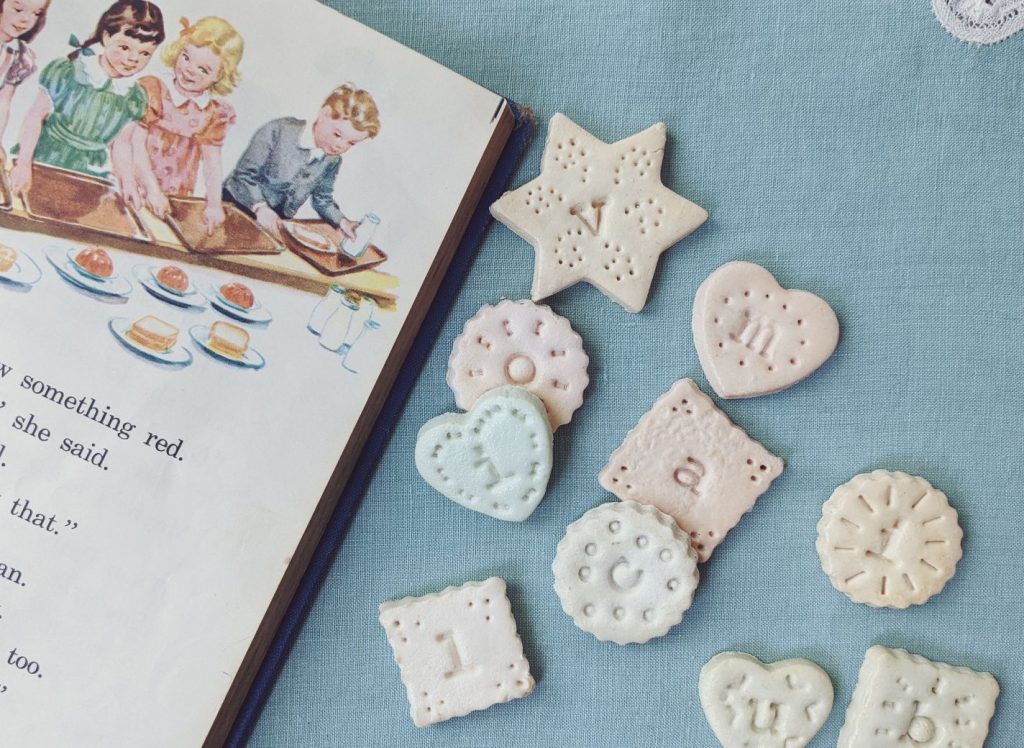
One of the great things about these little tiles is if they break or your child no longer uses them, you can just throw them in the compost or city organics bin! I absolutely love crafts that I know won’t have to end up in the landfill one day. Of course, if you want these to have more longevity and last for several children, it might be a good idea to put a coating or varnish on them to make them more durable.
DIY Stamped letter tiles tutorial
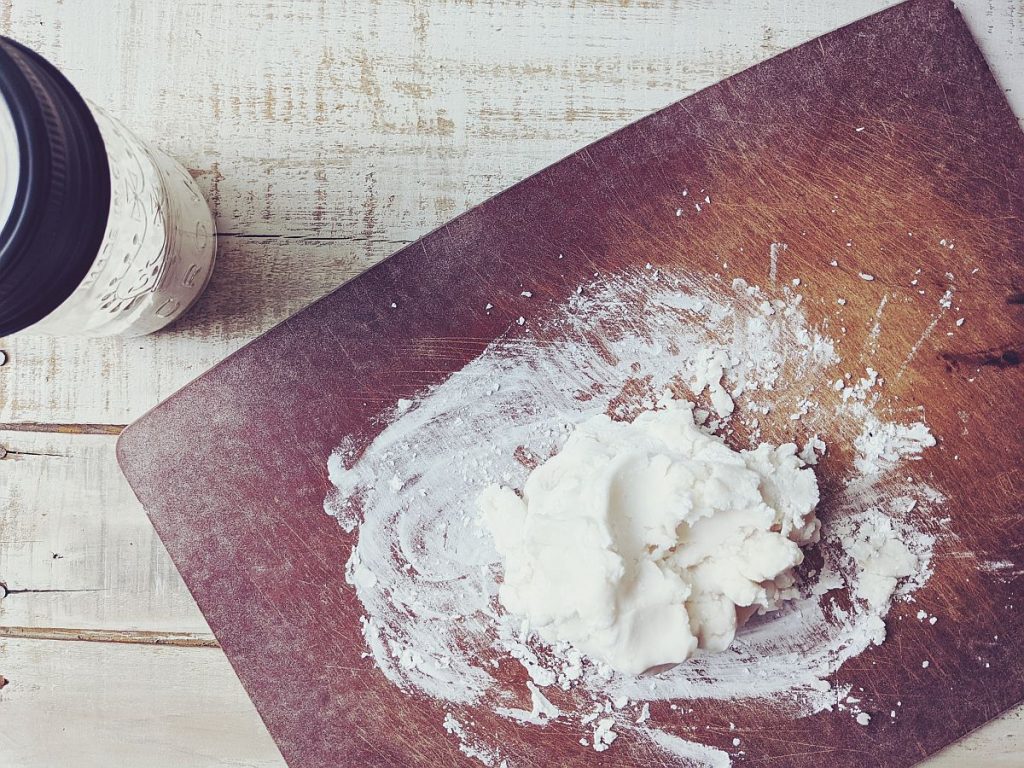
Step 1: Once you’ve got your dough all made up, as per the recipe above, plop it onto a clean surface you’ve dusted with a little cornstarch and knead it till its soft and smooth. This shouldn’t take long!
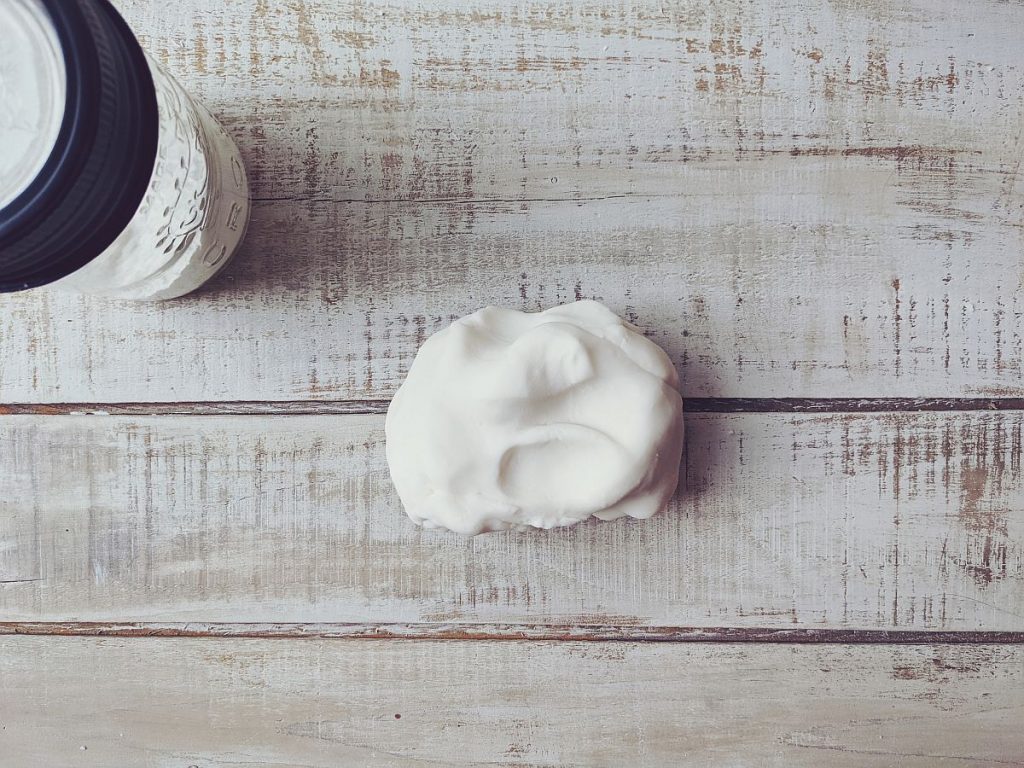
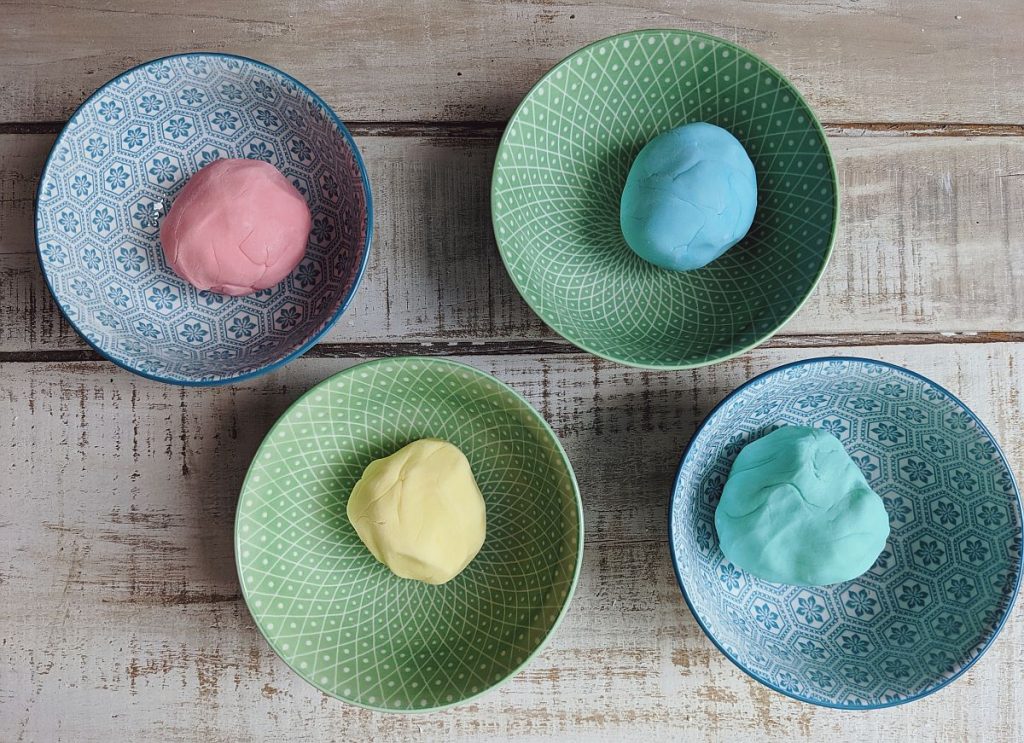
Step 2: Once your dough is nice and smooth with no more lumps, it’s time to add some colour!
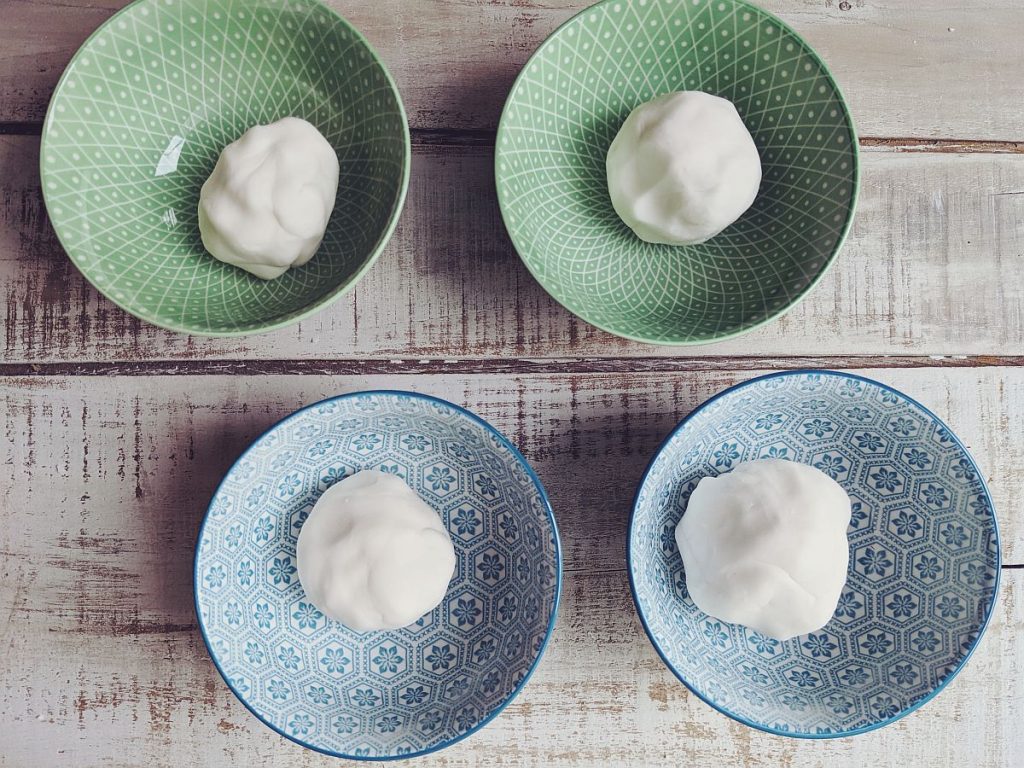
Step 3: If you’d like to make more than one colour, divide your dough into several portions.
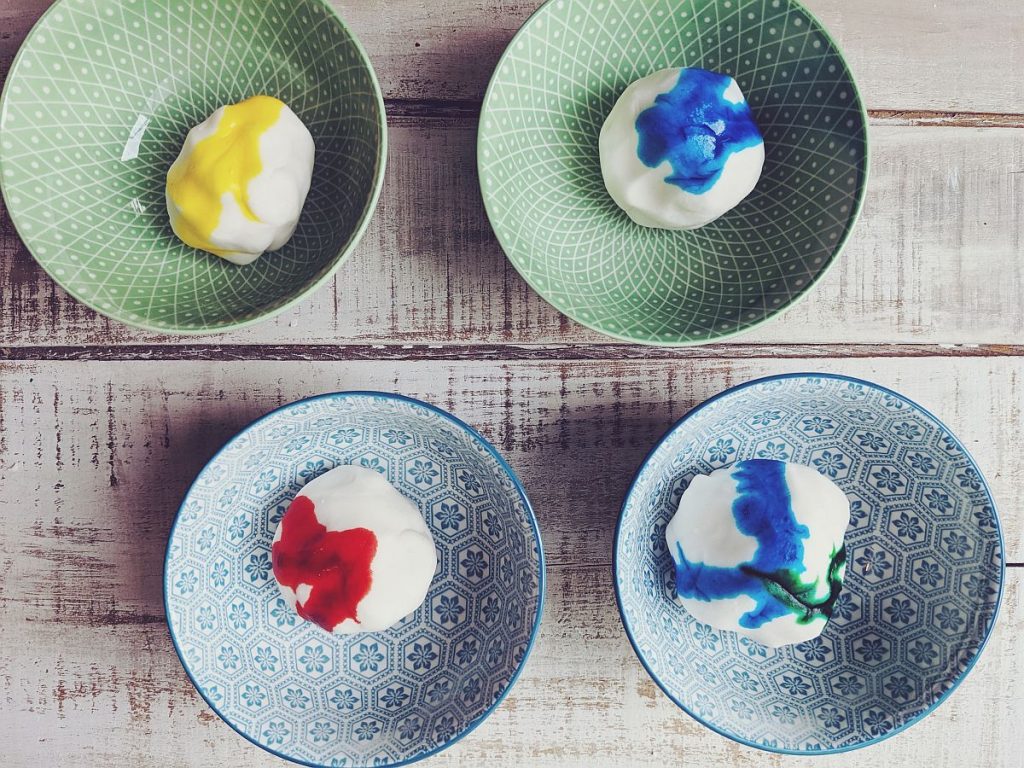
Step 4: Add your food colouring!
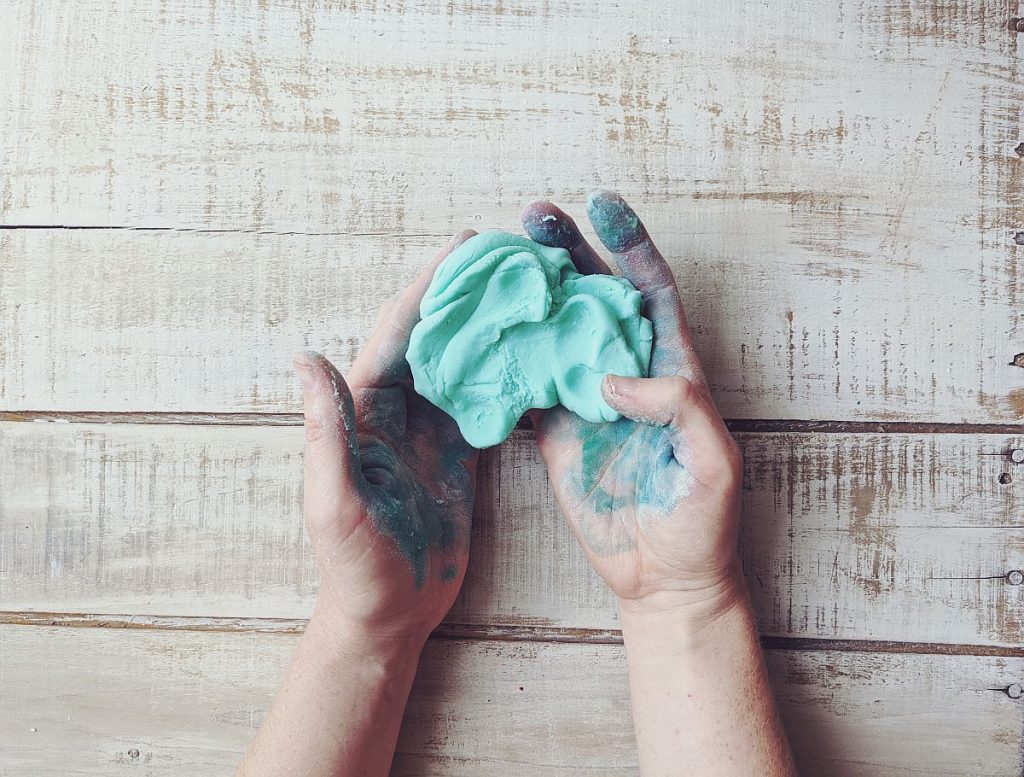
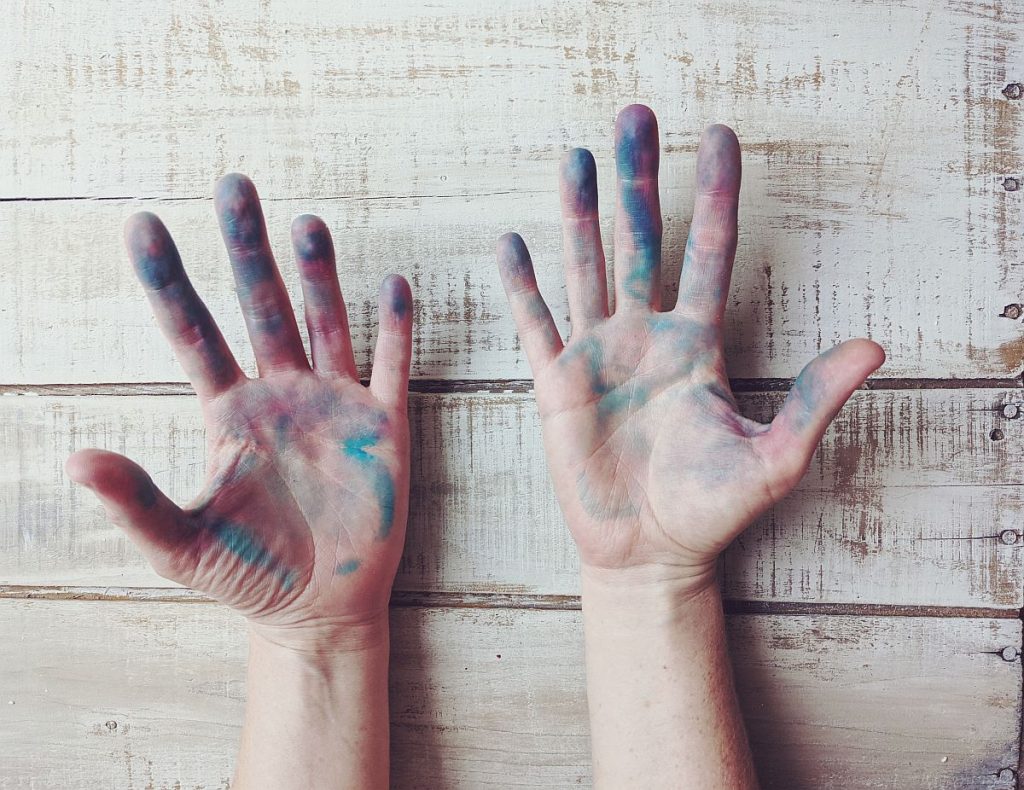
Step 5: Mix, mix, mix! It takes a little while to mix in all the colouring… Don’t forget to wash your hands well between colours!
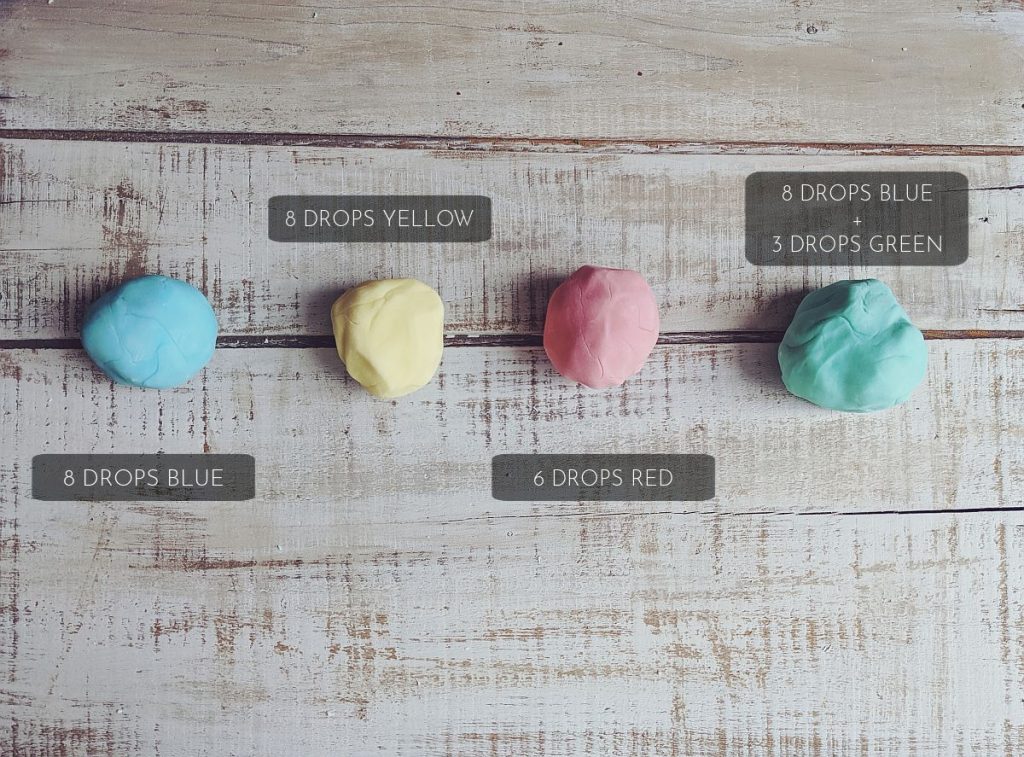
The photo above shows the ‘recipes’ for the colours that I made. I found that if you want to end up with somewhat vibrant colours after baking, then add more food colouring than you think you need. Also, I found that the gel dyes (the kind that come in the little pots) make for much less vibrant colours in the end. I used the liquid type of colouring for this batch and they turned out much brighter.
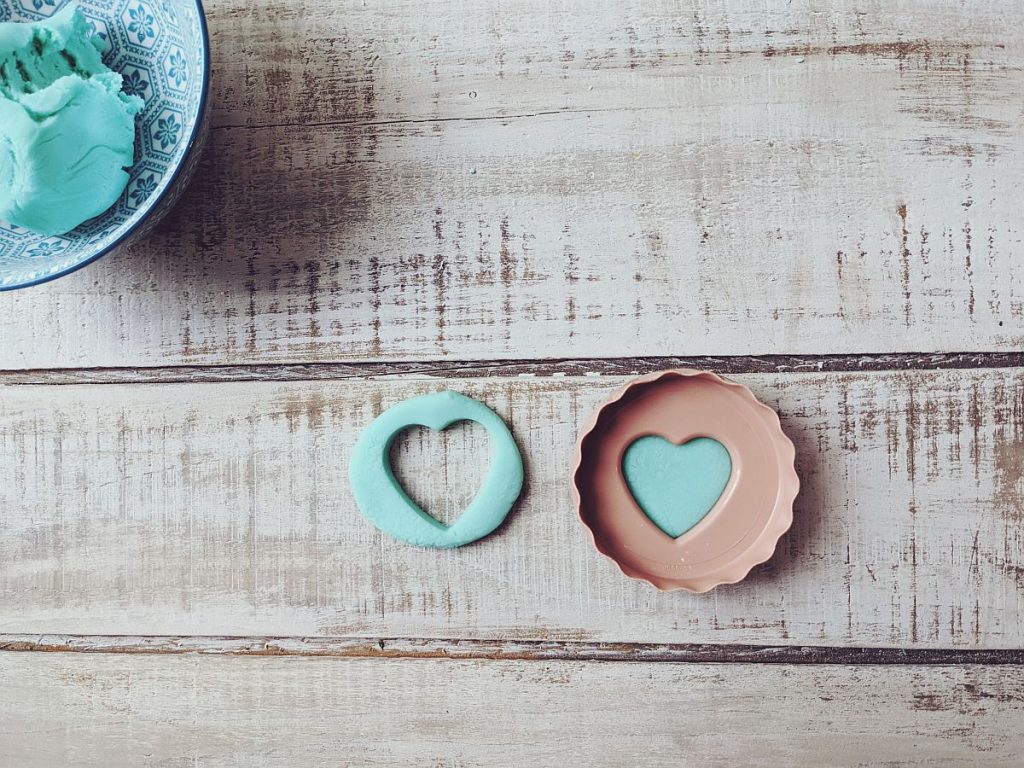
Step 6: Using some small cookie cutters, cut out a bunch of different shapes. The cookie cutters used in this tutorial are all fairly small – 2 inches or less.
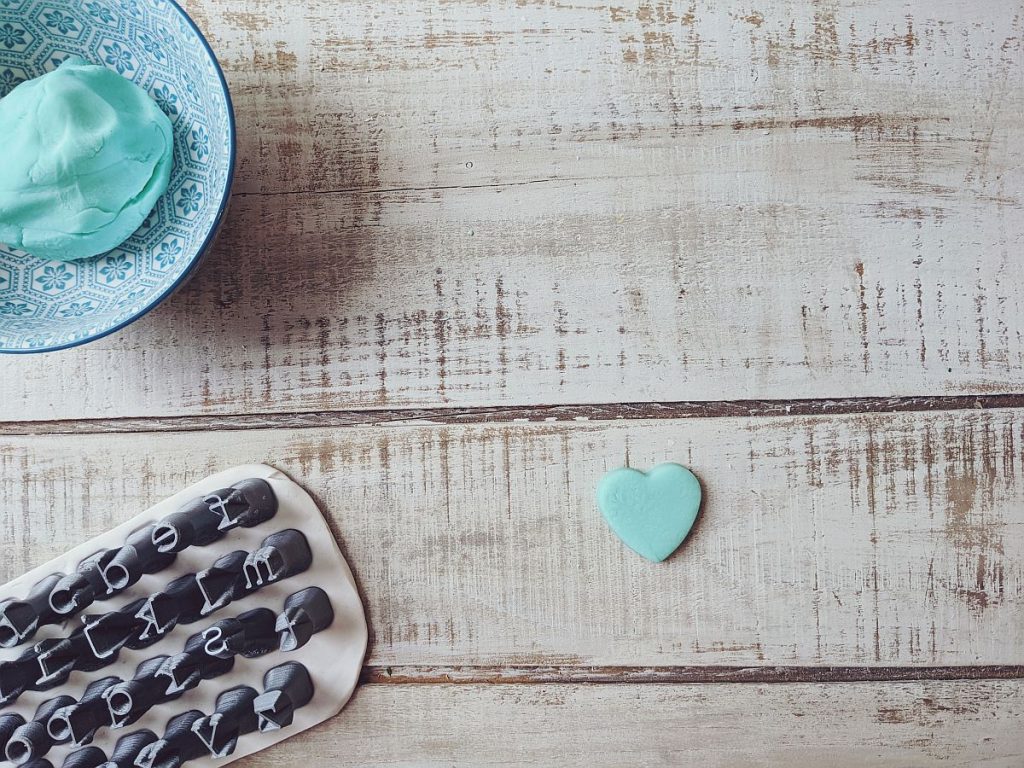
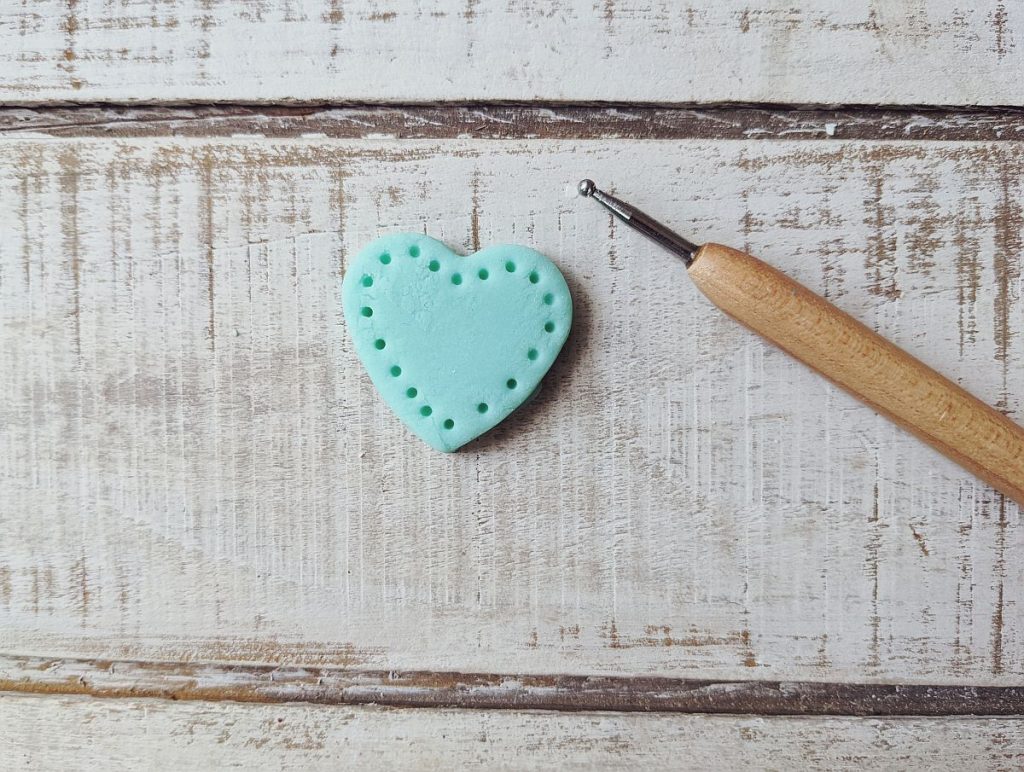
Step 7: Using clay tools, or whatever you find around your house that will make a nice imprint, decorate your shapes!
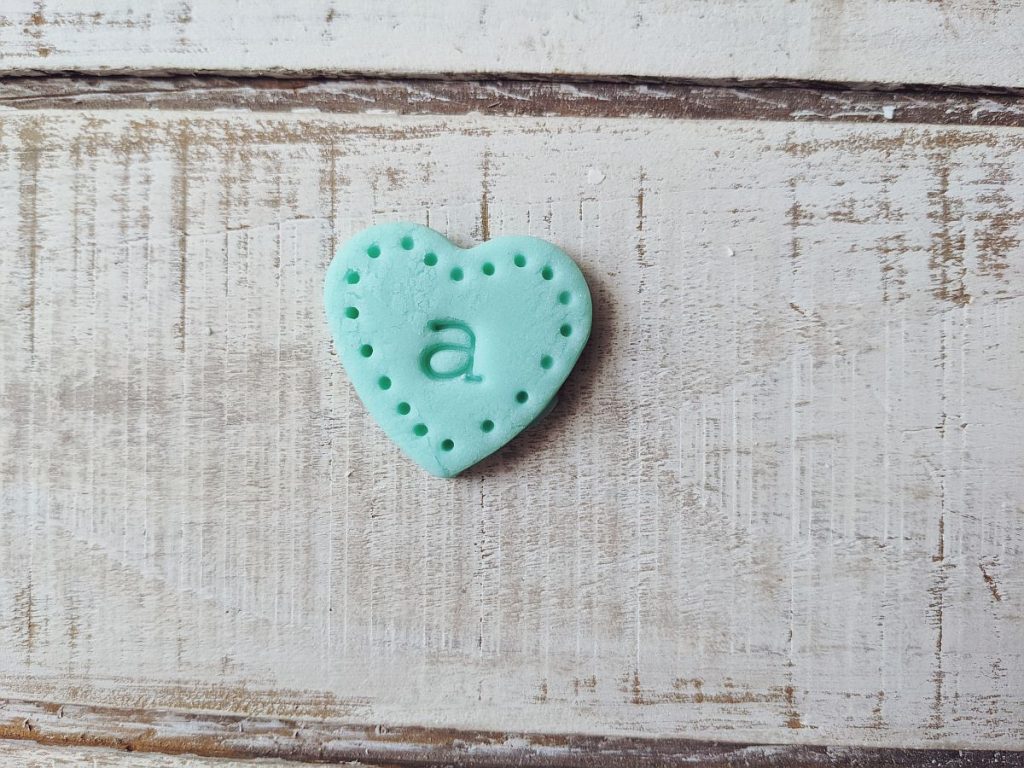
Step 8: Stamp each shape with a letter using clay letter stamps. If you plan to use your tiles for spelling, don’t forget to make multiples of the most common letters.
Some of the most commonly used letters in English are:
E, T, A, I, O, N, S, H, R
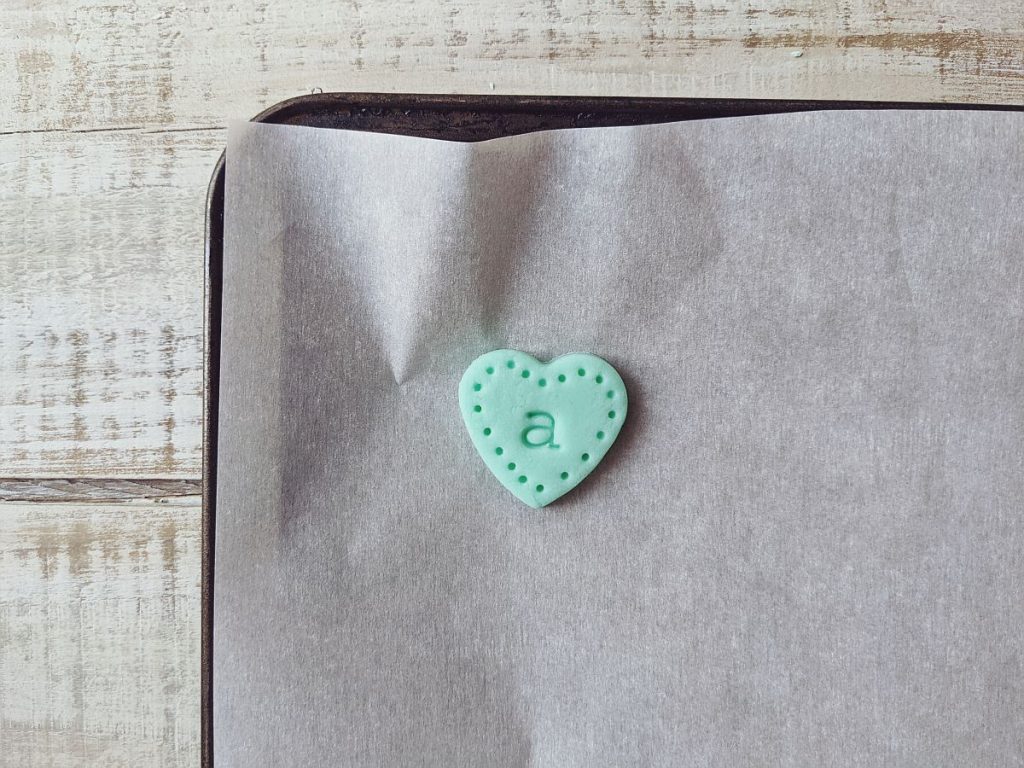
Step 9: Once you’re happy with your tiles, place them on a parchment-covered baking pan. You can either air-dry them or place in an oven preheated to 175F and bake for 1 hour. Be sure to check on them to make sure they aren’t getting brown. You can flip them halfway through baking time to make sure they dry evenly.
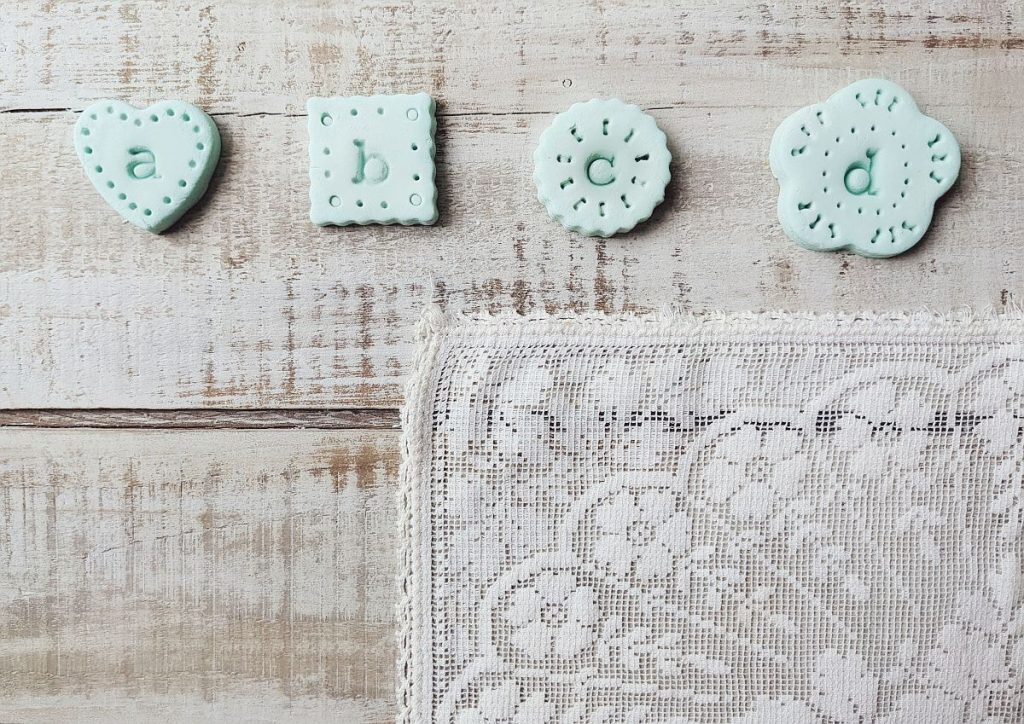
I hope you’ve found this post helpful ♥ . I had fun making these for my toddler son, who just loves letters. He first saw these and shouted ‘cookie!’ so I did have to stop him eating them at first, hehe.
