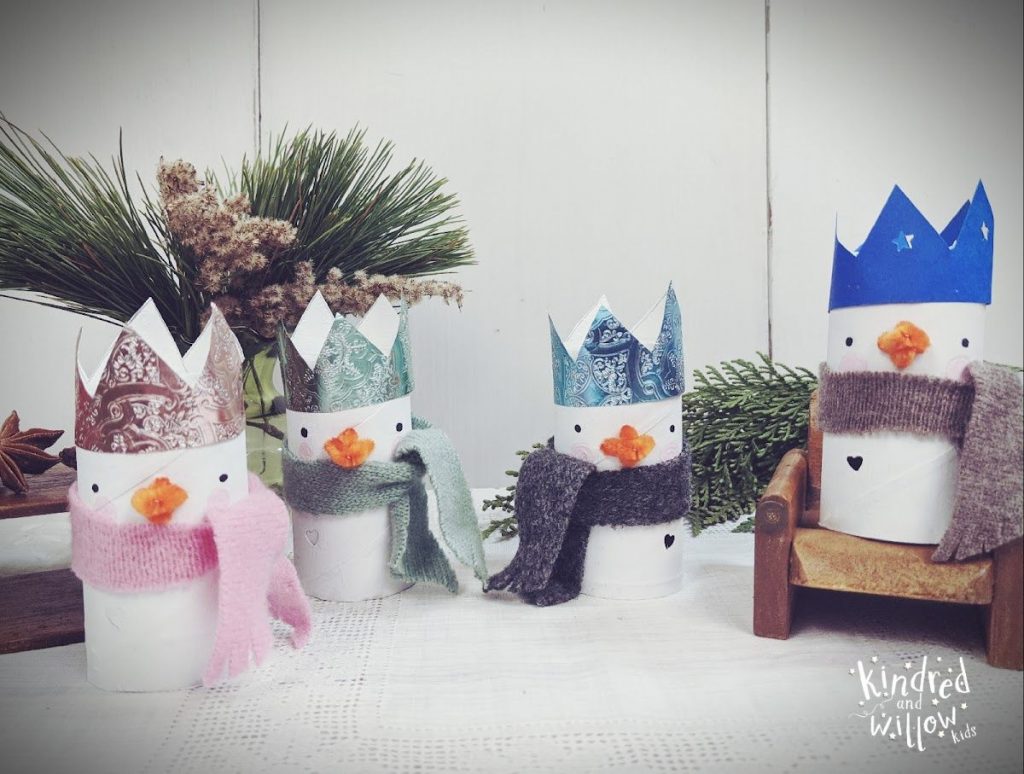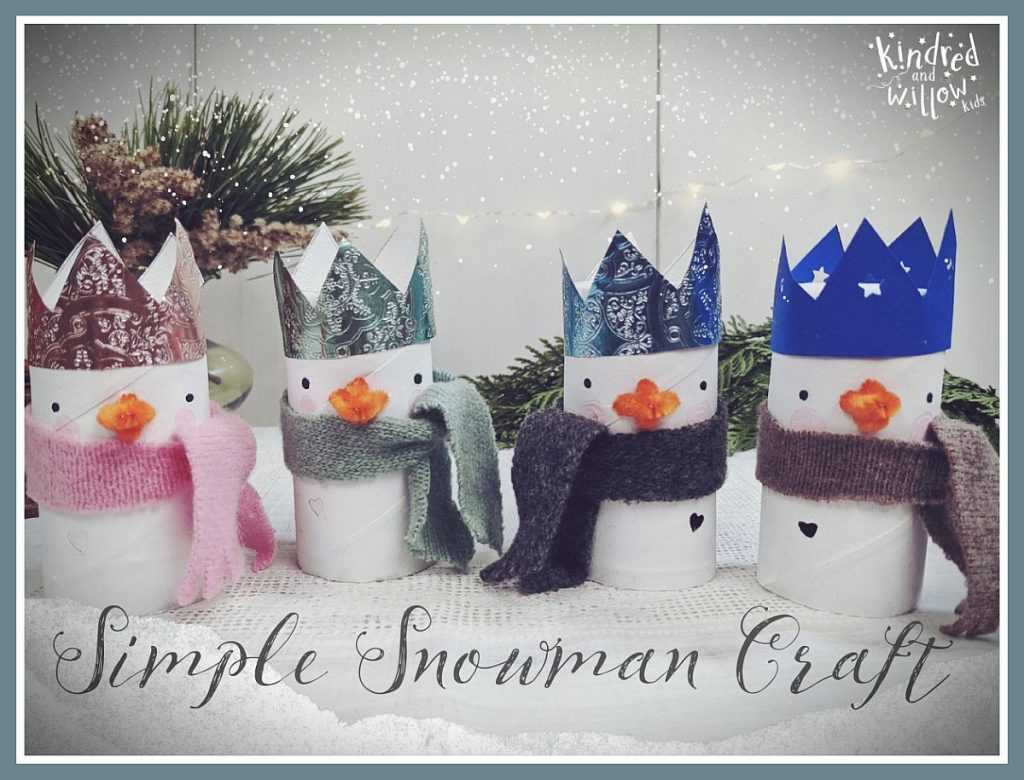
I thought it would be fun to make a little snowman to add to our decorations this year and ended up making a whole family! Here is a simple tutorial for making toilet roll snowmen – a really simple and fun holiday craft for kids, or for anyone really!
When making crafts I always like to try and use materials that would otherwise be thrown away, so for these I used toilet paper rolls, sweater scraps and little bits of saved wrapping paper and cardstock. I was thinking that for the crowns, it would also be nice to use old Christmas cards – I have a stockpile of cards from past years that are just too pretty to throw away!
Inspired by a crown-wearing little jar snowman my son made in Kindergarten and by our family’s Christmas tradition of wearing the paper crowns that come in our Christmas crackers (it’s a British thing!), I thought these wee ones would look so cute with crowns too!
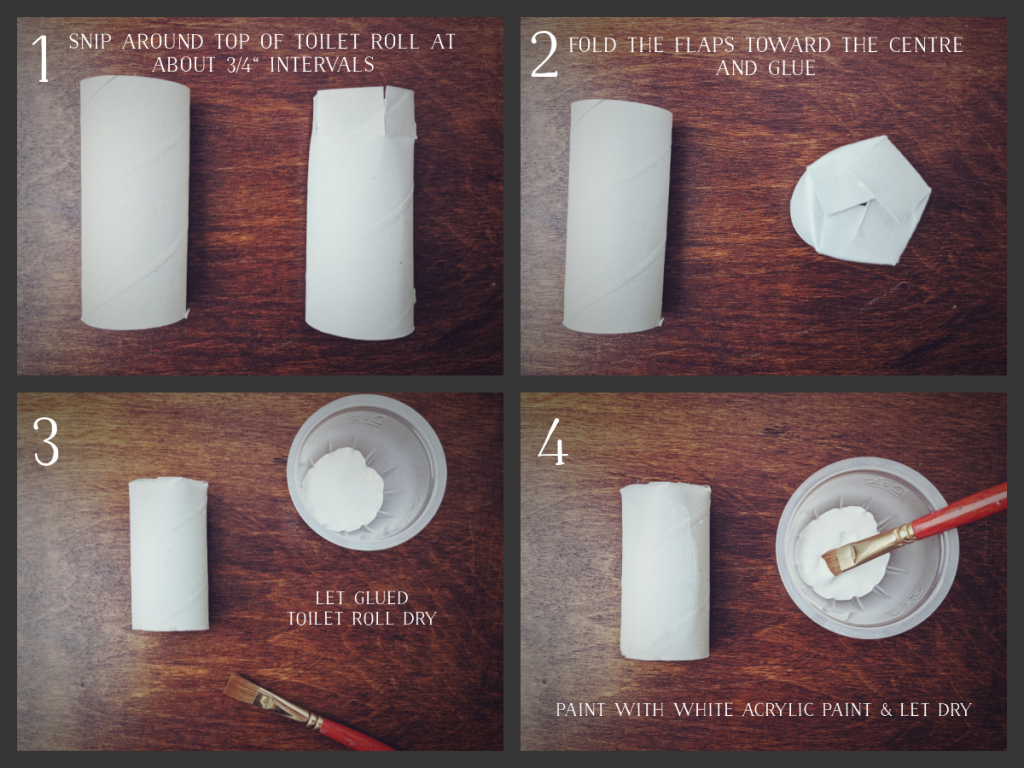
I wanted little short and stubby snowmen, so I cut notches in the top of the roll and folded down the segments and then glued them – you could just leave the rolls as they are if you’d like taller snowmen.
Please continue down this post for a detailed tutorial on how to make these wee ones!
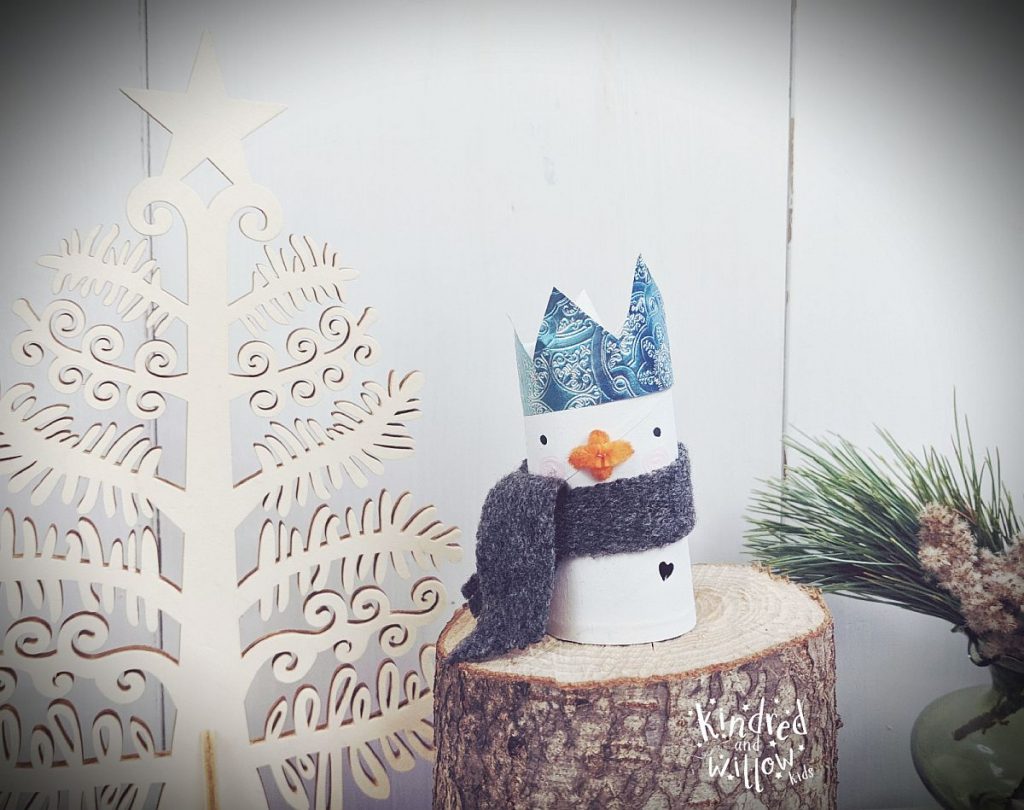
how to make toilet roll snowmen
what you will need
- Toilet rolls
- White, pink and black acrylic paint
- Paintbrushes – one larger, one small
- Orange pipe cleaners
- Colourful cardstock, or any small bits of gift wrap or even an old Christmas card!
- Scraps of old sweaters or fabric
- White glue
- Pencil + ruler
- Scissors
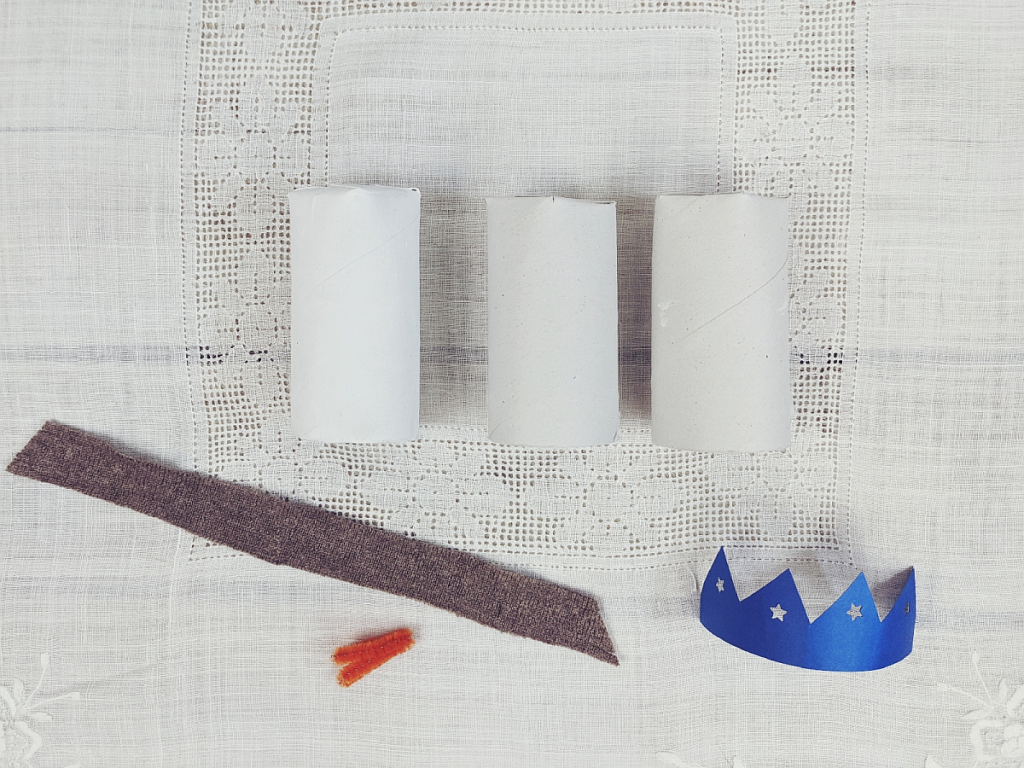
To make the scarf: using a scrap of old sweater, cut a rectangle that is 10.5 inches long by 1 inch wide. Cut the ends on a diagonal and then make tiny snips in the end to make a fringe. Set aside.
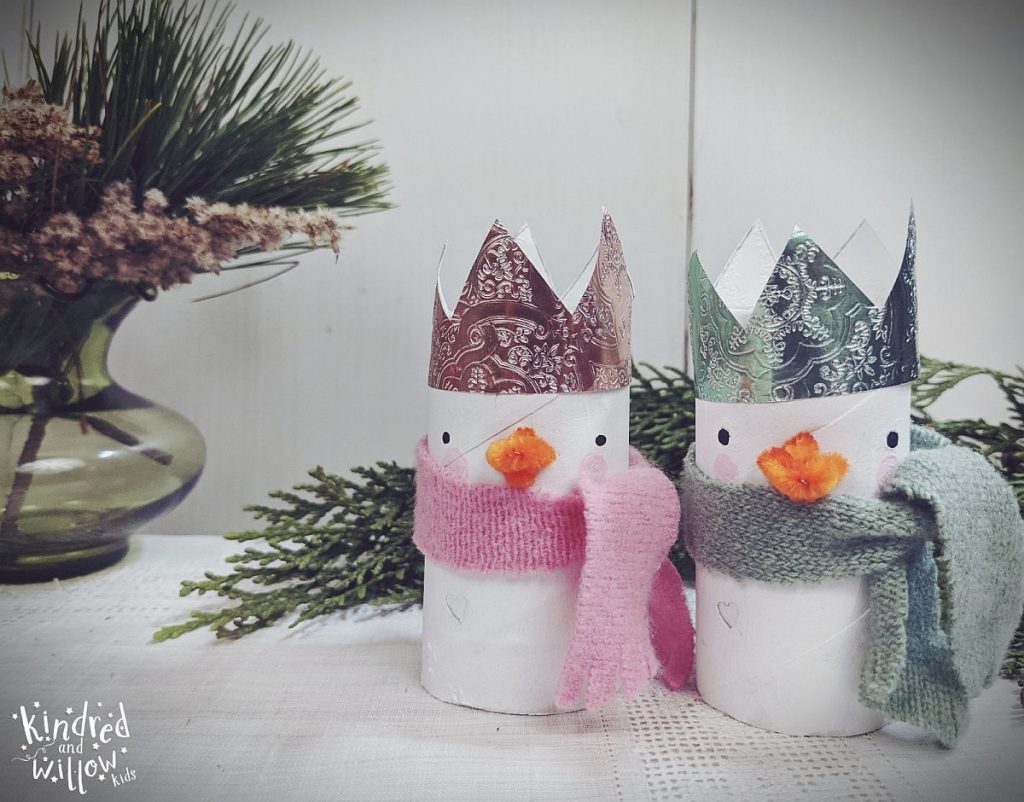
To make the crown: Cut out a rectangle of cardstock (or whatever paper you’re using) that is 6 inches long by 1.5 inches tall. Cut triangles out of the top to make the crown shape. For the blue crown above, I also used a small paper punch to decorate it with some tiny stars. Set aside.
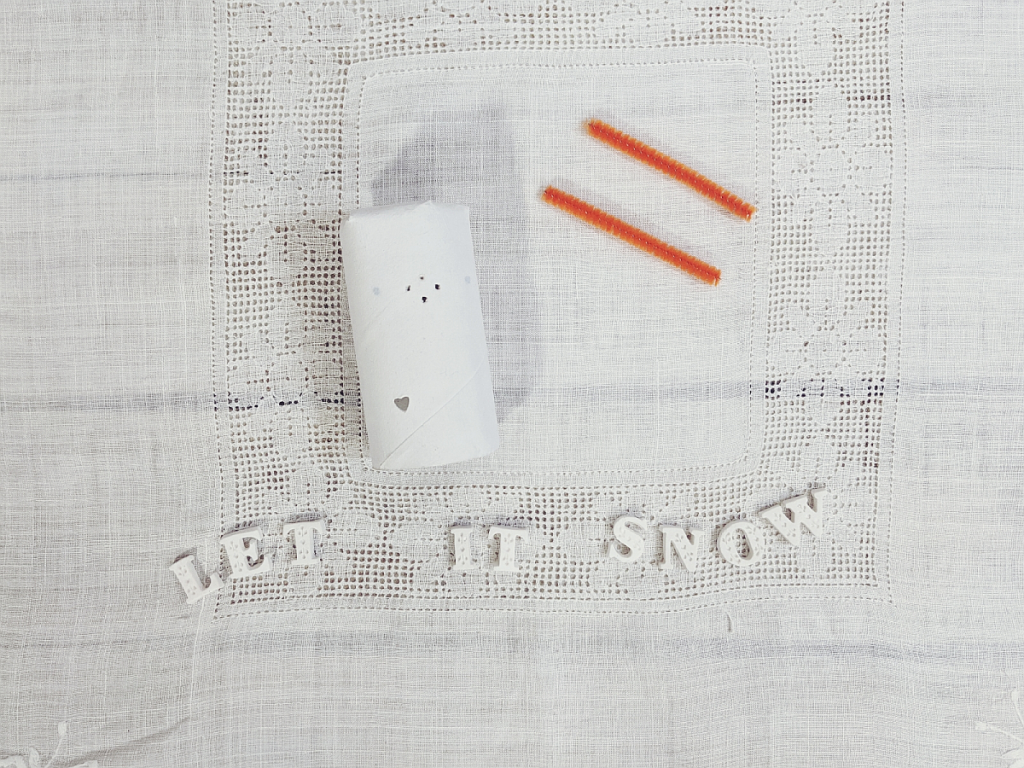
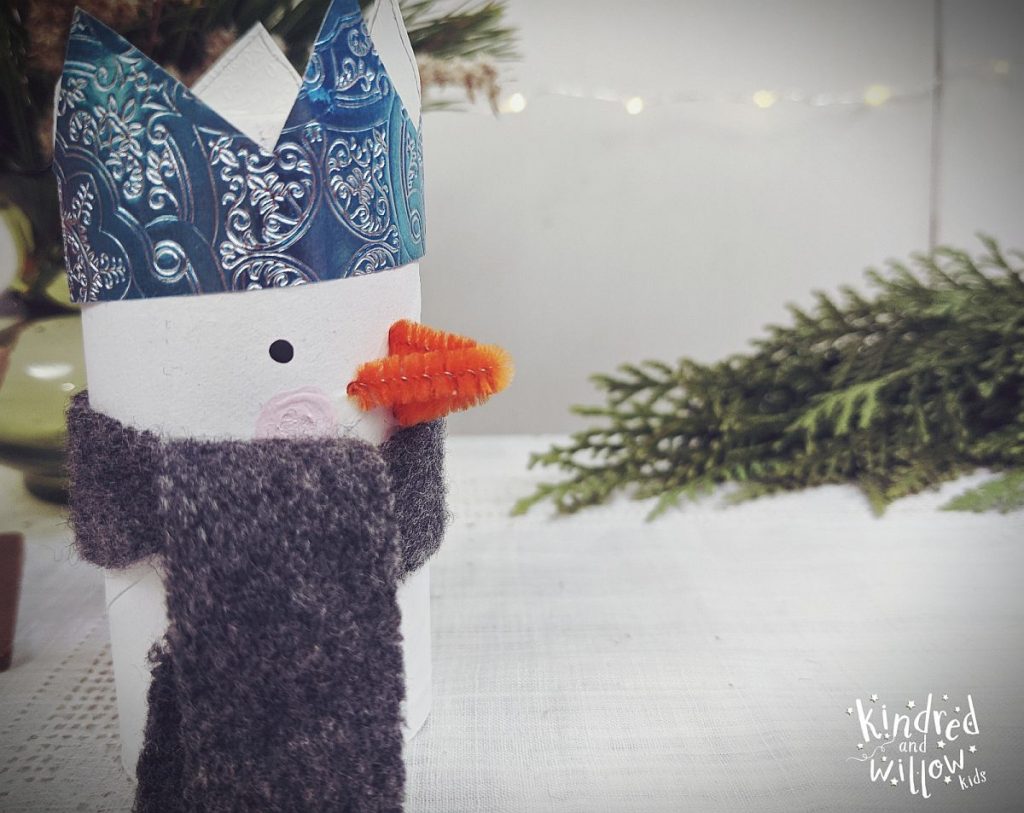
To make the carrot nose: cut 2 pieces of orange pipe cleaner that are 2.5 inches long. Fold each piece of pipe cleaner in half.
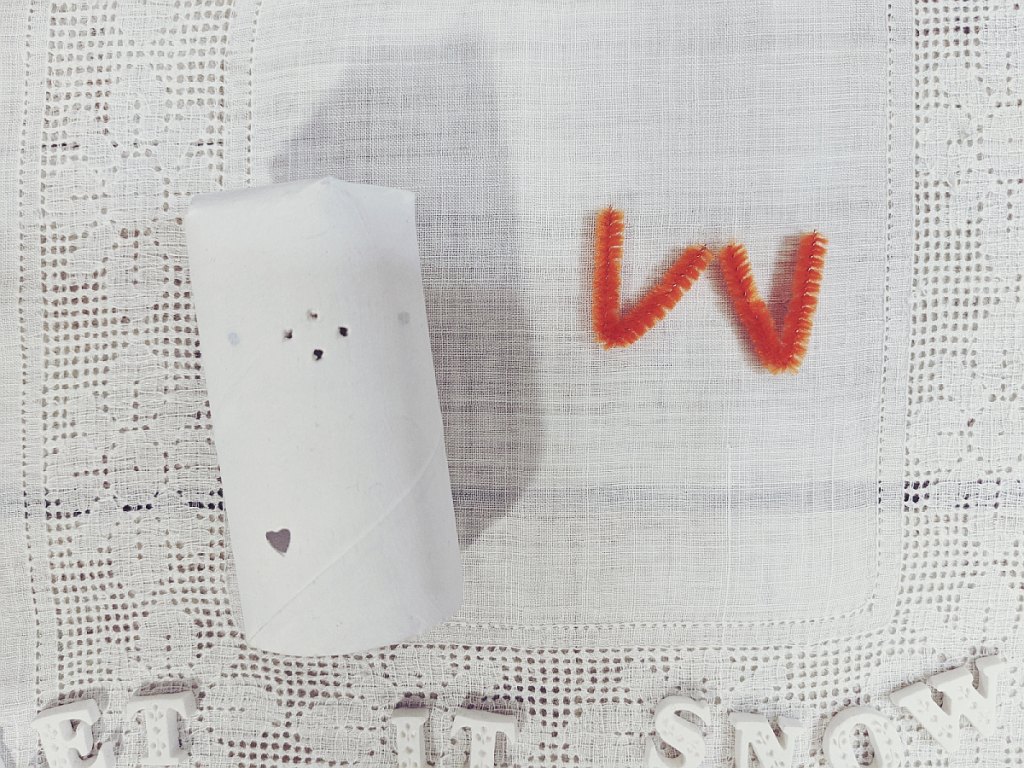
In the top third of the toilet roll, at the end that you glued, punch four small holes using a large needle or an awl.
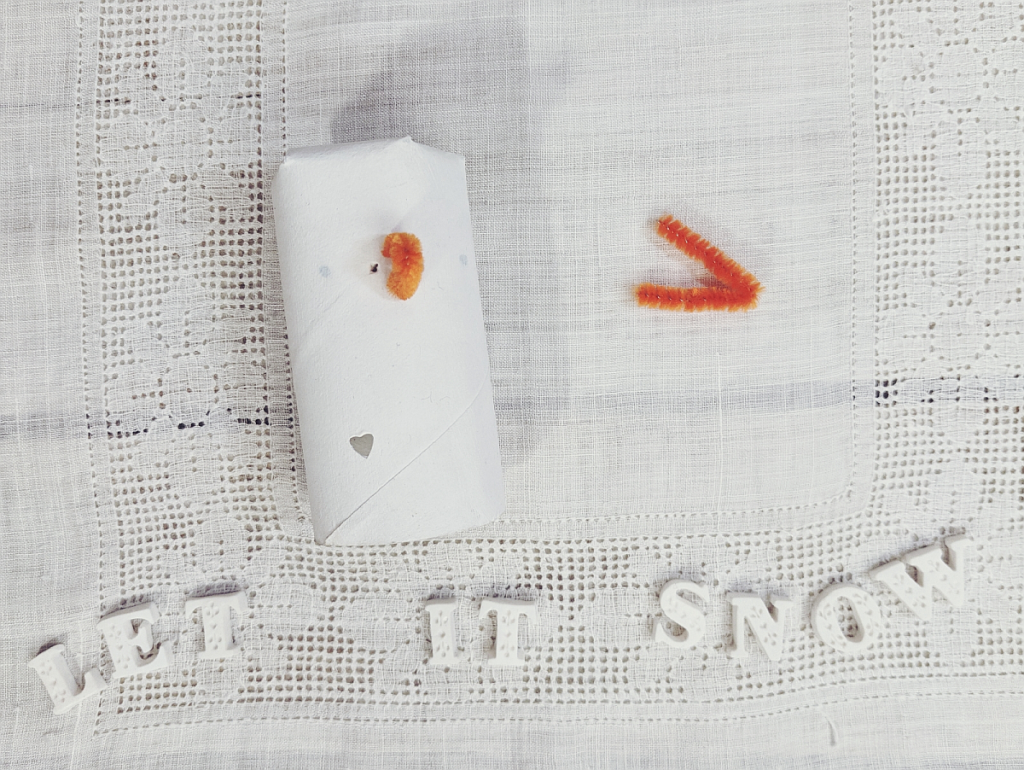
Insert the ends of one pipe cleaner into one set of holes, then do the same with the other, placing it on top of the first one. Push them in until they’re the length you want your ‘carrot’ to be. You can fold over the ends on the inside of the roll to secure them.
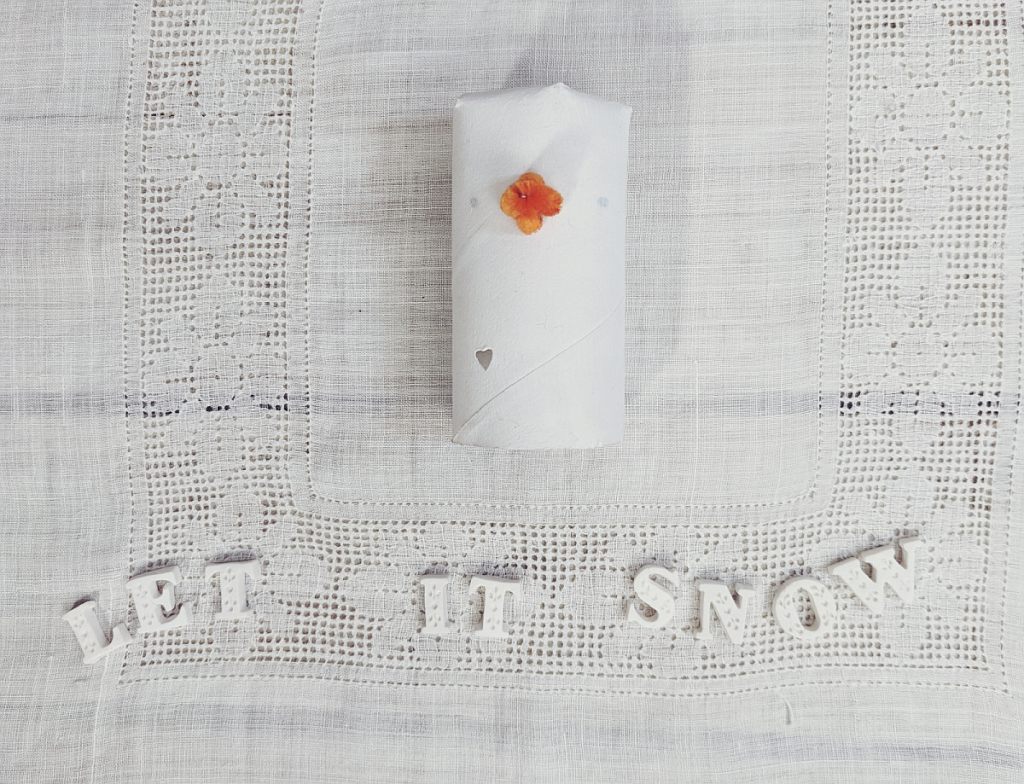
Painting the face: Now for the finishing touches! Using black acrylic paint and small brush, paint some eyes on your snowman. Then using pink paint, paint some rosy cheeks if you’d like… I don’t know why but I always seem to add rosy cheeks to things I make…even snowmen!
Adding the crown & scarf: Let the paint dry, then apply a bit of glue around the bottom edge of the crown and stick it around the top of the head.
Tie the scarf around just under the carrot nose and slide the knot to one side.
I also added a little punched heart on a couple of the snowmen… then the punch malfunctioned and it turned into more of a heart imprint for the others!
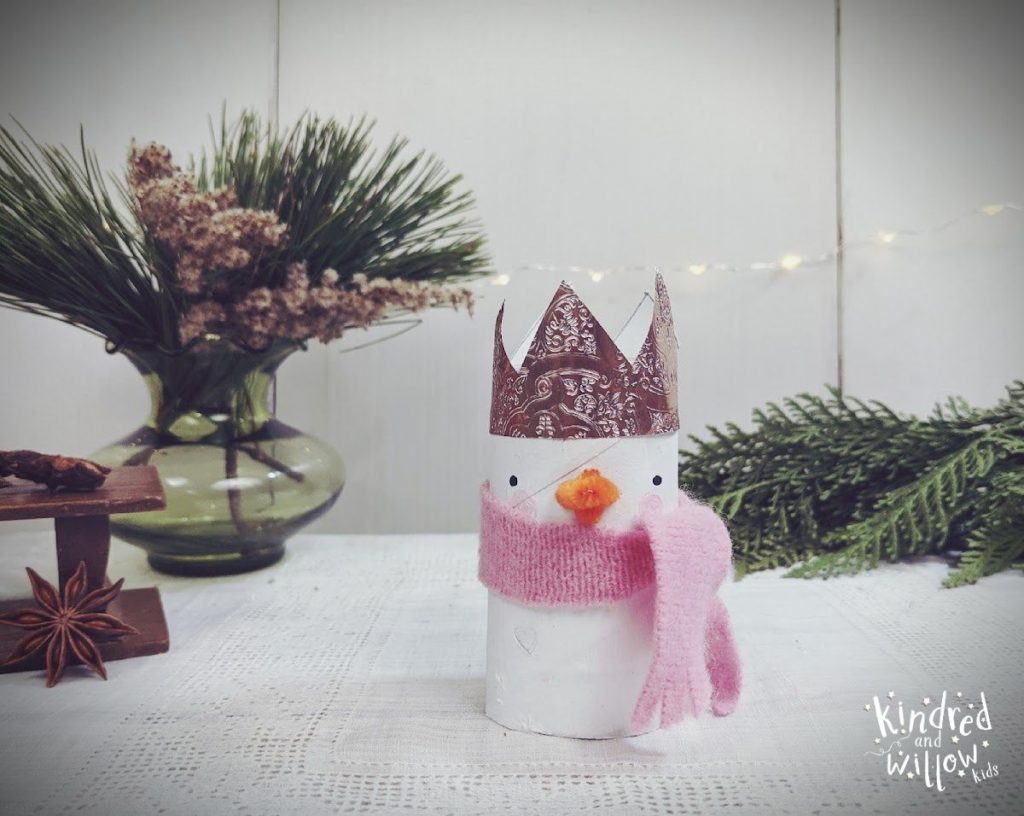
Et voilà! You have a sweet, wee little snow-being!
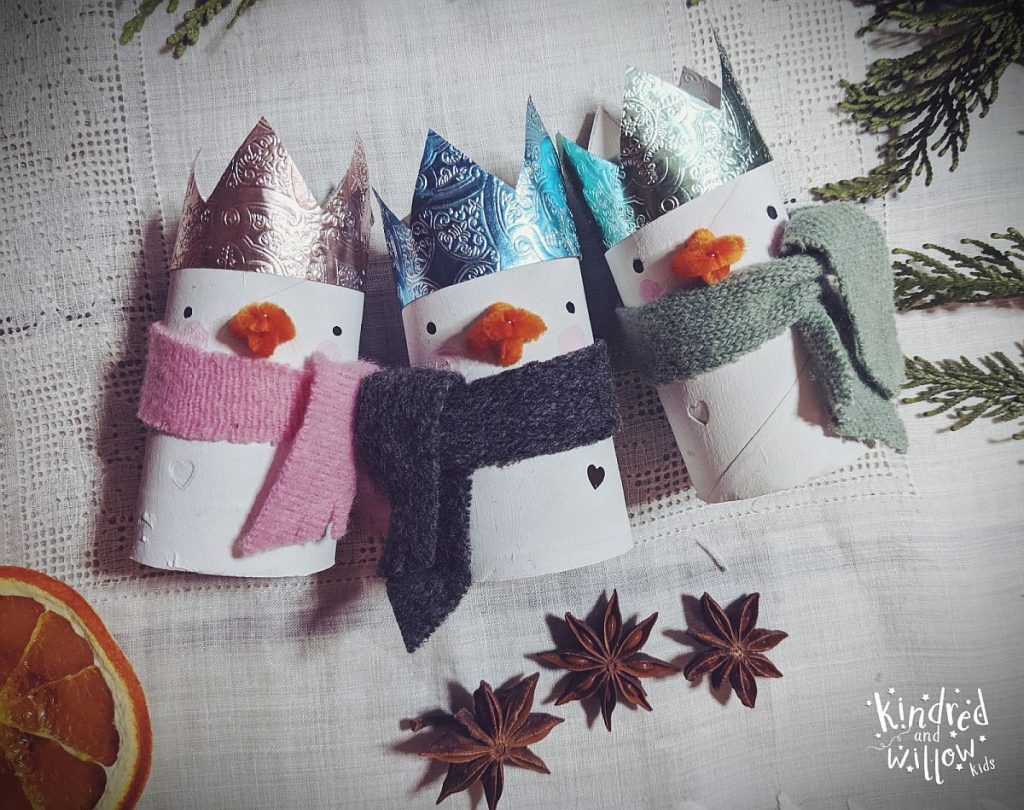
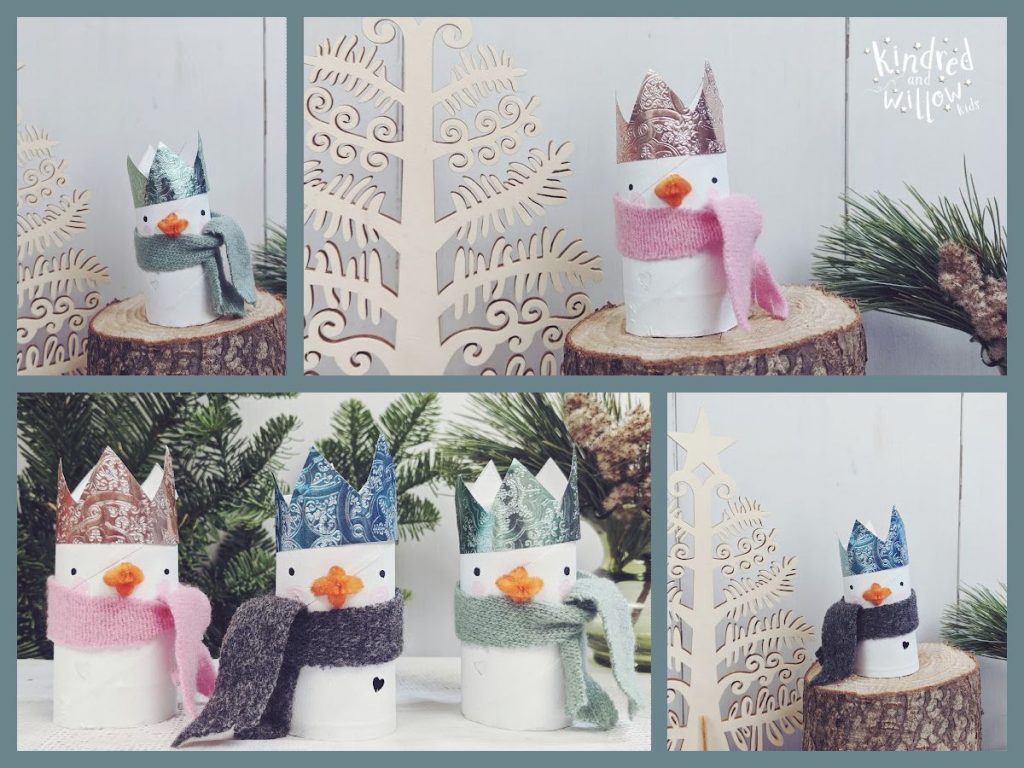
I had way too much fun creating little wintery-scenes with these guys 🙂
