The perfect Door Decor for every Season
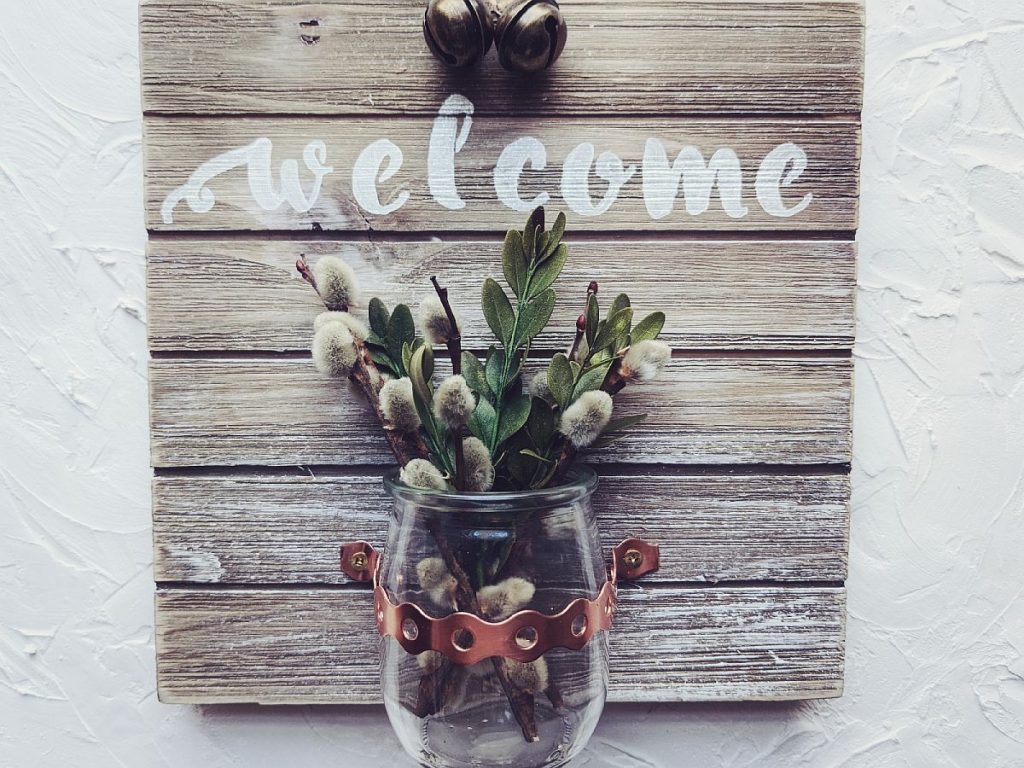
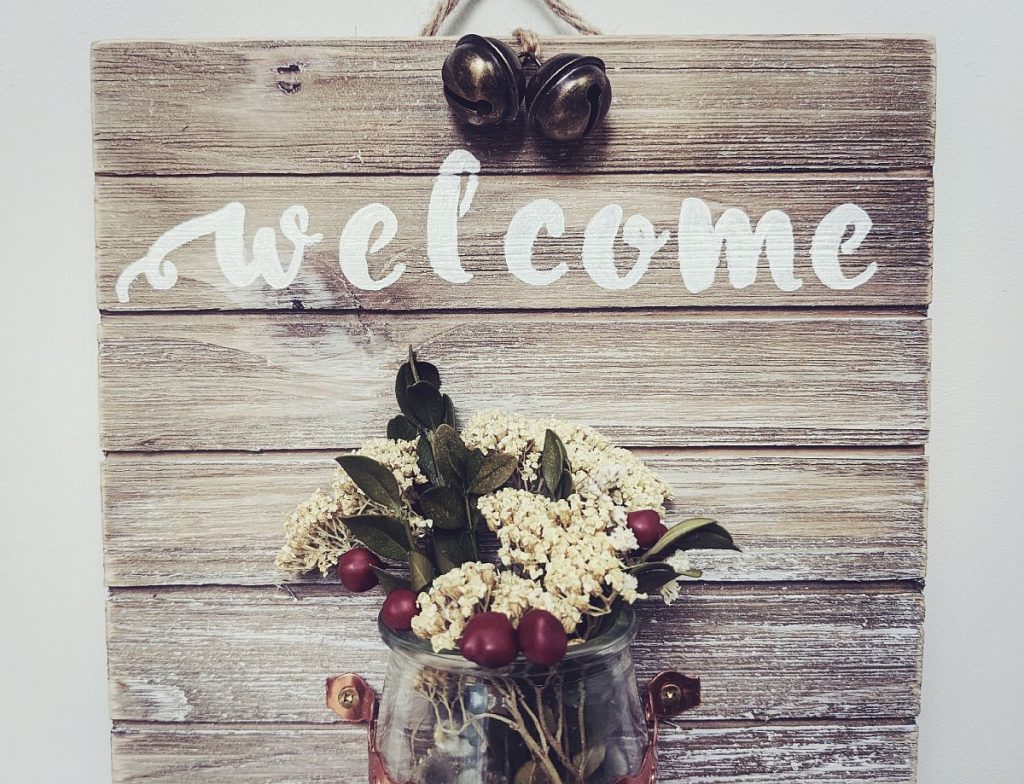
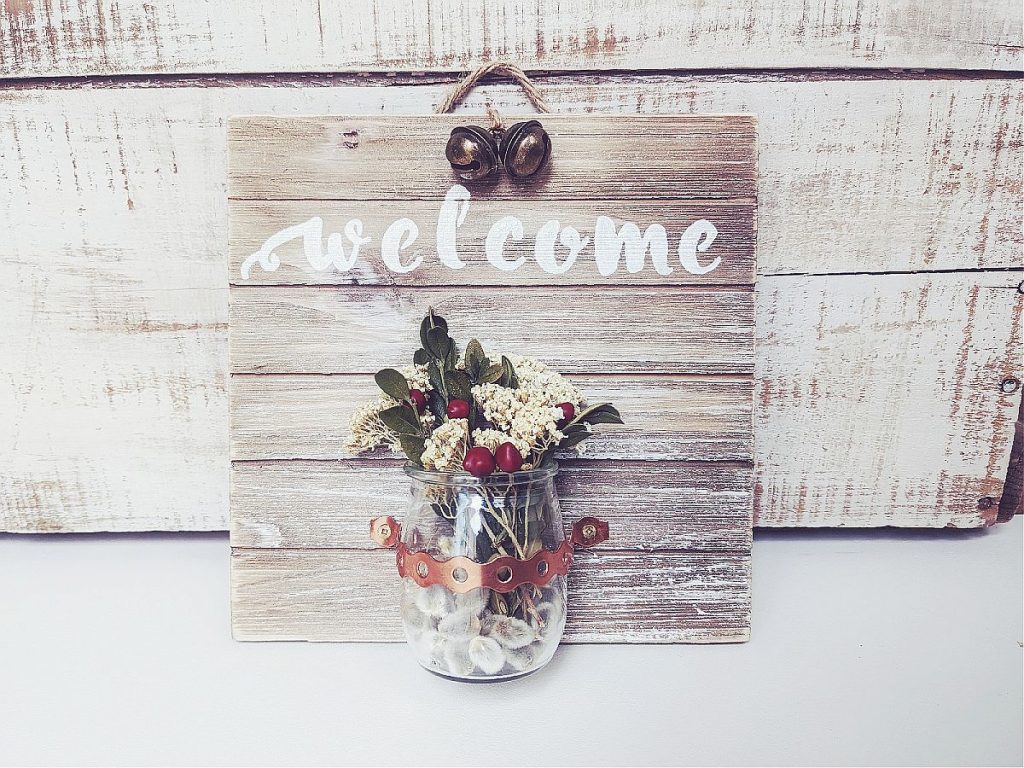
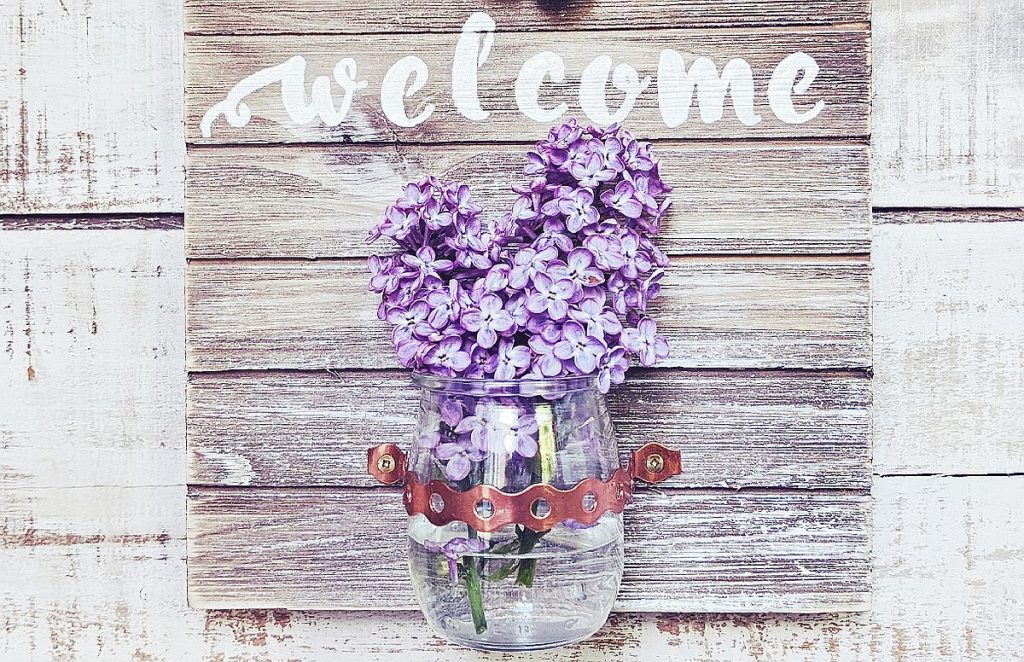
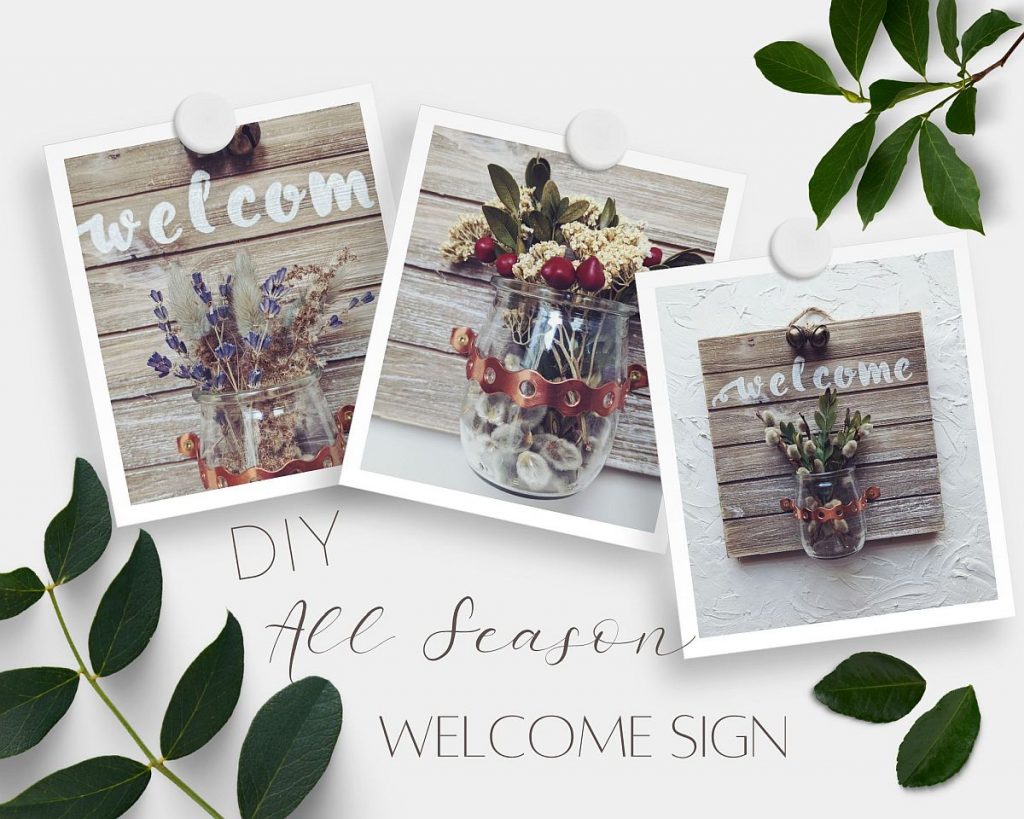
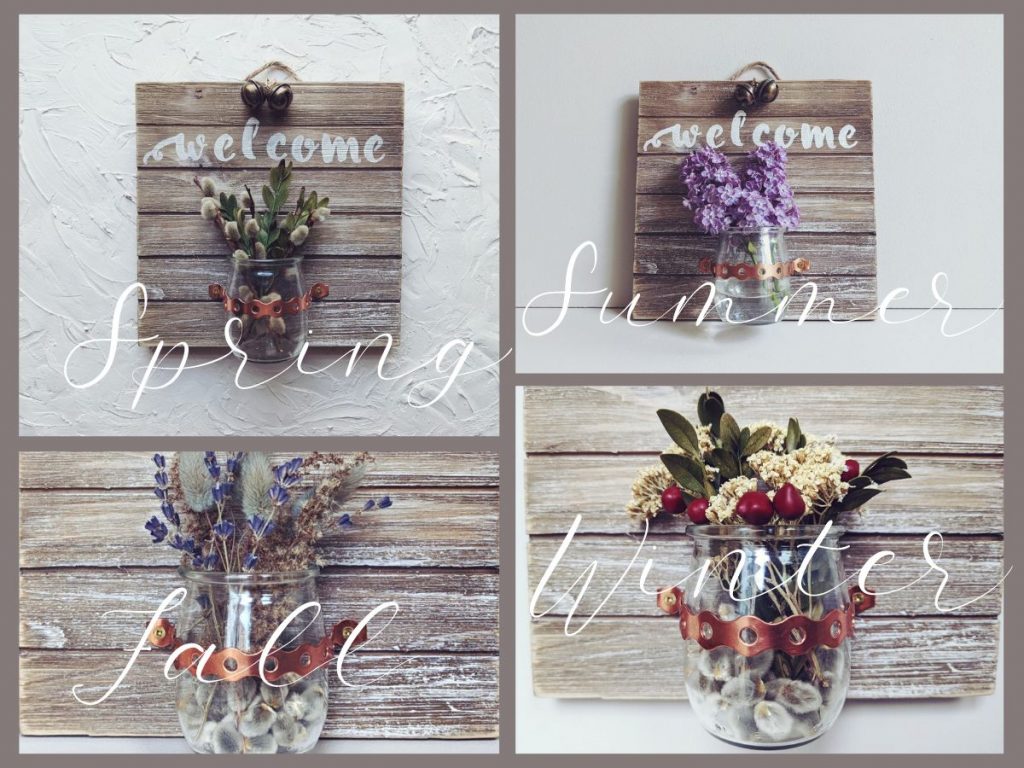
I had the idea to make a welcome sign that could change with the seasons and decided that one with a little vase attached would work quite well as you can change out the flowers as the seasons change!
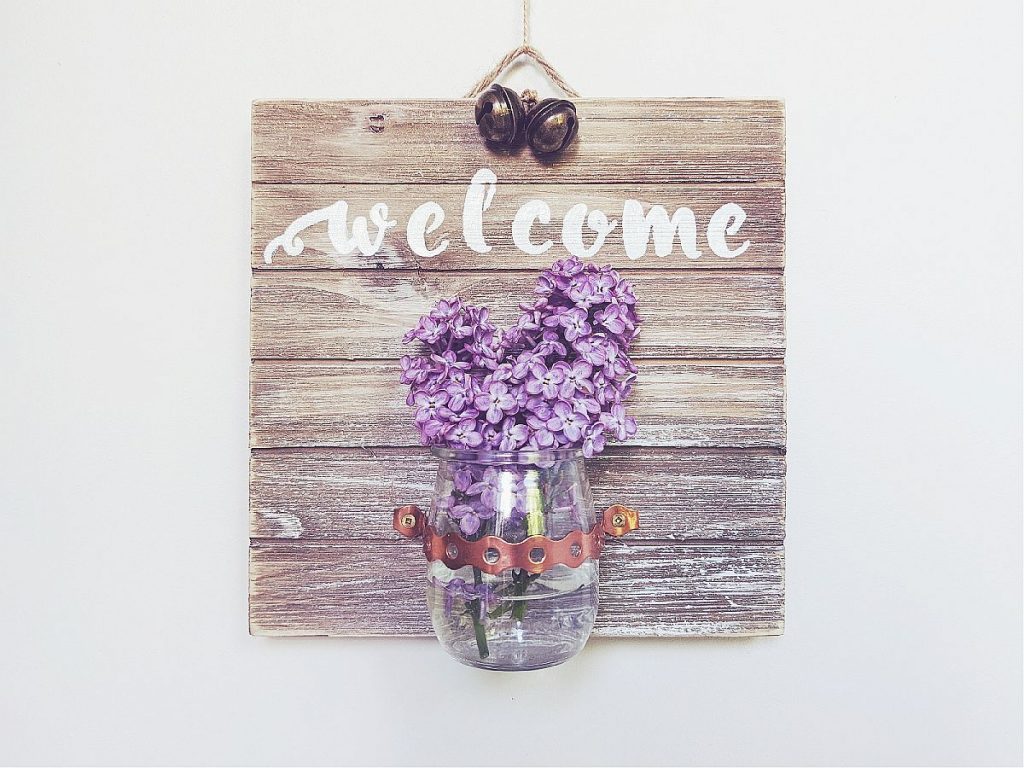
Fresh flowers in the spring and summer that could be changed out more often, or dried flowers in the fall and winter.
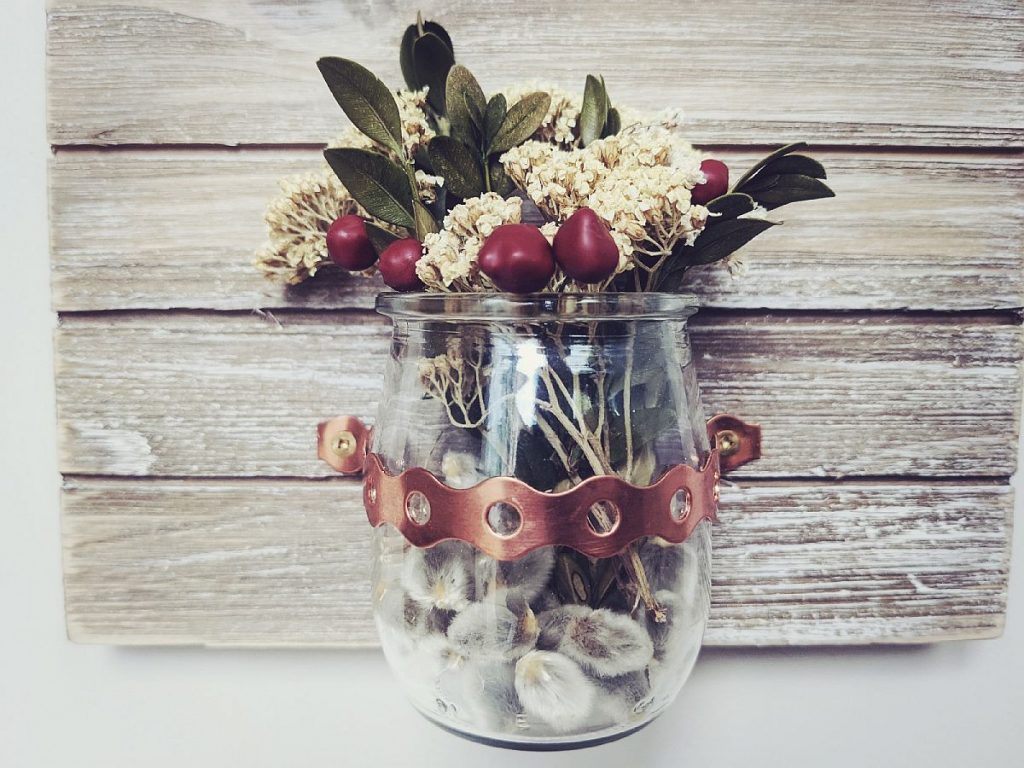
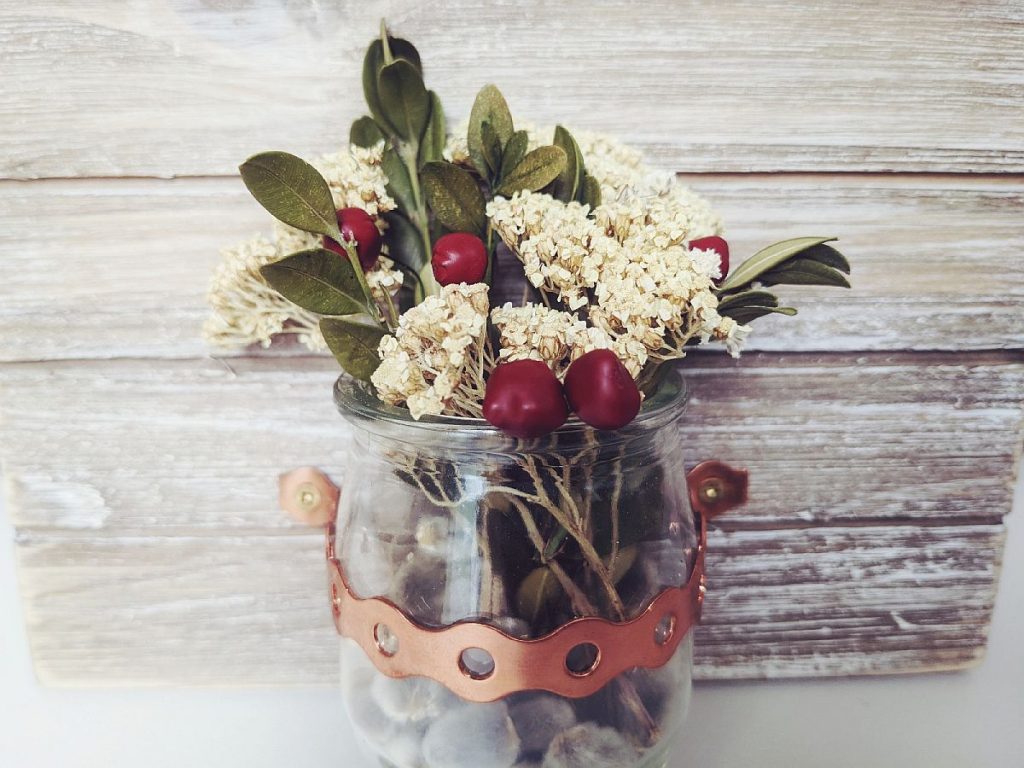
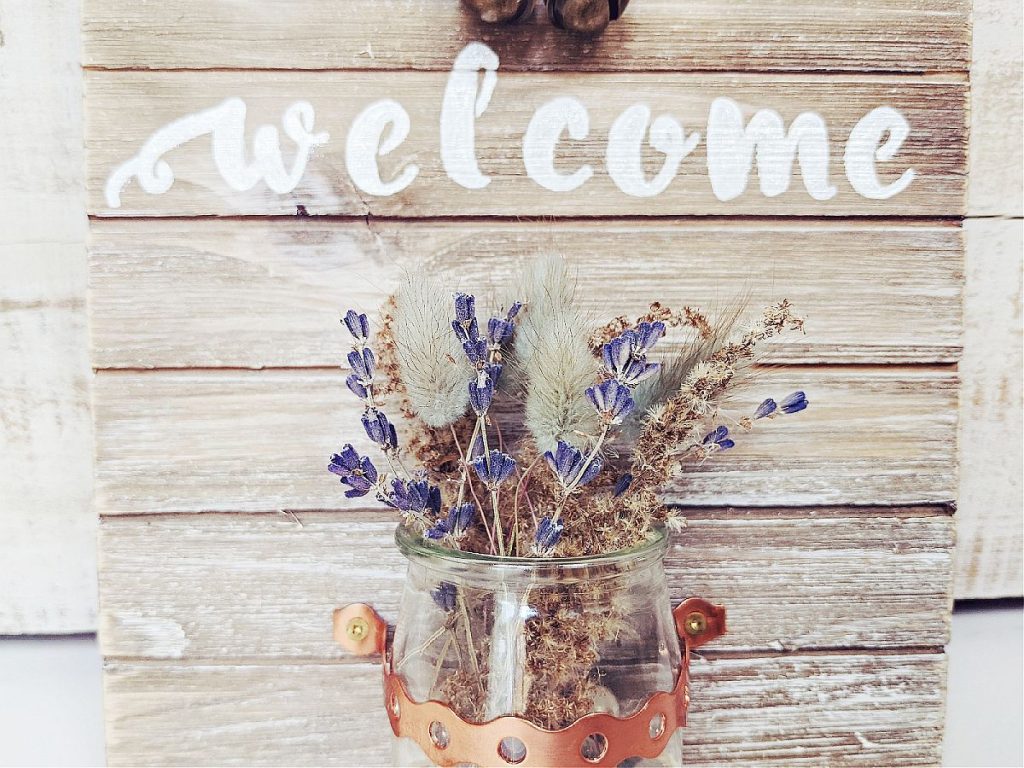
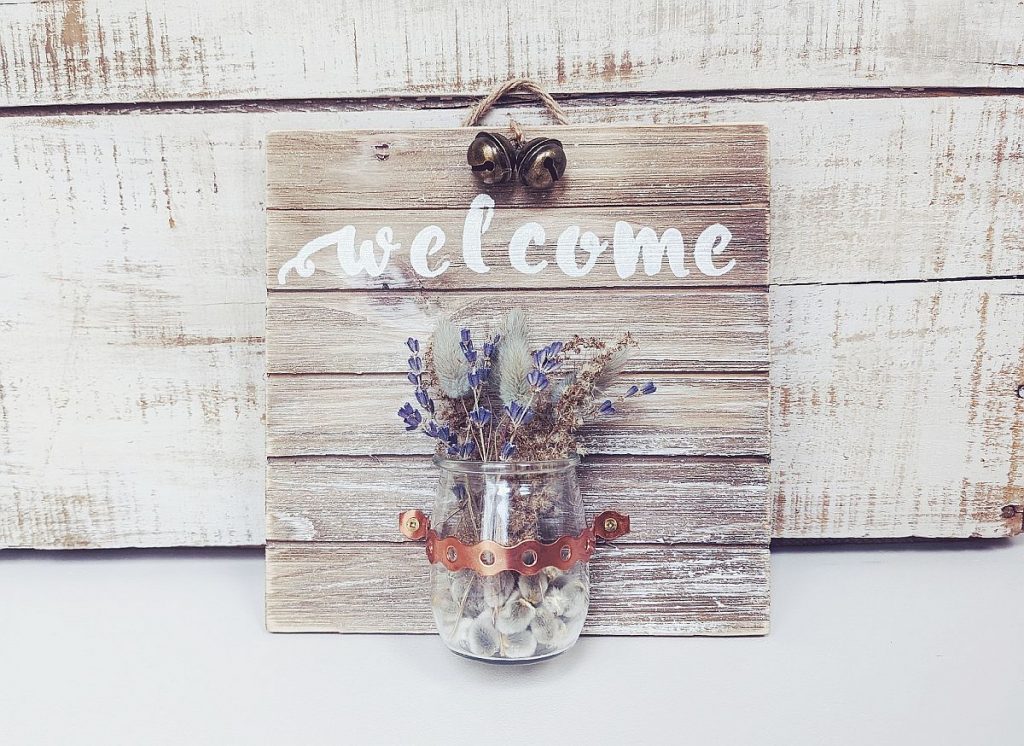
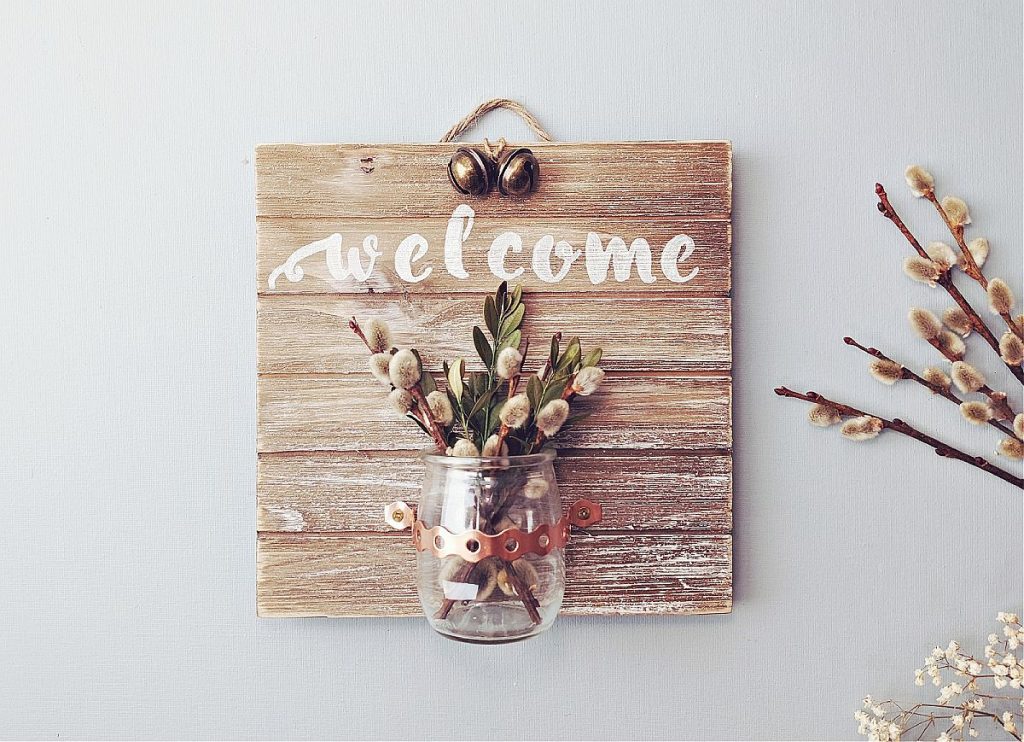
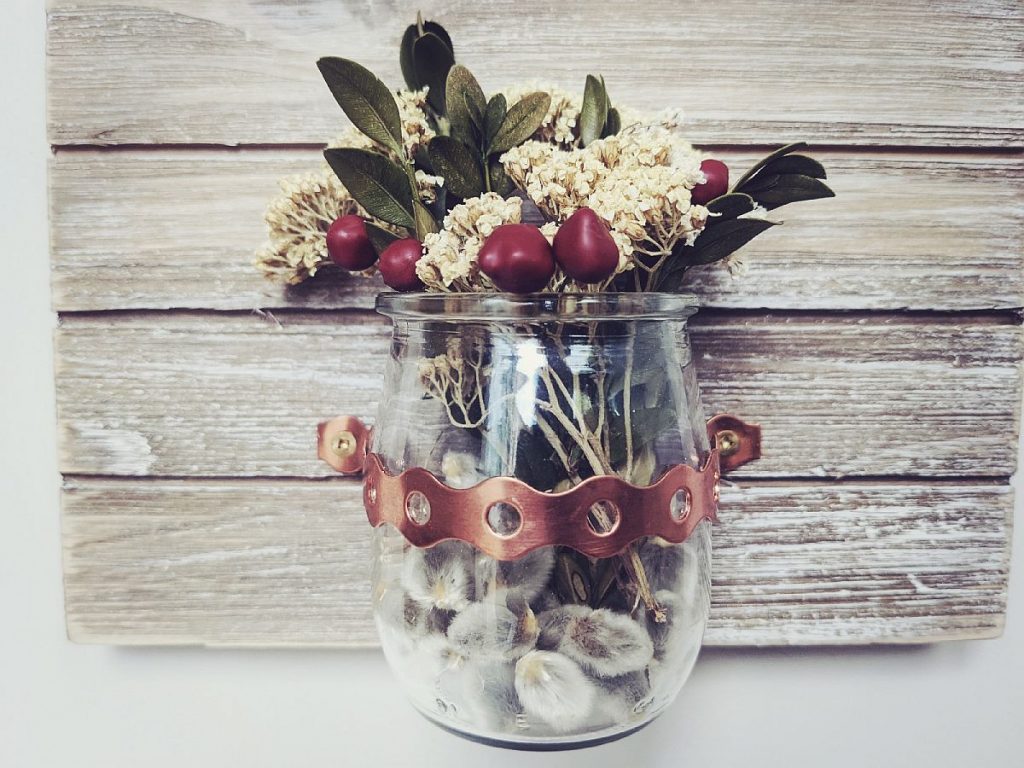
The little ‘vase’ is just a repurposed glass yogurt container and it is attached onto a rustic wooden sign with a bit of copper strapping from the hardware store and a couple small screws. I added a couple of vintage looking bells for a bit of interest, though those could easily be left off or replaced with something else – perhaps a little clay star or heart?
small space living
I thought this would be the perfect door décor for someone who lives in a small space and doesn’t have room for storing a door wreath for each season. All you need is a little sprig of fresh or dried flowers and your door will suit any season!
Flower ideas by season
Here are some ideas to get you started with what to display in your door vase by season – these are just a few suggestions, there are endless possibilities for flower combinations to place in your welcome sign vase! It is probably best to stick with small flowers and not ones with large/heavy heads as these won’t stay too well in such a small, shallow vase.
Spring
- boxwood
- pussy willow
- crocus
- forget me not
- primrose
- lily of the valley
Summer
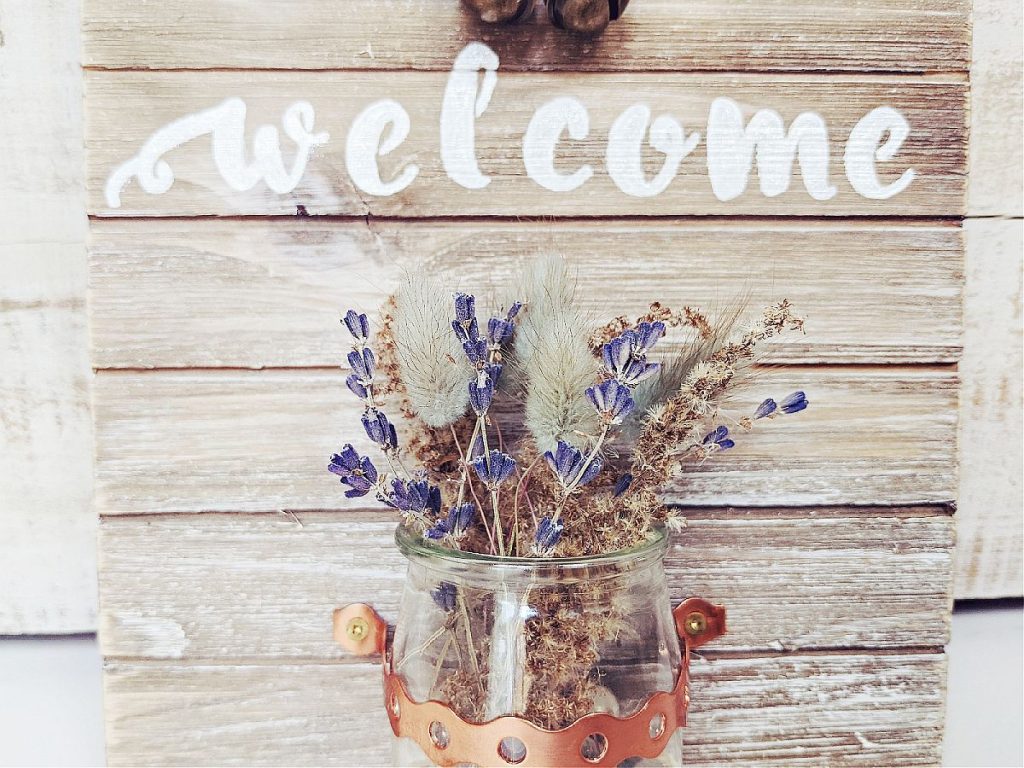
- lavender
- lilac
- yarrow
- marigold
- coreopsis
- geranium
- rose
fall
- cornflower
- cosmos
- globe amaranth
- verbena
- alyssum
- aster
- statice
Winter
- dried baby’s breath
- dried yarrow
- dried lavender
- holly
- dried boxwood
- pine
- dried bunny tails
- dried grasses
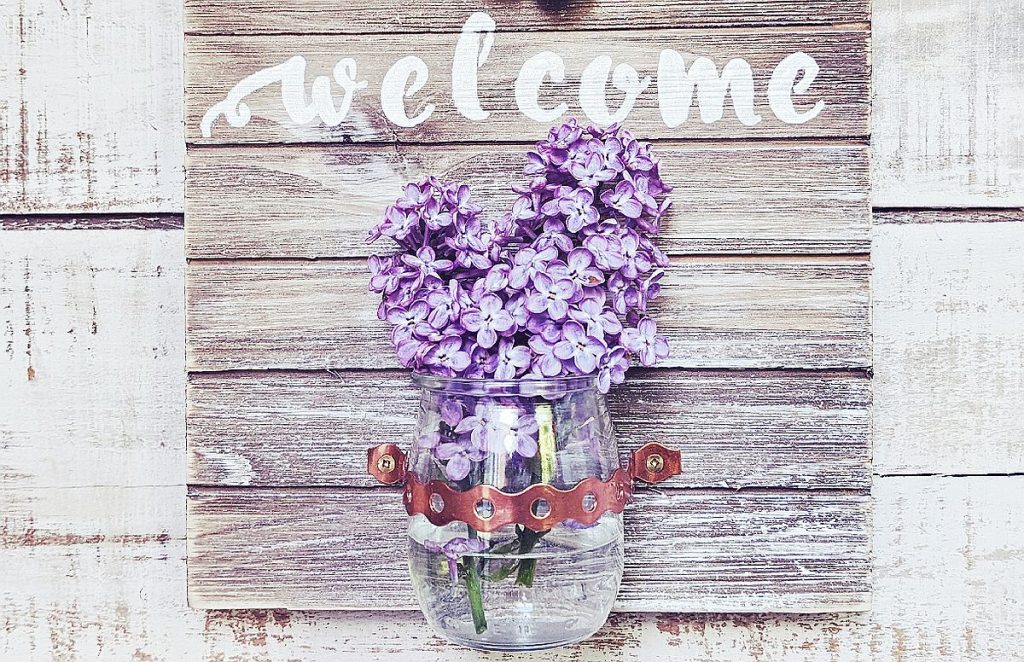
Welcome sign with vase tutorial
what you will need
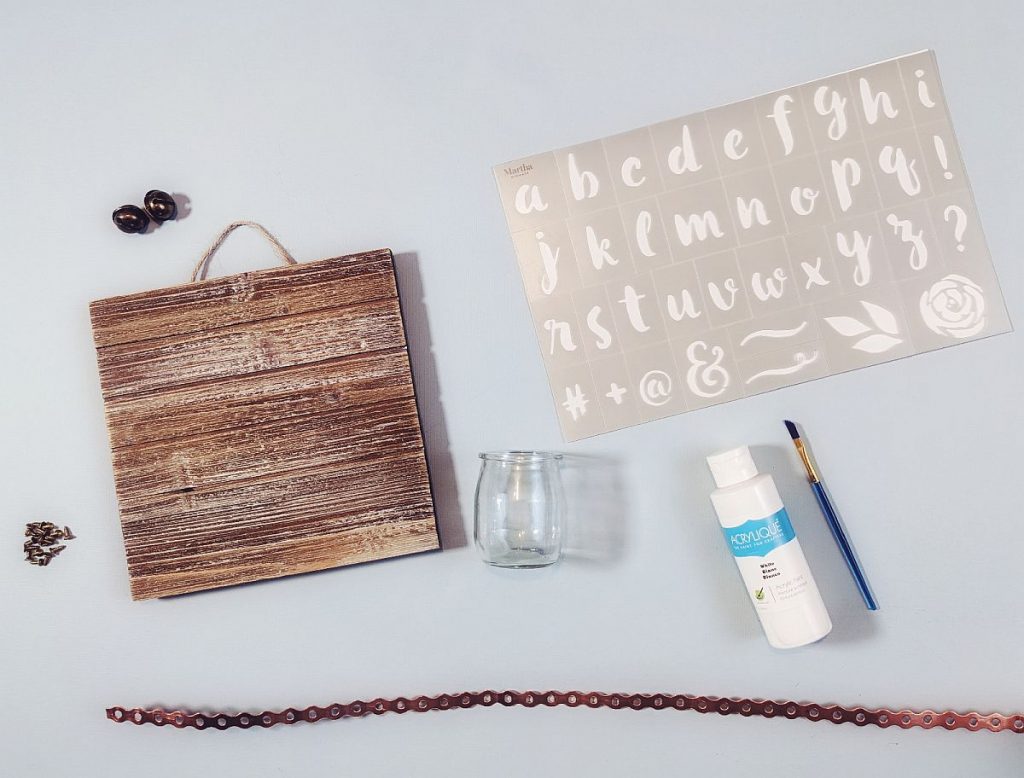
- small rustic wooden sign (Michael’s has a few to choose from in various sizes)
- letter stencils (unless you want to freehand it – I’m never happy with my hand lettering so went the stencil route! I got these Martha Stewart ones from Michaels)
- small glass jar or small vase or milk cup
- white acrylic paint + small paintbrush
- copper strapping – the stuff I got is made by ‘Dahl’ – it is 1/2 ” 22 gauge from Home Depot
- wood screws to fit holes in strapping – I used #4 – 3/8 inch from Home Depot
- screw driver
- vintage look bells
- twine
- stapler
- glue gun
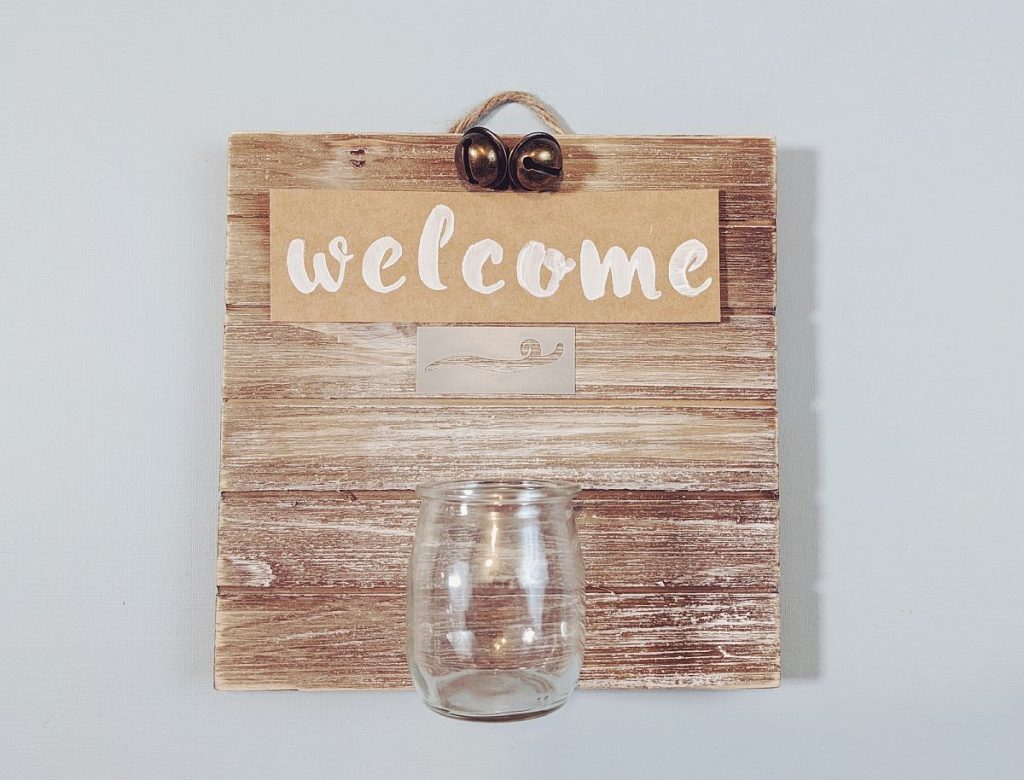
- Start by planning where to put your lettering. I stencils my letters quickly onto a piece of cardstock, just so I could see how they fit and would look. Make sure you leave enough room between where the jar will sit and the lettering so that your lettering doesn’t end up covered by flowers!
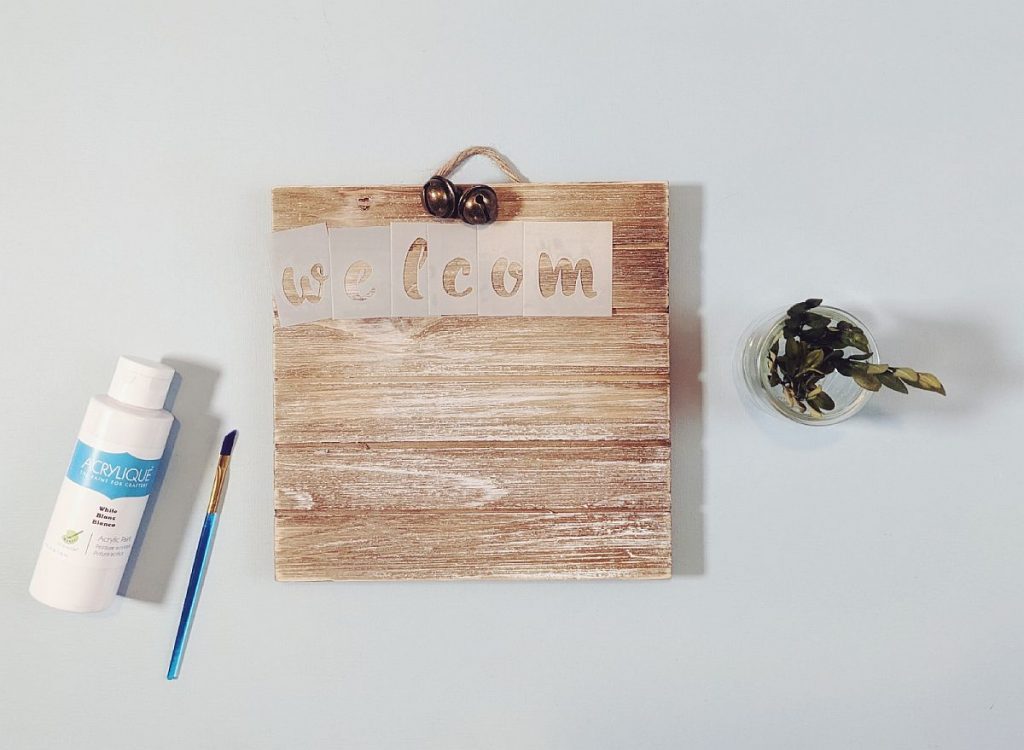
2. Lay out the letter stencils on the sign. The stencils I got have adhesive on the back, which is a big help keeping them in place!
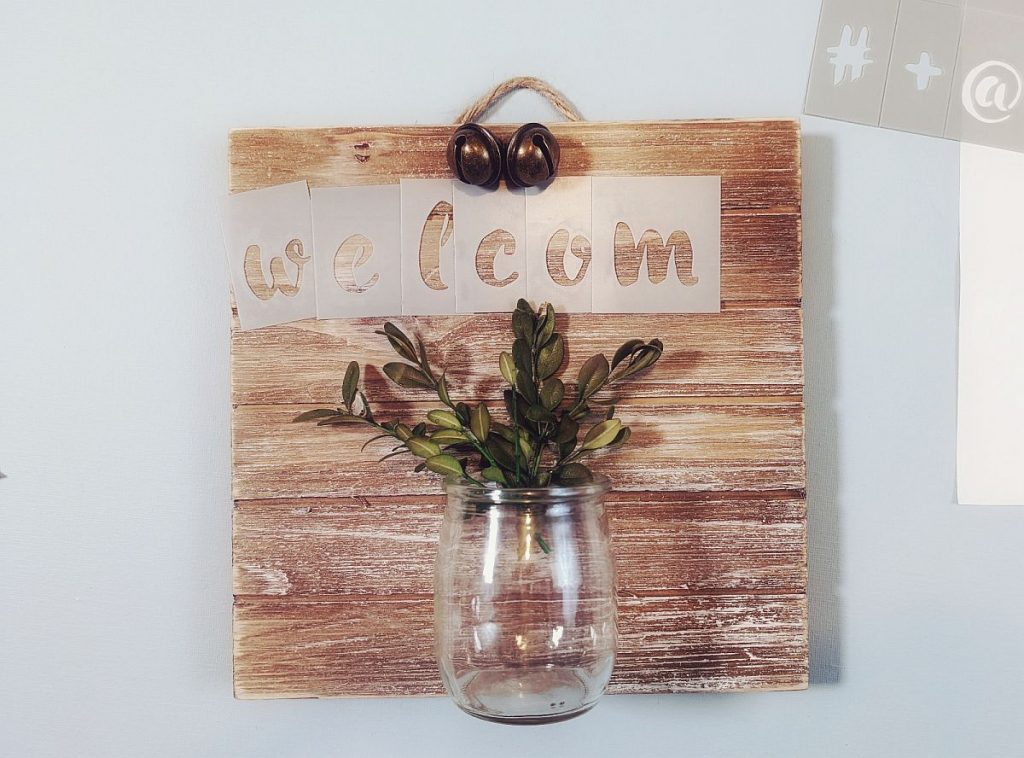
3. Once your letters are in place, lay the glass where you intend to secure it and put a few flowers in just to make sure your lettering won’t be covered when it’s all assembled.
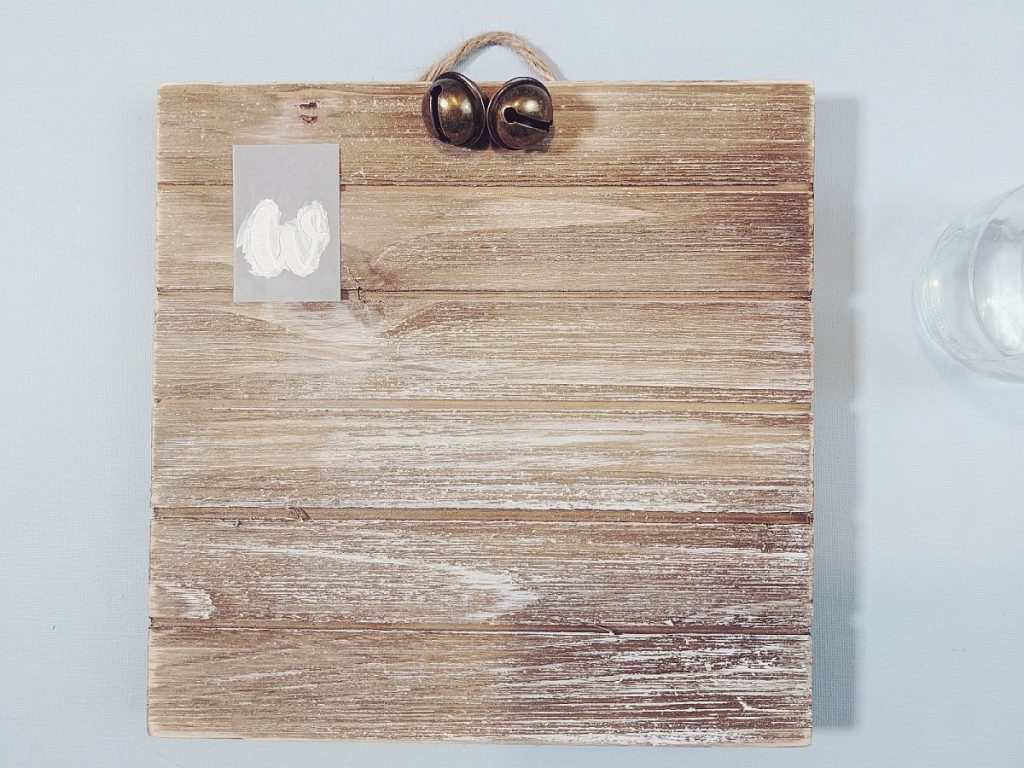
4. Begin painting the stencil with the white acrylic paint.
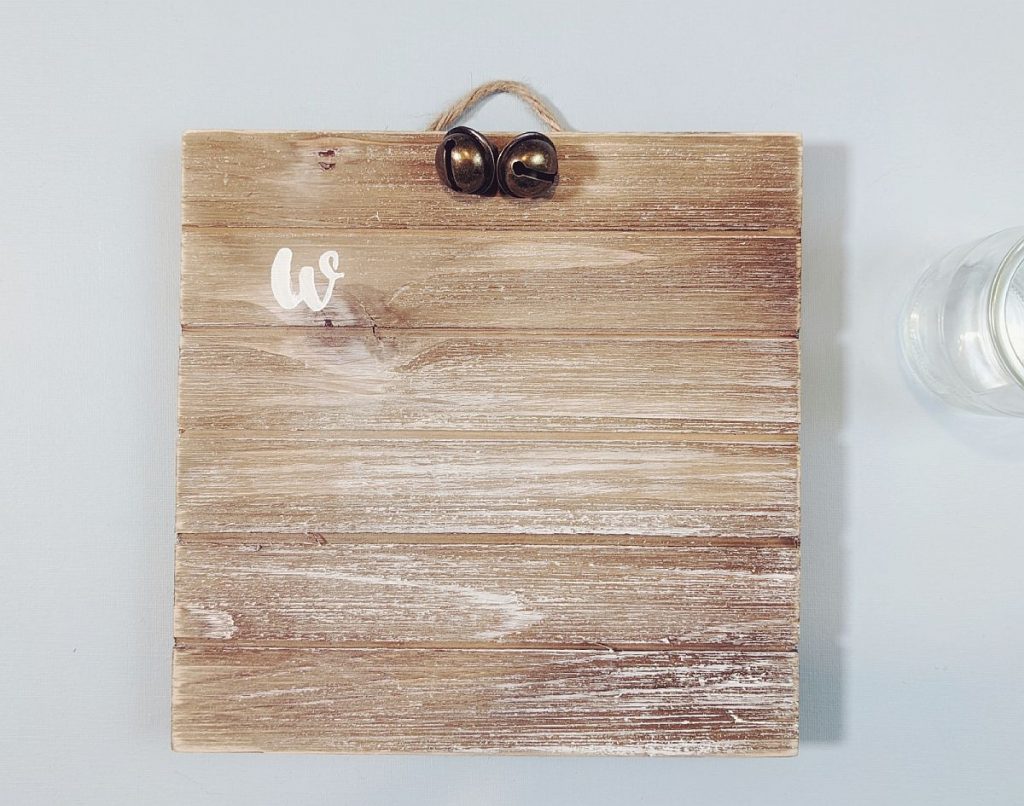
5. If your stencils overlap a bit you’ll need to let each letter dry before moving on to the next one.
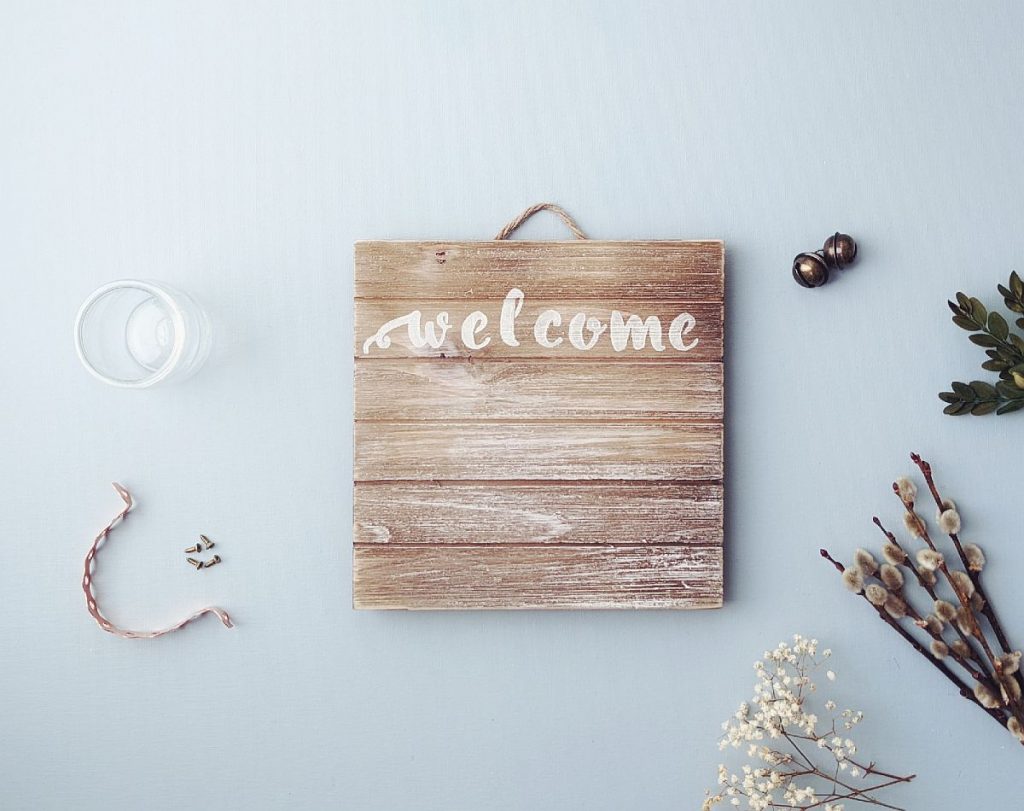
6. Once your letters and all painted on and have dried, you’re ready to assemble the rest of your sign.
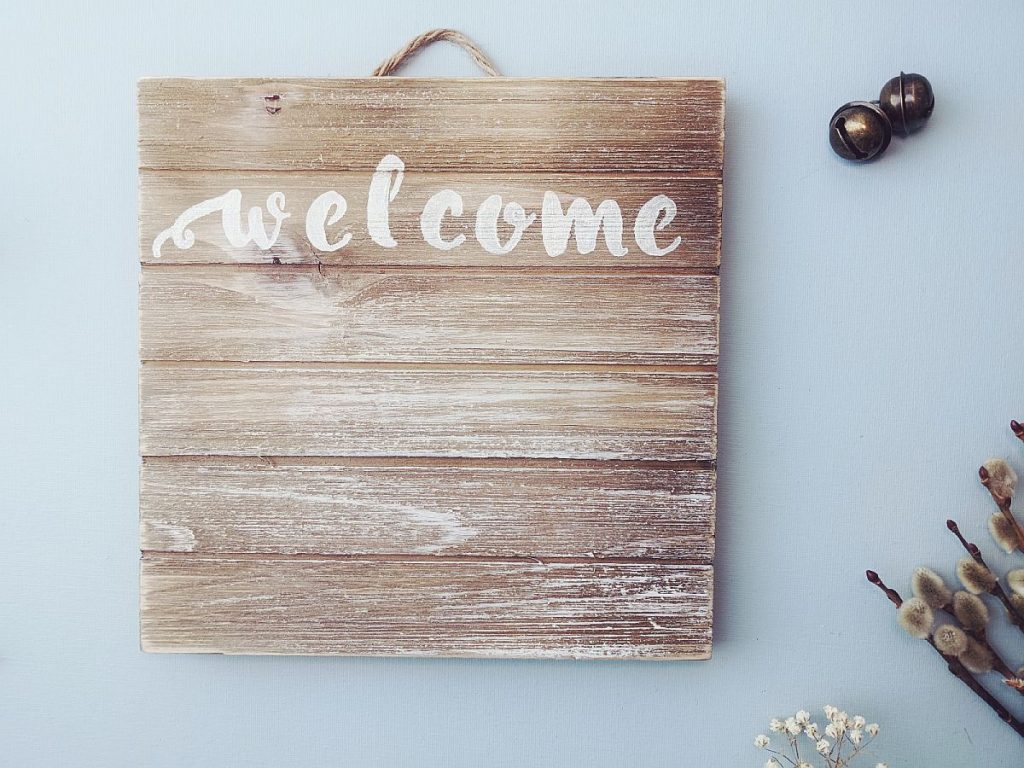
I had these vintage looking bells from making Christmas ornaments but thought they’d go nicely for this project since it is rustic-looking and thought bells would be a nice touch. You can leave them off if you’d like or add something else to the top!
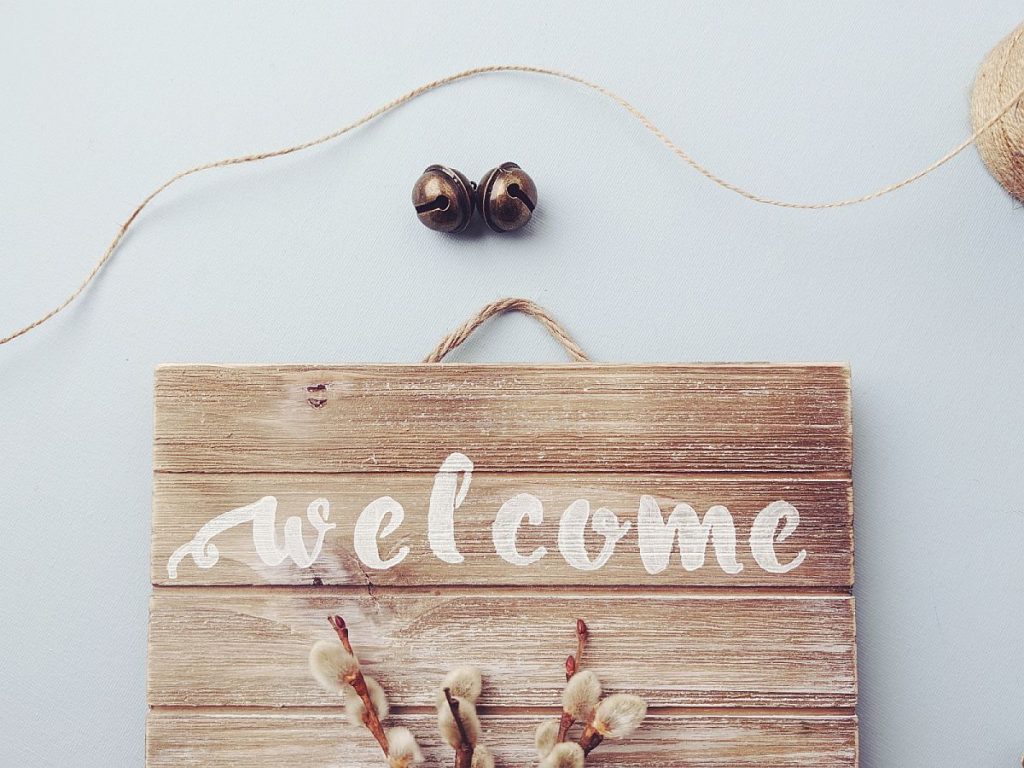
7. Cut a short piece of twine (about 4″ or so) and thread it through the tops of the bells. Hang the two ends of the twine over the back of the sign at the centre and then secure the ends to the back with either a hot glue gun or a stapler.
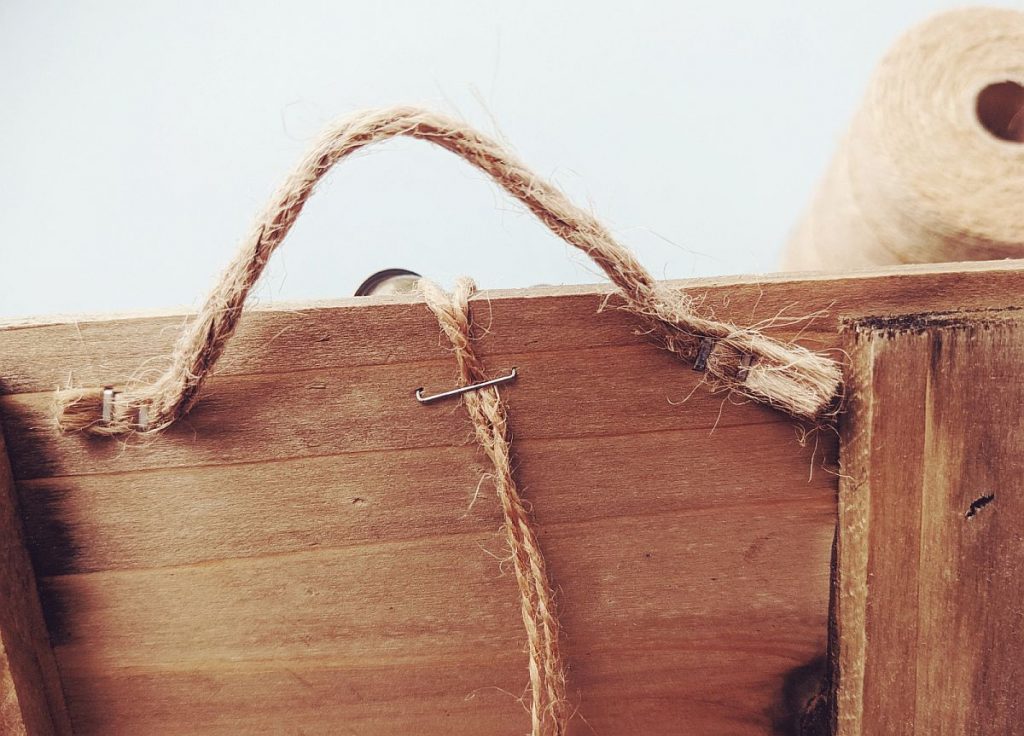
Here is the twine secured to the back. I just used a regular stapler and it worked perfectly.
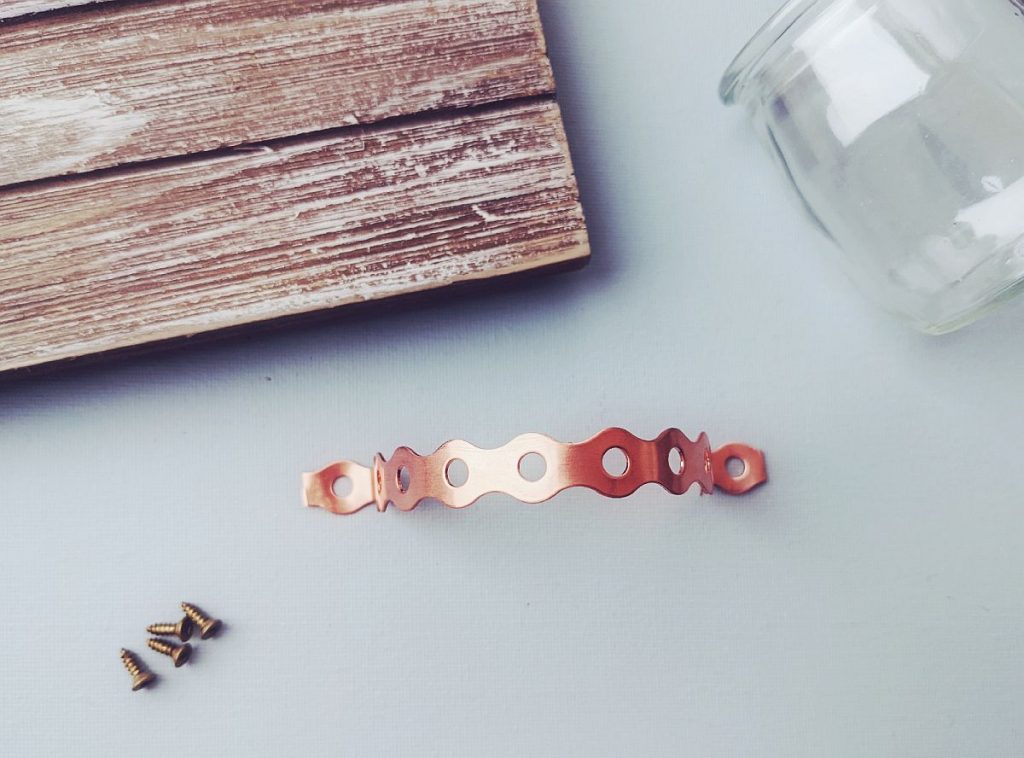
8. Time to add the vase to your sign! You will need your vase, hot glue gun, the copper strapping, screws and a screwdriver.
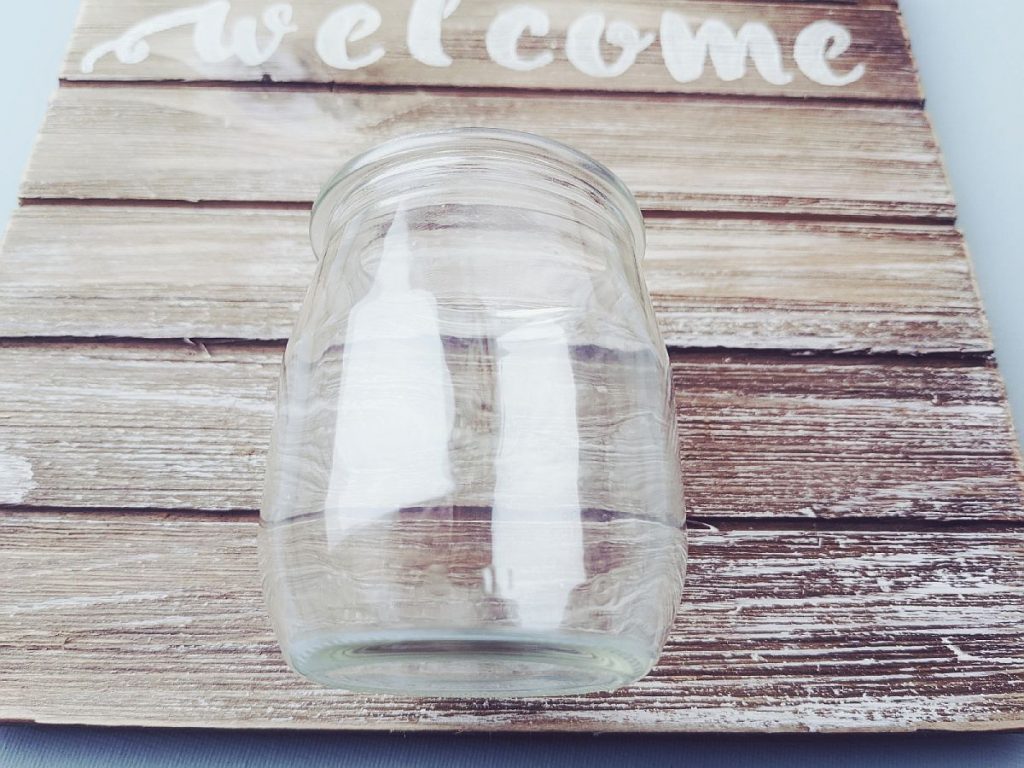
9. Find the spot on the sign board where you’d like to place your vase. Put a small amount of hot glue in the middle of where you’d like to place the vase and then press the glass firmly onto the glue. The hot glue will help the glass not move around as you put on the copper strapping and also give it a bit of extra strength so it doesn’t slide out of the strapping once your sign is in use.
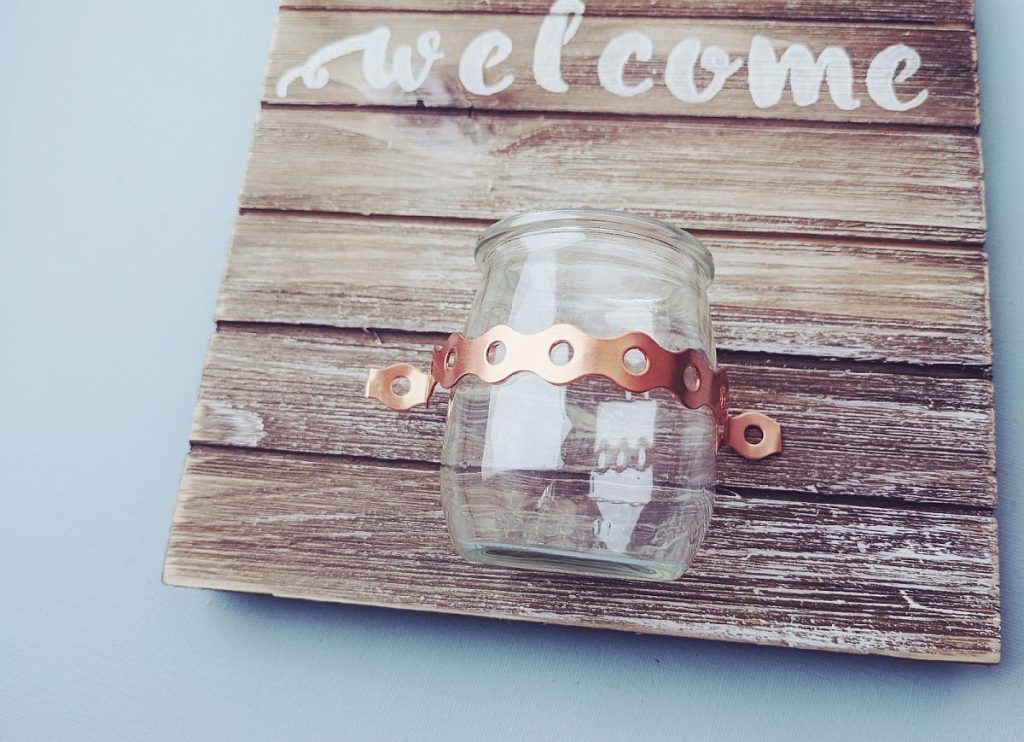
10. Once the glass vase is secure, pull out a length of copper strapping and bend it across the glass and pinch it in on either side. You will need one segment with a hole to sit on either side of the glass – this is where you’ll place your screws.
11. Once you know how long the copper strapping needs to be, bend the strapping back and forth to break it off, or use wire cutters. I did the bending method and it released within a few bends.
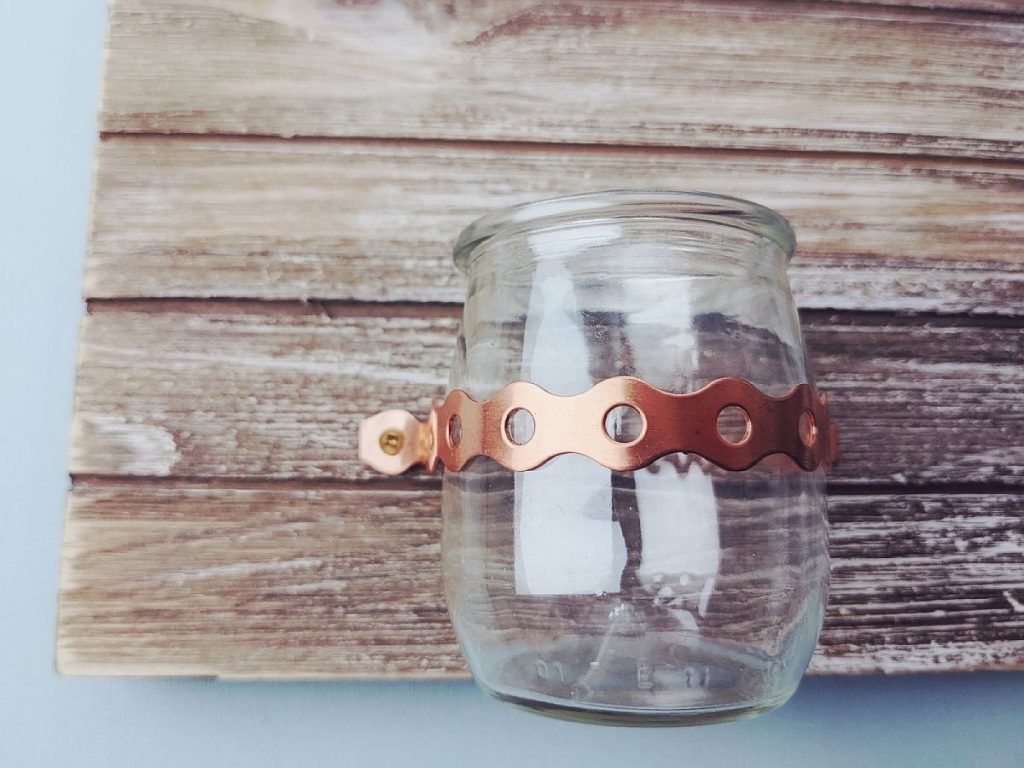
12. Now screw in one screw on either side of the vase.
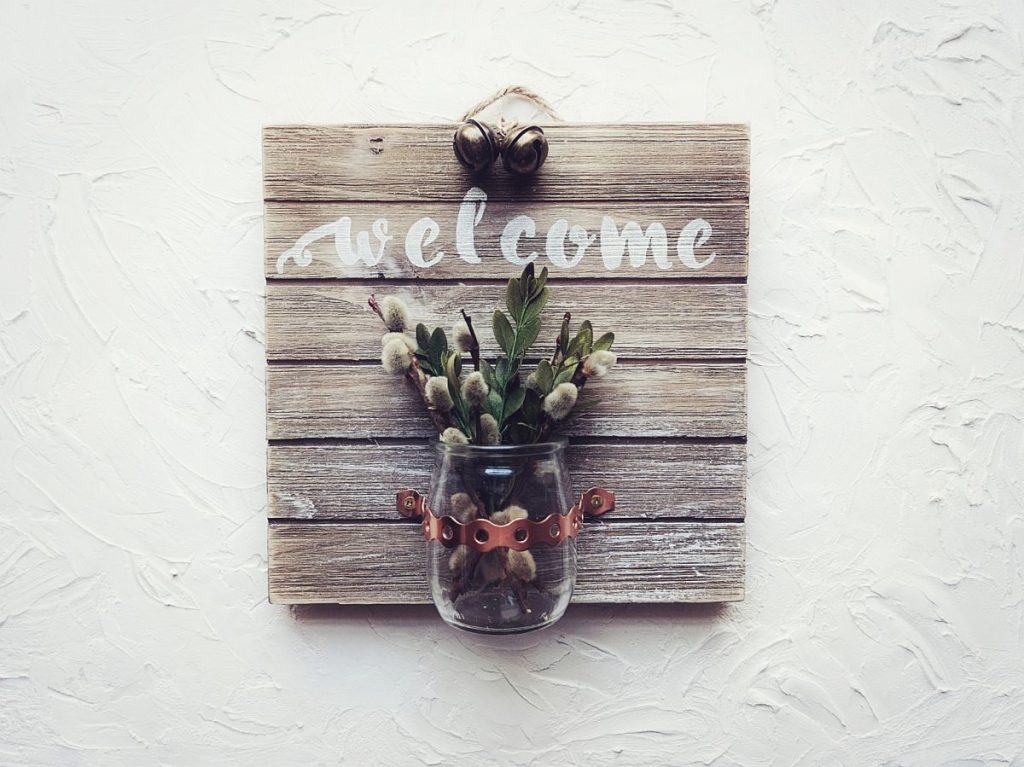
13. Find some flowers/plants – either fresh or dried – to place in your vase.
Your welcome sign is ready for hanging! Don’t forget if you’re using fresh flowers to add a little bit of water to the vase first.
Change out the flowers to your liking and have fun picking flowers to display according to the season!
I hope you’ve enjoyed this tutorial – please let me know if you’ve tried making this project yourself and how it turned out!
Keep scrolling down for a few more photos of the finished project and arrangement ideas..
