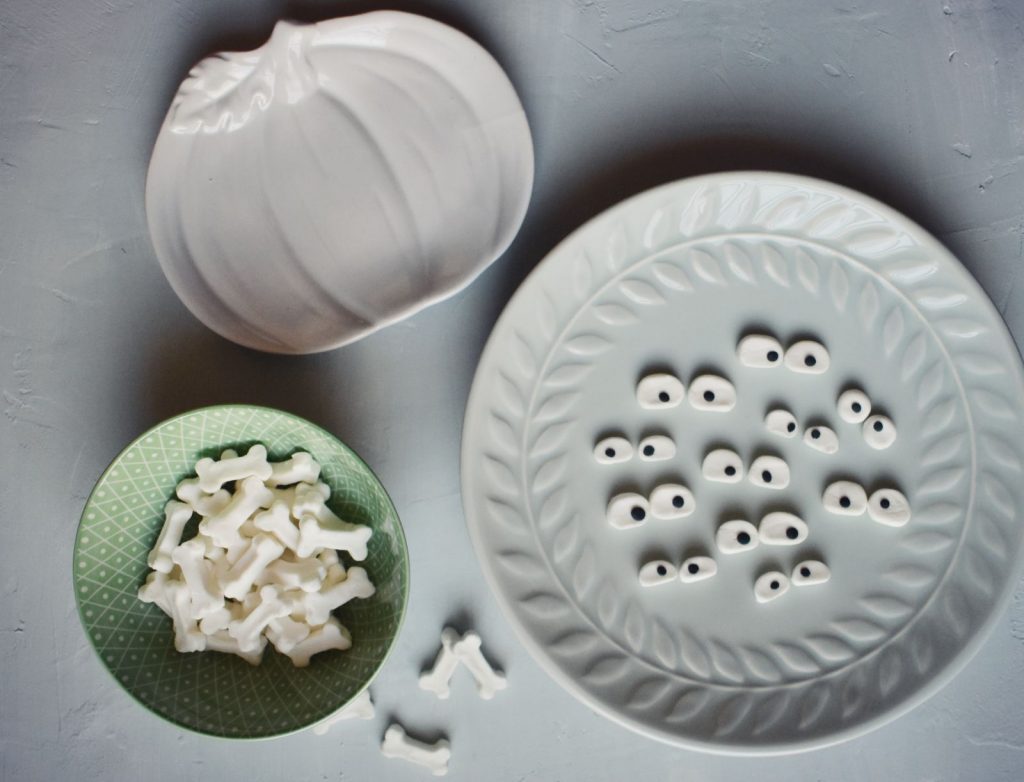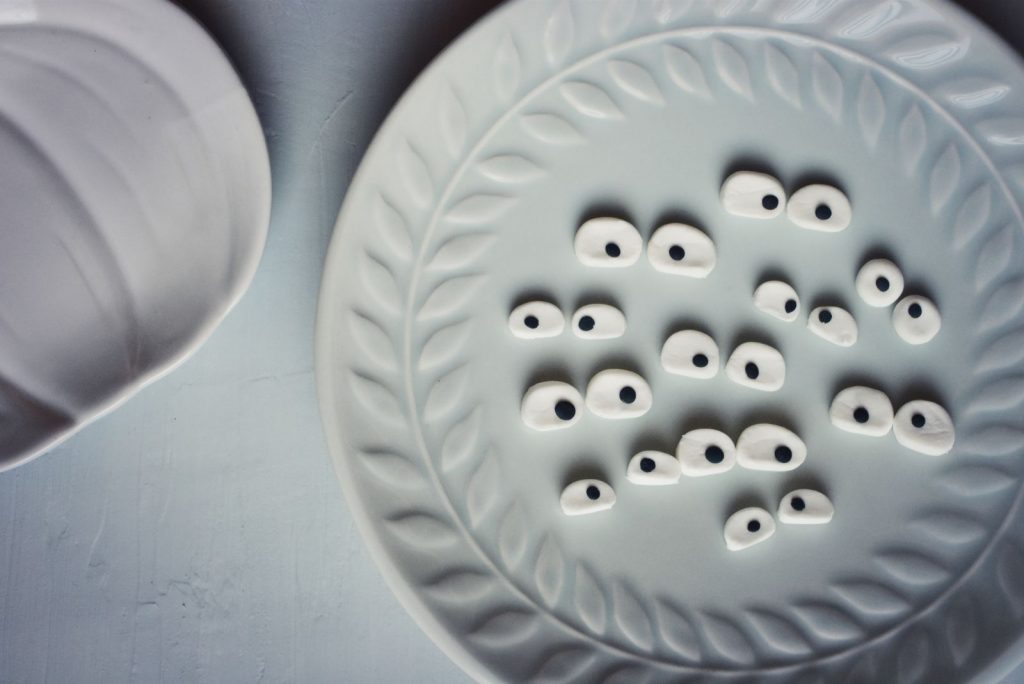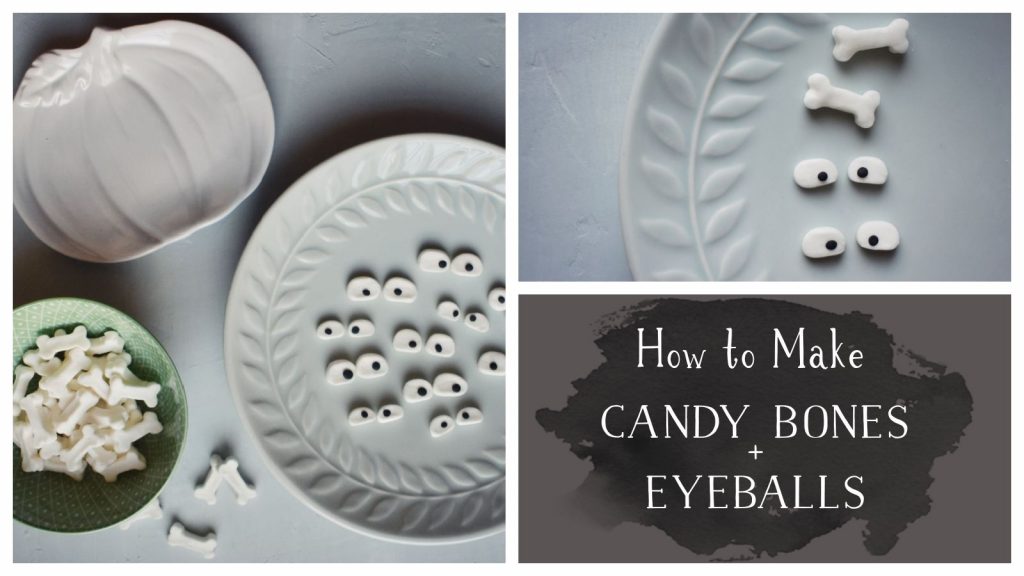
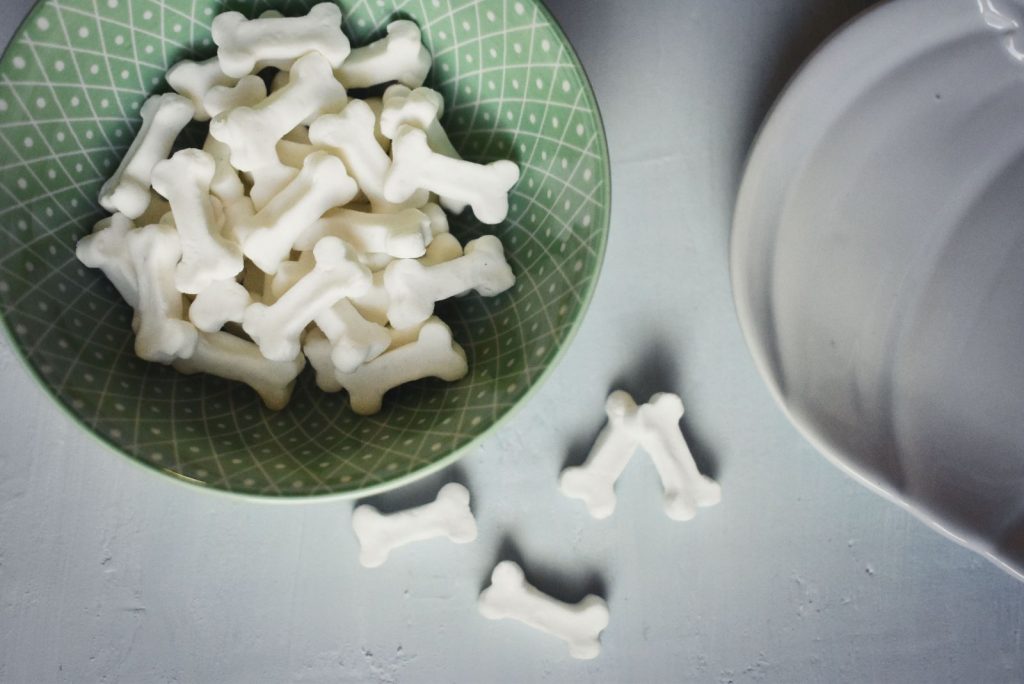
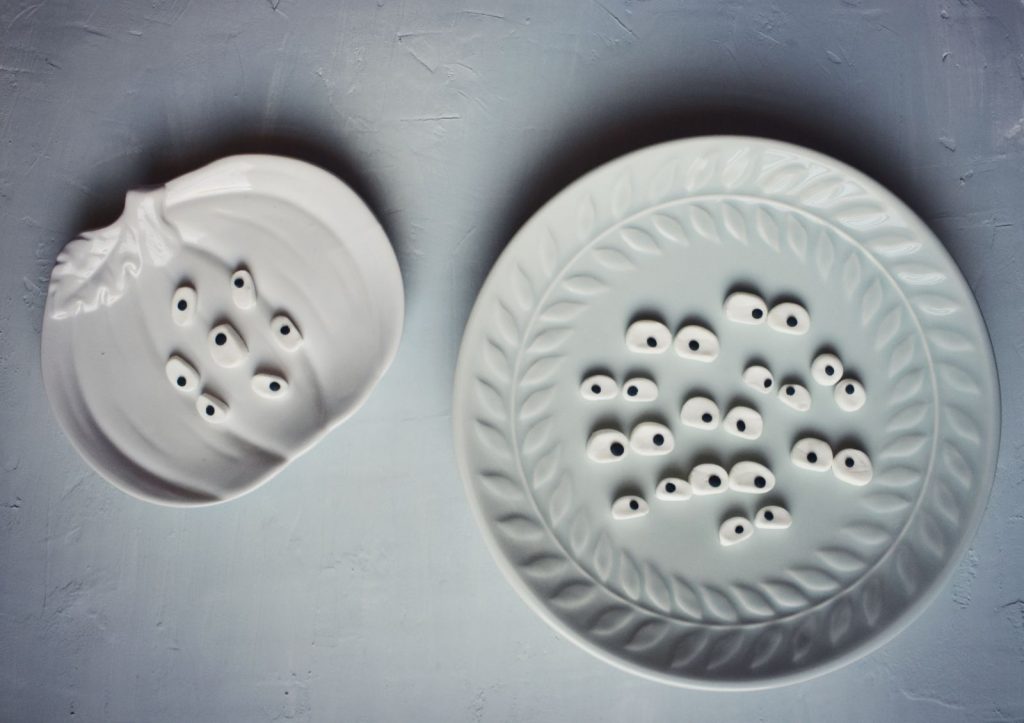
These candy eyeballs and bones are so easy to make and make a great addition to your Halloween baking! The best part of making your own candy decorations is is that you can make as many as you want and customize them to your needs.
We wanted funny candy eyes for some mummy gingerbread cookies and these worked out perfectly as we could make them the sizes we wanted and make them looking sideways or cutely cross eyed, or whatever we wanted, really!
For the candy bones I used a silicone mold. They definitely don’t pop right out as easily as chocolate or candy melts would, and so need a bit of reshaping, but I think overall they were a success.
As the bones dry out they do take on a bit of a misshapen appearance, but I quite like them as they seem fitting for Halloween that way!
The candy bones make great toppings for cupcakes or cookies, and best of all – they taste very yummy! The kids asked to try them and then I had to secret them away so I’d have enough left for the photos for this post! My 2 year old kept calling out ‘boooones!’ after I’d hidden them away. I didn’t want him having too many though as he is not too crazy about brushing his teeth so we try to keep his sugar intake to a minimum (tips on turning a bit of a wild toddler into a star toothbrusher more than welcome!).
Anyway, a bit of a last-minute post before Halloween, but if you’re in need of cookie or cupcake decorations and don’t have them on hand these take only a few ingredients and are easy to make!
Happy (almost) Hallowe’en!

how to make candy bones and eyeballs
what you will need
- 2 cups powdered sugar
- 2 tablespoons meringue powder
- 6-7 teaspoons water
- Silicone bone tray (if making bones)
- Black gel food colouring for eye pupils (if making eyeballs)
- Small sharp knife
- Parchment or waxed paper
- Tray
method
In a medium bowl, mix together powdered sugar and meringue powder. Slowly add the water teaspoon by teaspoon until the mixture forms a dough. Start out mixing with a spoon, then use your hands to mix. Knead dough until smooth.
for making bones
Take small amounts of dough and push into silicone mold. Pull around edges of mold to release, then push from the bottom of mold to remove ‘bone’. You might need to reshape the ‘bone’ a little as it is hard to remove them without them getting a little misshapen!
Lay on a parchment or waxed paper covered tray. Let dry overnight.
for making eyeballs
First make up the black dough for the eye pupils – take a small portion or dough and add a dot of black food colouring. This is quite messy, so you might want to wear gloves… my hands are always dyed with something, so I didn’t bother with gloves, haha. Mix in the food colouring until the dough is a uniform colour. Set dough aside while you make the eye whites.
Note: If you have not worn gloves, wash hands very well to prevent transferring any dye to the eye whites!
For the eye whites, take a small portion of dough and roll between hands to form a long cylinder (mine was about 1/2″ diameter). Place cylinder onto cutting board or plate and cut small (1/4″ or so) pieces. Carefully place pieces onto parchment covered tray.
Note: Don’t let the eye whites dry out before adding the pupils as they won’t stick as well!
Add pupils to eye whites:
Take tiny bits of your black dough and roll between fingers, drop onto whites where you’d like to pupil to sit, then press down gently with a clean finger.
Let eyeballs dry several hours or overnight.
Use candy bones and eyeballs to decorate all your halloween cookies, cakes and cupcakes!
candy bones tutorial in photos
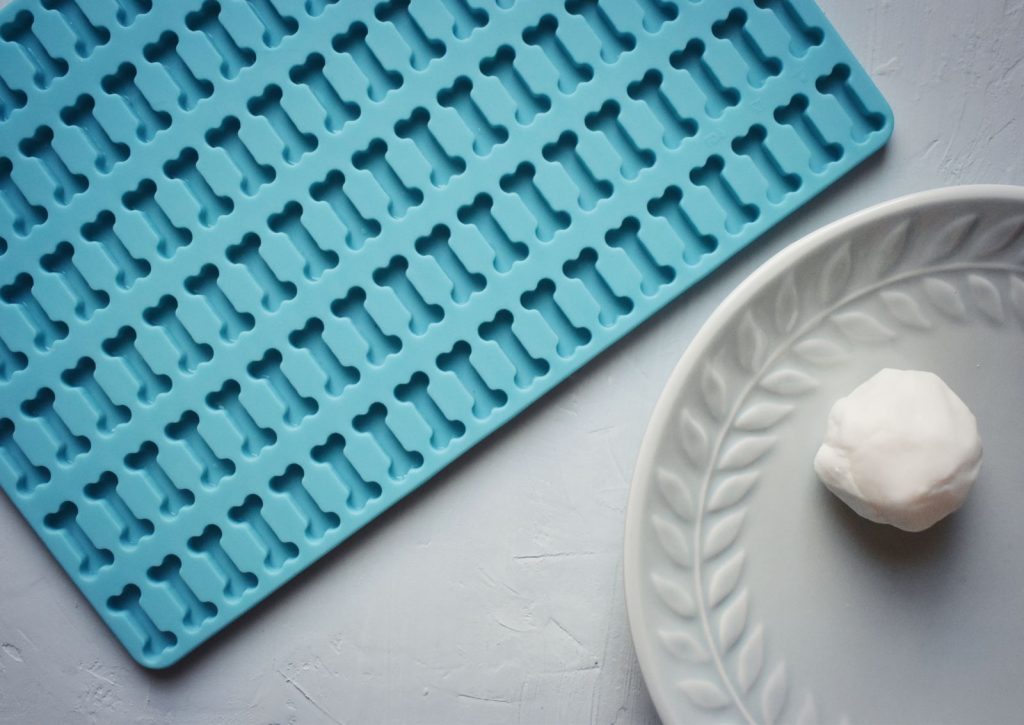
- Mix powdered sugar, meringue powder together. Add water (a few teaspoons at a time), when dough starts to come together, knead with hands until dough is soft and smooth.
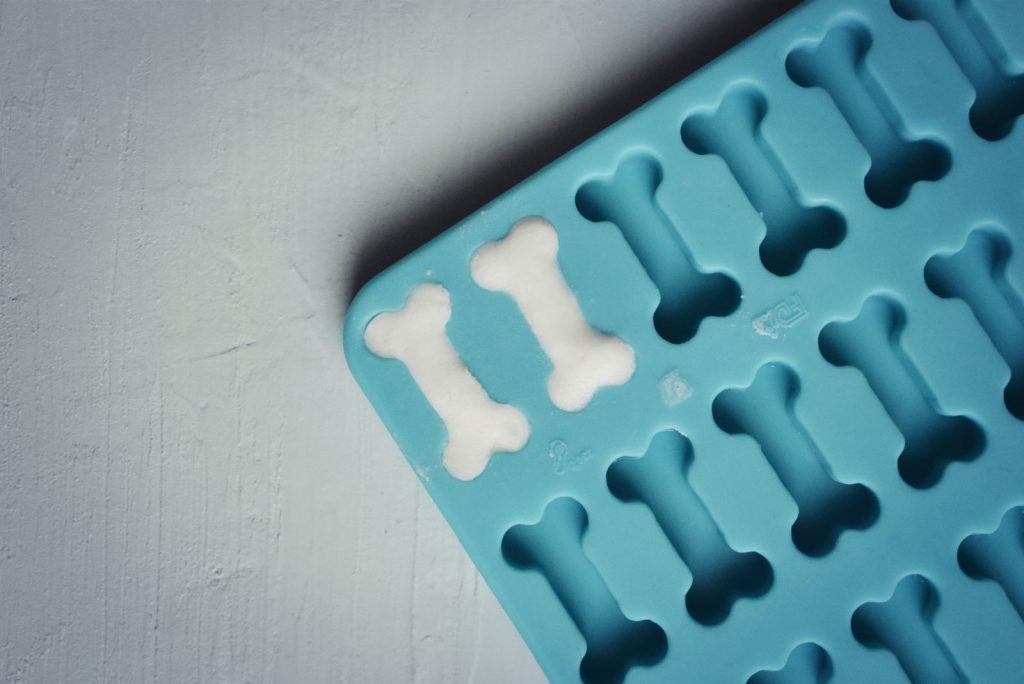
2. Press small portions of dough into silicone mold, then remove gently by stretching mold and pushing mold from bottom.
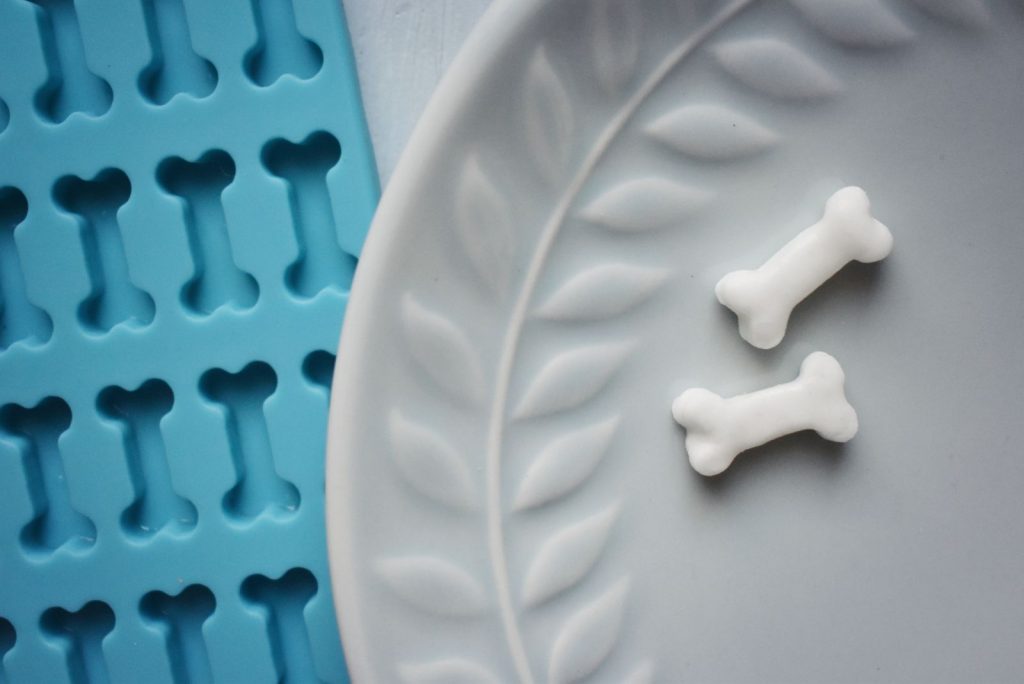
3. Place bones on parchment covered tray and let dry several hours or overnight.
candy eyeballs tutorial in photos
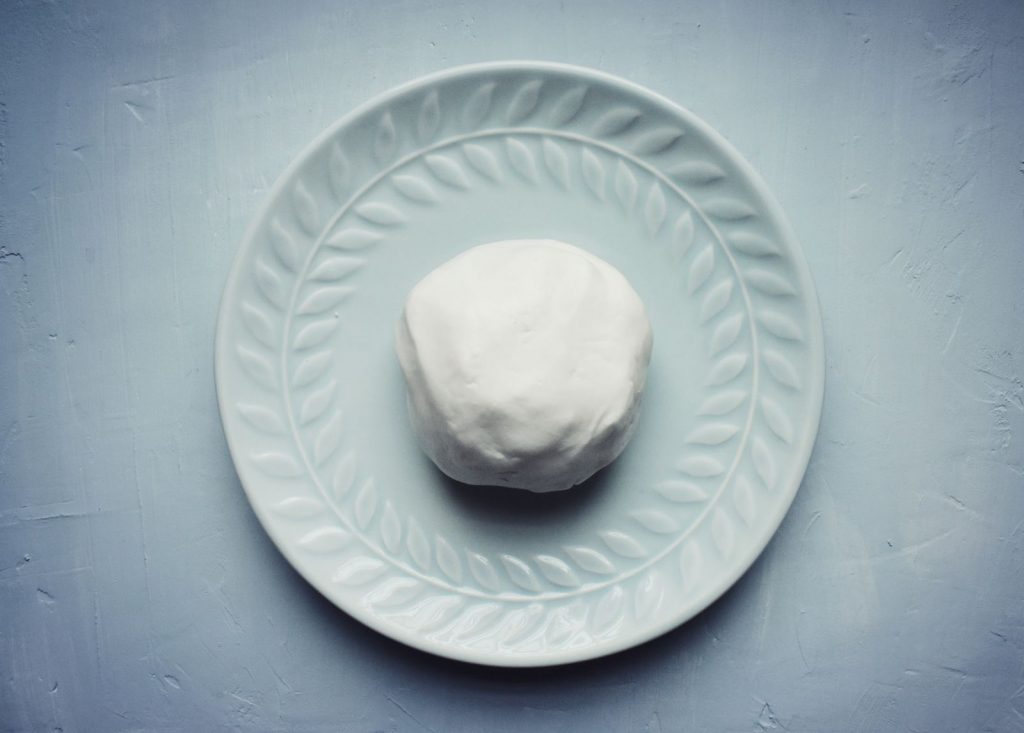
- Mix powdered sugar, meringue powder together. Add water (a few teaspoons at a time), when dough starts to come together, knead with hands until dough is soft and smooth.
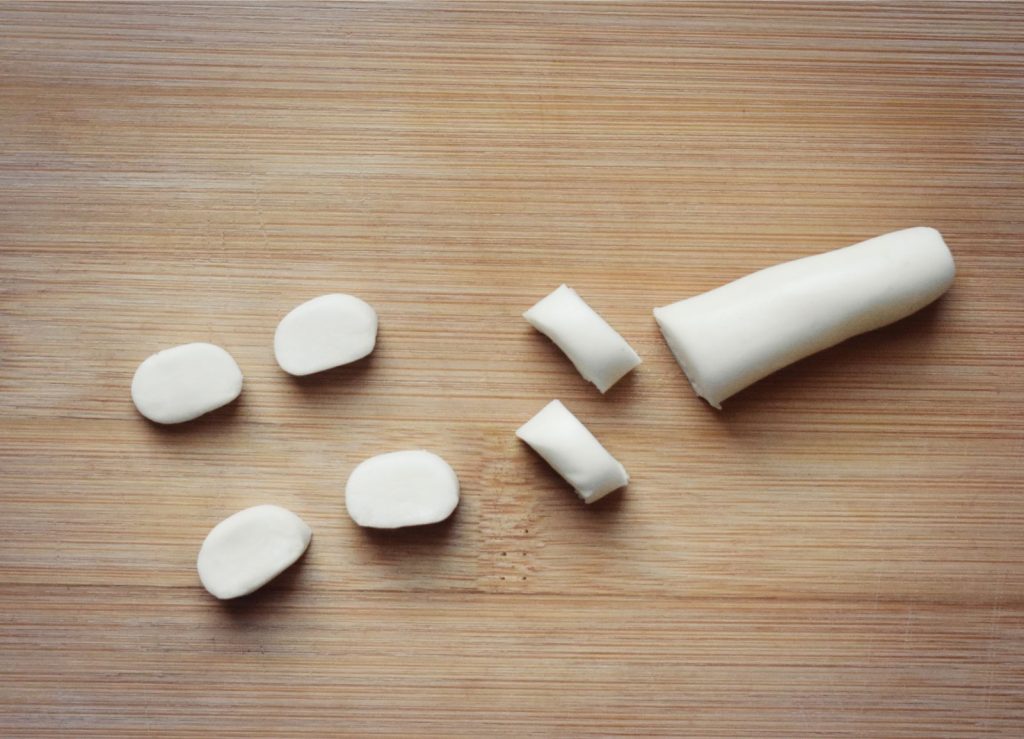
2. Take a small portion of dough and roll between hands to form a long cylinder (mine was about 1/2″ diameter). Place cylinder onto cutting board or plate and cut small (1/4″ or so) pieces. Carefully place pieces onto parchment covered tray.
Note: Don’t let the eye whites dry out before adding the pupils as they won’t stick as well!
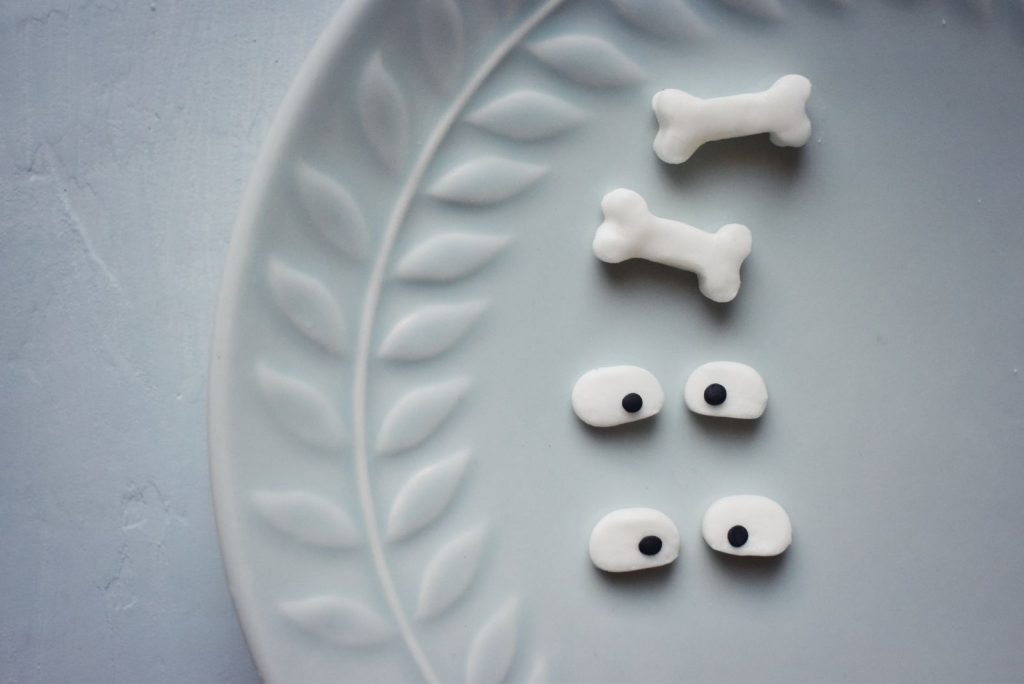
3. Take a small portion or dough and add a dot of black food colouring. This is quite messy, so you might want to wear gloves… my hands are always dyed with something, so I didn’t bother with gloves, haha. Mix in the food colouring until the dough is a uniform colour.
Take tiny bits of your black dough and roll between fingers, drop onto whites where you’d like to pupil to sit, then press down gently with a clean finger.
Let eyeballs dry several hours or overnight.
