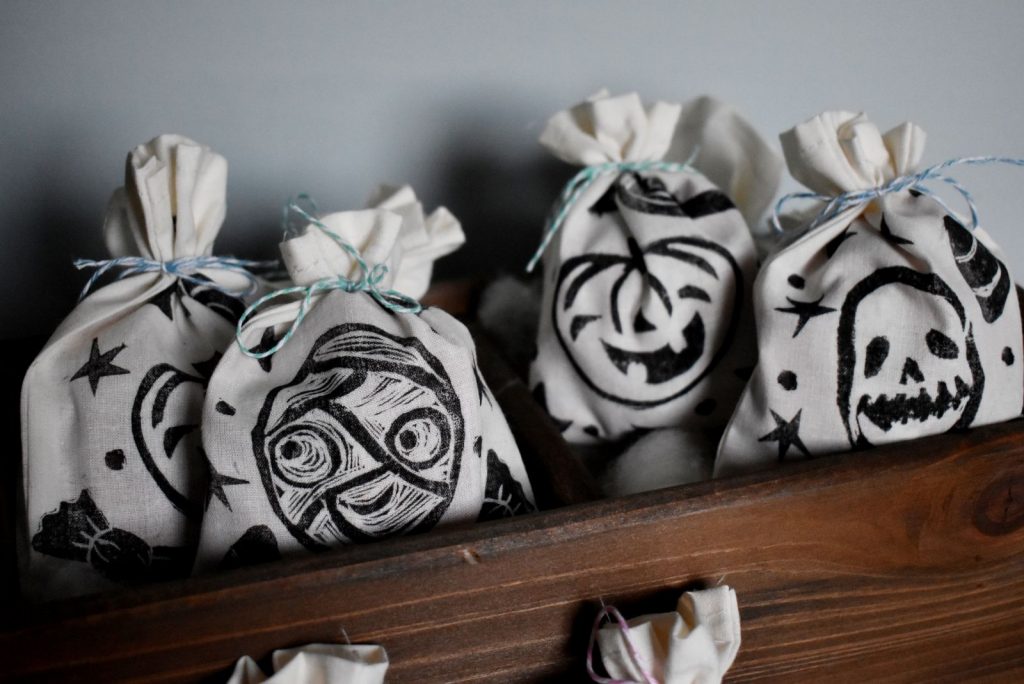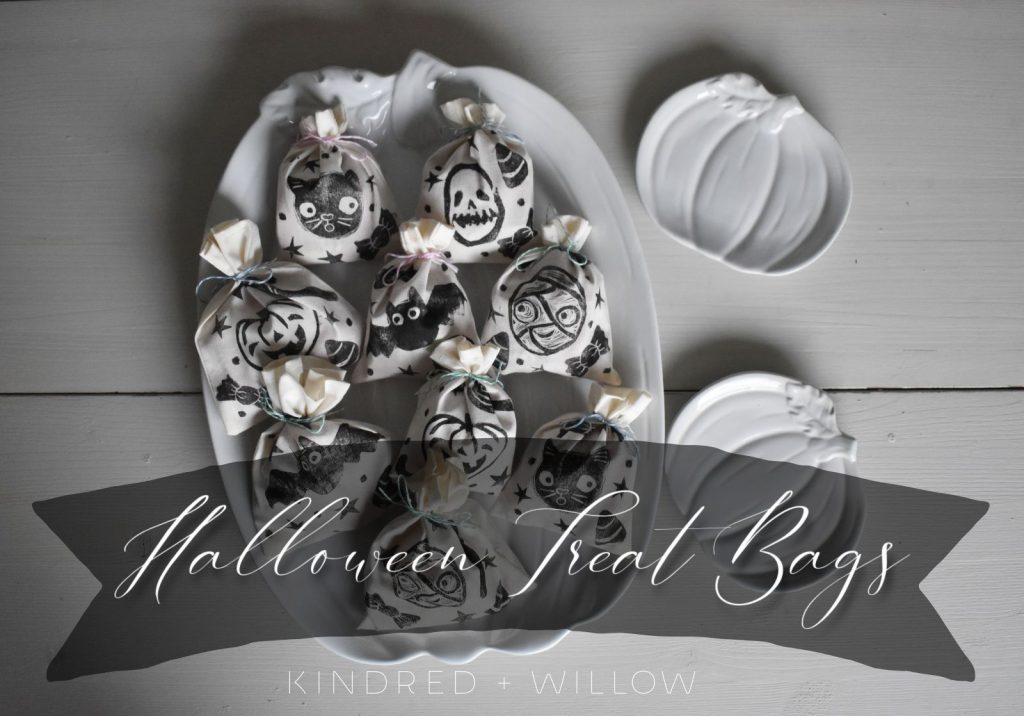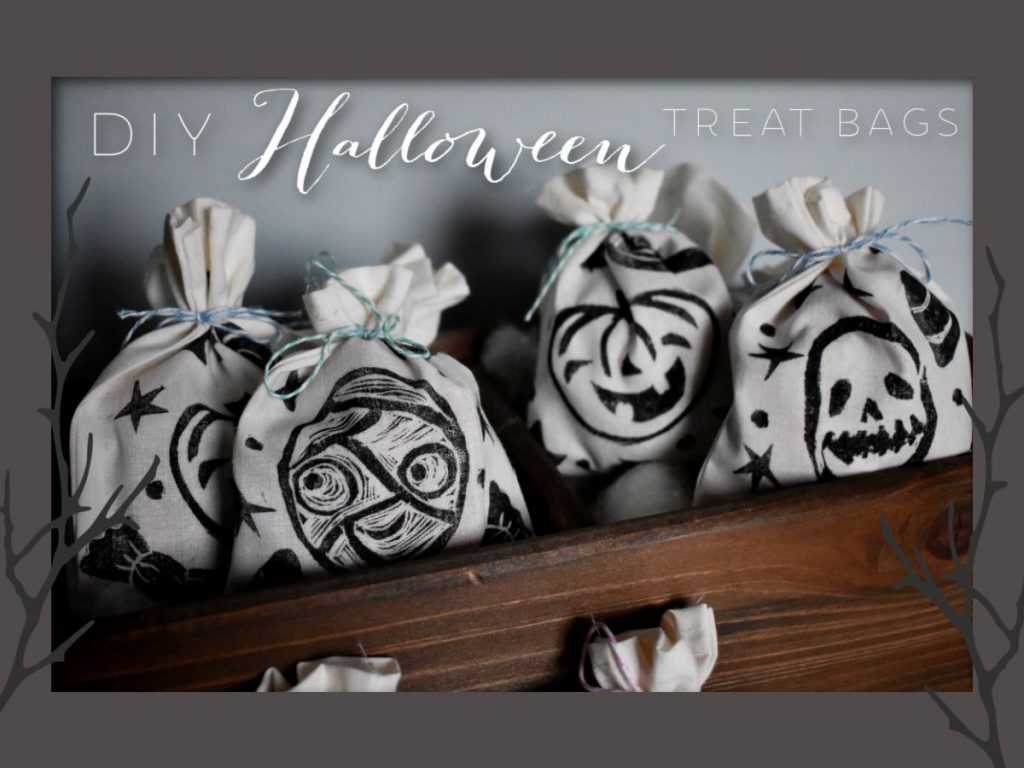
These DIY Halloween treat bags are so fun and easy to make and are great for filling with candies to give to friends and reuse again next year!
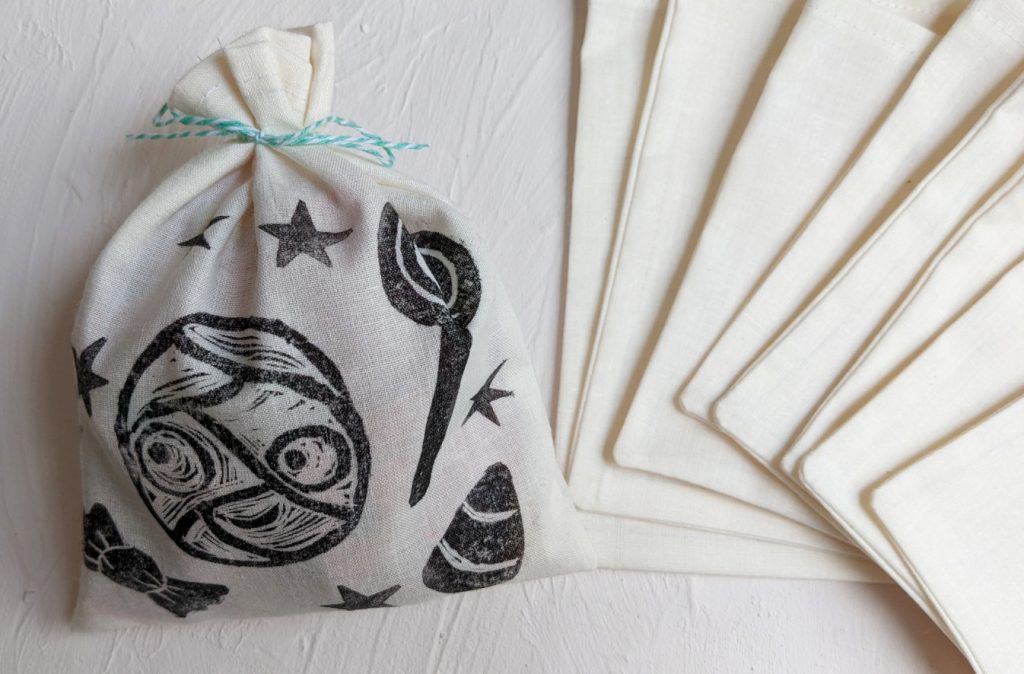
I made my bags by cutting pieces of muslin and cheesecloth that were about 5 inches x 6 inches, sewing the top edge and then sewing around three sides to create a little baggie.
Then just stamp with either store-bought Halloween stamps or make your own with my DIY Linocut Stamp tutorial! These are a great project for kids to get creative at Hallowe’en and they’ll love giving out their handmade creations to all their friends.
to jump to diy treat bag tutorial, please click here
how to make diy treat bags
what you will need
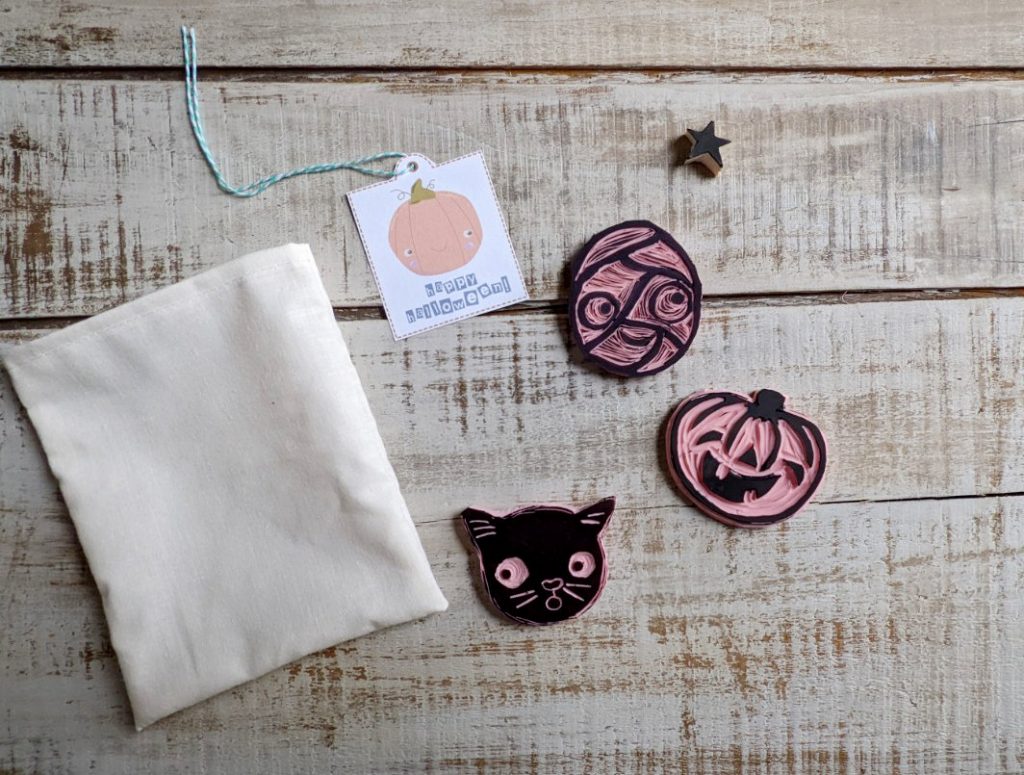
- Small muslin or cheesecloth bags (or make some of your own!)
- Hallowe’en stamps
- Black ink pad
- Baker’s twine
- Hallowe’en tags (if using)
- Treats!
- Gather all supplies and make up little bags by cutting 2 pieces of muslin or cheesecloth (I made mine 5 inches by 6 inches), sew along the top edges, then with right sides together, sew along three edges to form baggie. Trim seams and corners, turn right side out, and you’re done! These are pretty quick to make up, but you can also buy some small blank bags if you’re short on time!
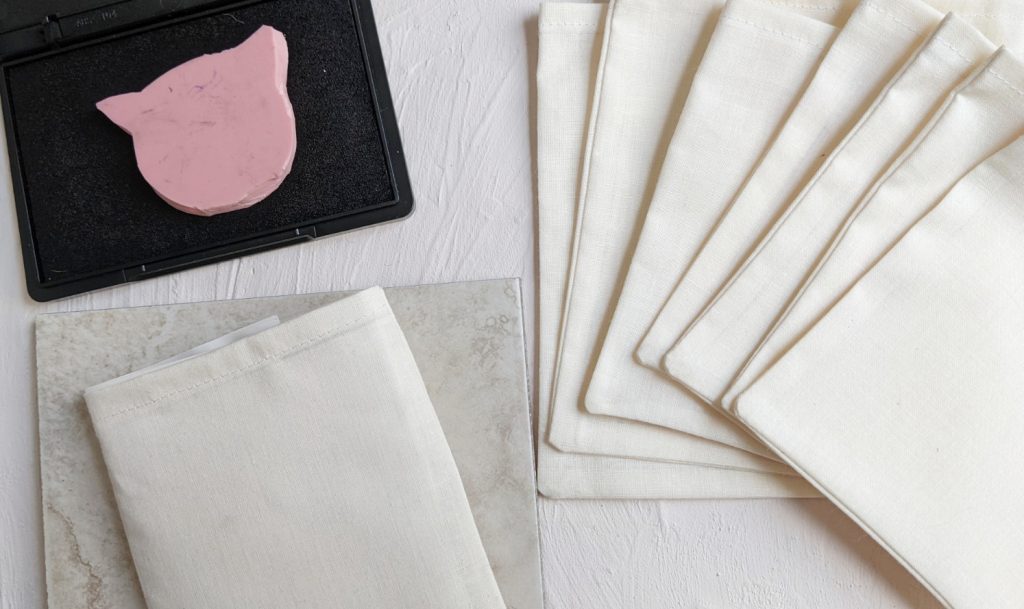
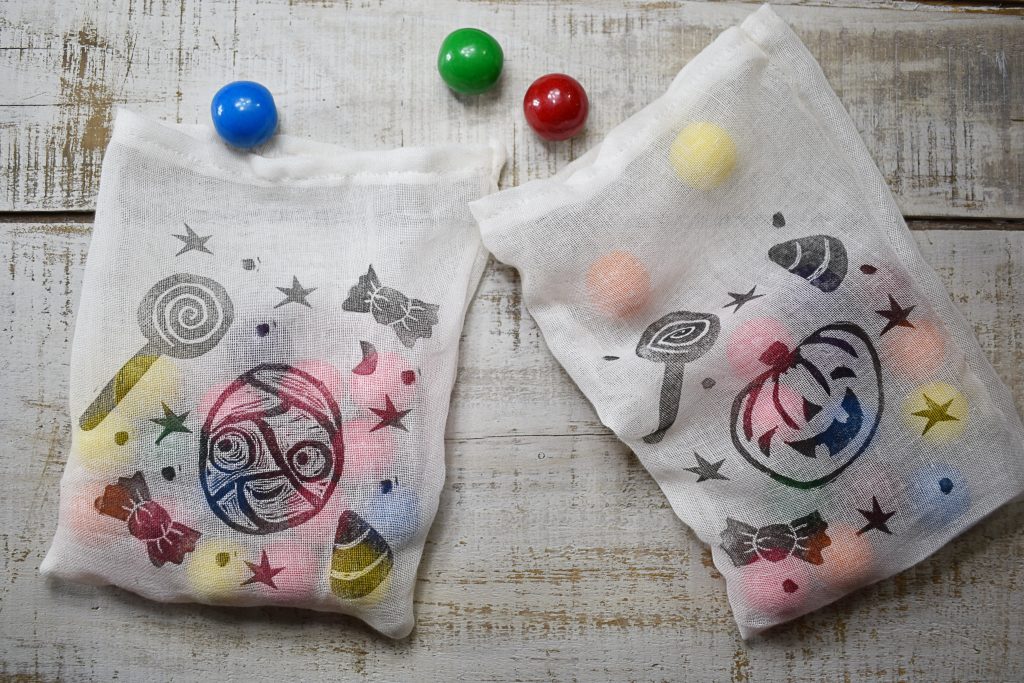
2. Gather your stamps and ink pad and start stamping your designs!
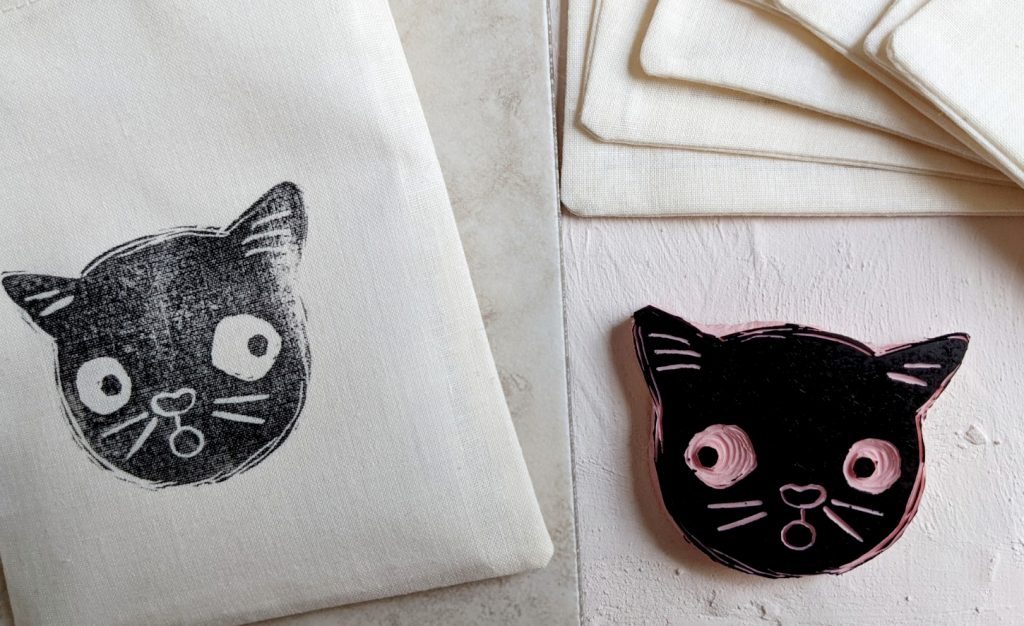
Don’t worry if your stamping isn’t perfect, I think it adds to the rustic nature of the project ♥

3. Once you’re happy with your stamped design, cut a short piece of baker’s twine, and add a little gift tag if you’d like.
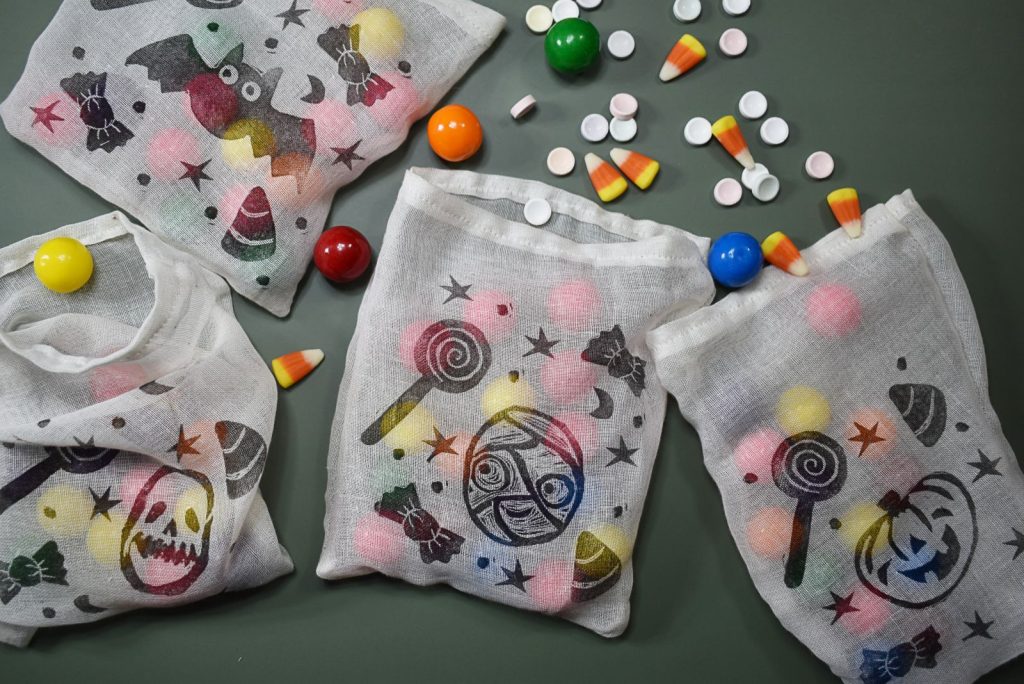
3. Wait a little bit to make sure your ink is dry, though I found it didn’t transfer even when I touched them right away. Then have fun filling with yummy Hallowe’en treats!

Have fun giving out to all your favourite little witches, ghosts, and goblins! Not sure if any child dresses as a witch, a ghost or a goblin anymore, but I couldn’t think of anything that had quite the same ring ♥