ghgHave you ever wanted a stamp that you just couldn’t find in the store? Or love a more ‘rustic look’ than those precise store-bought stamps offer? If yes, then you should try making linocut stamps!
If you’re not familiar with linocut printmaking, it is a type of printing in which you cut a relief into a piece of linoleum, apply ink and make a print either by hand or with a press onto paper or fabric.
I have loved this type of printmaking ever since I was introduced to it in highschool. The beauty of this type of printmaking is that it requires few tools and materials to get started and you can be as simple or intricate as you like in creating your piece for printing.
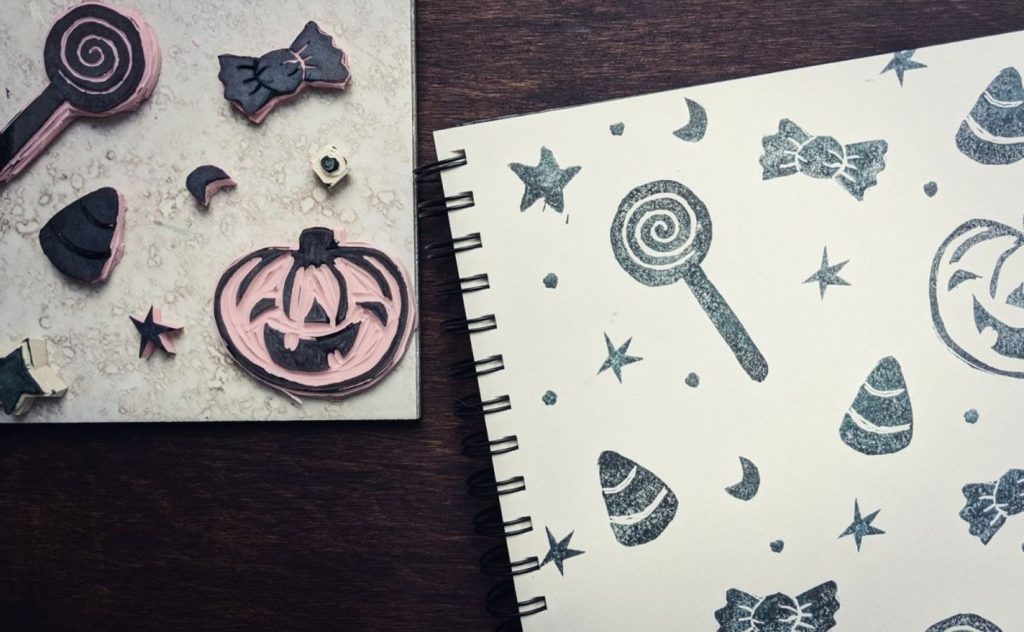
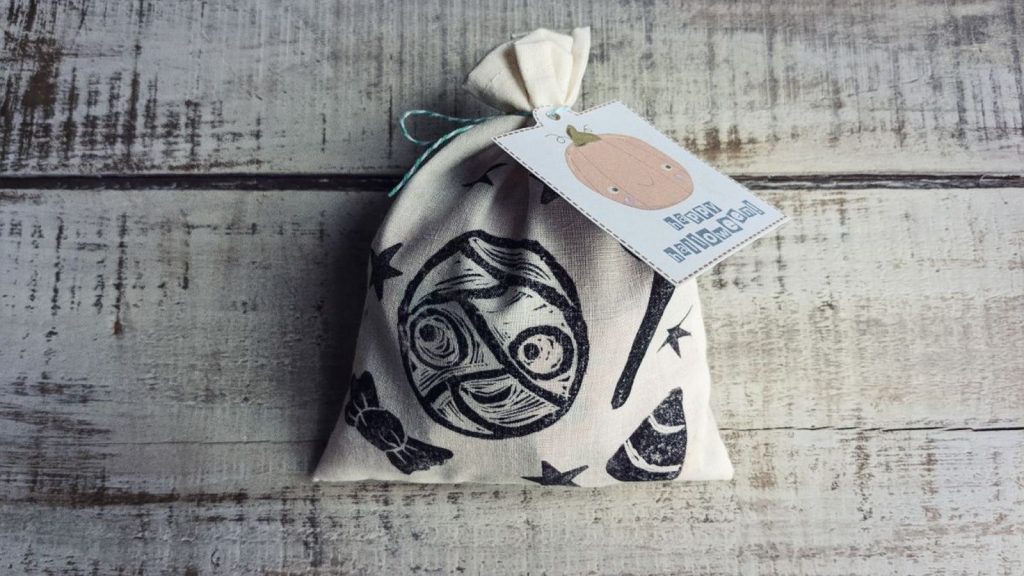
Creating linocut stamps is a great way for older children to get creative and is also a wonderful introduction to printmaking! After you have made your stamps you can then use them for making cards, wrapping paper, wall prints or even print onto fabric and use your designs in your sewing projects (just be sure to use fabric ink!).
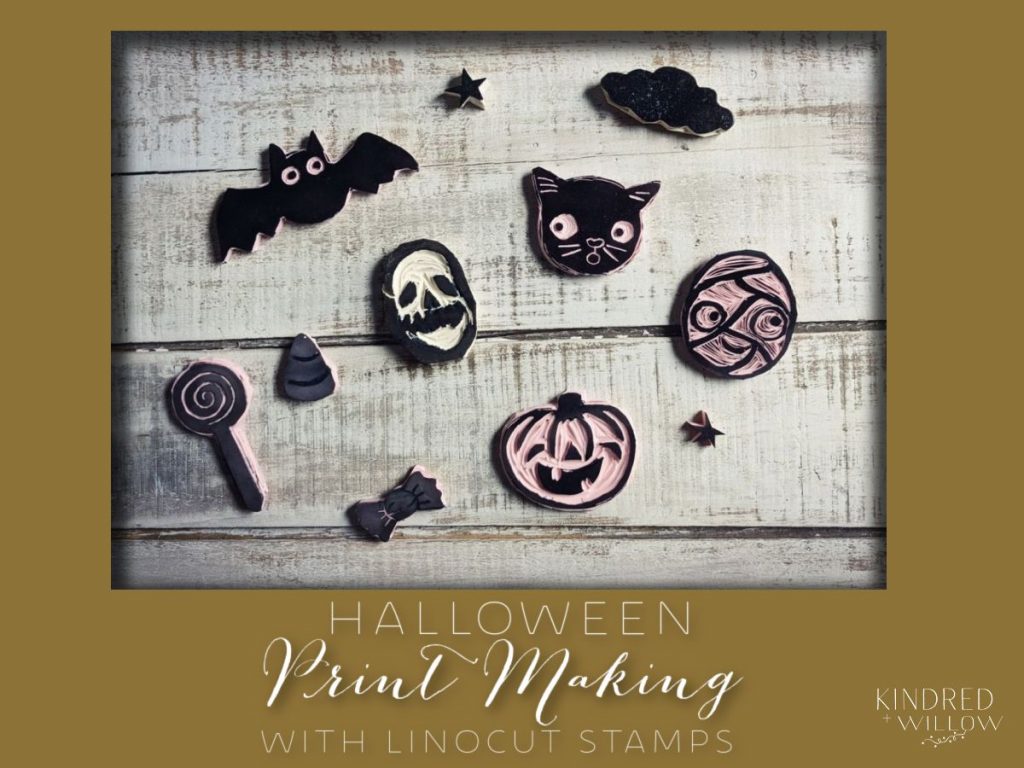
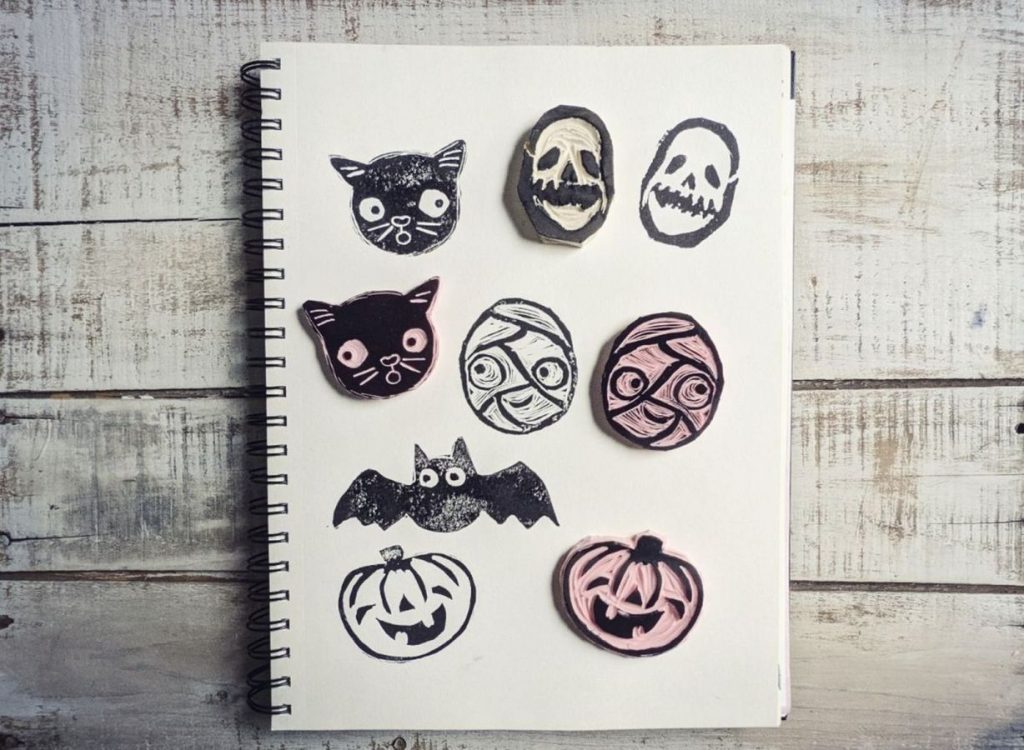
I wanted to make some vintage-looking Hallowe’en stamps, so I dug out my old lino tool (the same one I had in high school!) and got to work. I had lots of fun making these little pumpkins, ghosts, bats and mummies and now I’ll have to put them to use making prints in time for Hallowe’en!
If you’d like to give this a try, please scroll down for the simple tutorial ♥
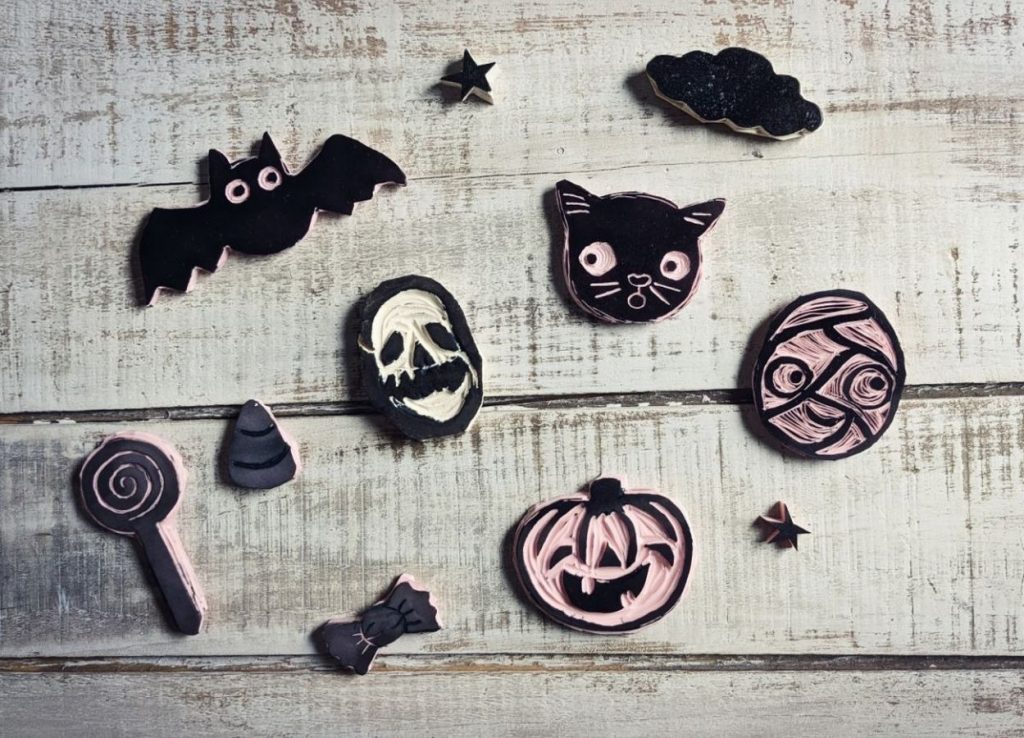
how to make linocut stamps
what you will need
- Lino cutting tool
- Carving block
- Ink (I just used an ink pad for this tutorial but you can use any printmaking ink)
- Pen
- Paper
- Carving surface such as a wood block, tile, etc. or anywhere really you don’t mind getting nicks.
- Brayer *optional – a roller to ink your stamp if using printmaking ink
NOTE: The lino cutter pieces are quite sharp – please take care whilst carving!
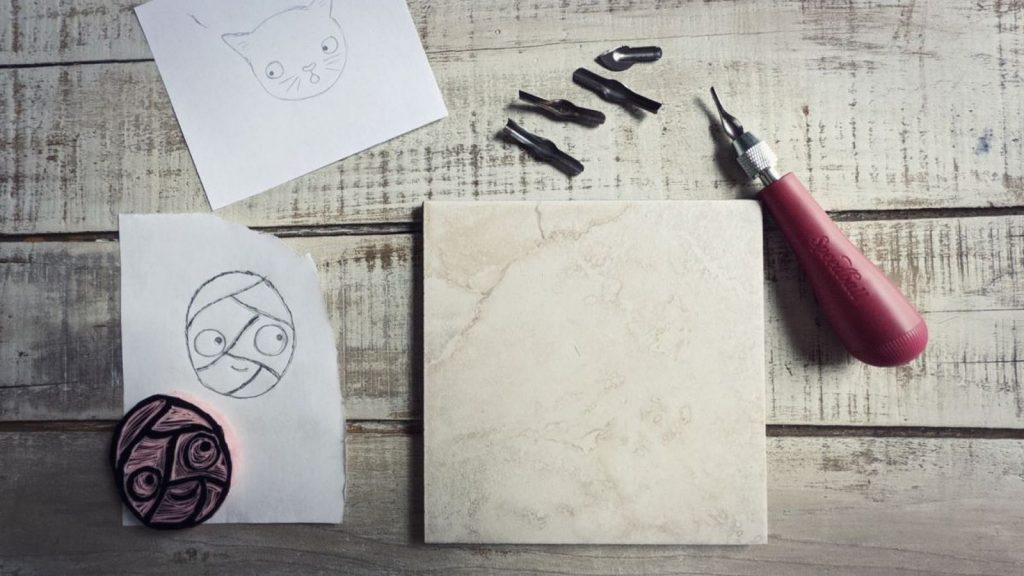
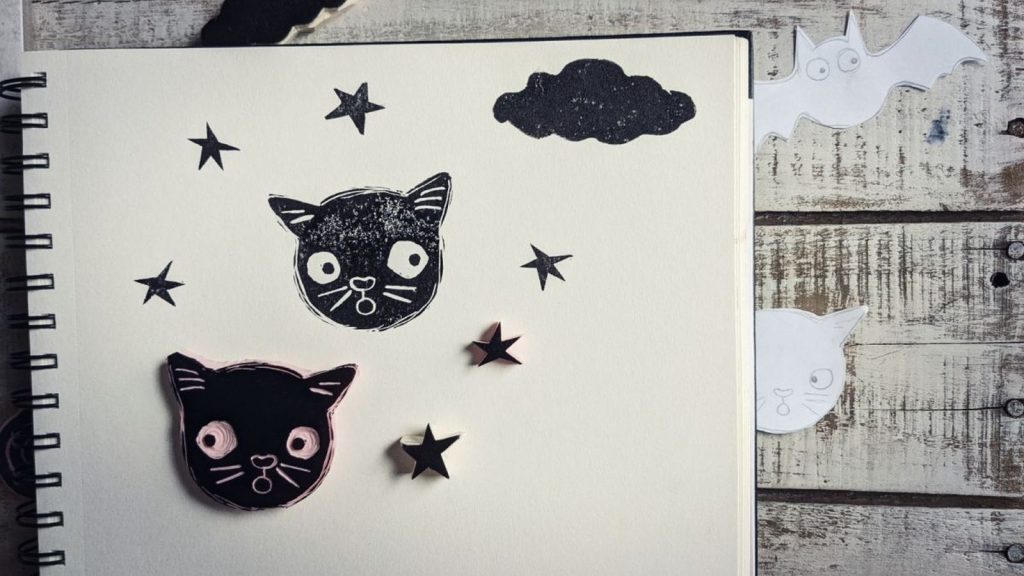
- Draw out your design on paper. Remember that any parts you carve out will remain white (un-inked) and any parts that are uncarved will be dark (inked).
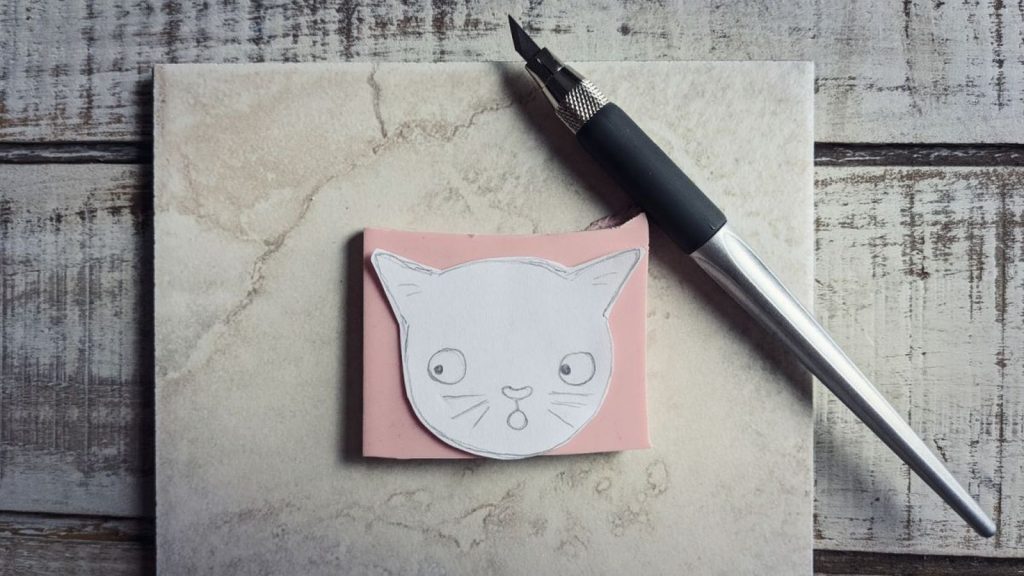
2. Cut out a piece of linoleum just a bit larger than your design. Then trace your design onto the linoleum. I just traced around mine and then drew a similar face, but you could transfer your design directly by colouring the back of the paper with pencil, placing it on your linoleum piece and then tracing over your design to transfer the markings.
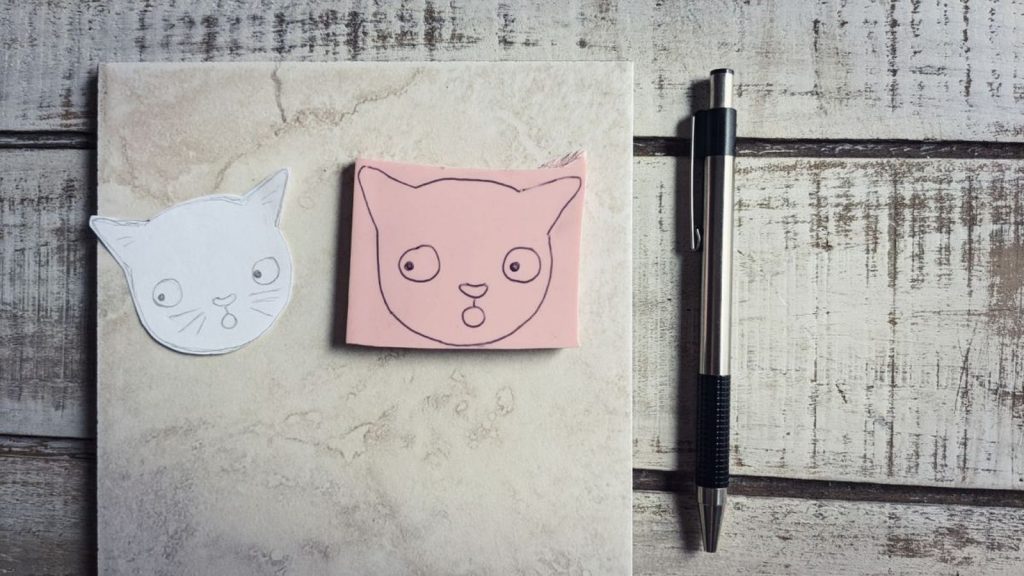
3. If you have transferred your design with pencil, go over with pen so it is easier to see your markings as you carve.
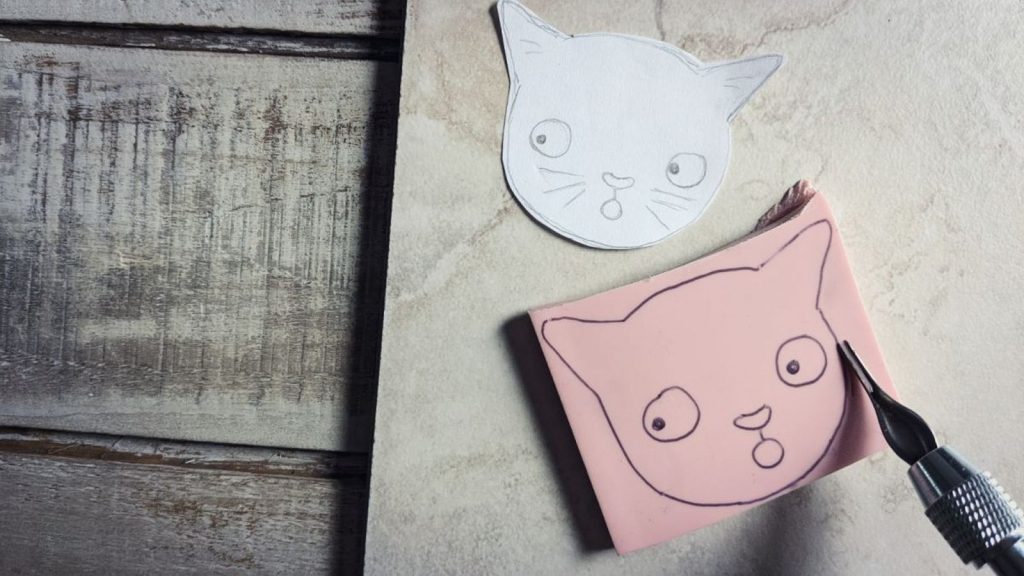
4. Begin carving using your lino cutting tool. I usually start off with the finest cutter to get the basic shape carved out and then go in with the larger cutters to carve wider areas.
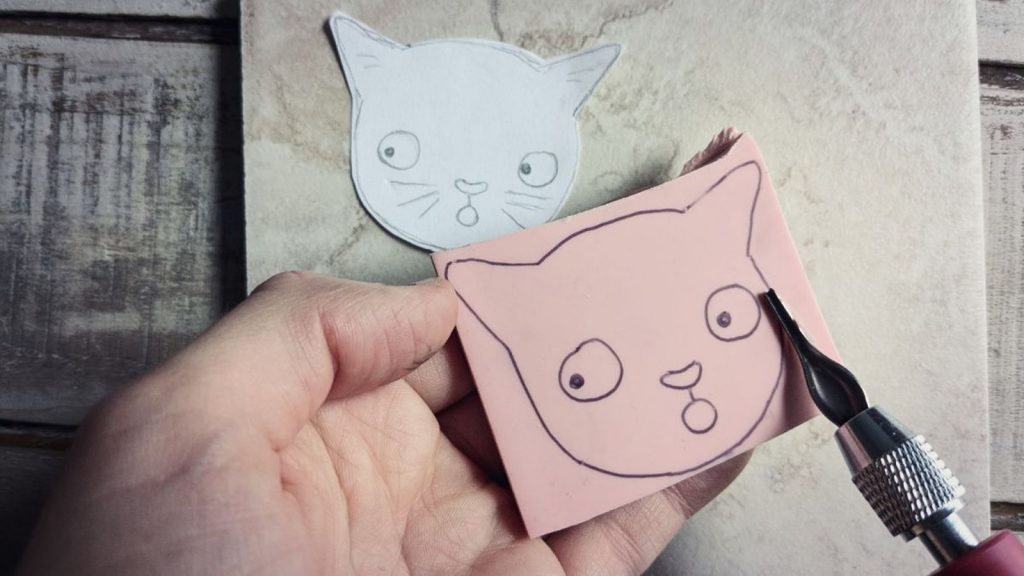
It can help to pick up the piece to carve, just be careful to mind your hands as you go – the tool is very sharp and can slip pretty easily – I remember quite a few wounds from my highschool linocutting days!
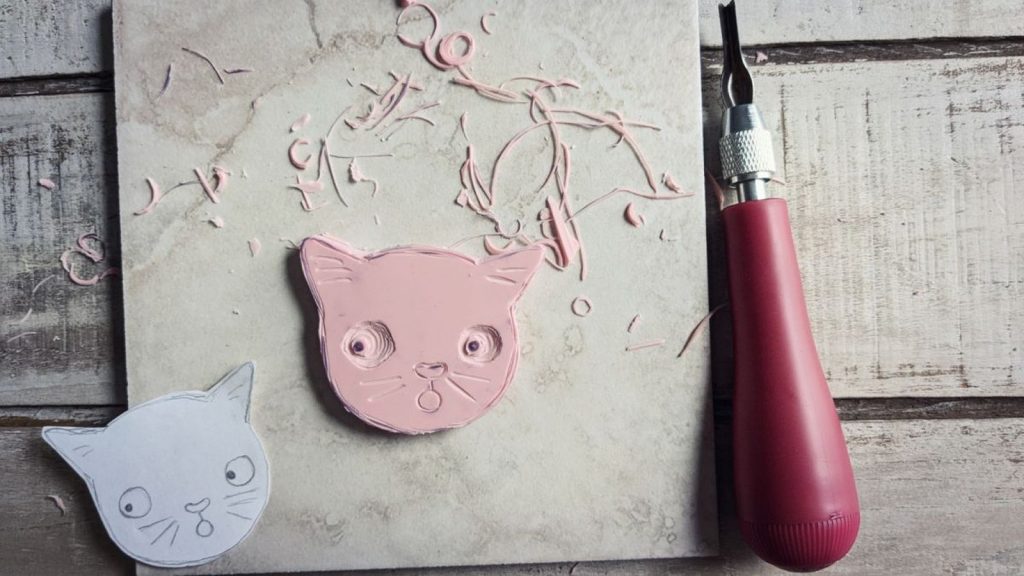
5. If you’d like you can cut around the perimeter of your design so that it is a cut out stamp, or you can leave it as is if you want your design to have a background. Your tool should come with a tiny knife for doing this, otherwise an X-Acto knife or similar works well too.
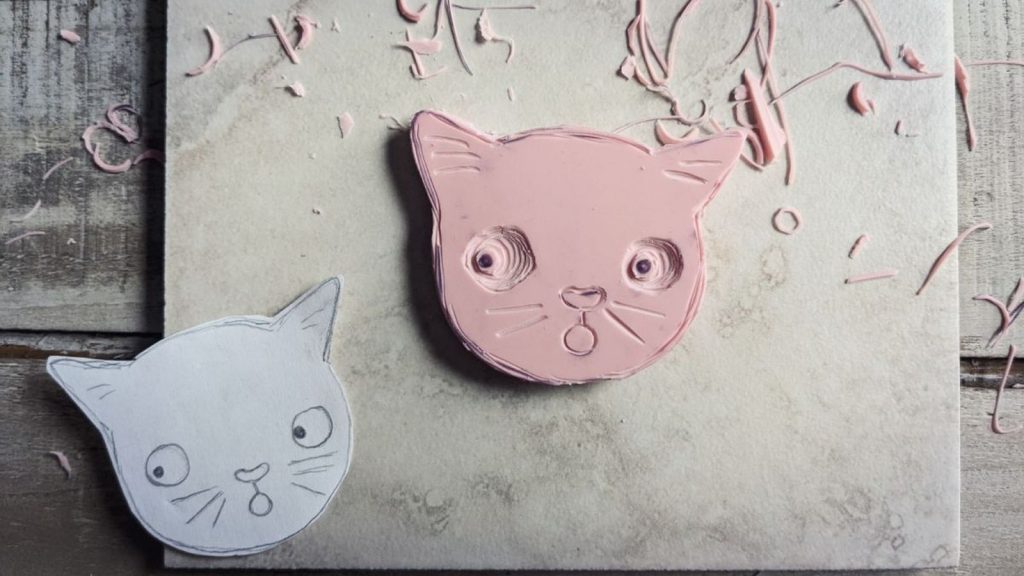
6. Once you’re happy with your carved block, you’re ready to print! Before printing, make sure to sweep off your block and turn it over and tap it against a surface to get any remaining pieces of cut linoleum that might be stuck in the grooves of your carved areas.
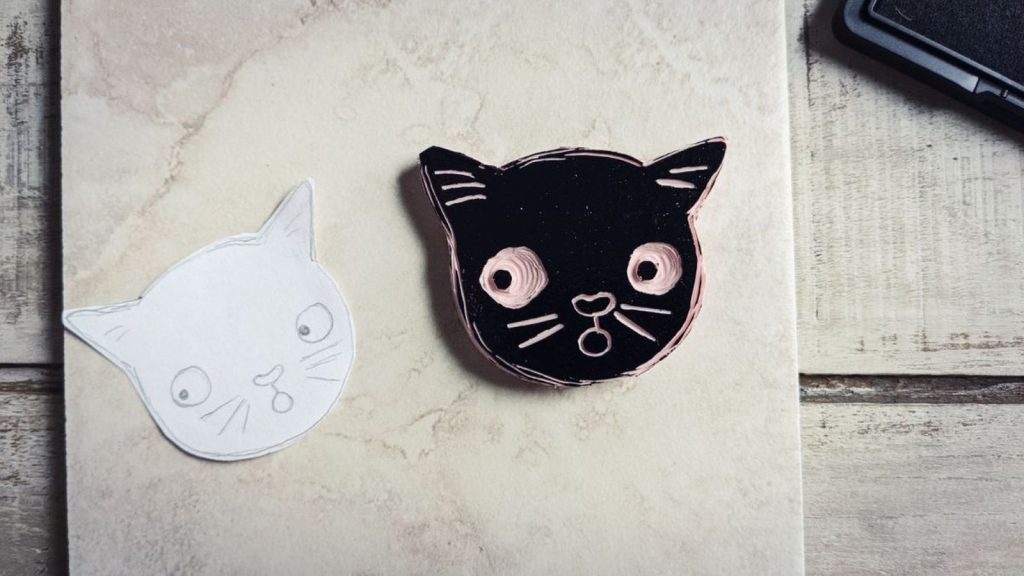
7. Now ink up your stamp and try your first print! If you’re unhappy with any areas of the printed image, you can always go in with your cutter again and make some changes.
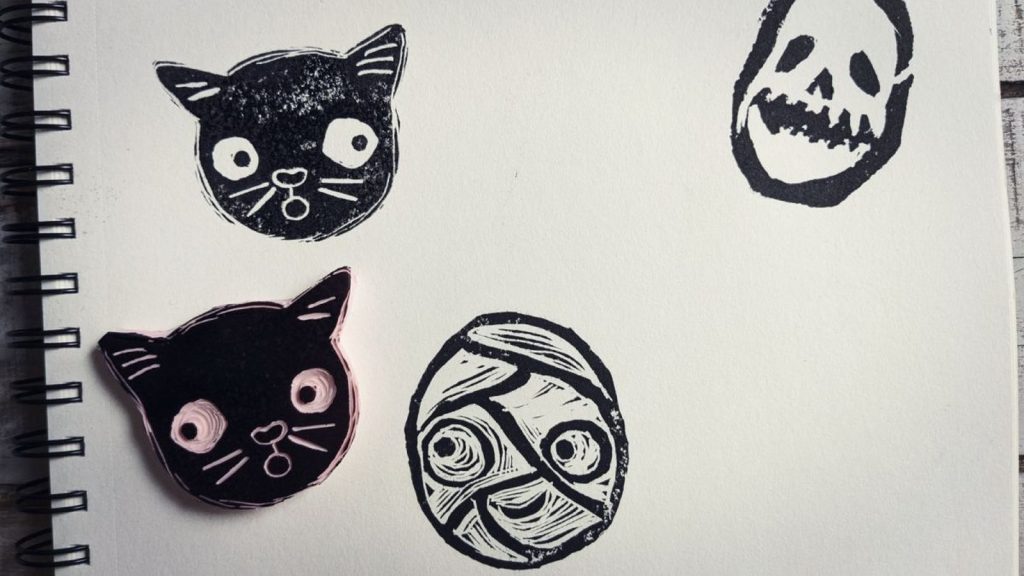
8. Have fun making lots of Hallowe’en themed prints!
ideas for using lino cut stamps
- Cards
- Wall print
- Wrapping Paper
- Fabric print
- Fabric wrapping for gifts (Furoshiki style)
- Hallowe’en bunting or banner
- Reusable treat bags
If you enjoy my content, please consider following me on Pinterest or Instagram or keep in touch by subscribing to my newsletter ♥


