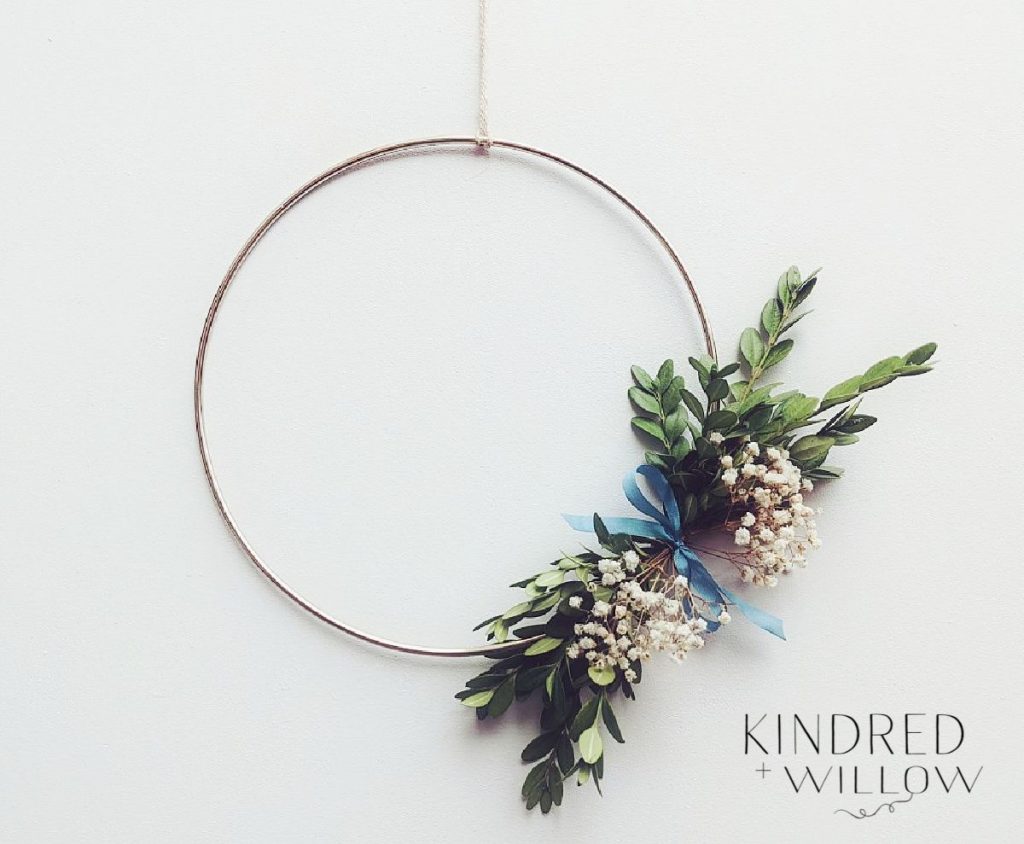
This is quite a simple little wreath you can make up very quickly and easily! It’s great if you’d like to add a little freshness to your home or to make up as a quick and easy housewarming gift. My son (who loves making Lego stop-motion videos) inspired me to make a little stop-motion video of my own (above) to show how easily the wreath comes together – now that I have a proper tripod hopefully my future stop-motions will be a little less wonky!
I made the wreath in this tutorial with fresh boxwood and some preserved baby’s breath. Boxwood is great for wreaths because it lasts quite a long time before it starts to lose colour and go brittle and baby’s breath lasts well even if you just hang it to dry. To make your wreath last even longer, I would recommend preserving the boxwood before putting your wreath together using the glycerin method – I will post the instructions for that below.
I used the glycerin method to preserve some fresh eucalyptus I bought from a lovely little shop here in Toronto called Pictus Goods. Pictus sells fresh as well as dried flowers and I love the big bunch of eucalyptus I got from there a few months back – they’re still looking great thanks to preserving them with glycerin. Pictus is an eco-conscious flower shop and I love to support such lovely businesses ♥
Boxwood and baby’s breath are fairly easy to come by so I thought they would work well in this simple wreath. Many people will have (or know someone who has) boxwood in their yard and baby’s breath is often found in fresh flower bunches and is easily saved and dried, so hopefully you will be able to attain both of these fairly easily. Of course, you can also add in whatever other plants and flowers you fancy!
how to preserve boxwood with glycerin
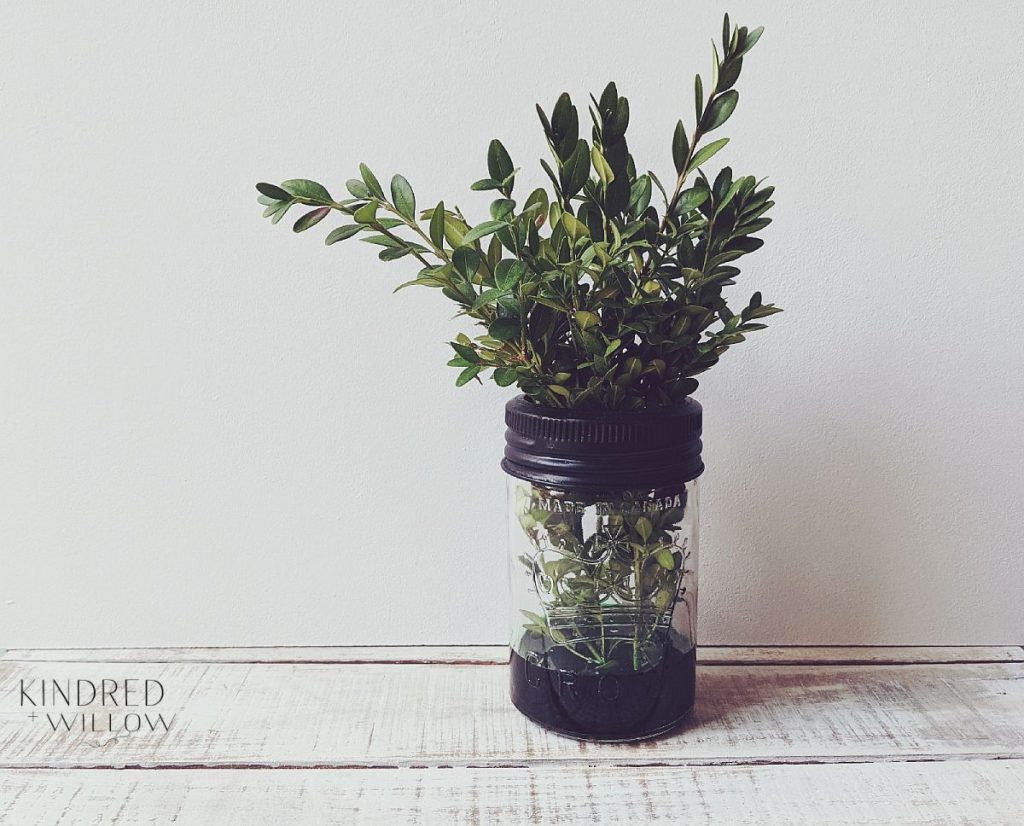
what you will need for preserving boxwood
This makes a small amount of solution for preserving boxwood, if you want to preserve a lot of stems, you will want to double or triple this amount. The most important thing is to make sure that your solution is made up of 2 parts water to 1 part glycerin.
You can use this method for preserving a number of plants including baby’s breath, statice, eucalyptus and many more – just be sure to leave out the green dye if preserving flowers such as baby’s breath.
- 1 cup hot water
- 1/2 cup glycerin (you can find this at most drugstores)
- 1 tsp green food colouring – I used the gel food colouring
- 1/4 tsp citric acid powder
- Bowl or bucket that you won’t need for awhile (ie. around 1-2 weeks)
- Boxwood stems – choose the best quality stems without any dryness or missing leaves.
- Mix glycerin, food colouring and citric acid into the hot water, stirring well until all ingredients have dissolved completely into the water.
- Tap the end of each boxwood branch with a hammer to break up the end (this helps the plant draw up the solution more easily)
- Once your solution is cool, place the boxwood stems in the bowl and make sure the cut ends of all the stems are immersed in the solution and not too crowded – you might want to use multiple containers so the stems have plenty of room.
- Place boxwood somewhere it won’t be disturbed.
- Let sit for around a week or two or until it has soaked up all the solution.
This preservation technique is wonderful for preserving plant materials as it makes plants pliable and preserves their colour for quite a long time!
sweet spring & summer wreath tutorial
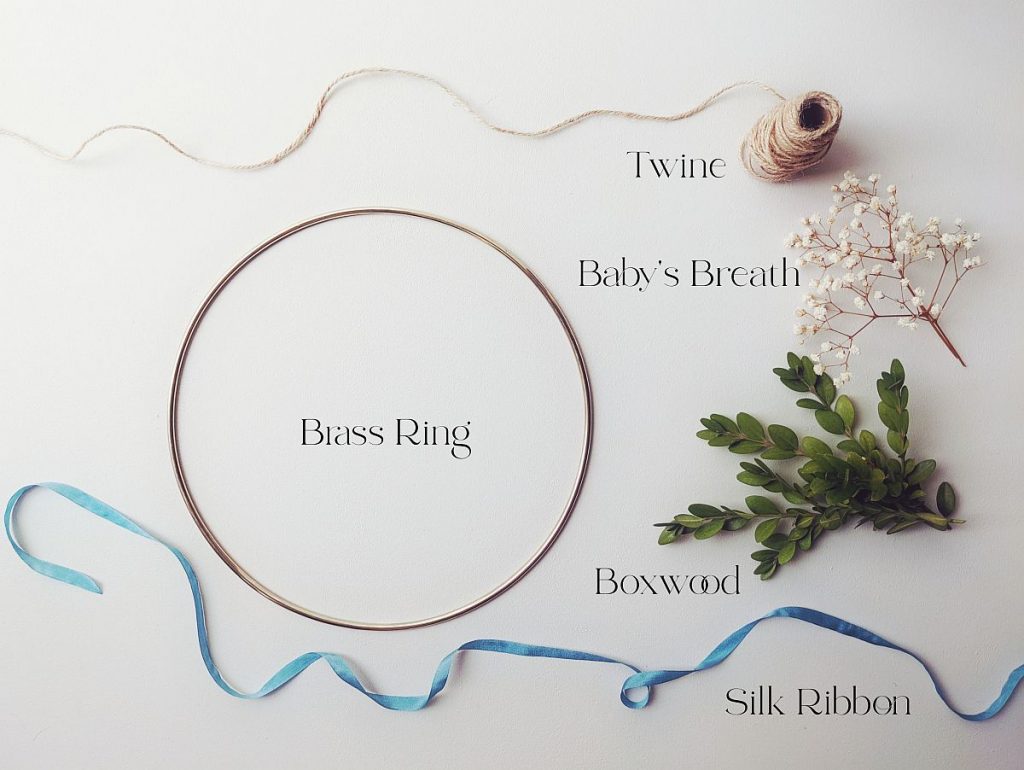
what you will need
- Boxwood stems
- Baby’s Breath stems
- Floral stem wire
- Brass ring – the one I used is 9 inches diameter
- Piece of twine – about 20 inches long.
- Silk ribbon – about 14 inches long
how to make sweet spring & summer wreath
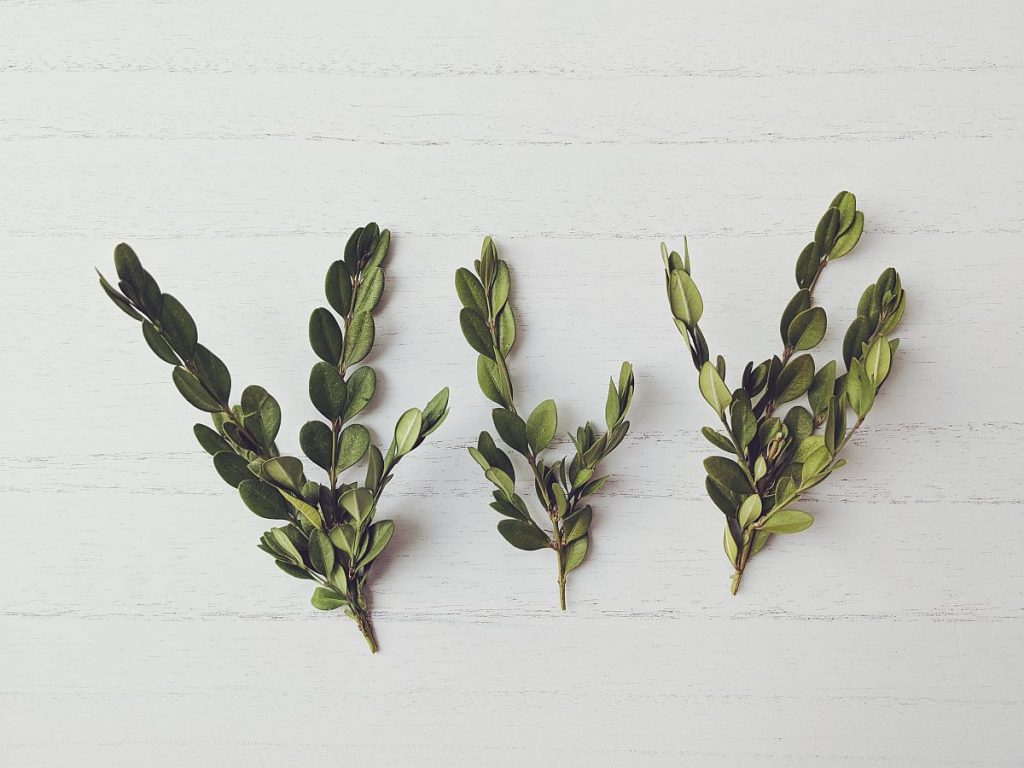
Step 1: Trim your stems of boxwood so you have a variety of larger (above) and smaller (below) pieces.
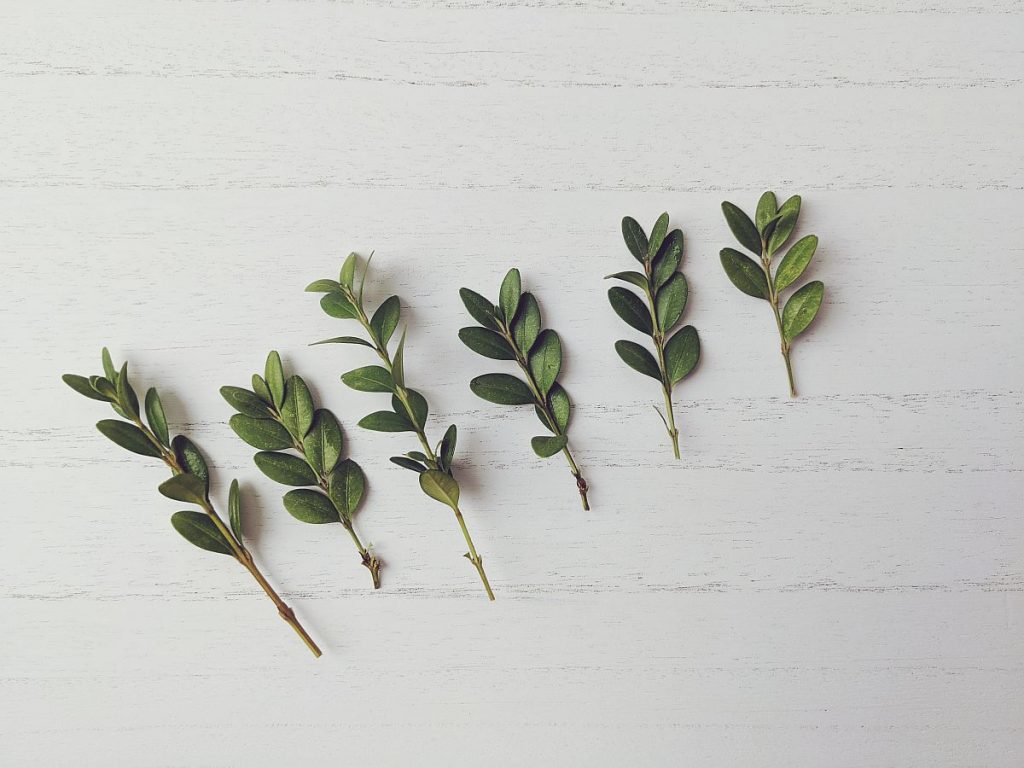
Step 2: Take off the lower-most leaves on each stem so it will be easier to attach to the ring.

Step 3: Prepare the baby’s breath by cutting a few small pieces and divide into two bunches. Cut a length of silk ribbon about 14 inches long. My piece in the photo was way too short, I had to cut another!
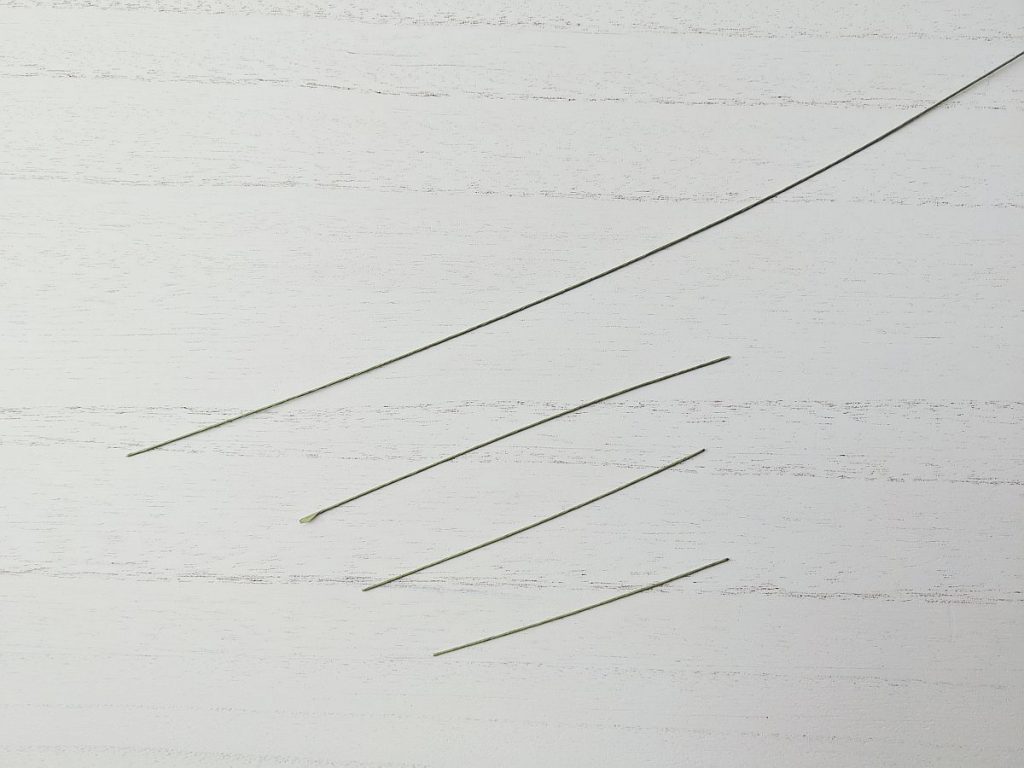
Step 4: Cut your floral wire into a few shorter lengths of about 4 inches long.
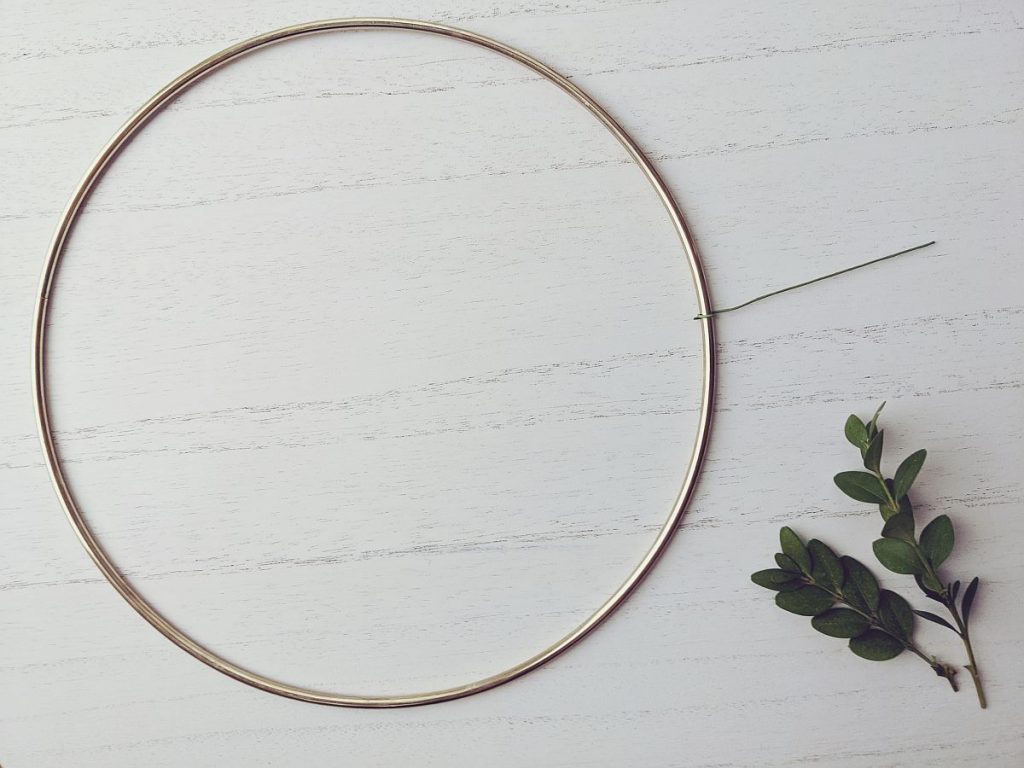
Step 5: Take one of your short pieces of wire and wrap it onto the brass ring a couple times, leaving a length to the side, as shown.

Step 6: You are first going to attach the larger boxwood stems you prepared: lay a piece on top of the brass ring where you placed the wire and wrap the wire over the stem and around the underside of the ring a couple times.
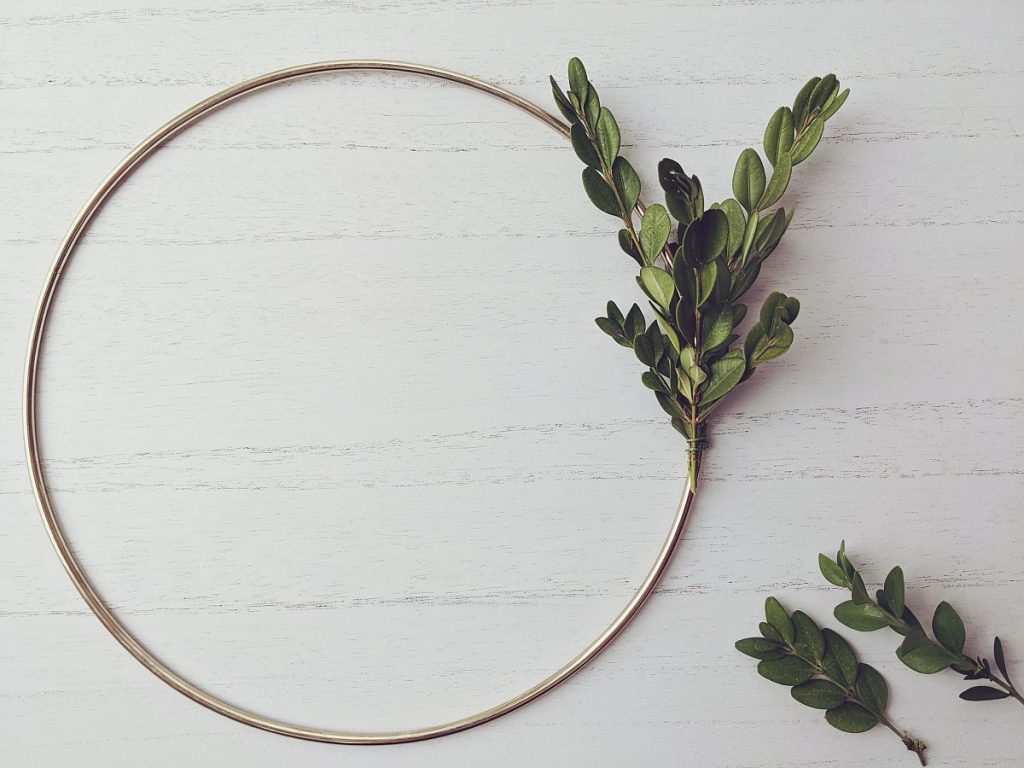
Step 7: Now start attaching some of the smaller stems of boxwood in the same manner, adding more wire as needed. I found it’s easier to work with smaller pieces of wire, especially if you need to take a piece off the make an adjustment – then you won’t end up having many pieces fall off if they were attached with one wire.
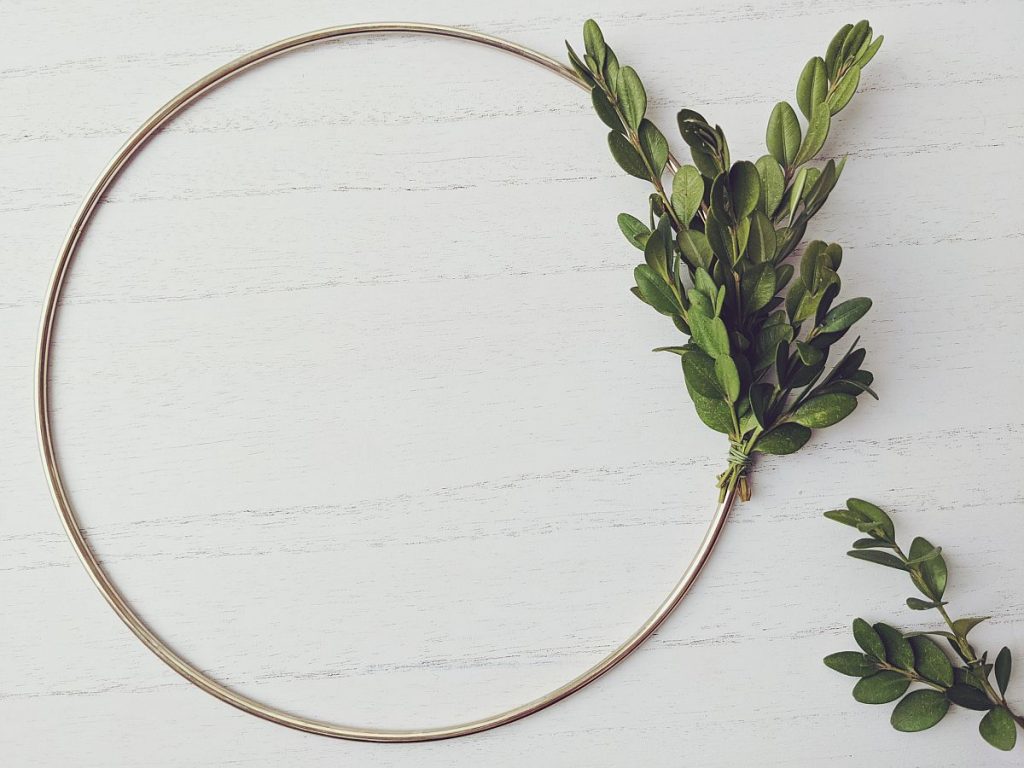
Step 8: Continue added wire as needed and building up the boxwood stems adding several small pieces atop one another. I kept my wreath fairly spare, but you can add as many as you’d like!
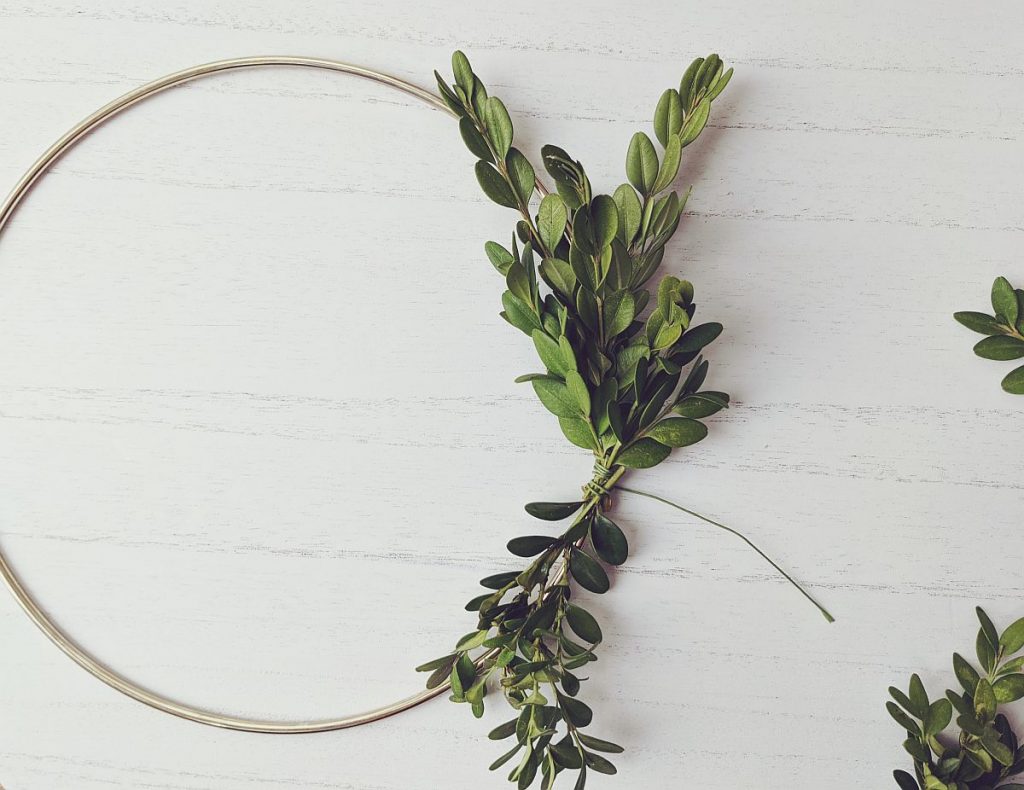
Step 9: Once you’ve got all your stems on as you’d like them, take one more piece of wire and wrap around the middle of everything to make sure it’s all secure.
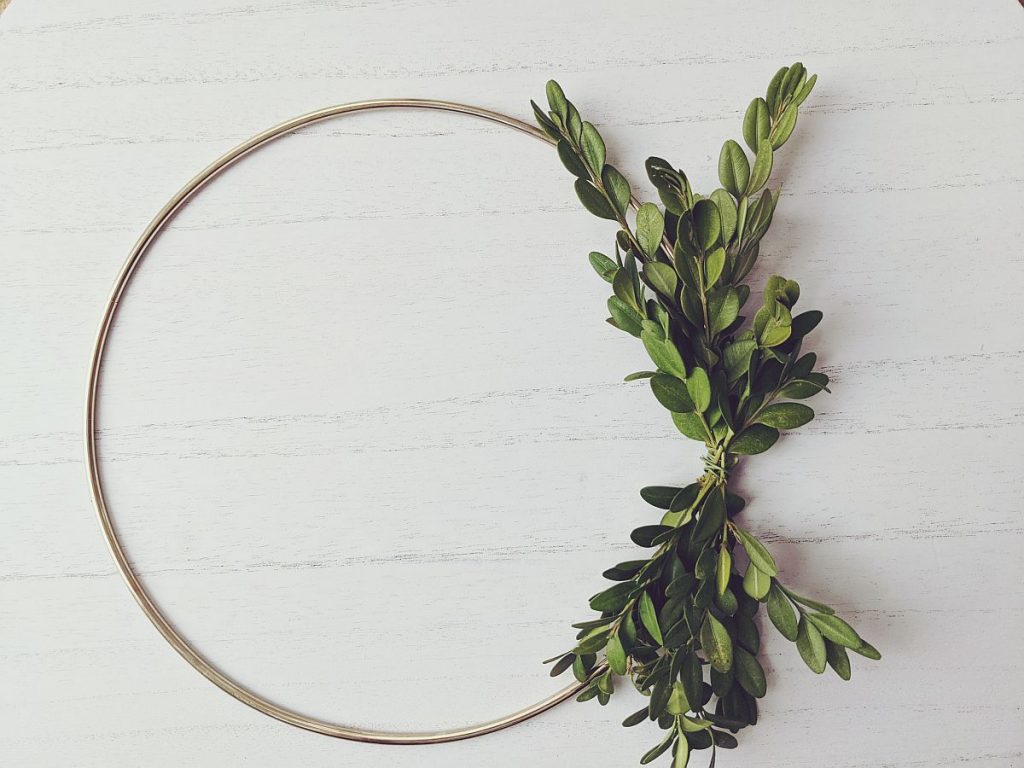
Step 10: You can twist the stems a little to arrange them so that the tops of the leaves are mostly facing outwards.

Step 11: Now it’s time to add the baby’s breath! Take one little bunch of flowers and lay them so the stems are in the middle of the boxwood – attach them with the floral wire in the same way as the boxwood. Attach your second bunch once you’re happy with the arrangement of the first bunch.

Step 12: Take your silk ribbon and make a nice little bow in the centre being sure to cover the wire. Trim the ends of the ribbon on an angle to avoid fraying. Cut a length of twine about 20 inches long and knot the ends, lay the brass ring on top of the twine, then pull the knotted end through the loop of the twine to secure it to the brass ring.

Step 13: Slide the flower arrangement so it is to one side of the ring, not quite to the bottom and slide the twine to the top. Very gently ‘fluff’ up the baby’s breath slightly so it’s not lying too flat.
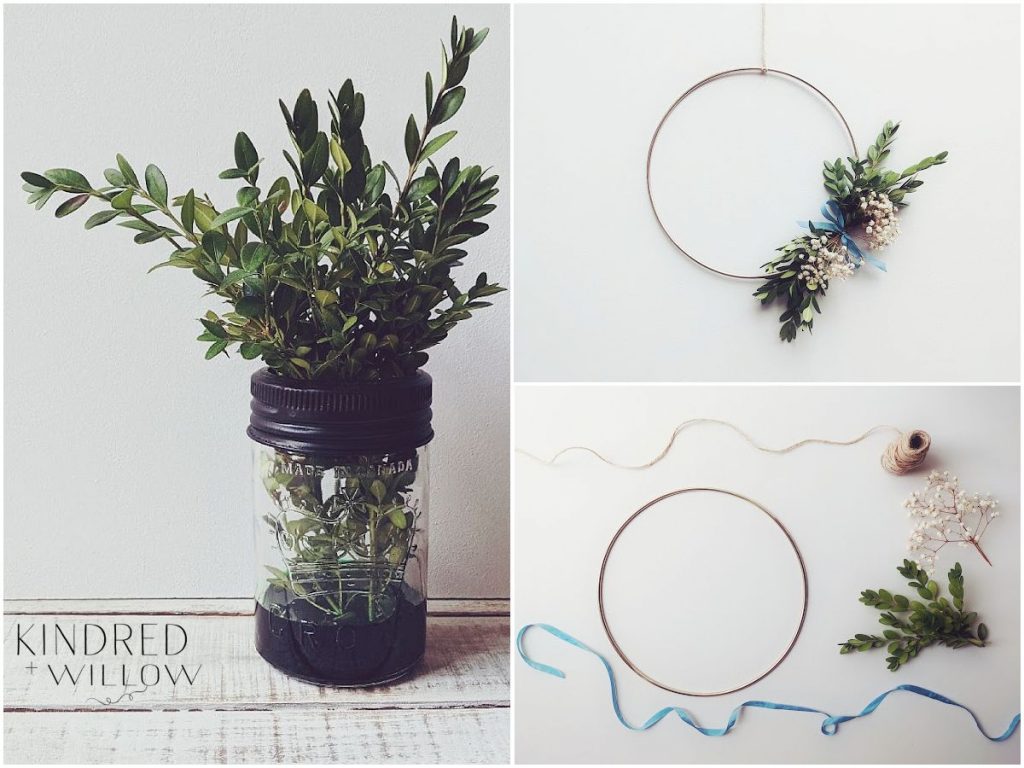
Et voilà! Your simple spring & summer wreath is complete and ready for hanging up ♥


Leave a Reply