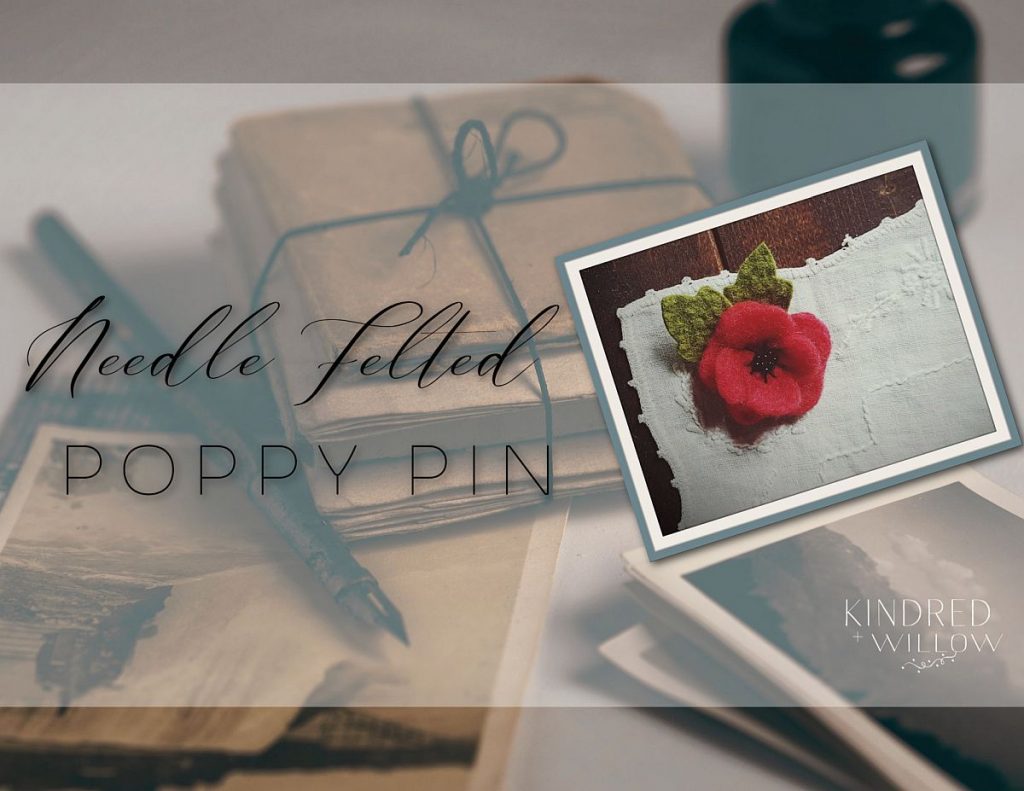
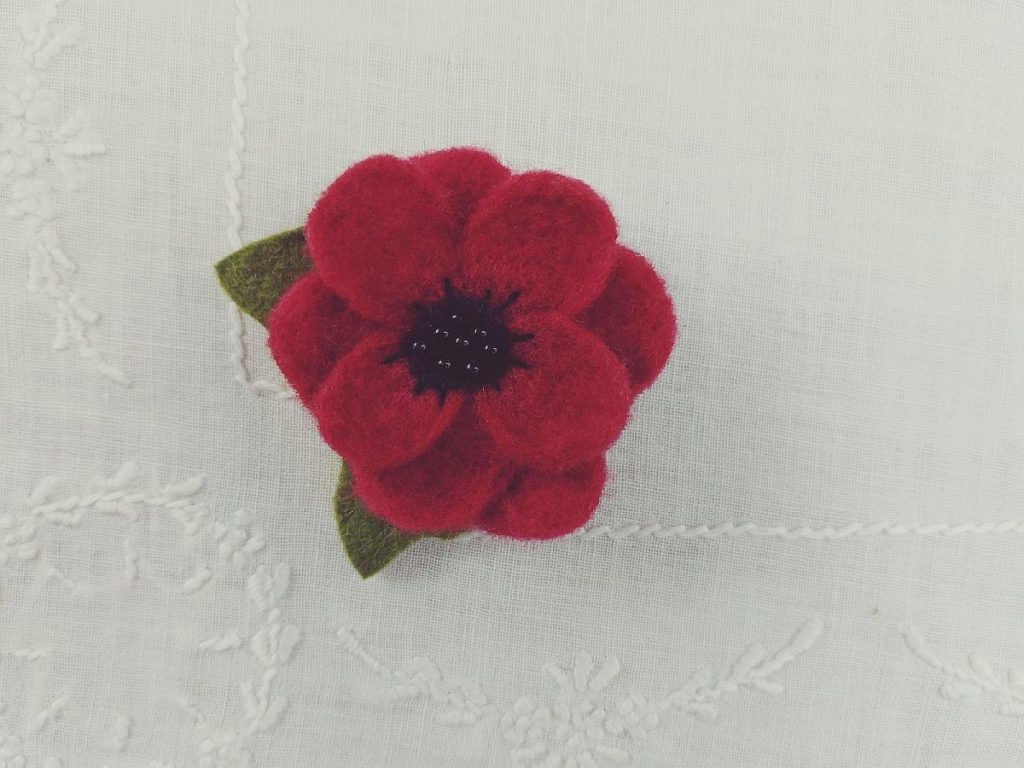
I had the idea to make a Remembrance Day poppy pin for my daughter back when she was in Kindergarten. I thought this would have a better chance of staying on her coat and not getting lost since I made it with a closeable pin clasp. That is the original poppy pin you see in the main image – still looking fresh quite a few years later!
I’ve had quite a few requests to make these for others after seeing my daughter’s pin, so I thought I would put a little tutorial up here for any crafters who would like to try their hand at making one. If you do decide to make your own poppy, please remember to make a donation to your local veteran’s association or drop some coins in the poppy collection box at the store ♥
If you have never needle felted before, this simple poppy brooch is a great place to start as it is quite straightforward and there are not too many steps in the process. My daughter is twelve and made one last night as a gift for her teacher and she asked if I would post up a photo of hers to show everyone that kids can easily make these too. Of course, in the rush to get ready for school this morning, we forgot to take the photo! Hers turned out so lovely though – she was so proud of it and excited to give it to her teacher.
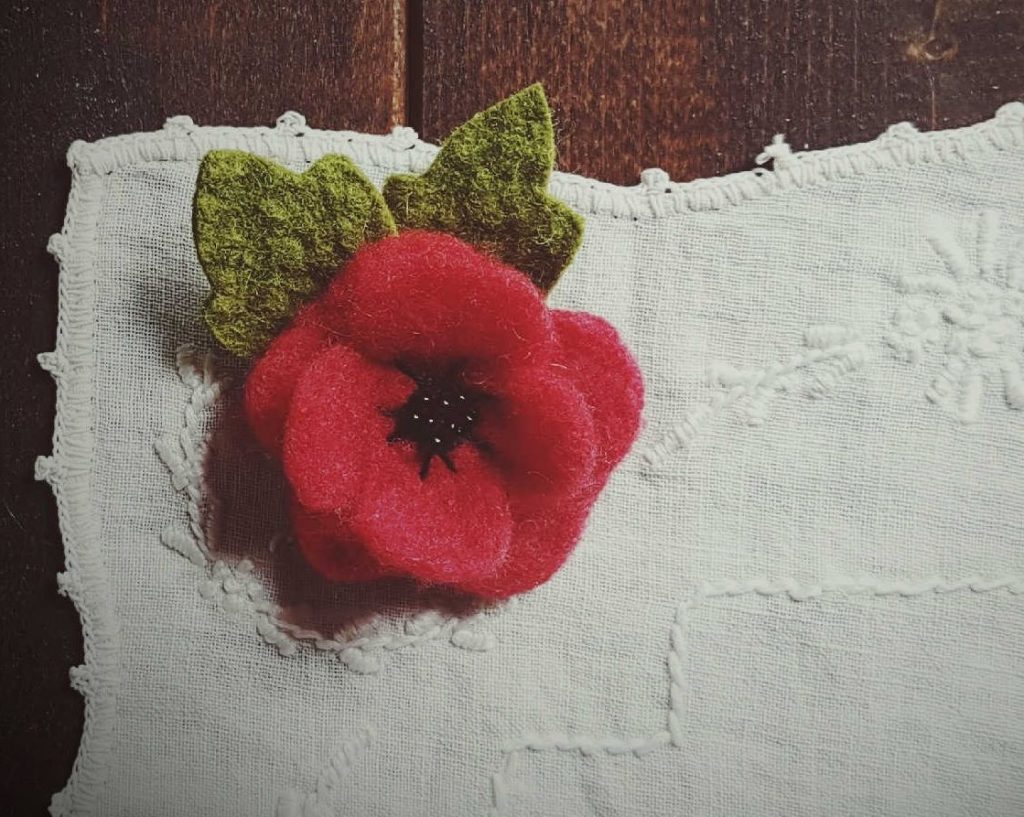
needle felted poppy pin tutorial
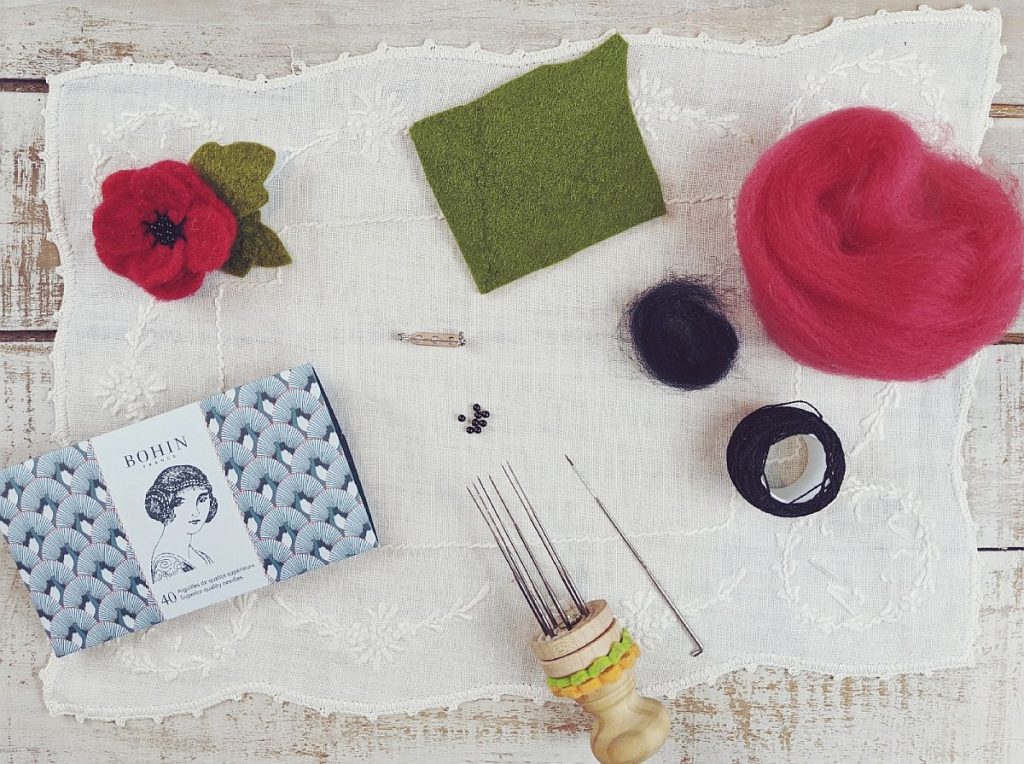
supplies you will need
- Red felting wool
- Black felting wool (very small amount)
- Black embroidery floss
- Black sewing thread
- Black seed beads
- Green wool felt
- Green sewing thread
- 1″ long bar clasp or brooch pin
tools you will need
- Needle felting needles
- Needle felting mat
- Sewing scissors
- Embroidery needle
- Sewing needle
- Felting mat (optional, but makes things easier if you can get one)
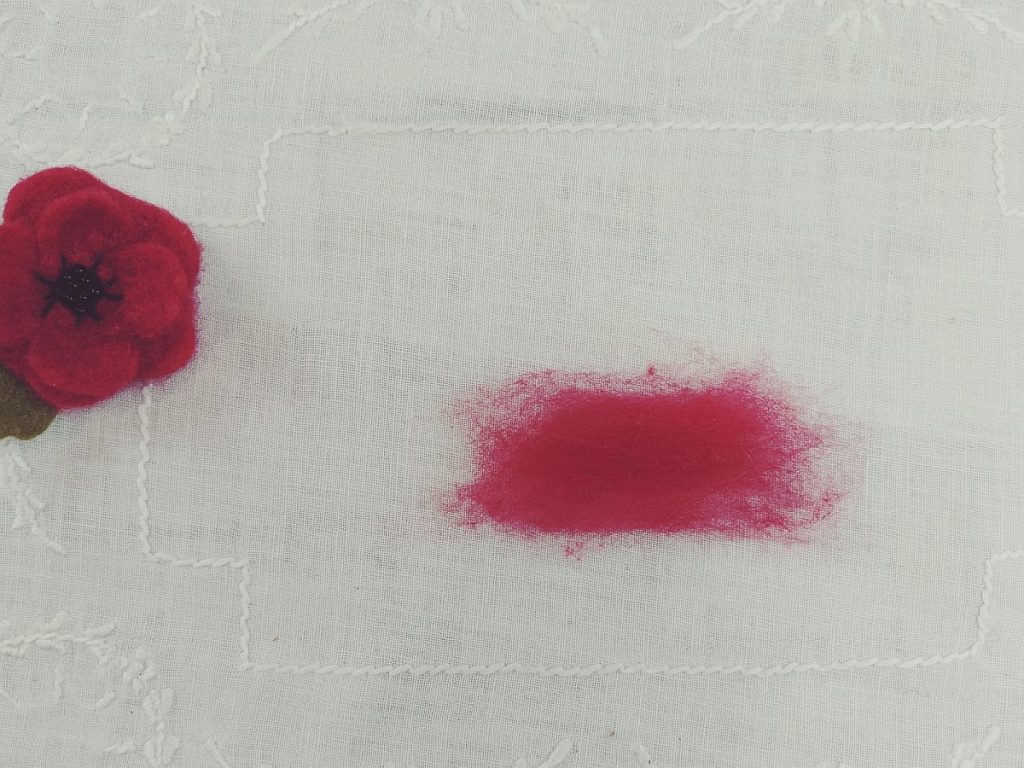
You will start by making five petals for the base of the poppy: for the first petal, pull off a tiny piece of red wool, about 2 inches long.
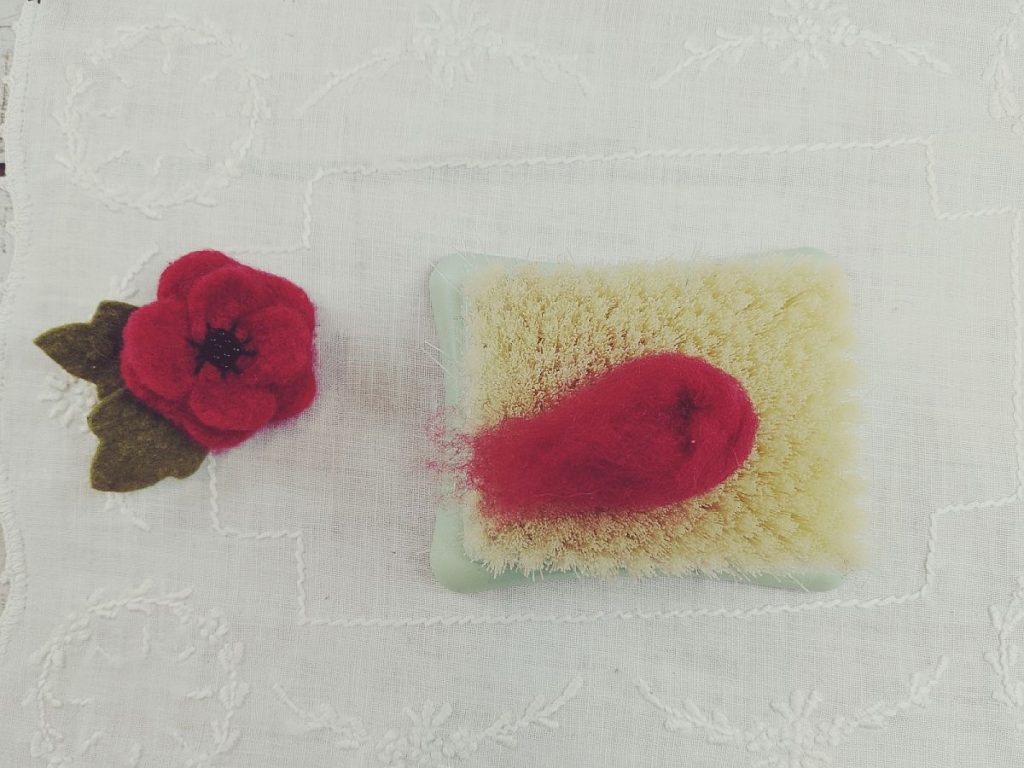
Fold the wool in the centre to make a sort of teardrop shape and place on a felting mat (if you have one), or a piece of foam or something similar. Begin felting the petal. You can use a needle-felting tool with multiple needles or just a single needle.
The felting mat is not entirely necessary but it is nice to have. Before I got one, I would just felt in my hands, though I pricked my fingers a lot and those needles are very sharp!
Tip: To help shape and felt the petals, once you have a basic petal shape felted with the needle, try rubbing the petal between your palms – this helps to felt the fibres quickly and smooth them down. You can alternate between using the needles and felting with your hands. I’ve found this to be an effective way to felt quickly for small objects, such as flower petals.
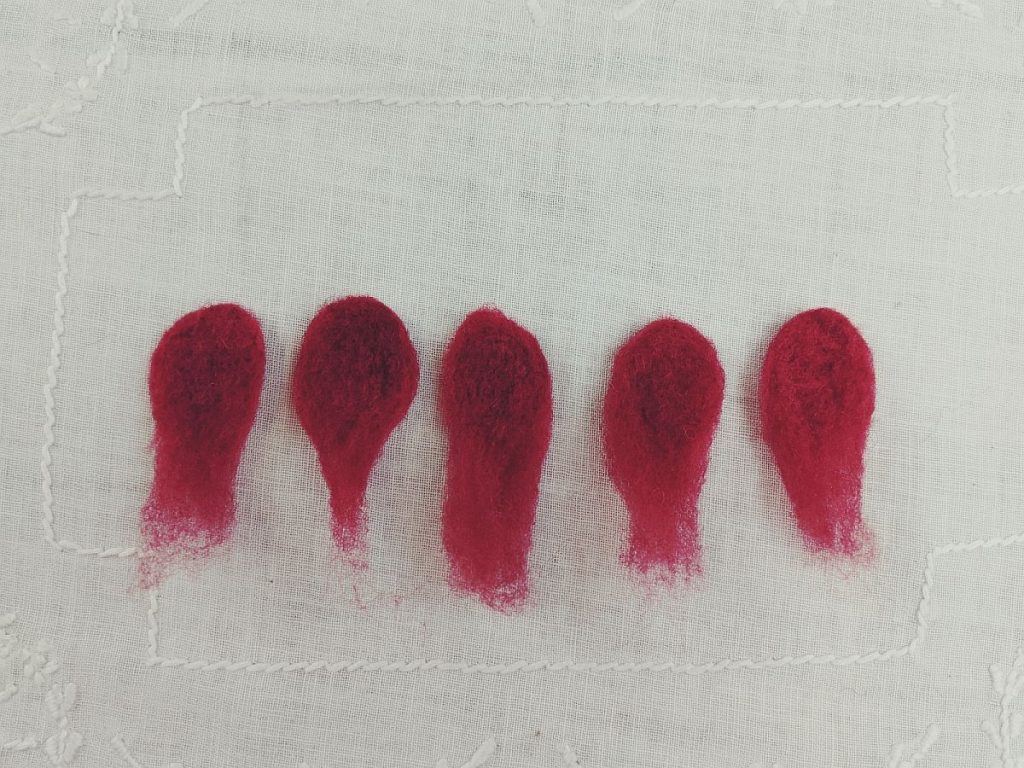
Make five petals altogether for the base of the poppy. Once you have five ready, you’ll start felting them together.
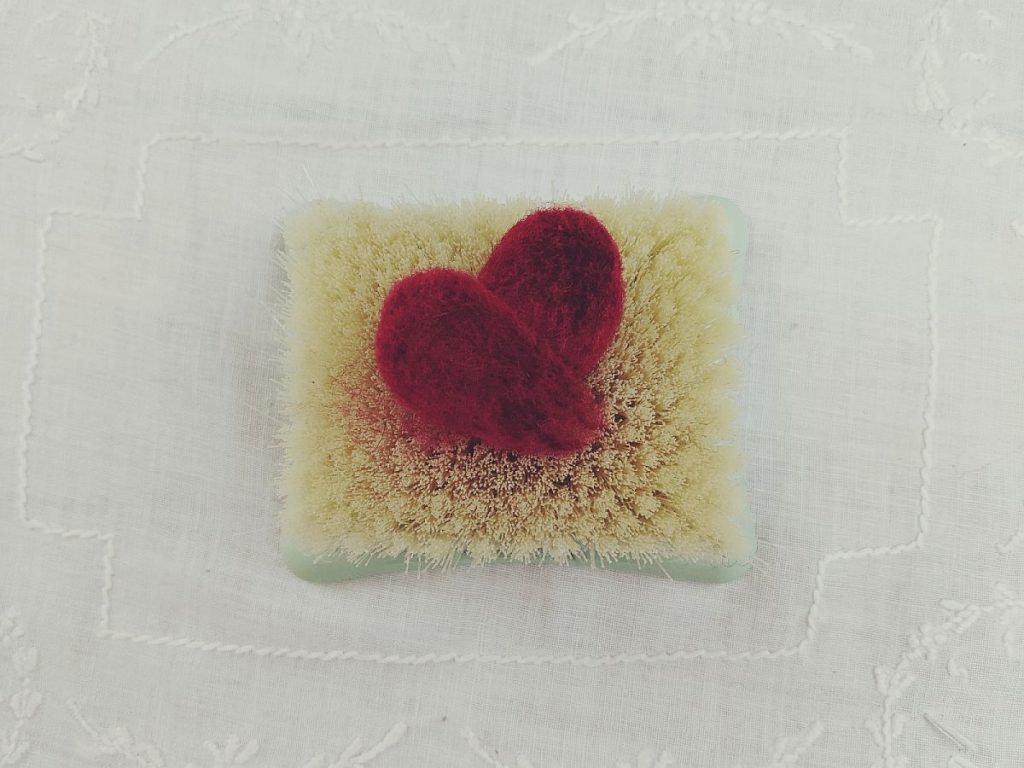
Take 2 petals and place one on top of the other so they’re overlapping, as shown above. Felt these together. Felt one side, then flip over and felt the other until they’re secured together.
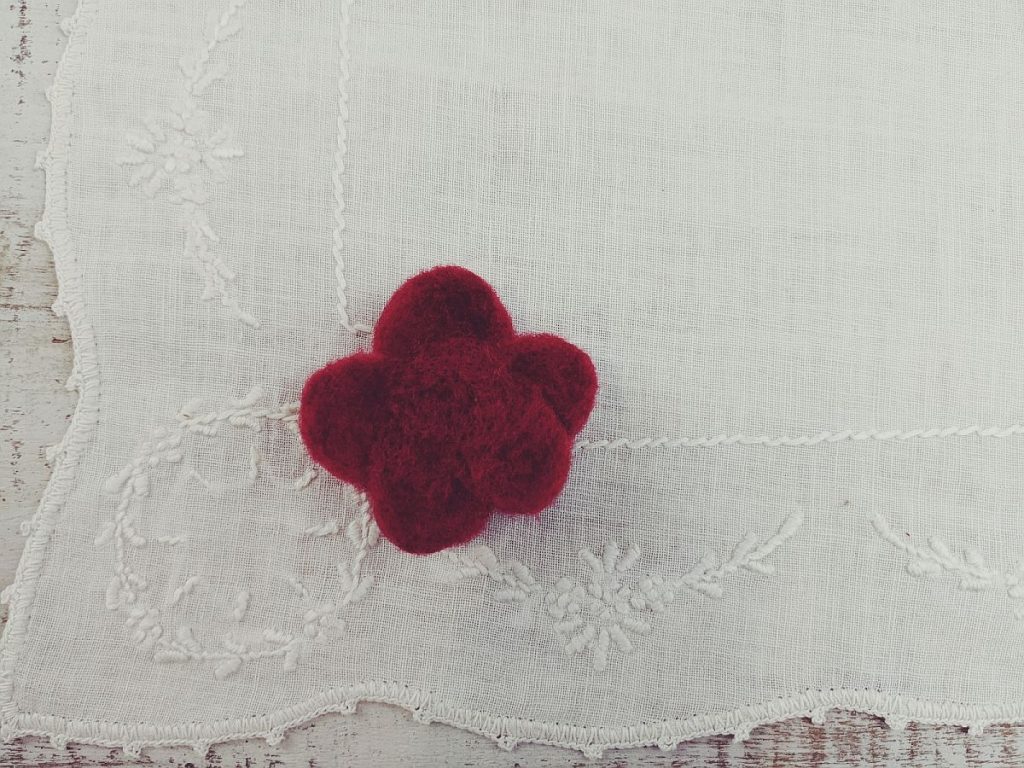
Continue adding the petals until all five are together and you have a completed flower base.
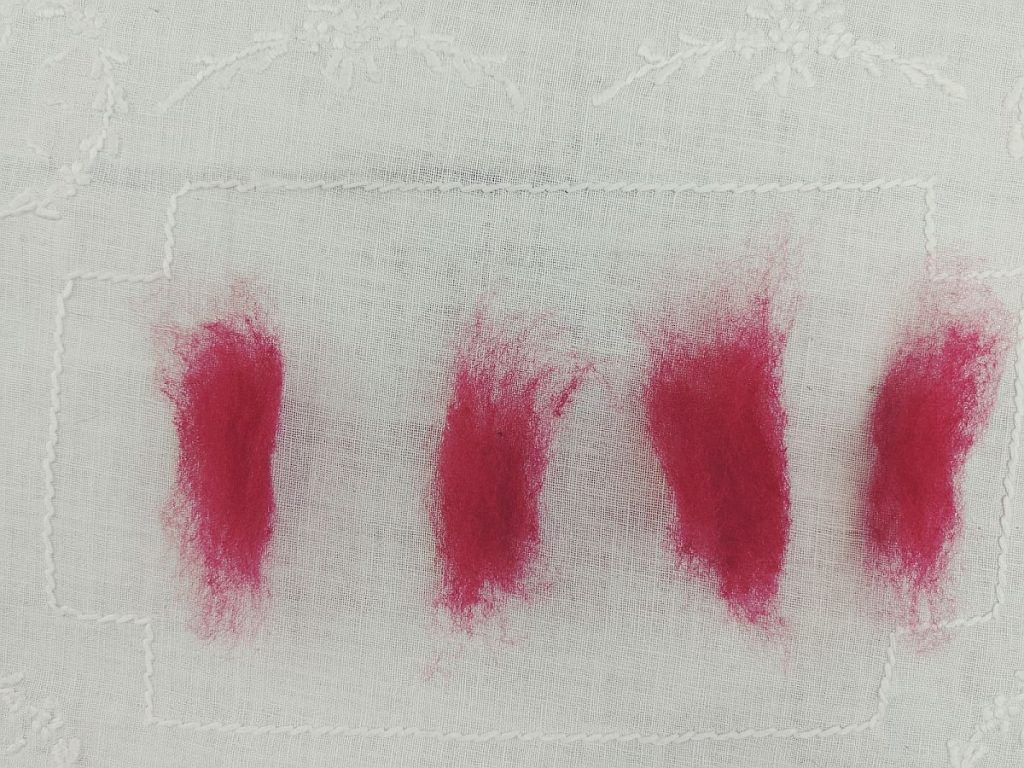
Now you’ll be making the small petals for the middle of the poppy. From your red wool, pull out four small pieces that are slightly smaller than the pieces used for the base of your poppy.
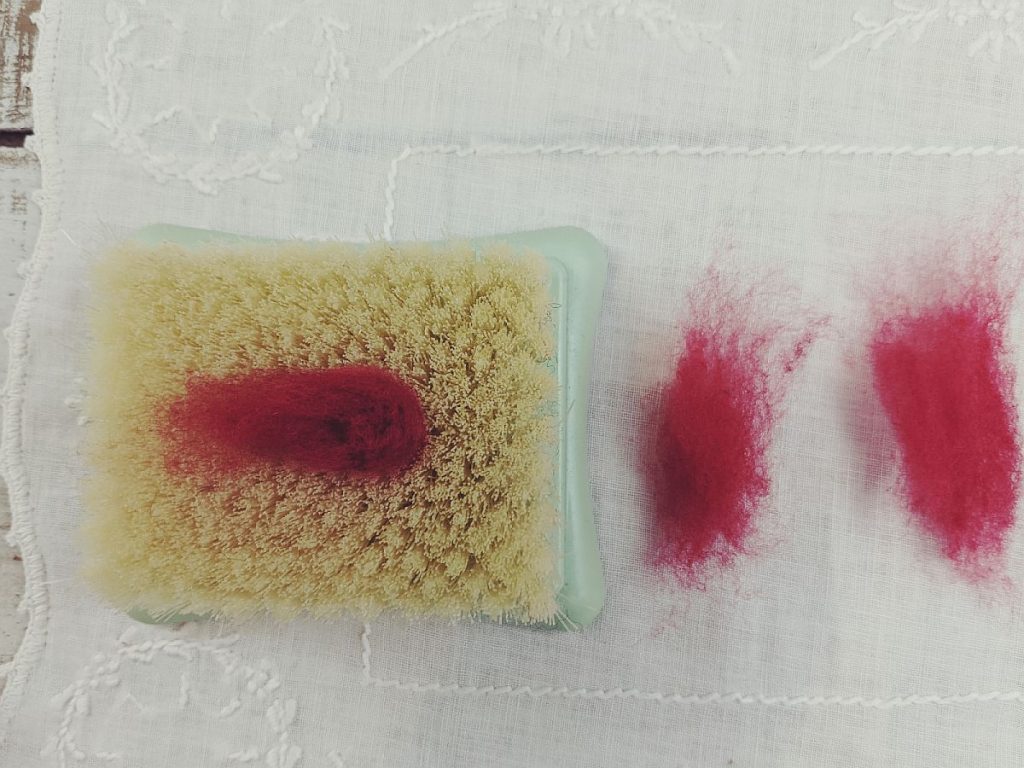
Make each of the small petals just as you did the larger petals for the base.
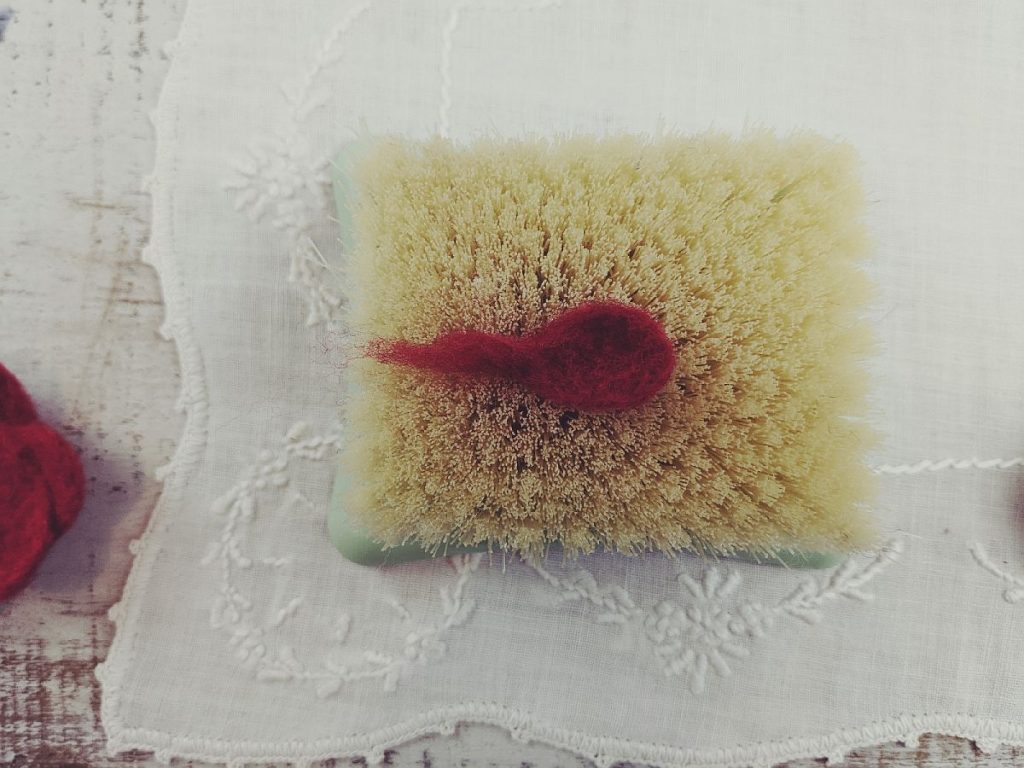
Once your petal is formed, pinch the bottom of the petals and felt it so that it has a slightly ‘cupped’ shape.
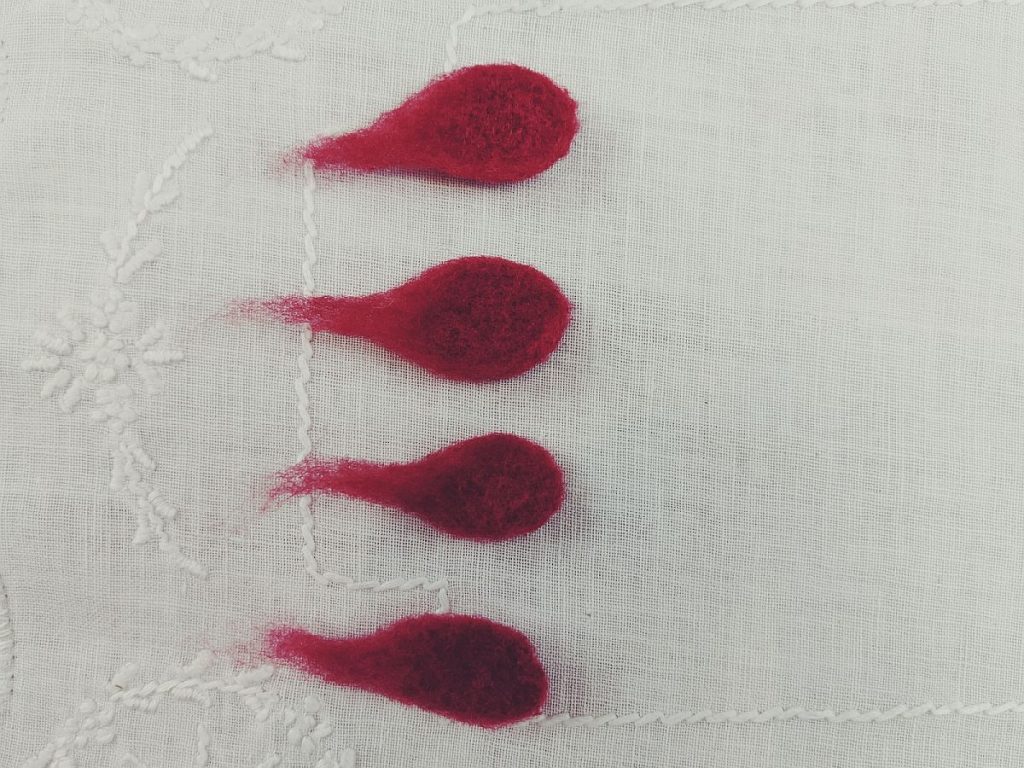
Continue until you have four small petals completed.
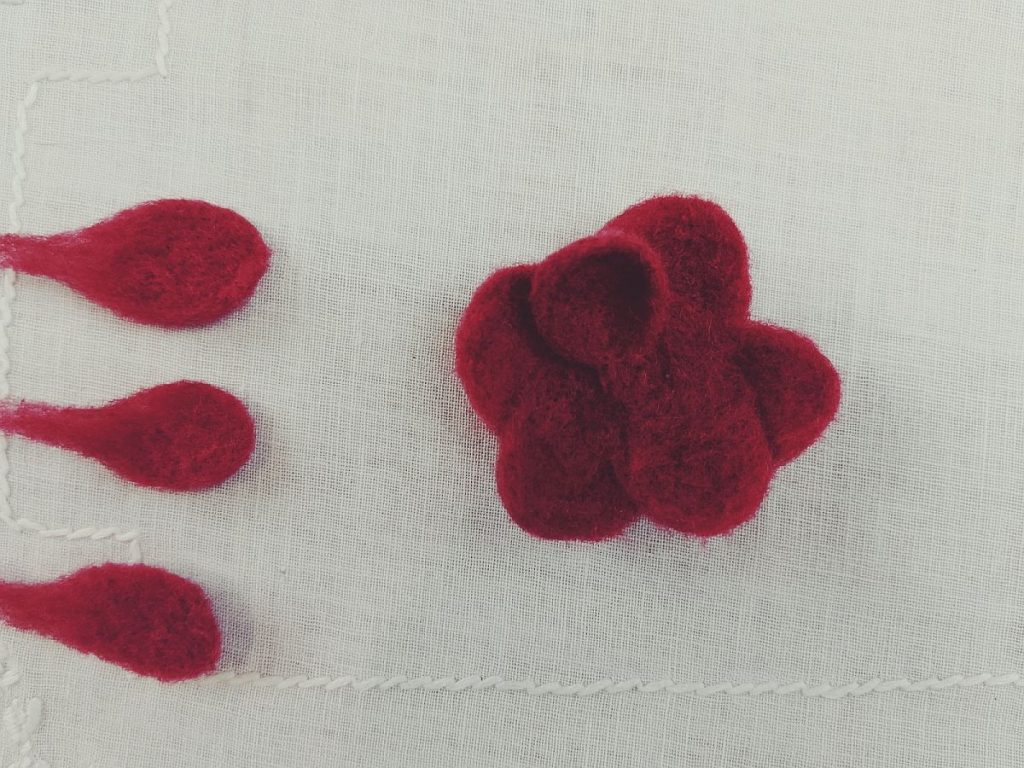
Begin adding the small petals to the centre of the flower base you made, one at a time. Position the small petals so that they’re in between the ‘gaps’ of the petals on the base.
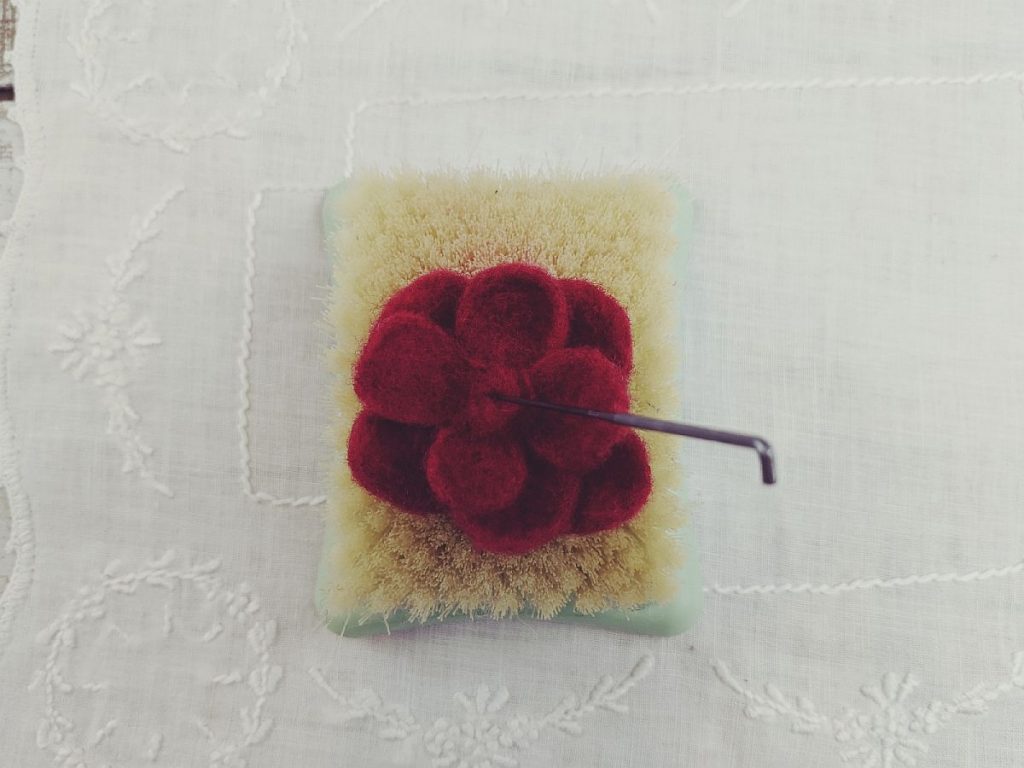
Once you have all the small petals added, you can felt a small bit more red wool in the centre of the flower to ensure the petals are all secured.
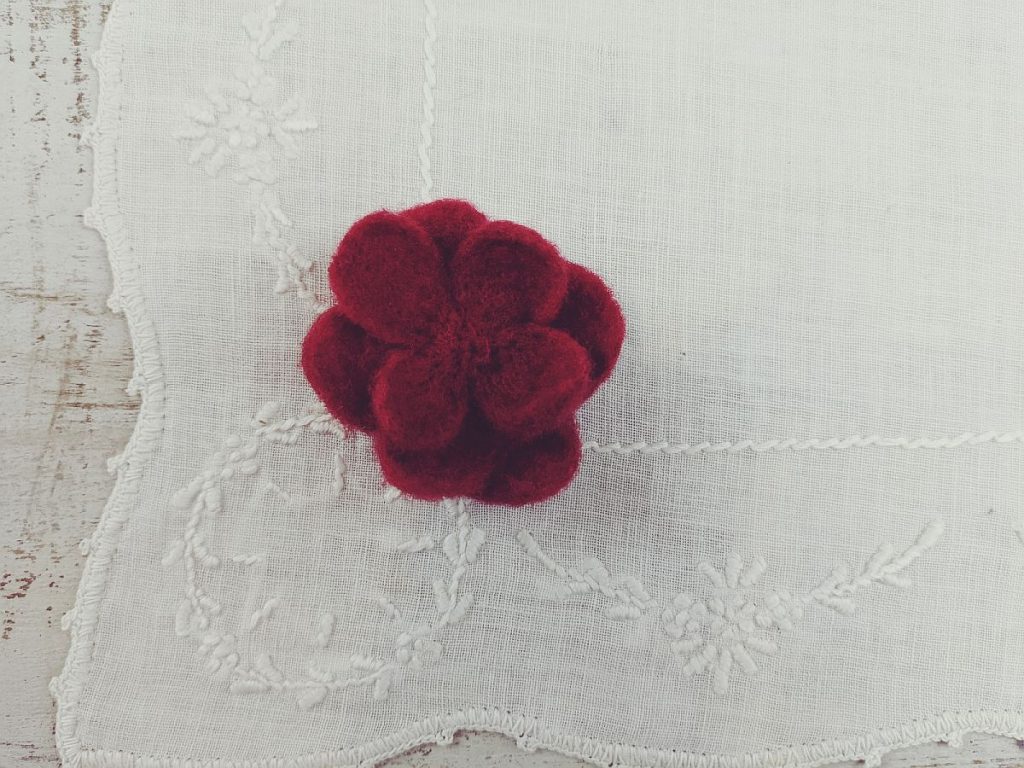
The main part of your poppy is complete! Now for the details..
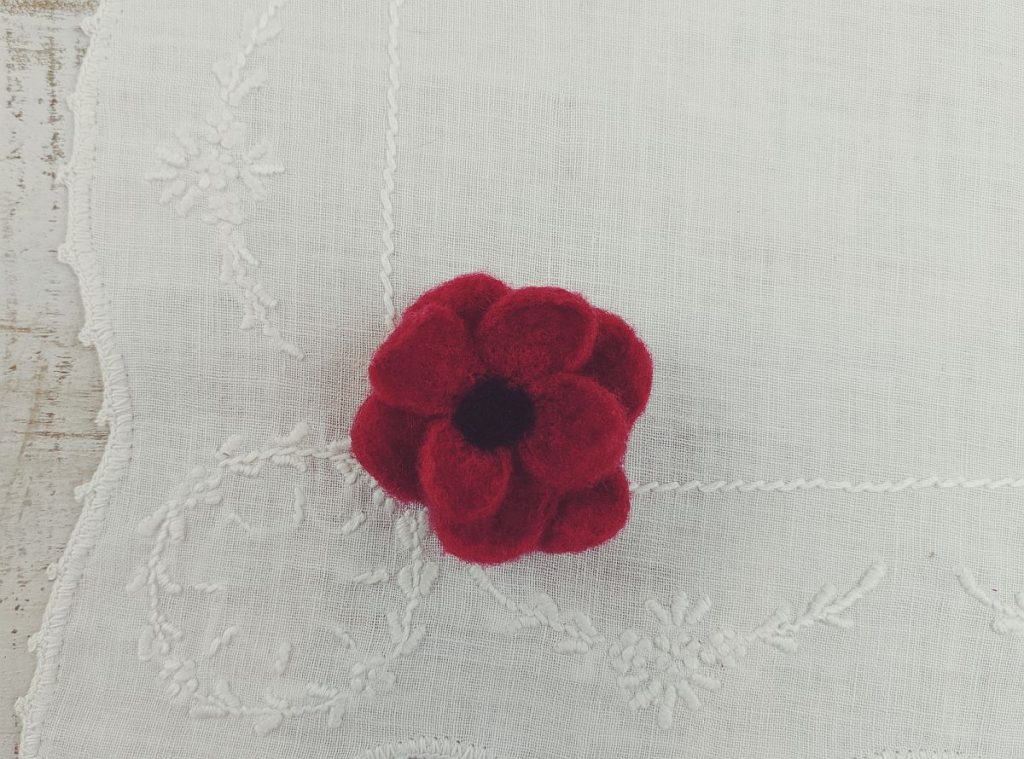
Take a tiny bit of black wool and felt it into the centre of the poppy.
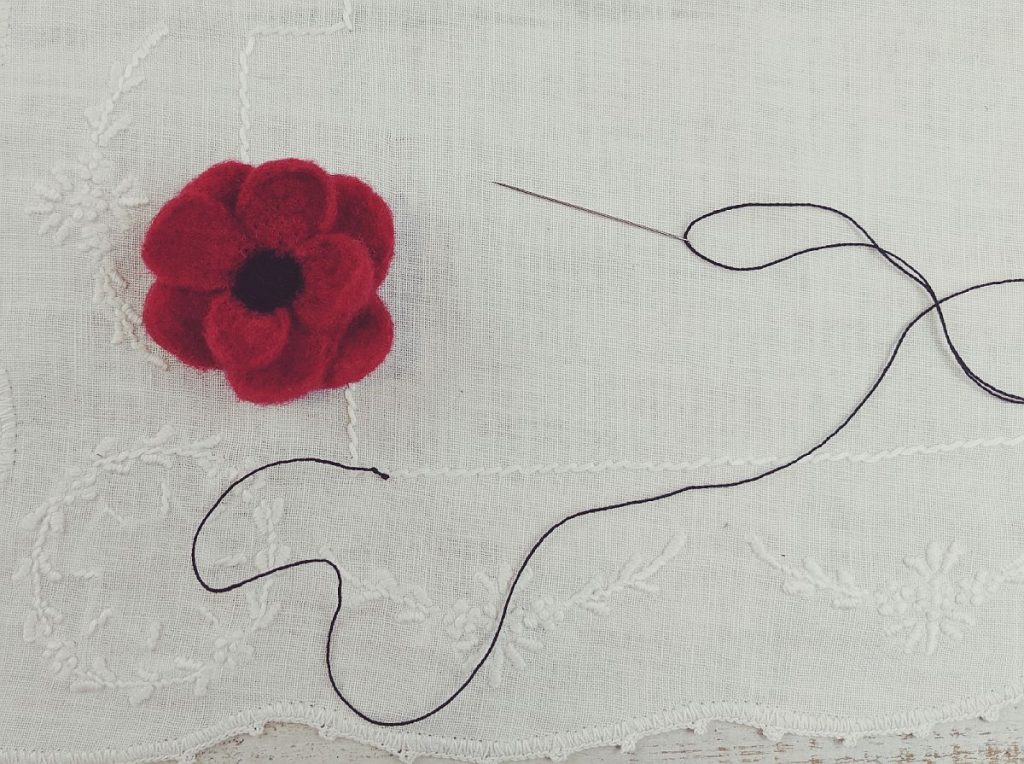
Thread your embroidery needle with black embroidery floss and knot one end. Coming up from the back of the flower, begin making some small stitches on each of the small petals.
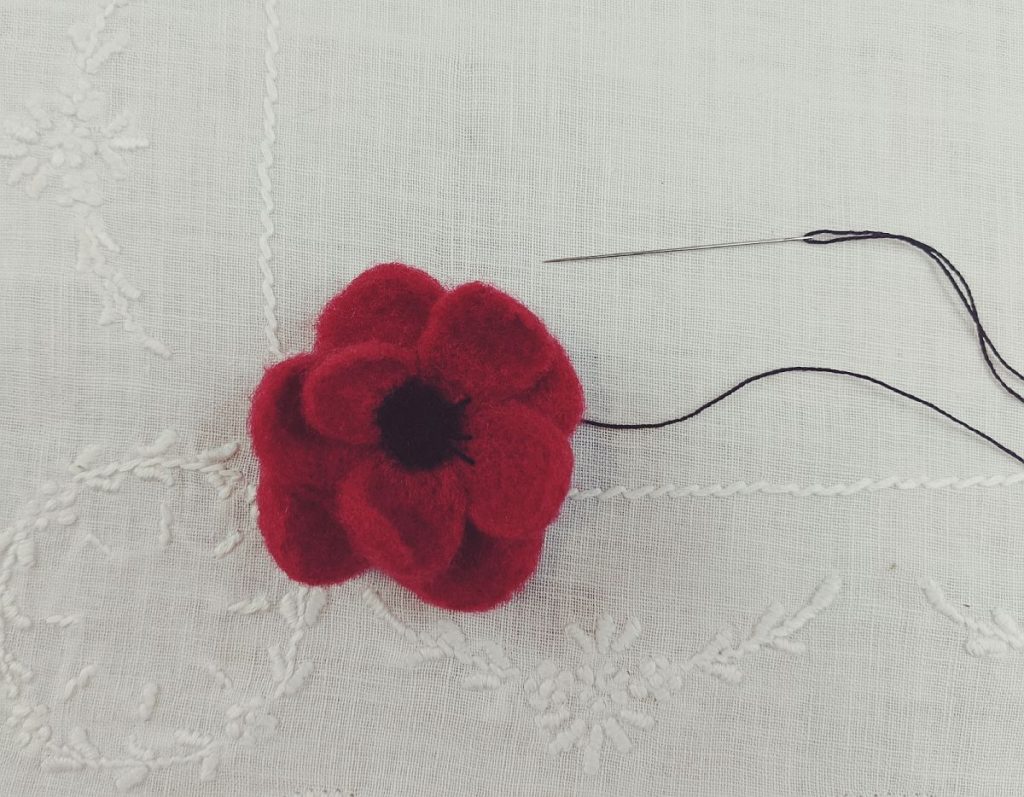
Continue around until you’re back where you started. Knot at the back of the work and trim thread.
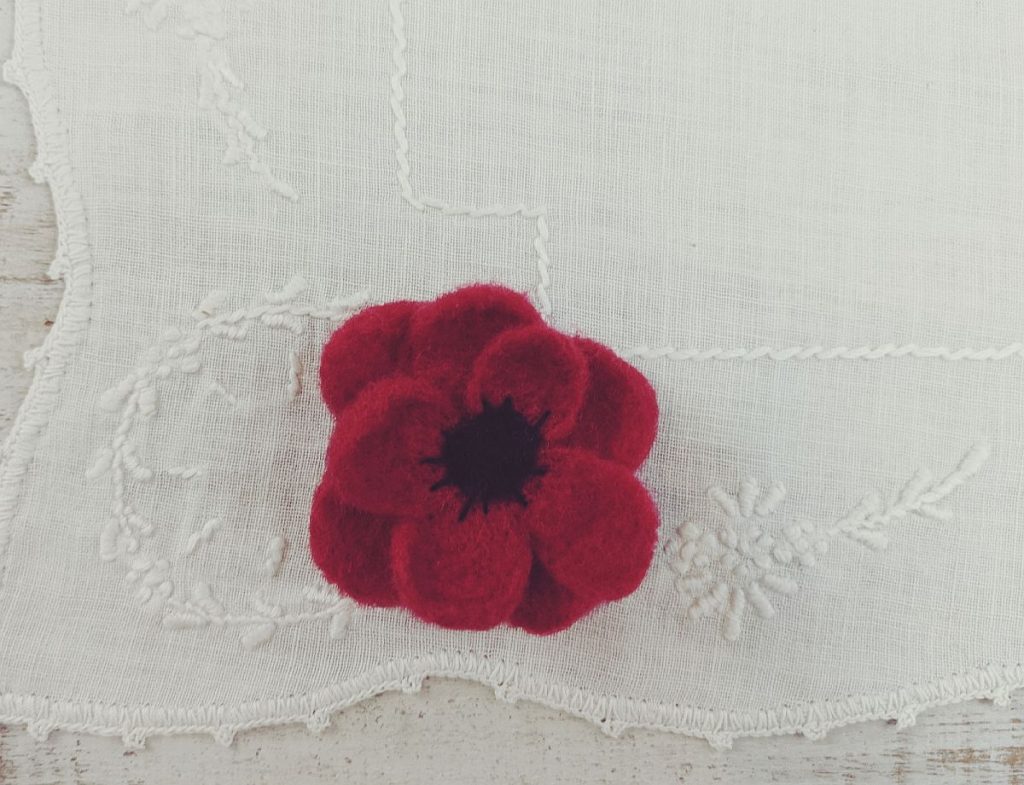
Here is the poppy with the black embroidery stitches completed.
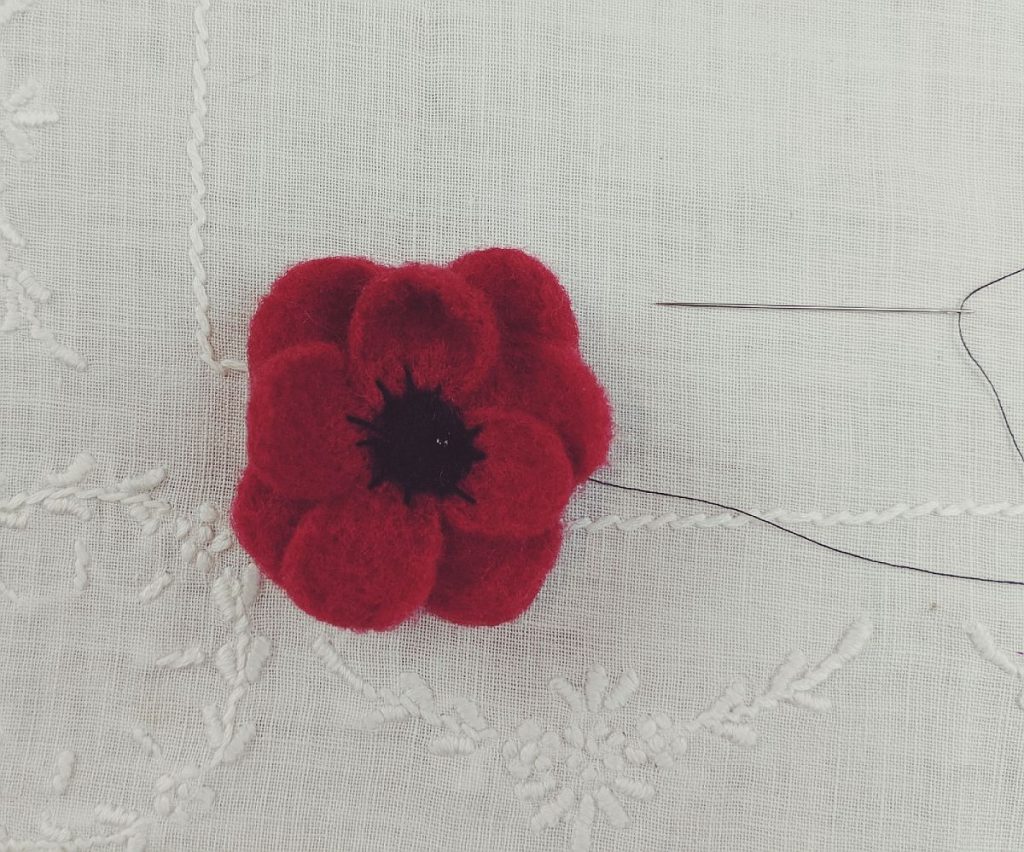
Now time to add the beads! Thread a sewing needle with black thread and knot one end. Ensure that the size of needle you’re using will fit through your size of seed beads. I usually use a beading needle as it fits through even the tiniest beads.
Coming up from the back of the work, slip a bead on the needle, slide to the bottom of the thread, then push the needle down through the centre of the flower just next to the bead. Continue adding beads in this way until you’ve added as many ‘poppy seeds’ as you’d like.
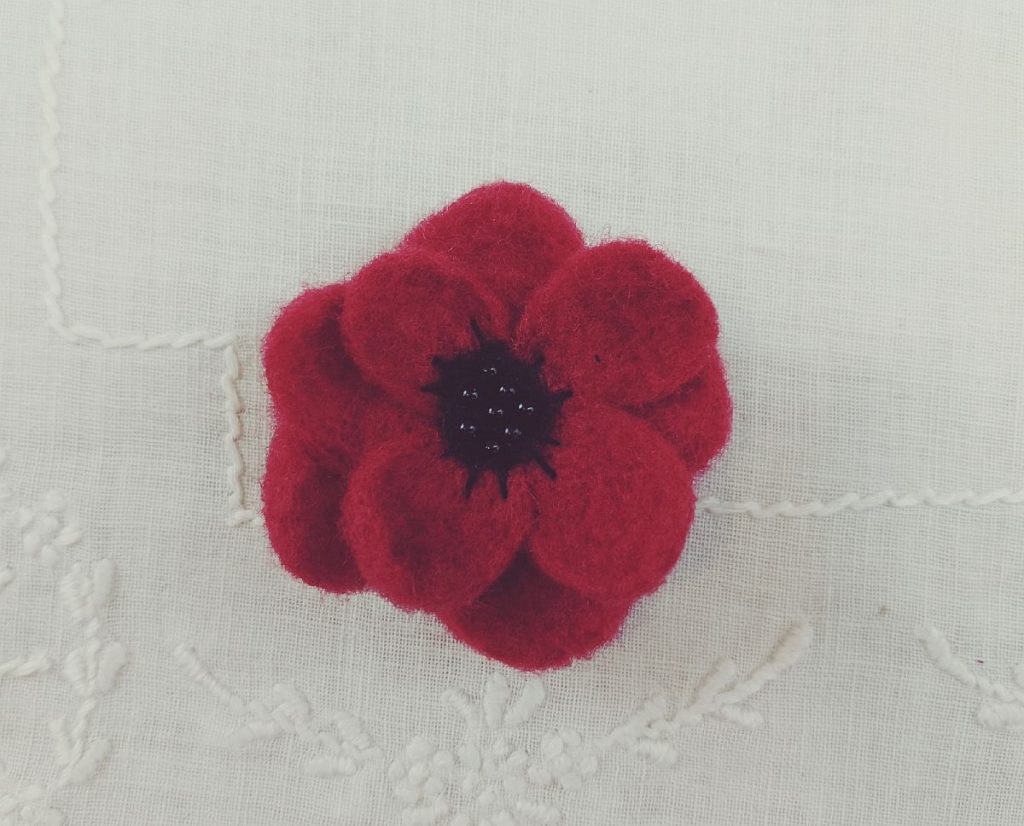
Here is the poppy with all the ‘seeds’ added. The flower part of your pin is complete!
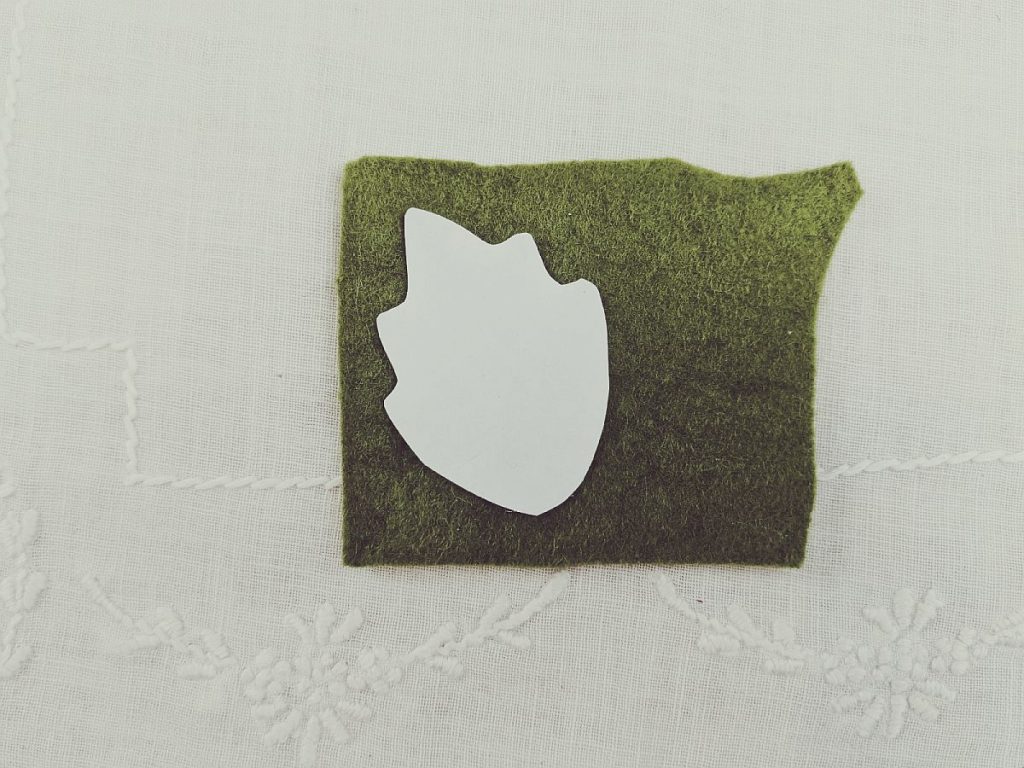
On paper, sketch out a simple leaf shape and cut out of green felt. Make two. You can also just cut the leaves right from your felt if you’re good at eyeballing things!
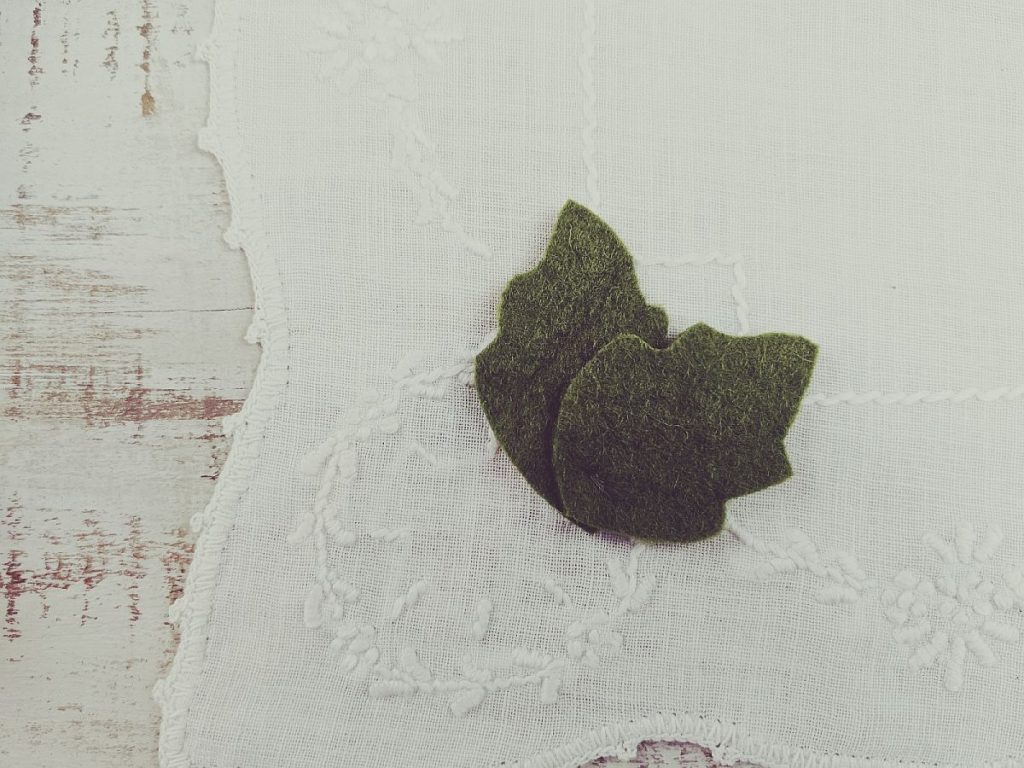
Overlap your two leaves and stitch them together as the bottom with a few stitches. Do not cut thread yet..
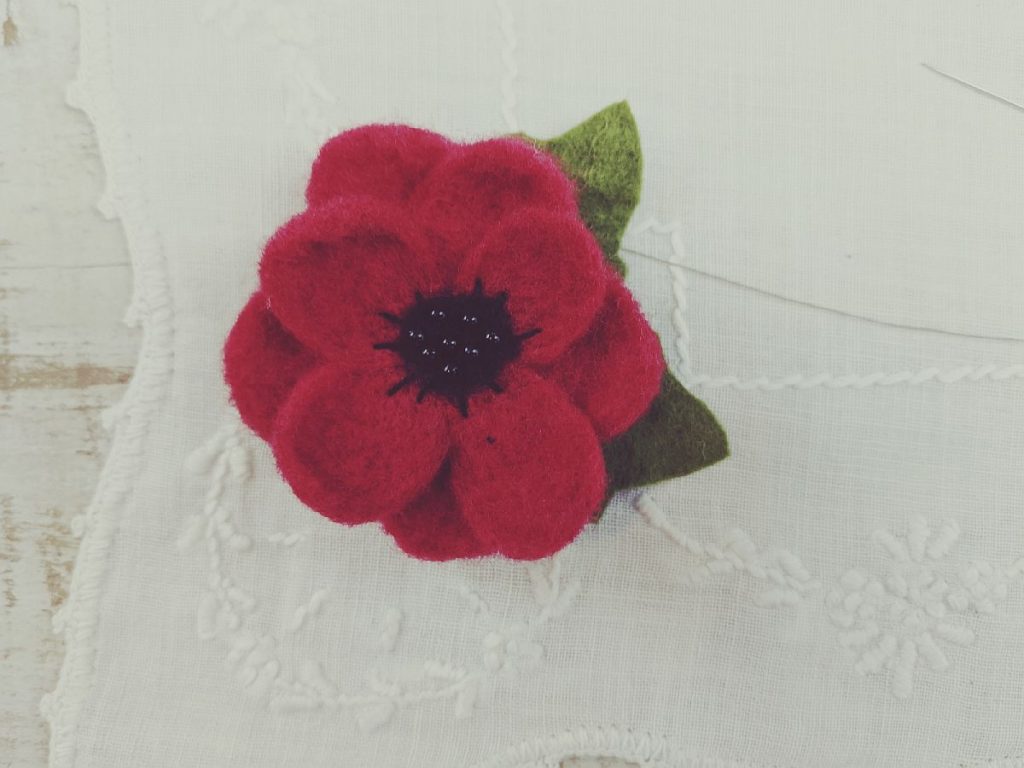
Place leaves at the back of your flower and stitch to the bottom of the poppy. Try not to let your stitches come through to the top of your flower by stitching with the needle parallel to the bottom of the poppy rather than coming straight up from the bottom. Hope that makes sense!
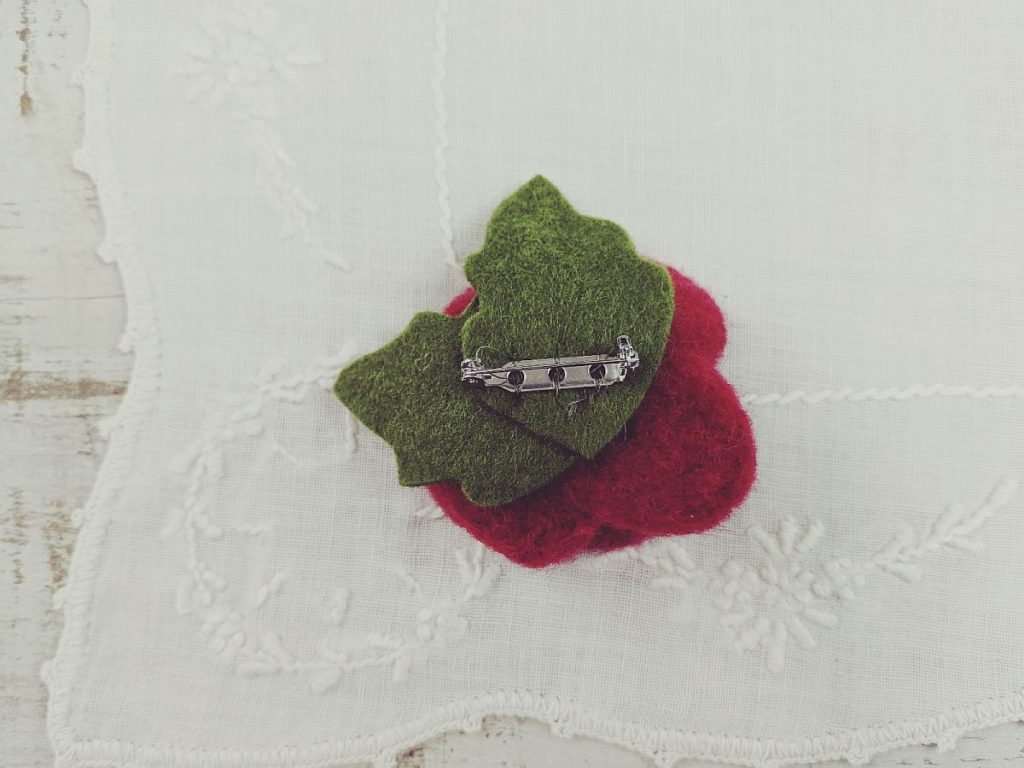
Now just to add the brooch pin. Opening up the pin while you stitch will make it easier to sew the pin on. Sew a few stitches through each of the holes on the brooch pin. Go along both sides of the pin to properly secure.
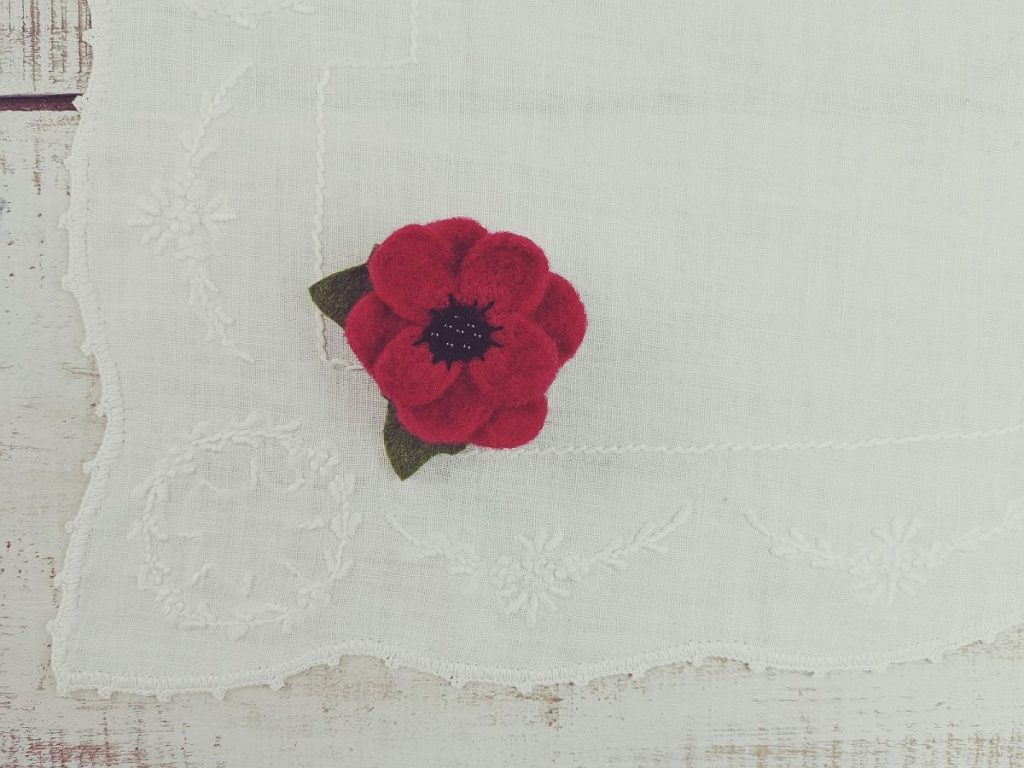
Your poppy pin is now complete! I hope you’ve enjoyed this tutorial and found it helpful ♥
Best wishes and happy crafting!




Thank you for this lovely tutorial!!! I made mine tonight to wear as a poppy pin, but I also plan to wear it other times! It is too pretty for once a year.
Thank you so much for your kind comment, Michelle! It has really made my day! In several years of keeping this blog, yours is the first legitimate comment I have received, so thank you so much!! I’m so happy that you were able to use the tutorial to make your own poppy pin and hope you enjoy wearing it in years to come! ♥ ♥ ♥