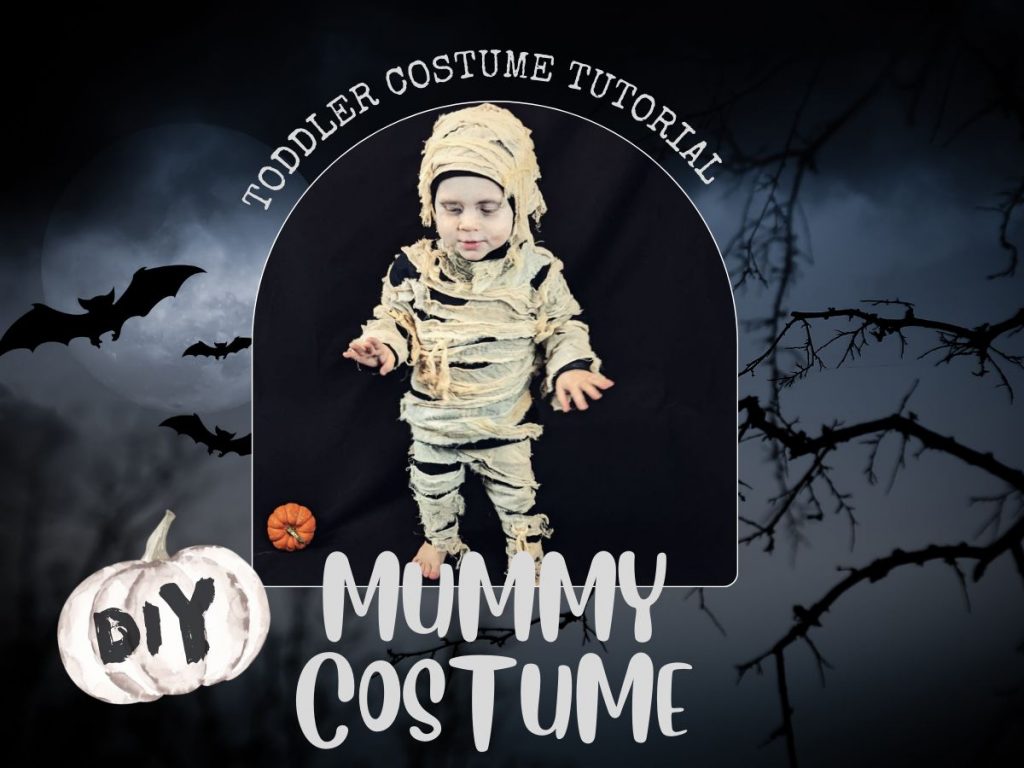
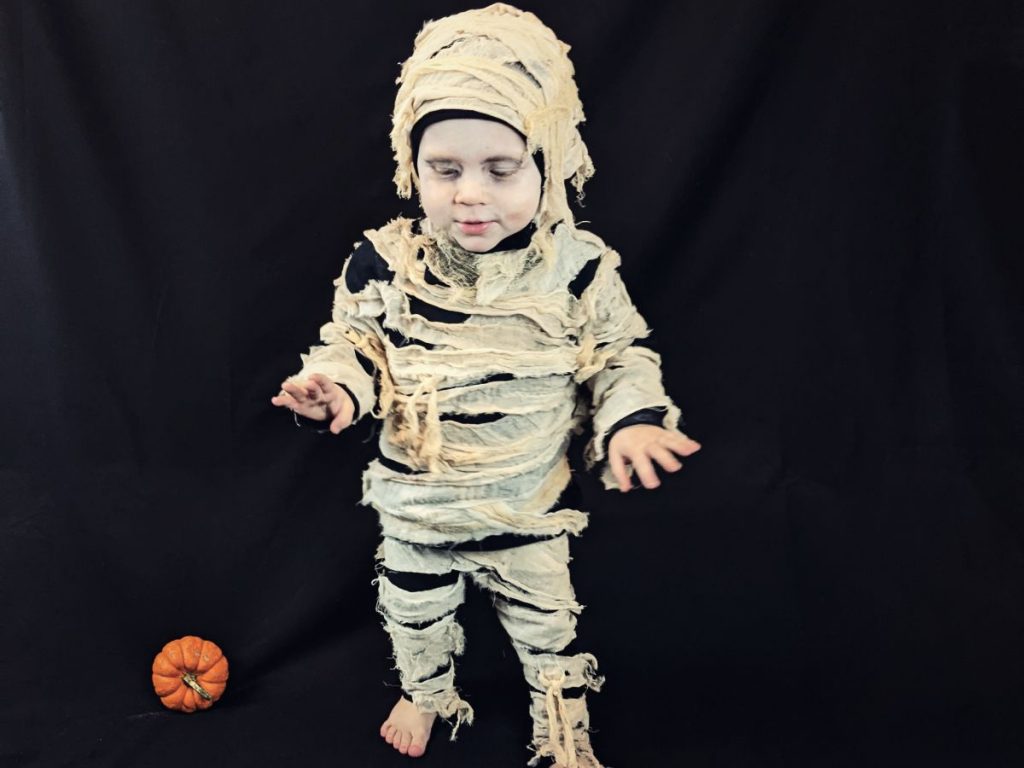
This mummy costume is made in two pieces – top and pants – incredibly important for a toddler costume where you need fast on/off for toilet breaks/diaper changes!
I made this DIY mummy costume for Arthur’s second Hallowe’en – it was really fun and quite easy to make! I wanted to do something a little more special for his second Hallowe’en since his first was in 2020 and everyone knows how that year went! It was really up in the air whether the kids would get to do much for Hallowe’en, so we didn’t put as much effort into the costumes.
We stayed in that year (as did most!) and the kids enjoyed some Hallowe’en movies together, some music, dancing and treats. My daughter didn’t want the boys to be disappointed so she arranged to rent a movie, put together treat bags, designed and printed movie tickets and decorated the living room all for the occasion – I was so touched by her thoughtfulness for her little brothers!
Of course, Arthur was too young to understand much of what was going on, but with his older siblings that first Hallowe’en was always special and so fun to dress them up in their tiny costumes and walk them around the neighbourhood taking in all the Hallowe’en excitement.
We made the best of it in 2020 though and all had a lovely time! Arthur even tolerated the lamb hat I’d made him for a few minutes, we took a couple photos and that was that!
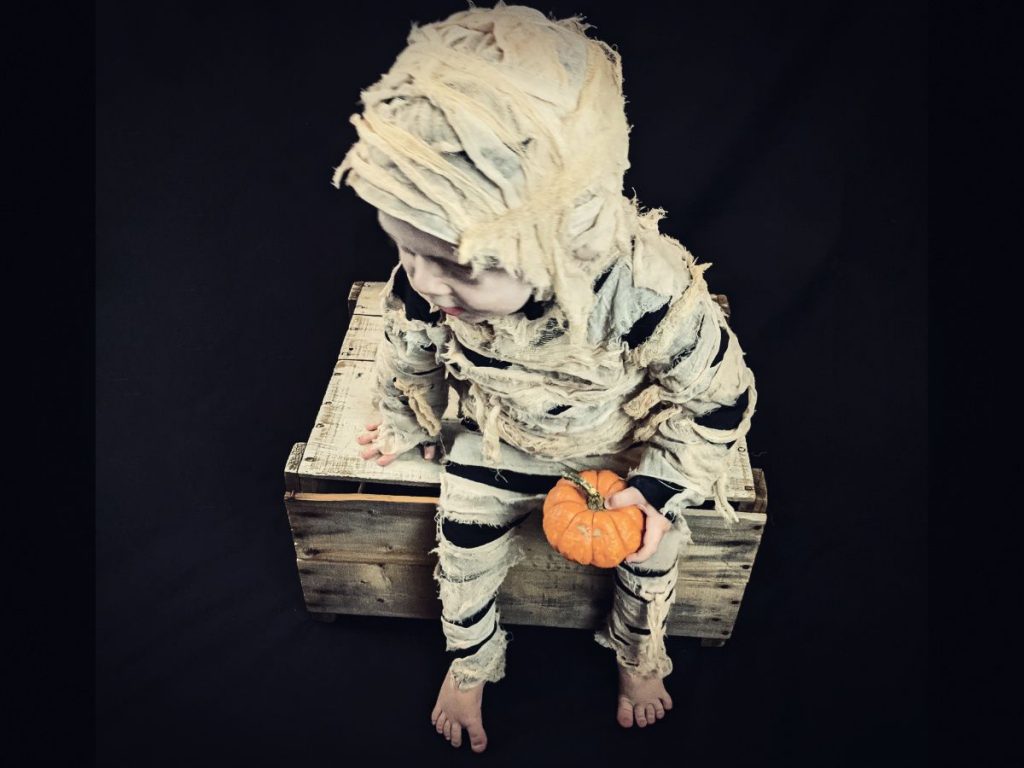
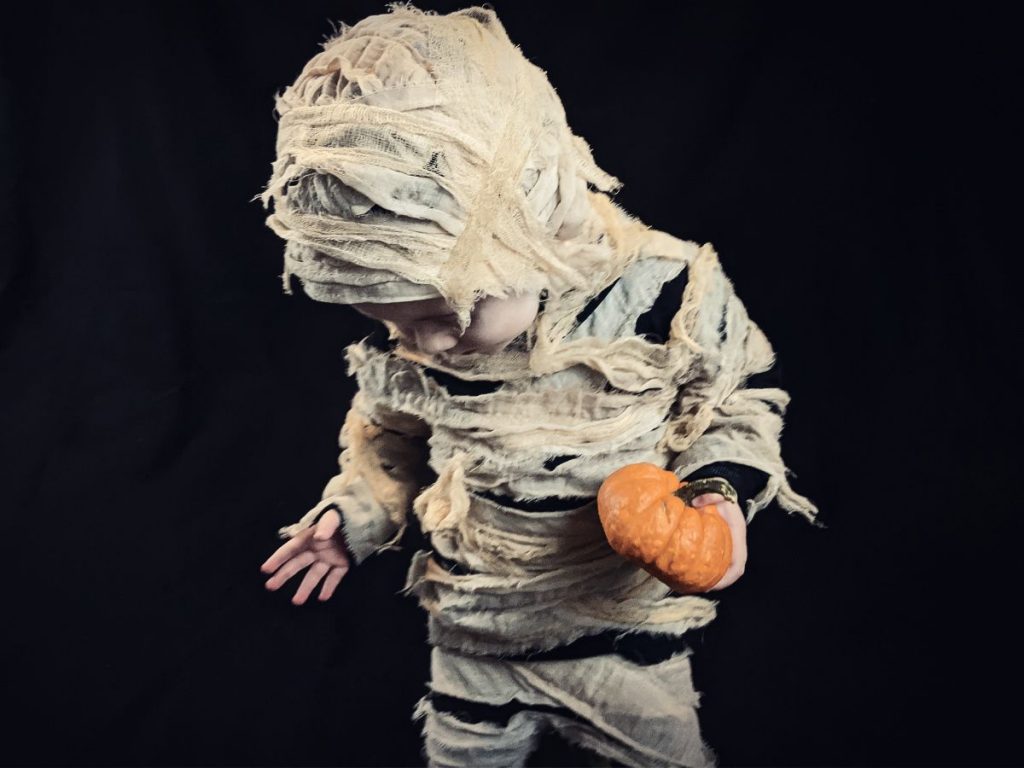
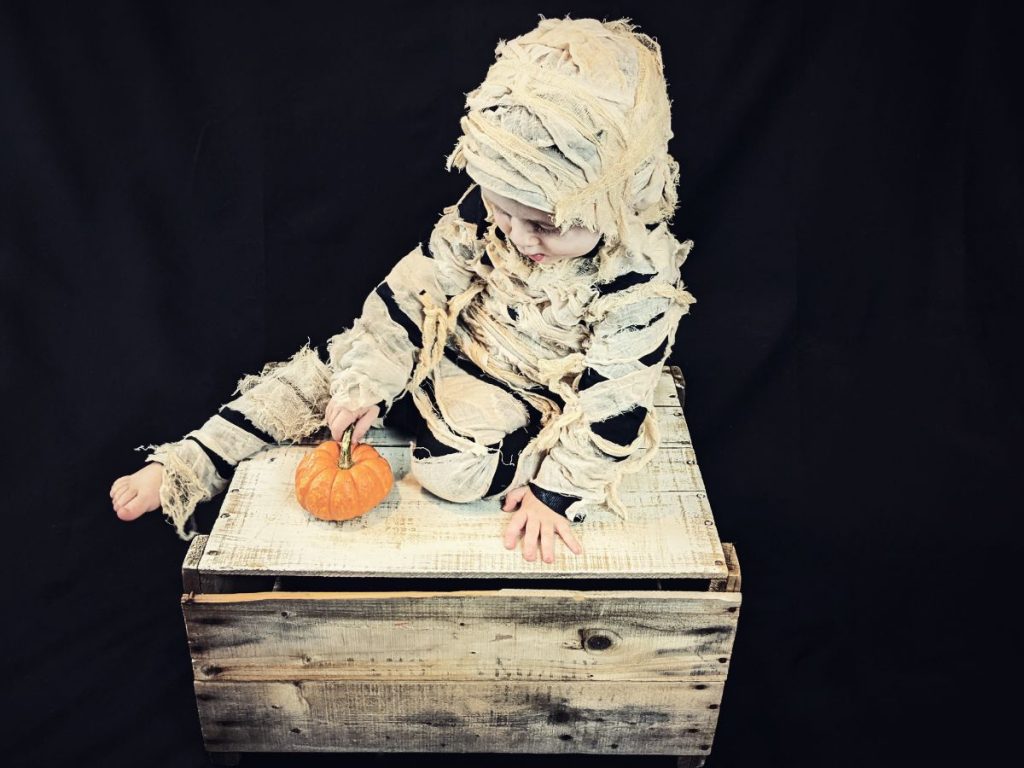
Fast forward to 2021 and we were all ready to go out and about trick-or-treating again! I had the idea to make Arthur a mummy costume as it would be easy, warm and comfy for him to wear and who can resist a wee mummy?!
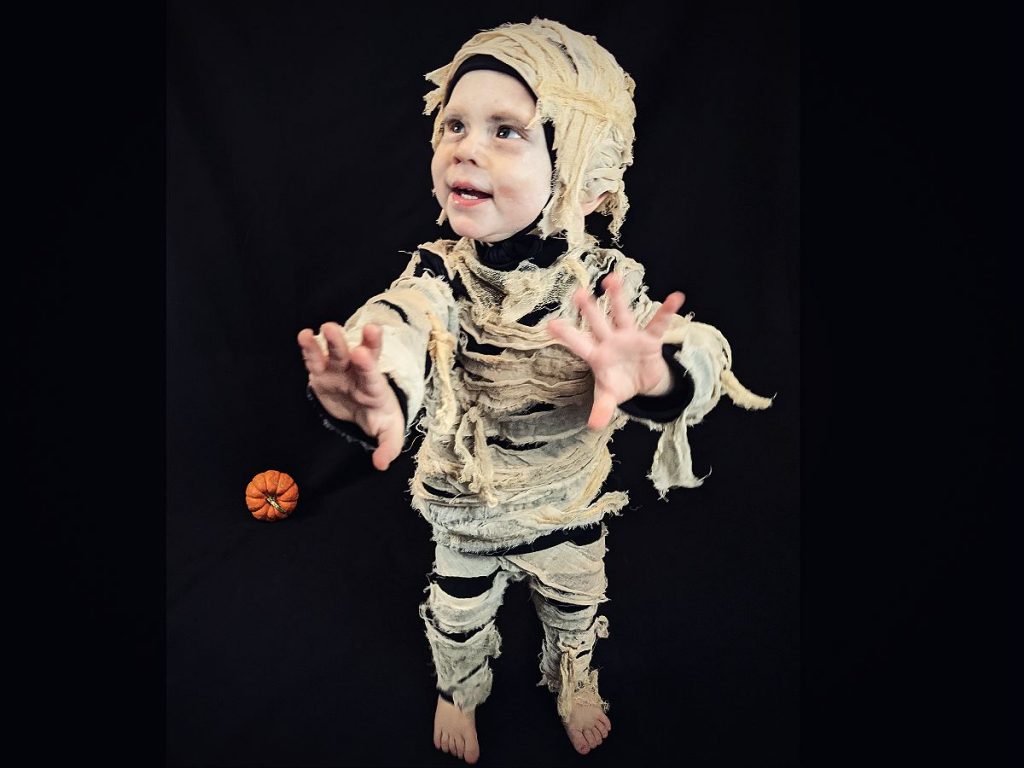
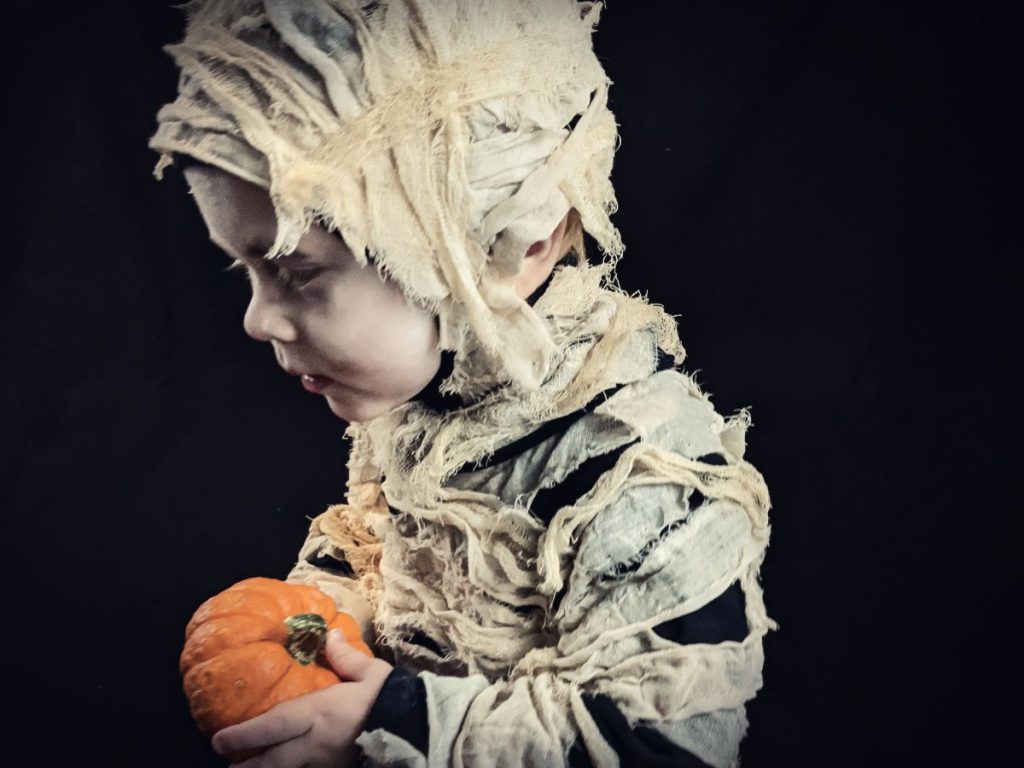
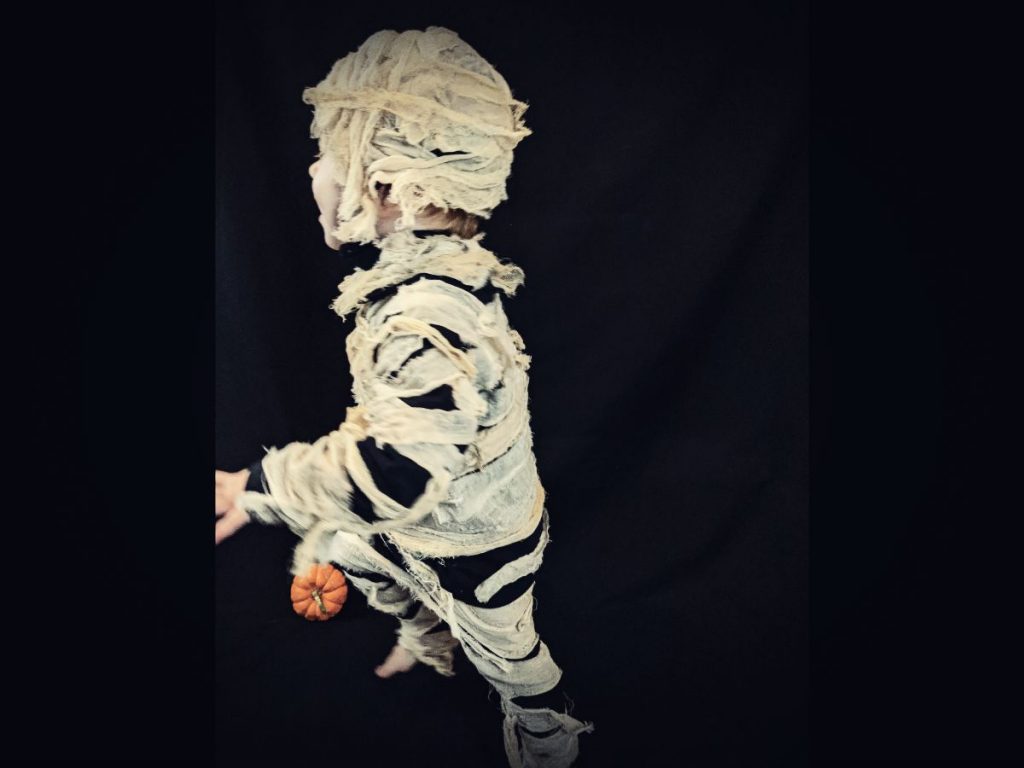
Little ones are adorable in any costume, but there was something about this little mummy walking around that drew a lot of attention – especially from the other bigger mummies out there – mummies unite! We found it quite funny as when we first put the costume on him, Arthur began walking like a mummy and even groaning in mummy fashion – not sure where he learned that, but he knew just how to get into character. Strangely enough, he didn’t try to rip off the hat as he would usually do with every hat we put on him – I think he loved being a mummy!
I knew that I wanted to make sure that the costume was easy to put on and take off since we might have to be doing a diaper change in the midst of it all – so I decided to make the costume in two pieces – top and pants. This is great if you’re making this for a child who will be wearing it to daycare/nursery/school as they can easily do toilet breaks without having to take off any of the costume.
Scroll down for more photos & mummy costume tutorial
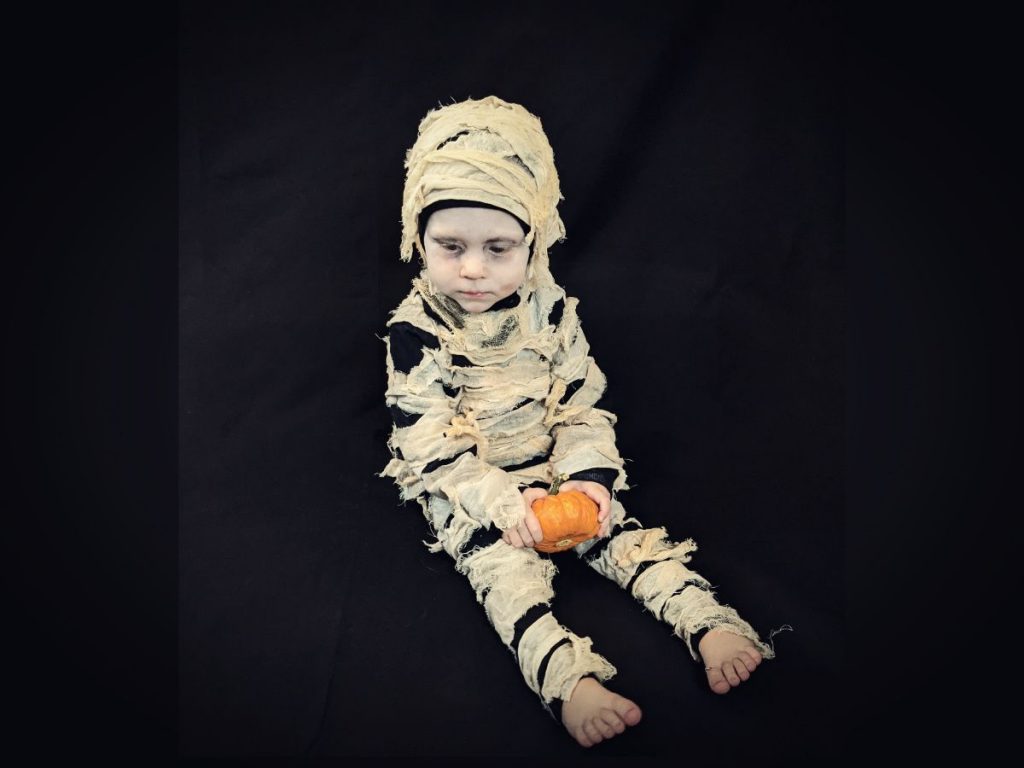
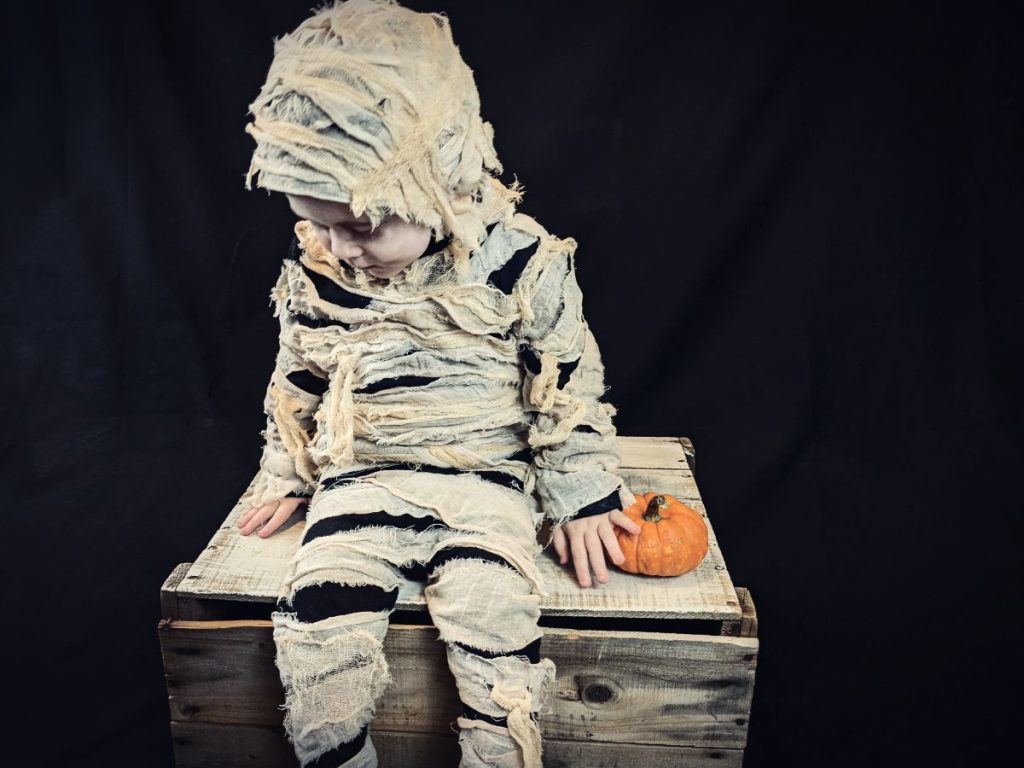
diy mummy costume tutorial
what you will need
- Black long-sleeved top or sweatshirt – our Hallowe’ens are often cold so I bought a larger shirt so we could fit some layers underneath for trick-or-treating
- Black pants or leggings
- Black hat – can use a beanie or for littler ones, a pilot cap with ties
- Close-weave cheesecloth – found on Amazon (possibly at fabric stores too) – 1 yard approx.
- Loose-weave cheesecloth – found at many grocery stores or dollar stores – 1 yard approx.
- black tea bags – about 20
- large bowl for tea-dyeing cheesecloth
- 2 litres boiling water
- white or off-white thread
- sewing needle
- sewing machine
- sewing scissors
- Optional: black stretch fabric to make a neck cover – about 10″ x 14″ piece of fabric two make for a toddler, you will need a bit more fabric to make for an older child
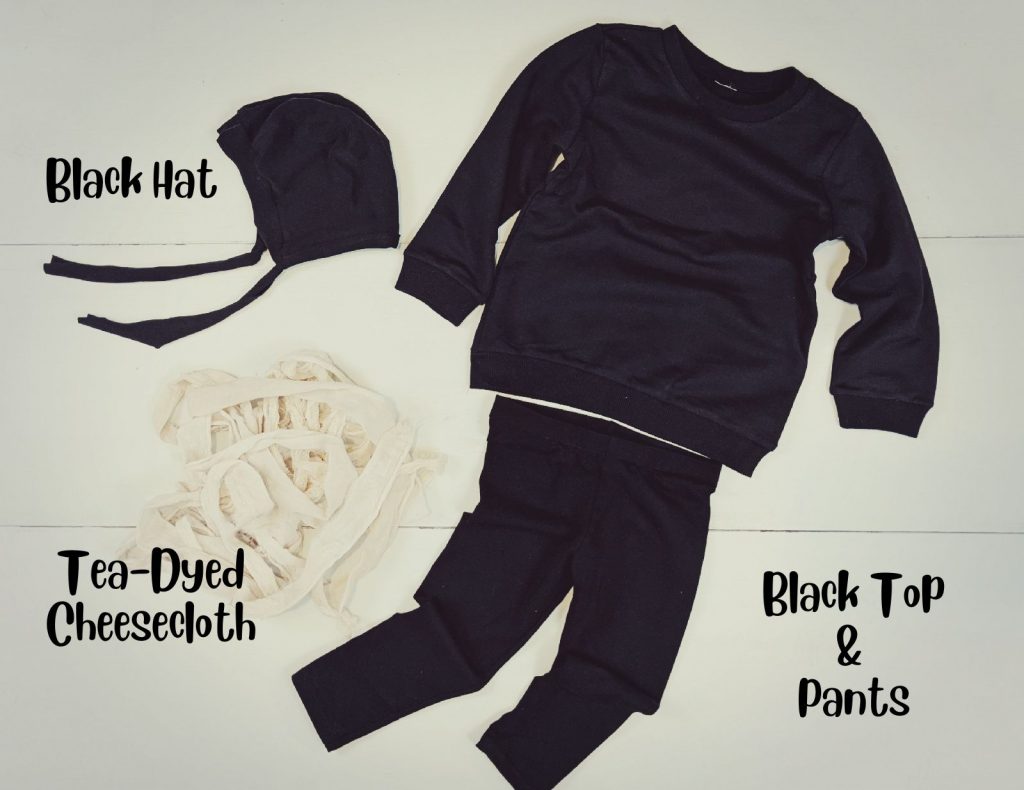
prepare cheesecloth
You will need to prepare your cheesecloth beforehand if you want it to look a little more old. Of course, you can also use it as it comes in white but I thought it would look better if I ‘aged’ it a little!
step 1
Boil water, remove from heat and pour into a large bowl. Add tea bags and stir around a little till the water looks nice and dark.
step 2
Add cheesecloth to tea water and let it soak for a few hours. Remove cheesecloth from the water, squeezing out as much water as you can. Then either air dry the cloth or use a dryer if you’re in a hurry to get started.
step 3
Now you will need to cut and tear the cheesecloth into strips. The close-weave cheesecloth I tore into wider strips – 2-3 inches wide – the loose-weave cheesecloth I made a little narrower – about 1.5 inch strips.
Cut strips so that they’re about 24 inches long – this length doesn’t matter too much, it just makes the strips easier to manage as you sew them on. You will be using longer and shorter strips as needed.
NOTE: To tear the close-weave cheesecloth, cut into an edge and then tear strips – it should tear fairly easily. The loose-weave cheesecloth will need to be cut as I found it wouldn’t tear easily.
putting the costume together
step 1
Starting with the hat, place a strip of the close-weave cheesecloth going from one side diagonally across to the other side, pin in place. Tuck ends to inside of hat.
Using a machine or hand-sewing, sew along the centre of the strip from one end to the other. I sewed mine using a machine for this part using a longer stitch length and a zig-zag stitch.
NOTE: Using a zig-zag stitch gives a bit of stretch so the stitches don’t pop when the hat is stretched on the head.
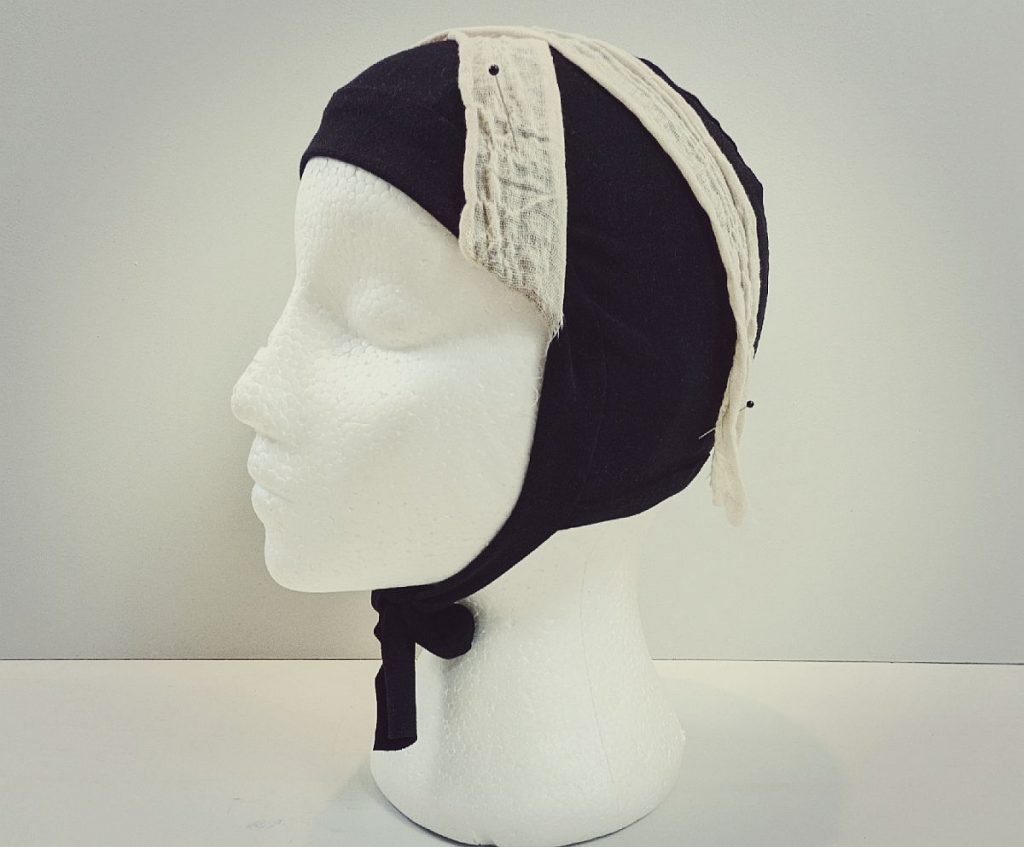
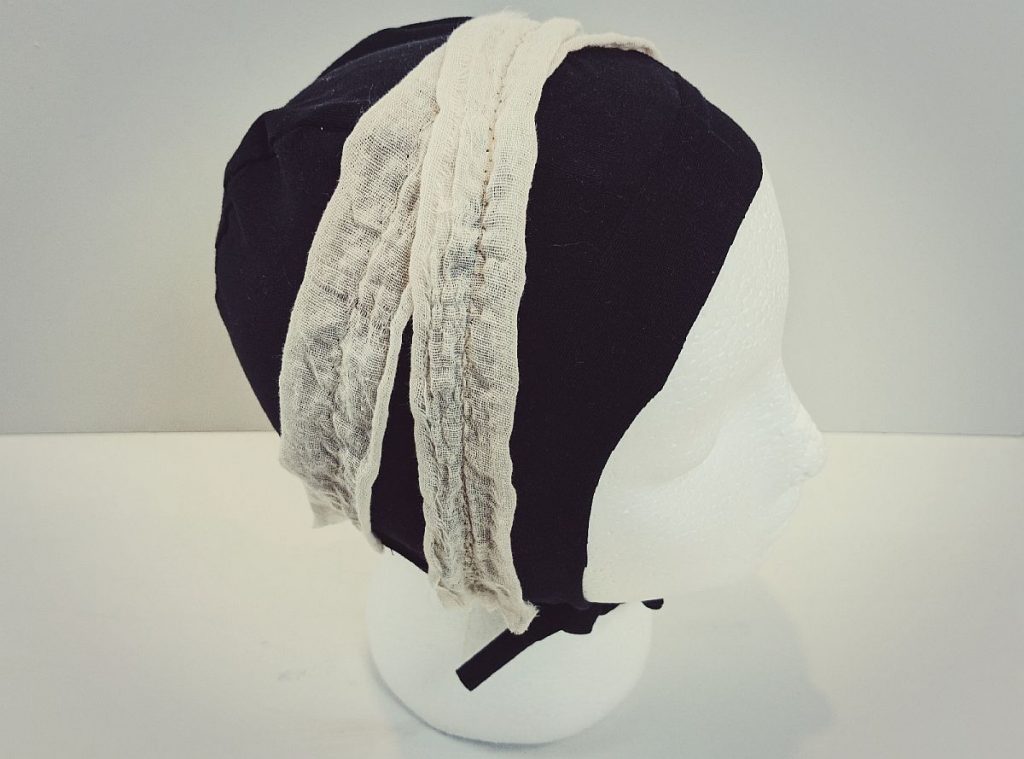
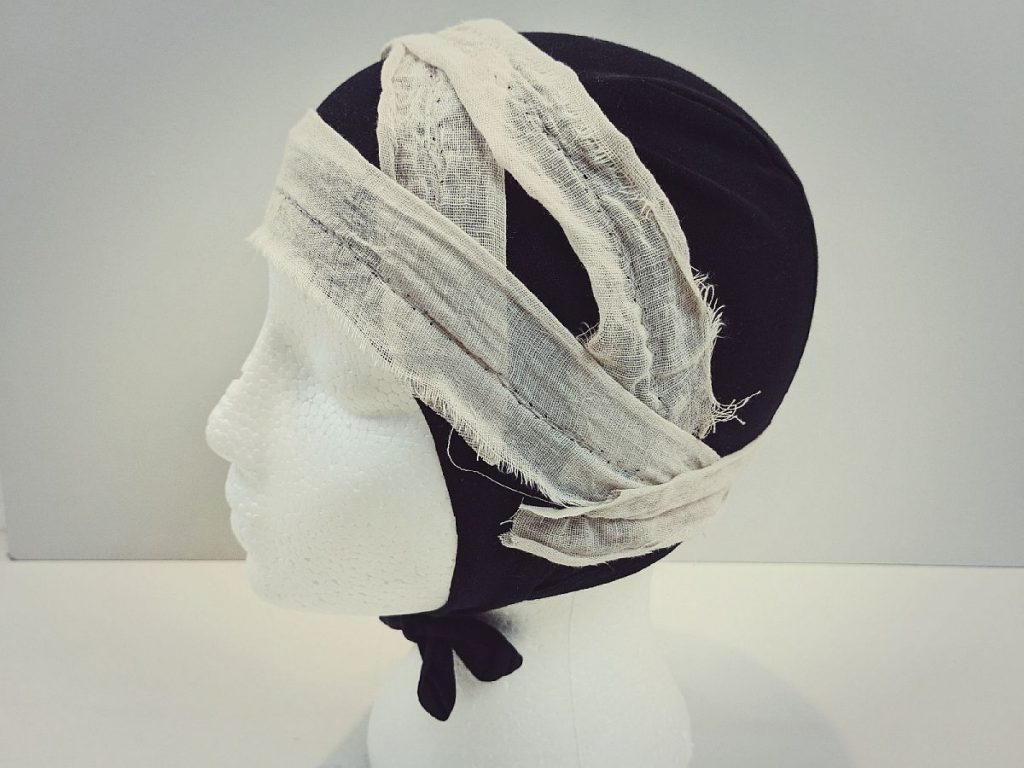
Continue criss-crossing strips of cheesecloth across the hat, pinning, then sewing in place.
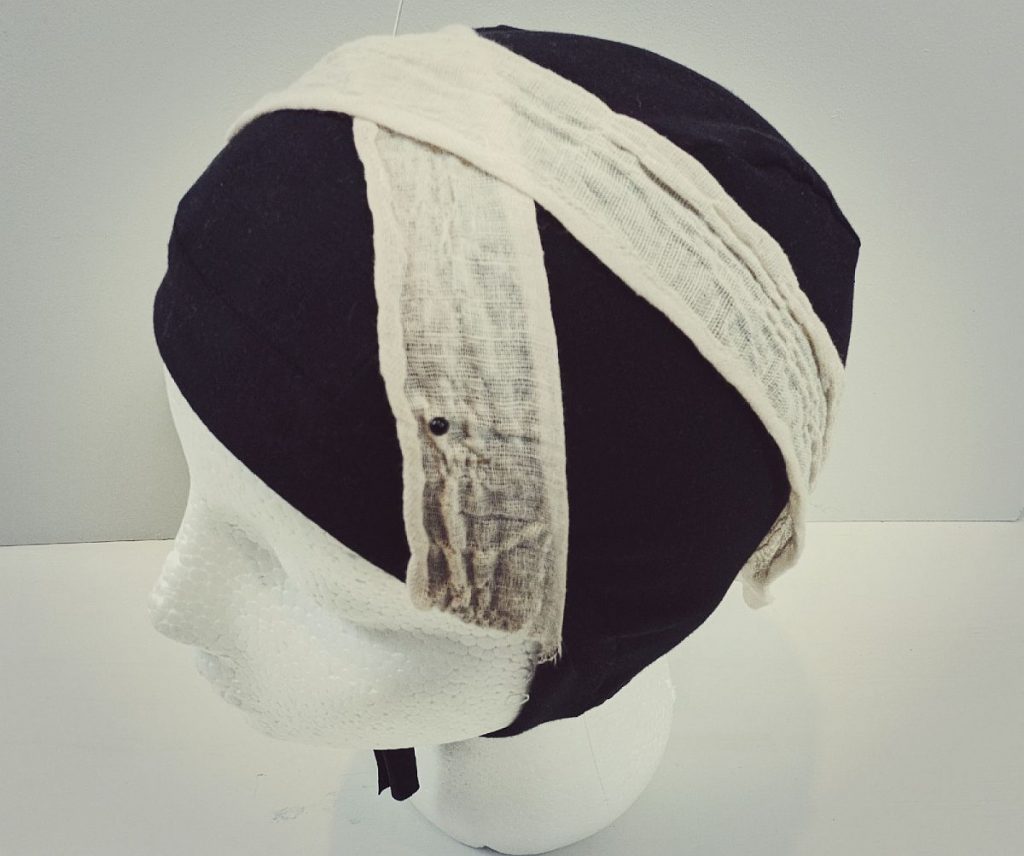
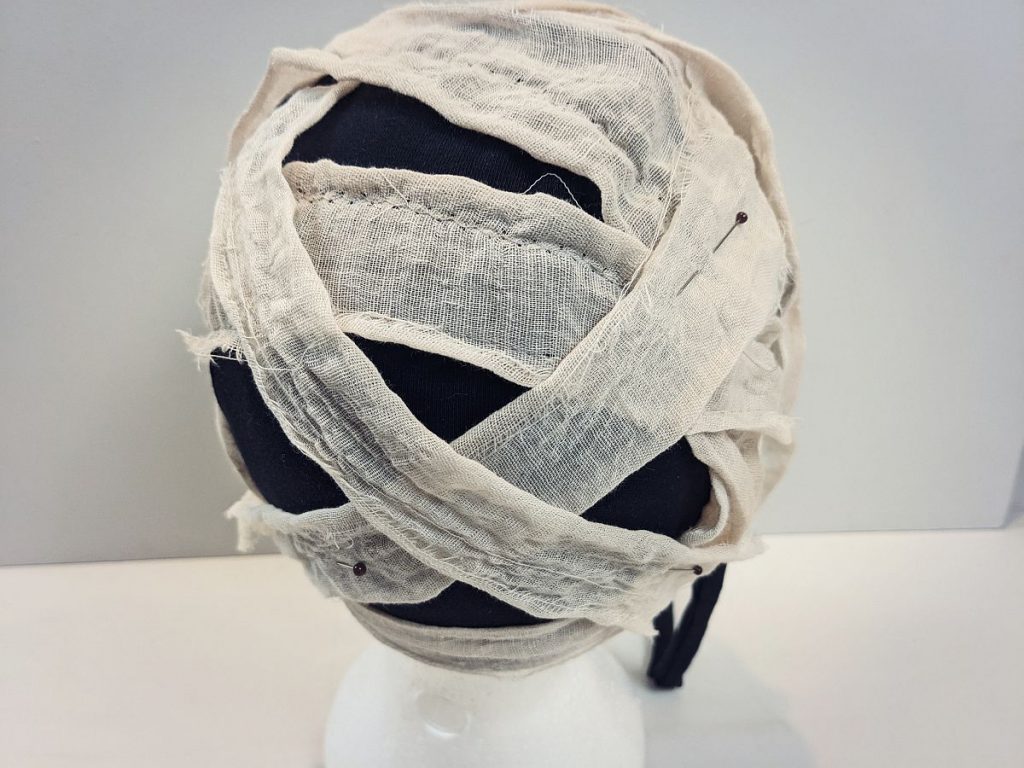
You are going to cover most of the hat, but leave some of the black of the fabric showing underneath.
step 2
Once you have a few strips of the close-weave cheesecloth sewn in place, begin adding strips of the loose-weave cheesecloth on top.
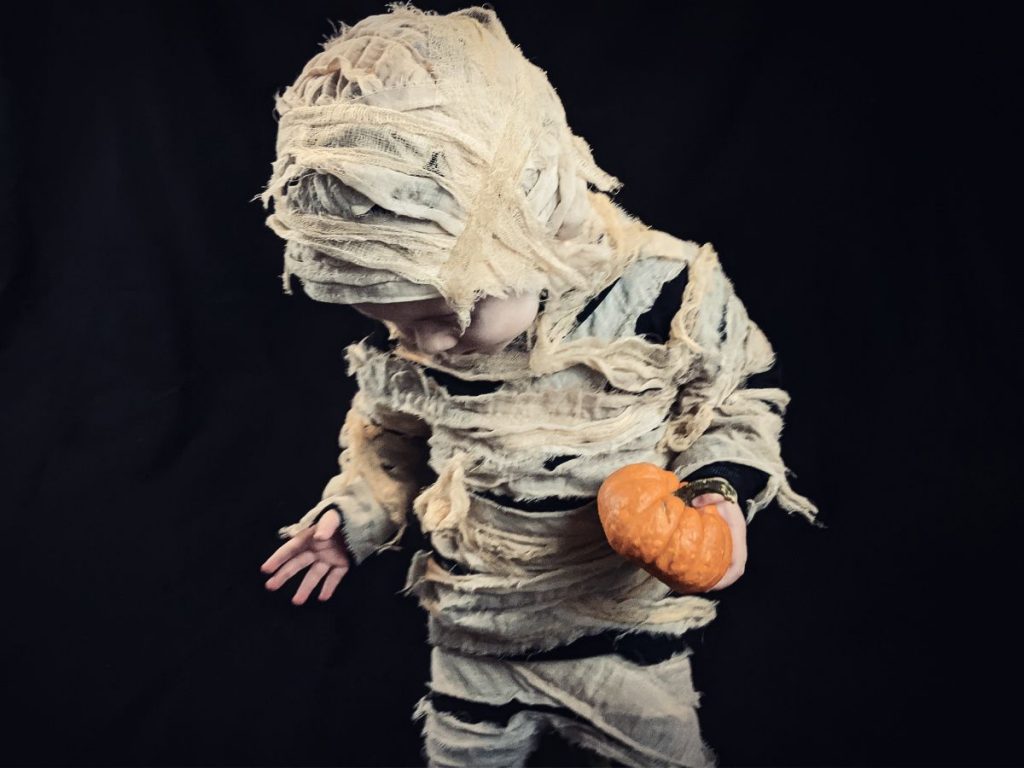
Leave the end bits of the loose-weave cheese cloth dangling a bit to give more of an unravelling mummy effect!
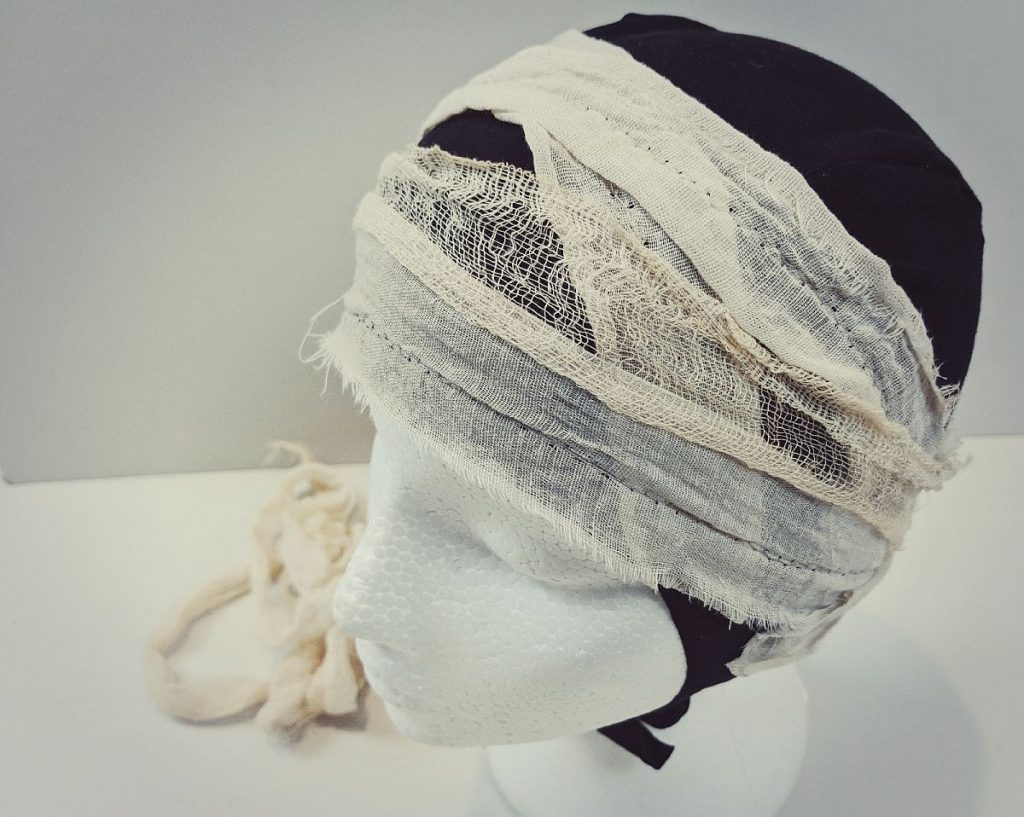
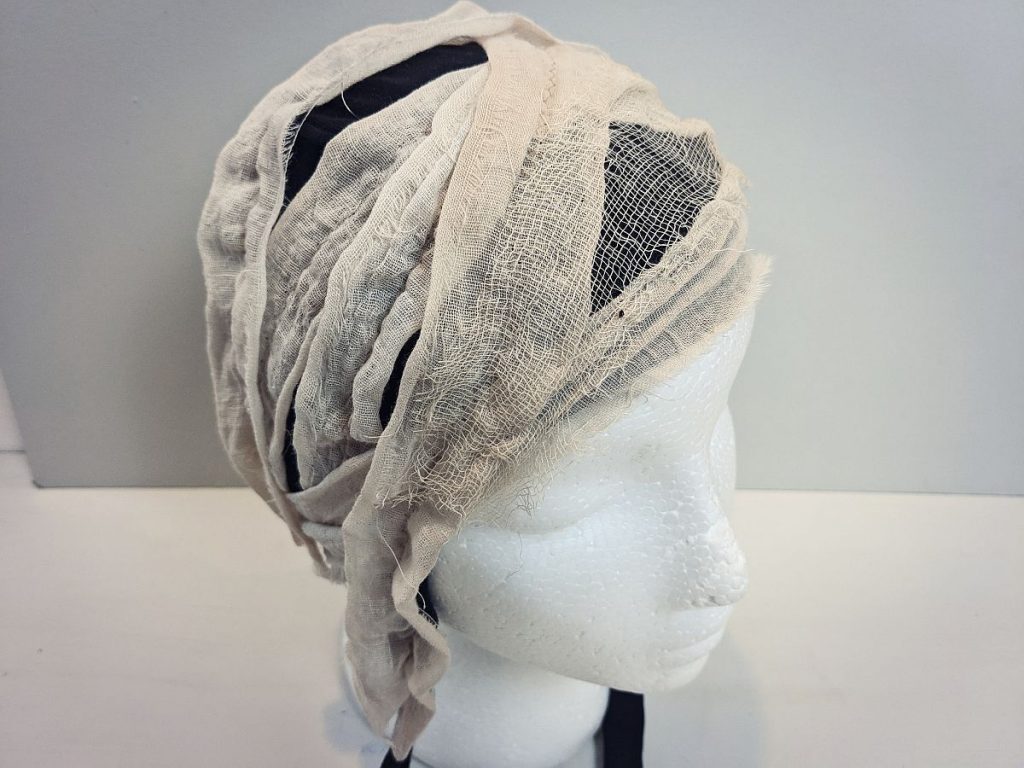
Continue this process until the hat is mostly covered – don’t forget to leave a bit of black showing!
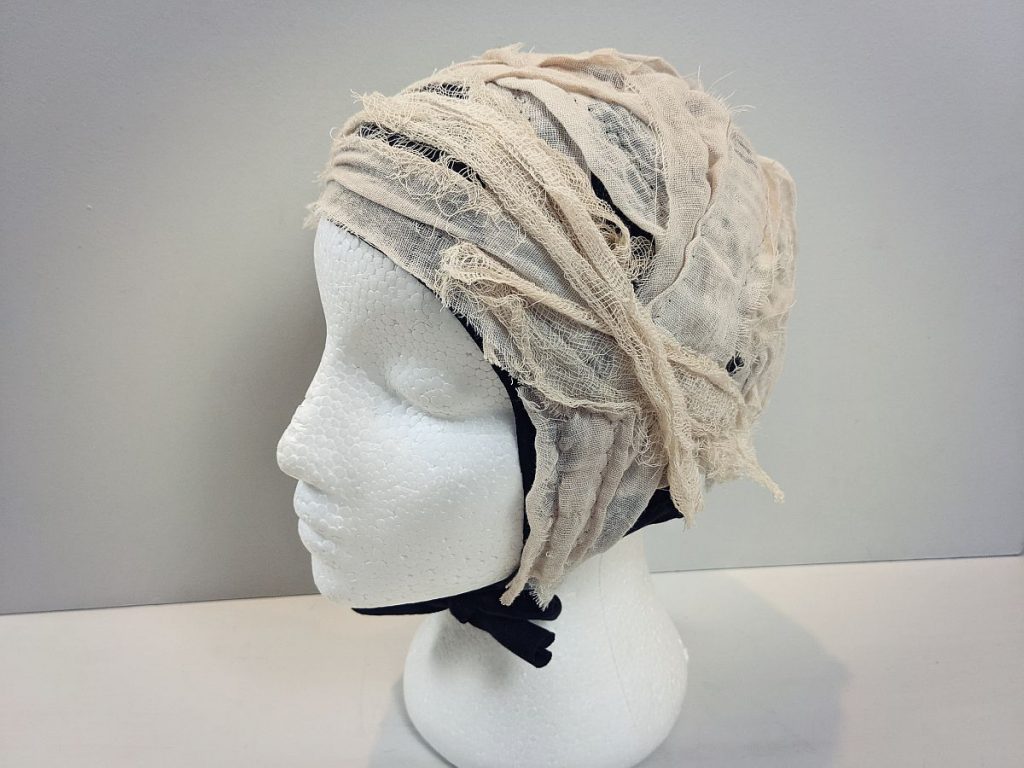
step 3
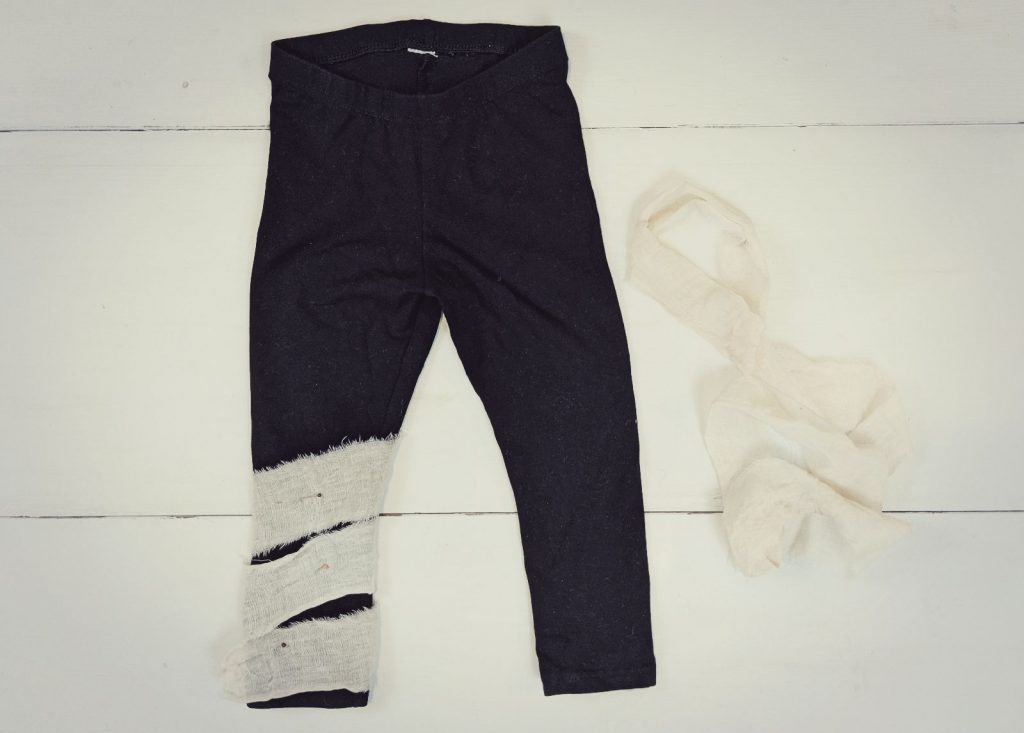
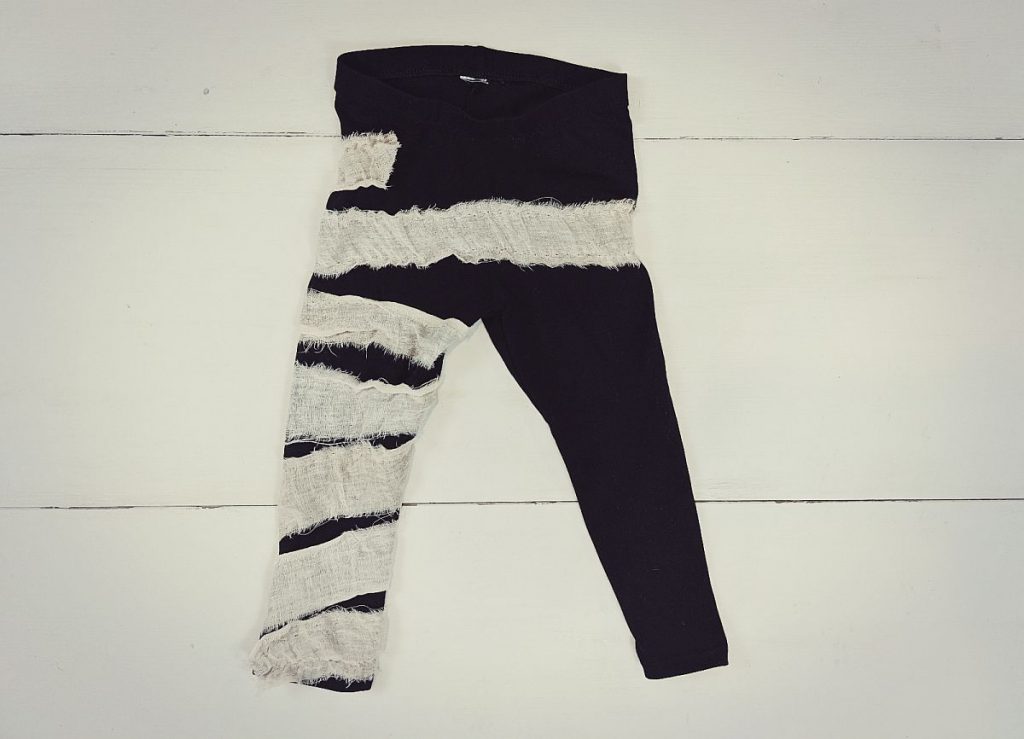
Now onto the pants! You want to be a little careful here, especially if you’re using stretch leggings – be sure to sew fairly loosely so the pants will still be able to stretch when putting them on your child.
I sewed some of the strips a little too tightly and the stitches popped when I tried them on my son – luckily I was not too far along and sewed more loosely going forward.
Once again, start with the close-weave cheesecloth as the base, then add the loose-weave cheesecloth on top.
NOTE: I did as much of the sewing on the machine that I could but there were parts – the narrow bits of the leg where I had to hand sew – luckily this was minimal!
step 4
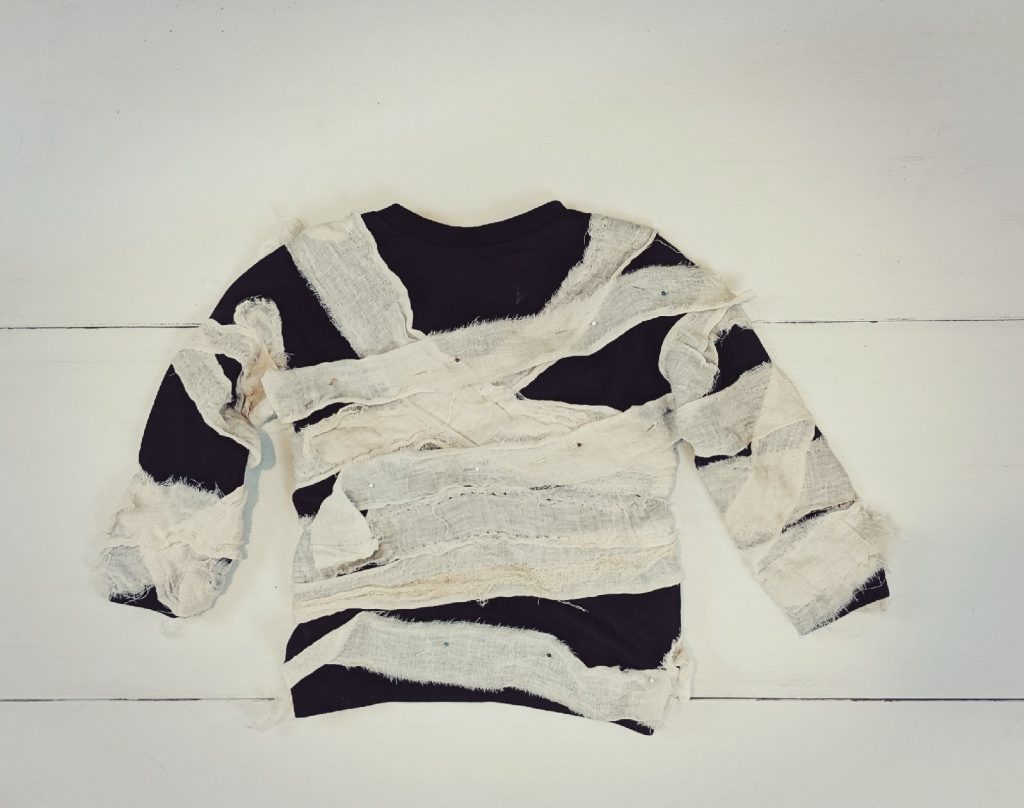
Time for the shirt – almost there! Same process as the hat and pants. Luckily all the sewing of the shirt could be done on the machine as the sleeves were wider than the leggings were and I could fit them over the arm of my machine without trouble.
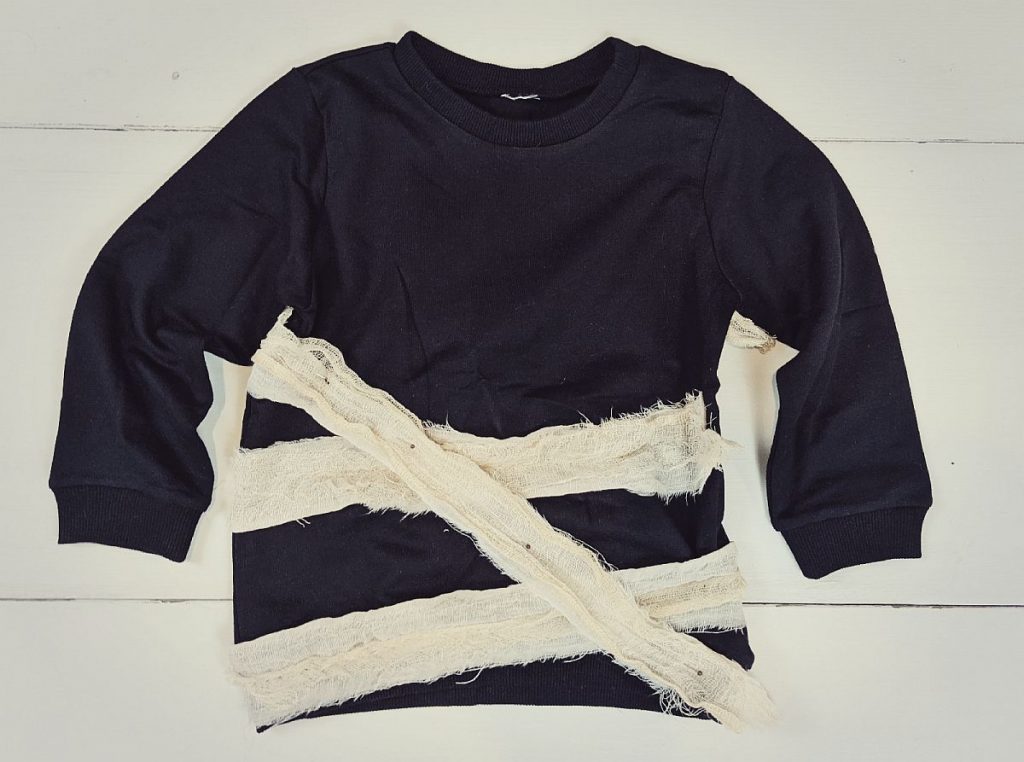
Again, don’t forget to leave a bit of the black underneath showing as it shows off the mummy wrappings better!
finishing touches
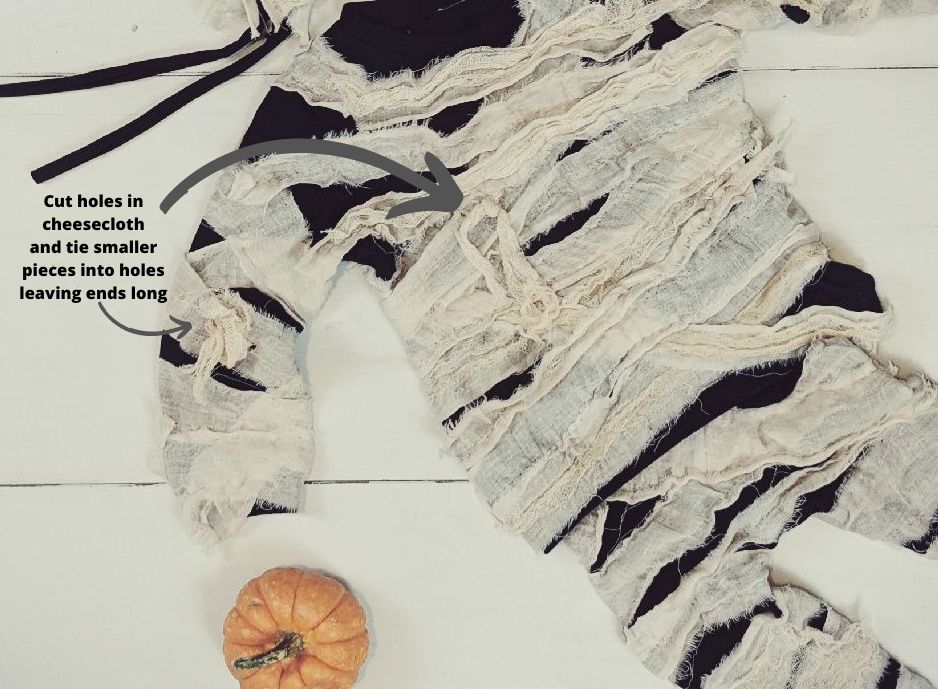
To make the costume look a bit more like a wrapped mummy, you can tie on some short pieces of cheese cloth to give a tied-together effect. I just cut a few small holes in some of the cheesecloth that was sewn on, pulled a strip of the loose-weave cheesecloth through and tied in the middle.
Do this in a few places, back and front, and your little mummy costume will be looking very authentically mummy-like indeed!
optional – Neck Cover
When I made the pilot hat for my son’s costume (from a pattern I made a few months before), I didn’t account for how much his head had grown since I’d last used the pattern, and half his head was showing at the back – it didn’t look so good! So I added a little brim to the back of the hat and then also made a ‘neck cover’ and covered that in cheesecloth strips as well.
The neck cover works well if you live in a colder climate (like me!) and your little mummy will need the extra warmth of having their neck covered.
to make the neck cover (toddler size)
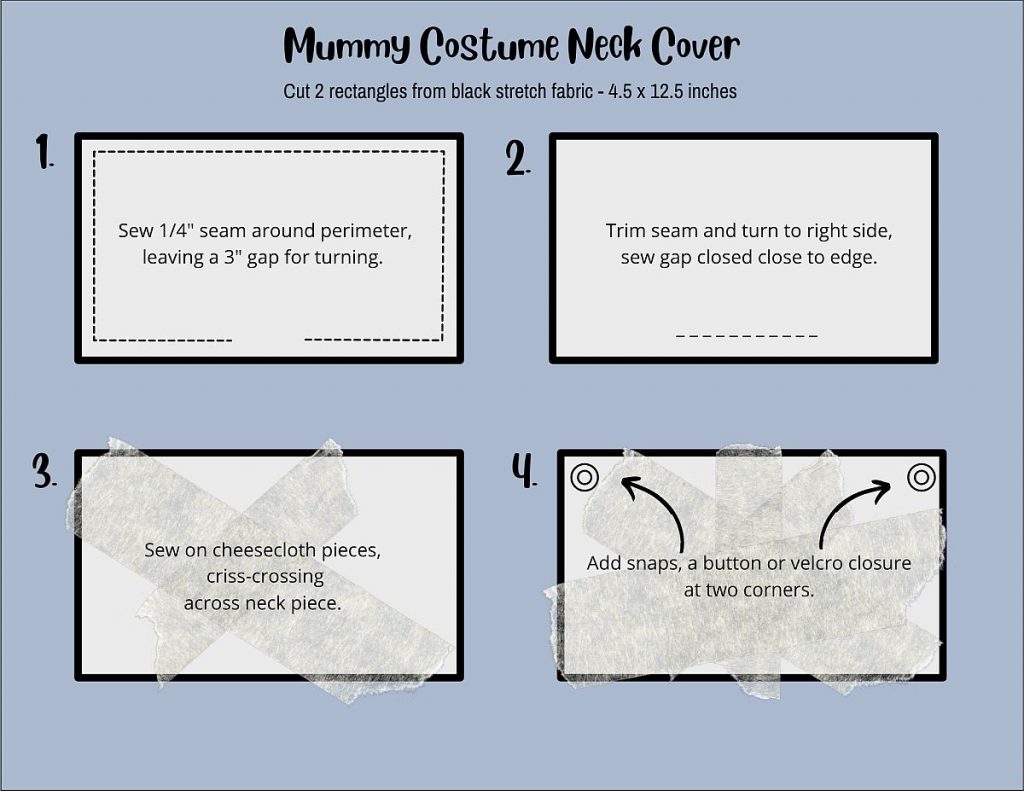
Cut two rectangles from black stretch fabric that are 4.5 inches by 12.5 inches. With right sides together, sew around the perimeter of the rectangle using a 1/4 inch seam allowance, leaving a 3 inch gap open for turning.
Trim seam edges, turn to right side and press. Sew gap closed along edge.
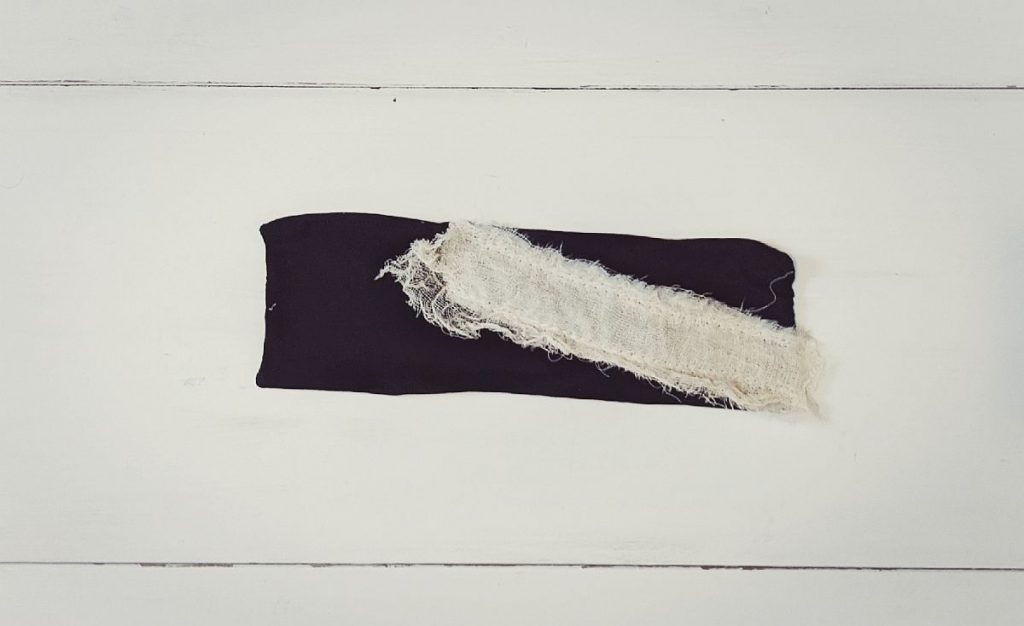
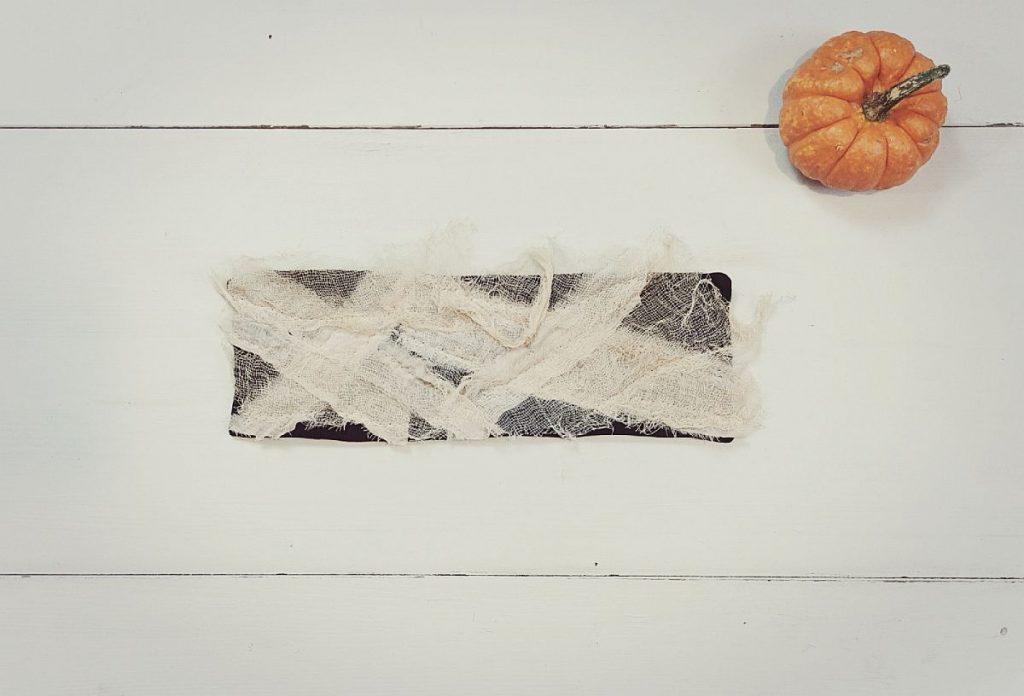
Sew on bits of the cheesecloth in the same process as for the other parts of the costume.
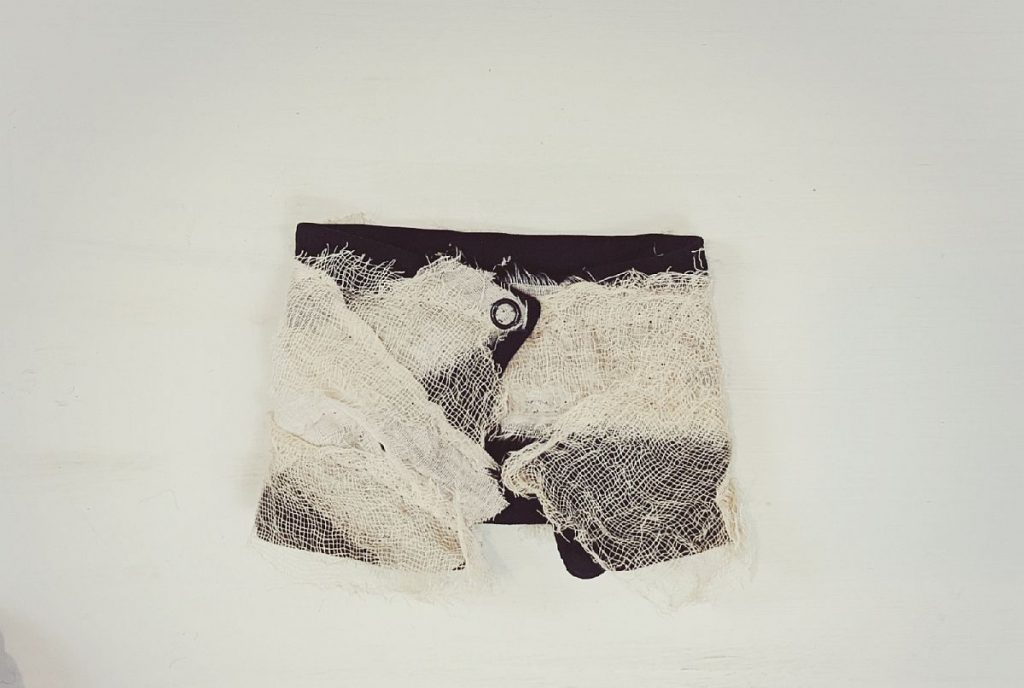
Make a closure at the top corners either with a button, snap or velcro.
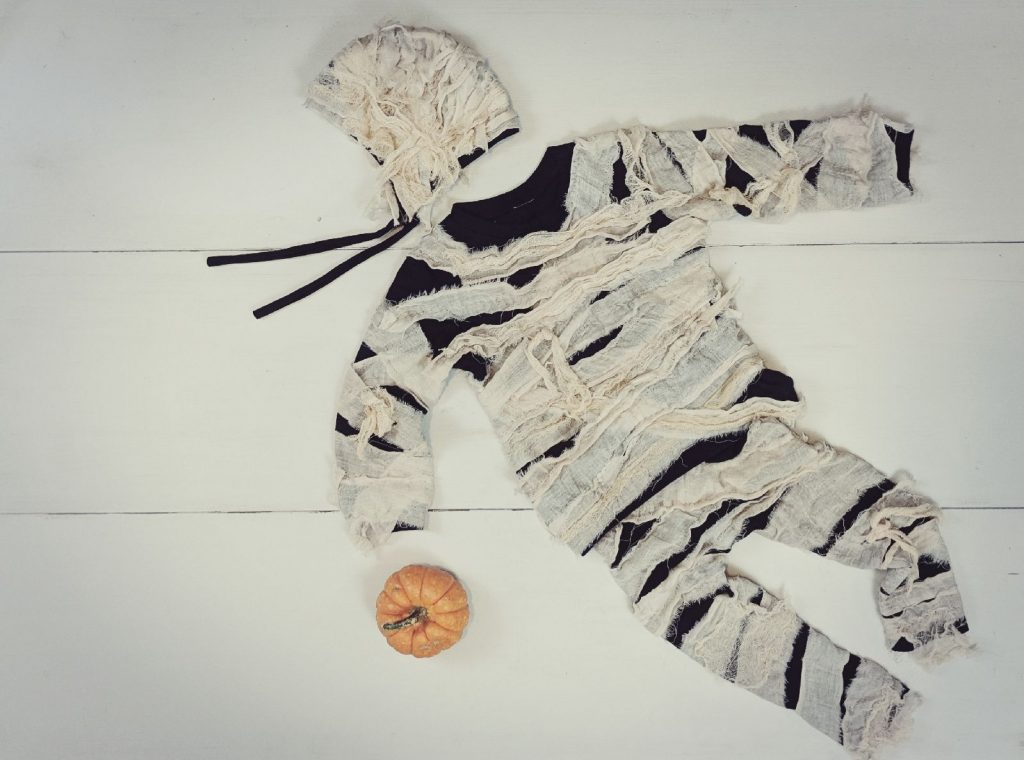
All done! If you decide to use this tutorial to make your little one into an authentic-looking mummy this Hallowe’en, I’d love to hear about it!
My little mummy had so much fun last year trick-or-treating and meeting lots of other mummies along the way – as well as all the trick-or-treaters, big and small! We have a lady in out neighbourhood (known affectionately as “The Hallowe’en Lady” by all the children and she does her house up spectacularly for the occasion – Arthur got to her place and didn’t want to leave – he was completely enthralled with all the amazingly spooky decorations!
I hope you’ve enjoyed this tutorial and have fun making your little one’s costume this Hallowe’en, whatever they may be!

Need some fun Halloween Activities for little ones?
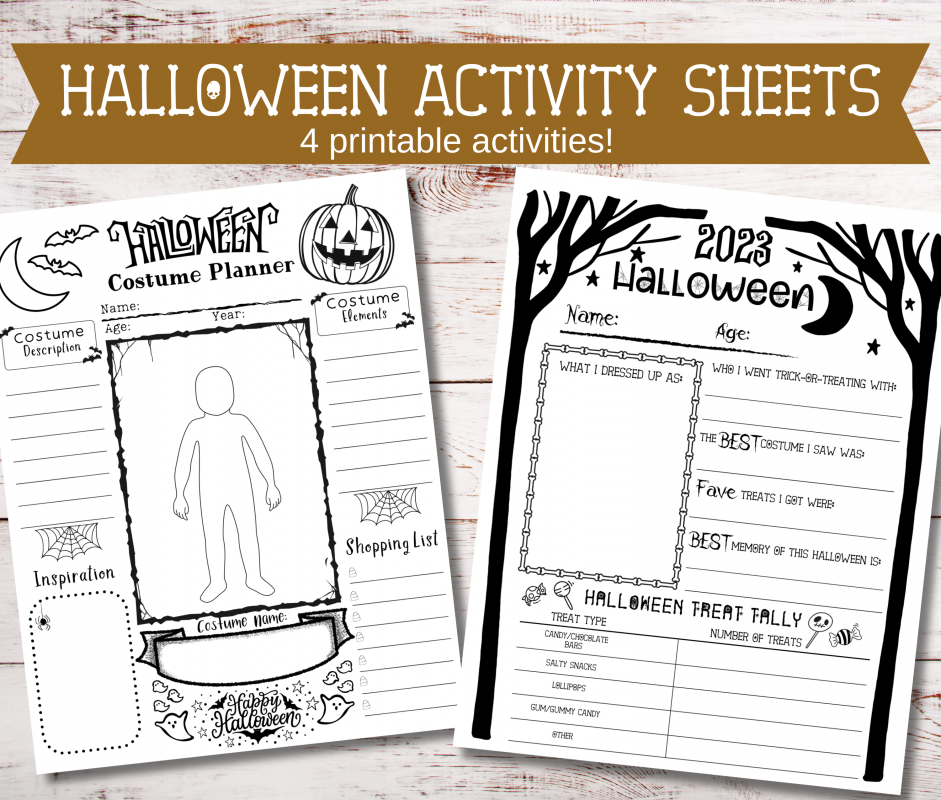
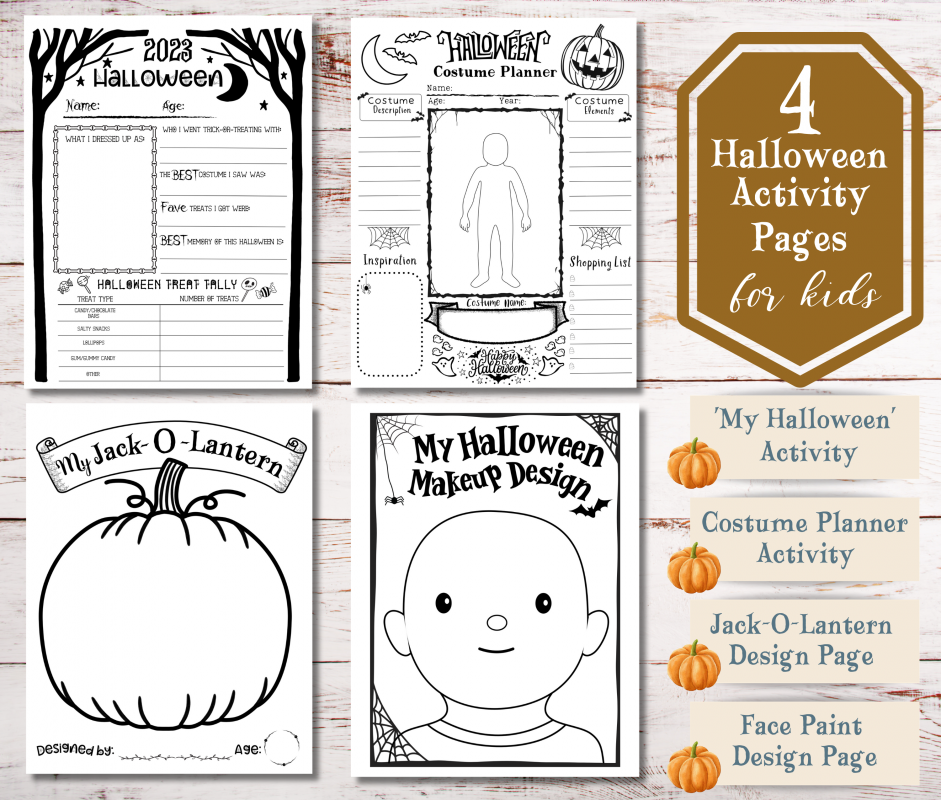
I made a new printable Halloween package for kids that includes 4 printable activities including a Halloween Costume Planner page, Halloween Memories page, Design a Jack-O-Lantern page and Halloween Face Paint Design page!
For lovely readers of my blog, enjoy 30% off Halloween printable pages with the code: TRICKORTREAT2023 . Happy Hallowe’en!!
