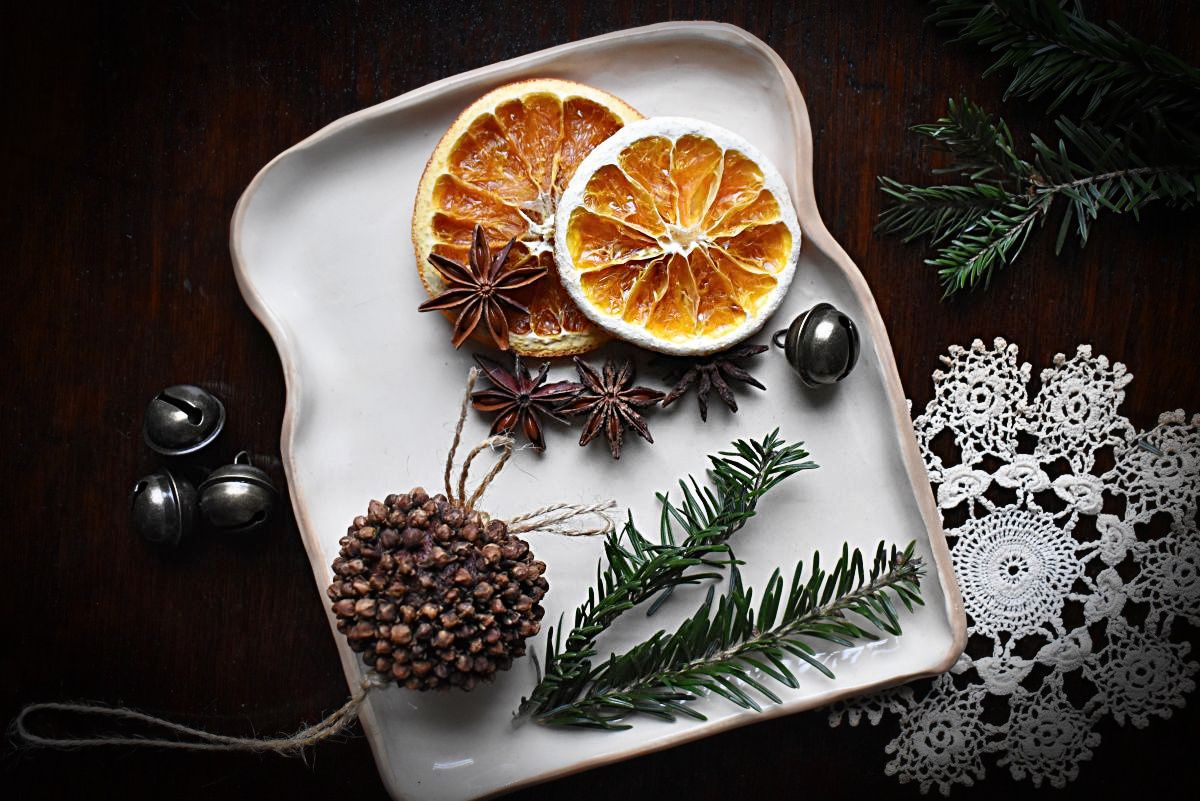
Drying oranges is a simple way to preserve the fruit for decorating your home naturally for the festive season.
I love to use oranges to decorate the house around the holidays – their lovely vibrant colour and delicious scent make them perfect for making garlands, adding to wreaths or making ornaments to hang on the tree! It also makes a fun activity to do with kids as they love to get involved with the process of preparing the oranges, seeing the fruit change texture as they dry and then making decorations they can hang on the tree or add to gifts.
Here are four methods for drying orange slices that you can then use for decorating your home this festive season. The one I like best and which is relatively fast and easy seems to produce the best result is the dehydrator method, though understandably not everyone has a dehydrator to use, so just choose whichever method will work best for you!
4 easy ways to dry oranges
dehydrator method
Start by washing and thoroughly drying the fruit. Then, using a sharp knife, slice the oranges crosswise into thin rounds, about 1/4 inch thick. If you would like to use the orange slices for hanging ornaments, poke a hole at the edge of the rind, making sure that it’s quite big so it won’t disappear as the orange dries. You can also poke a needle through the flesh of the orange later with a string if you forgot this step – the flesh will be easier to go through than the rind once the orange is dried and the rind dries quite hard.
Place slices onto dehydrator trays, set temperature to 145 degrees Fahrenheit and leave to dry for 4-6 hours, flipping occasionally. You’ll know they’re done when they’ve hardened significantly and are no longer sticky to the touch.
Oven method
To dry oranges in the oven, start by washing and thoroughly drying the fruit. Then, using a sharp knife, slice the oranges crosswise into thin rounds, about 1/4 inch thick. Place the orange slices on a drying rack or a lined baking sheet and place them in the oven set to the lowest temperature setting, around 200 degrees Fahrenheit or your lowest oven setting.
It’s important to keep the oven door open slightly to allow moisture to escape. Drying times will vary depending on the thickness of the orange slices, but it usually takes about 4-5 hours for the oranges to fully dry. If you find that the oranges aren’t quite dry, leave them on racks on the counter until they’re fully dry.
hanging up to dry method
This method takes some time (a couple weeks) but the oranges do seem to retain their colour well this way. They also look lovely hanging as they dry and make quite a nice decoration even like that! I hung mine on a wooden hanger and they do brighten the room and smell so nice as they dry.
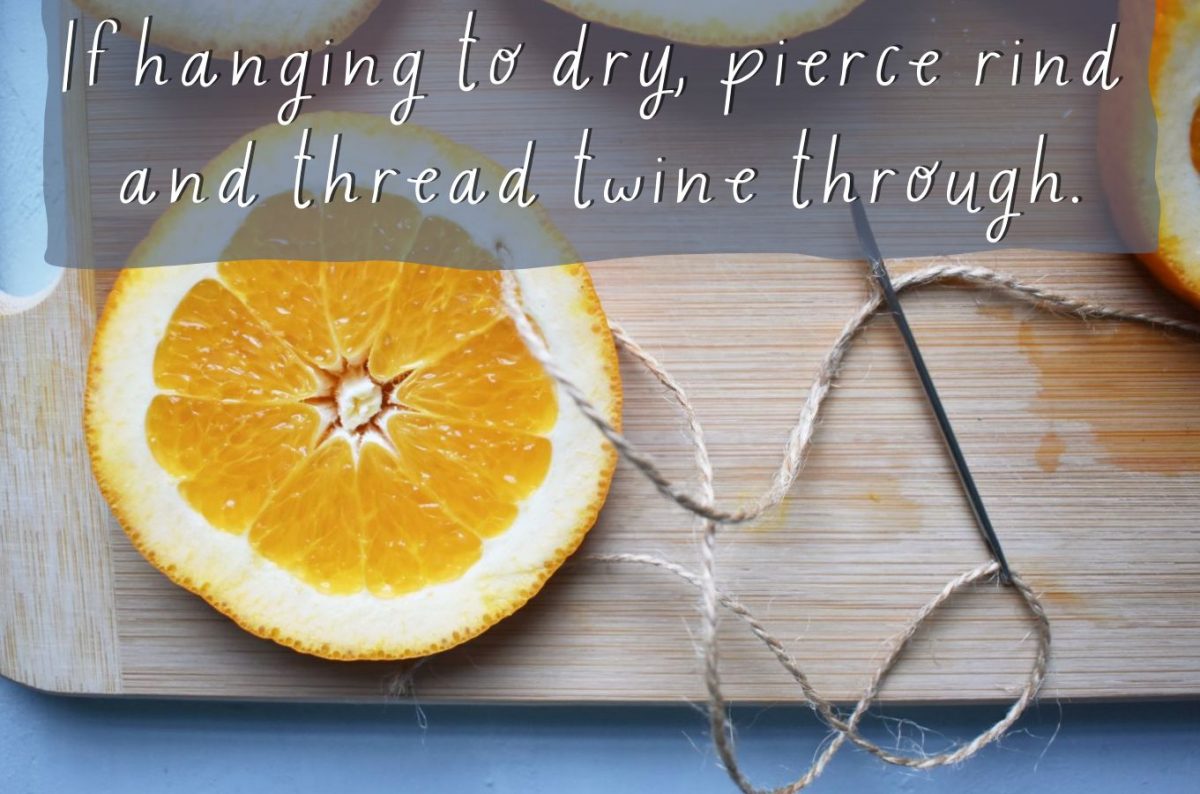
Start by washing and thoroughly drying the fruit. Then, using a sharp knife, slice the oranges crosswise into thin rounds, about 1/4 inch thick. Thread a large needle with a length of twine and pierce the needle through the rind, close to the edge of the orange slice. Pull the twine through, then tie twine to a coat hanger and hang to dry where there is plenty of airflow so that the oranges don’t start to mould. As noted, this does take some time so if you need oranges for decorating sooner rather than later, you might want to choose one of the other methods listed.
sun drying method
Another option is to dry the orange slices in the sun. This method takes longer, but it allows the fruit to retain its bright colour. To dry oranges in the sun, simply place the slices on a drying rack or a lined baking sheet and let them sit in the sun for several days, turning them occasionally to ensure even drying. Of course, if you are in a colder climate this method won’t be the best choice for you!
Uses for dried orange slices
I’ll have some more ideas coming soon in future posts but here are some ideas to get you started!
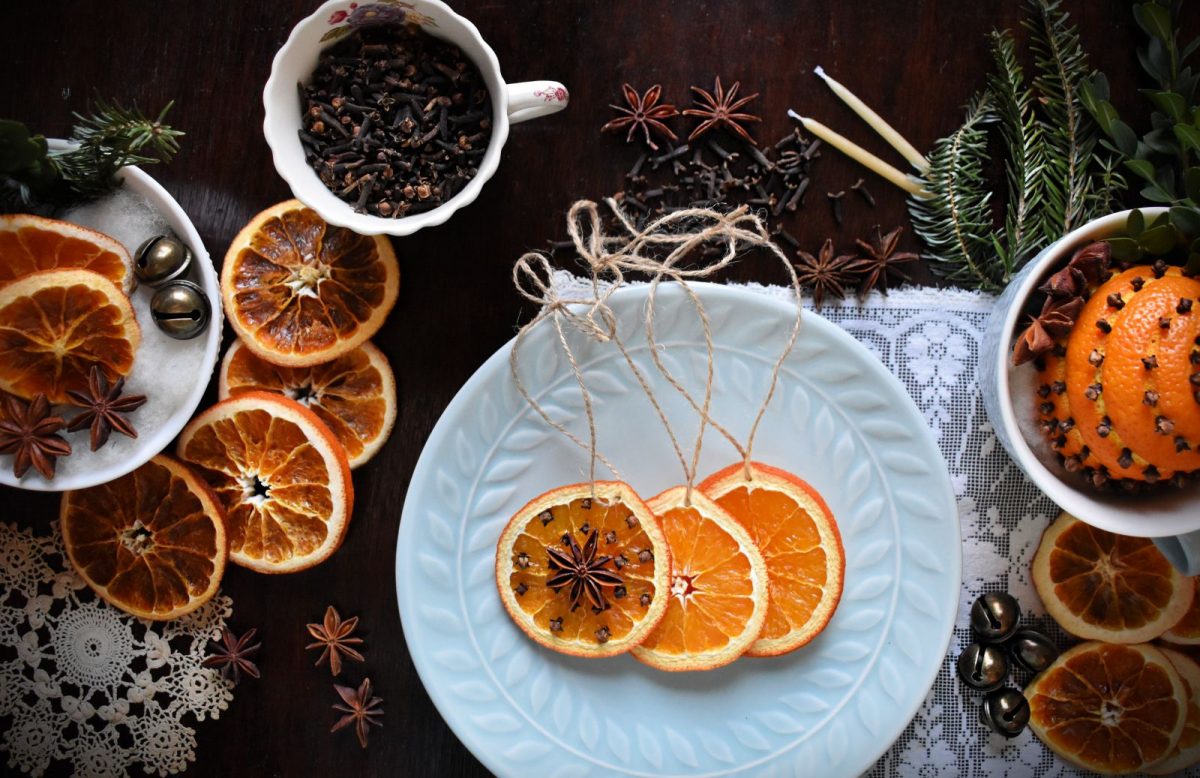
- Hanging ornaments – thread twine through the rind or close to the rind and decorate with other natural elements such as cloves and anise.
- Garlands – taking a length of twine, string or ribbon thread through the centres of the orange slices to make a bright and festive garland. Looks lovely over pine boughs or paired with a felt ball garland.
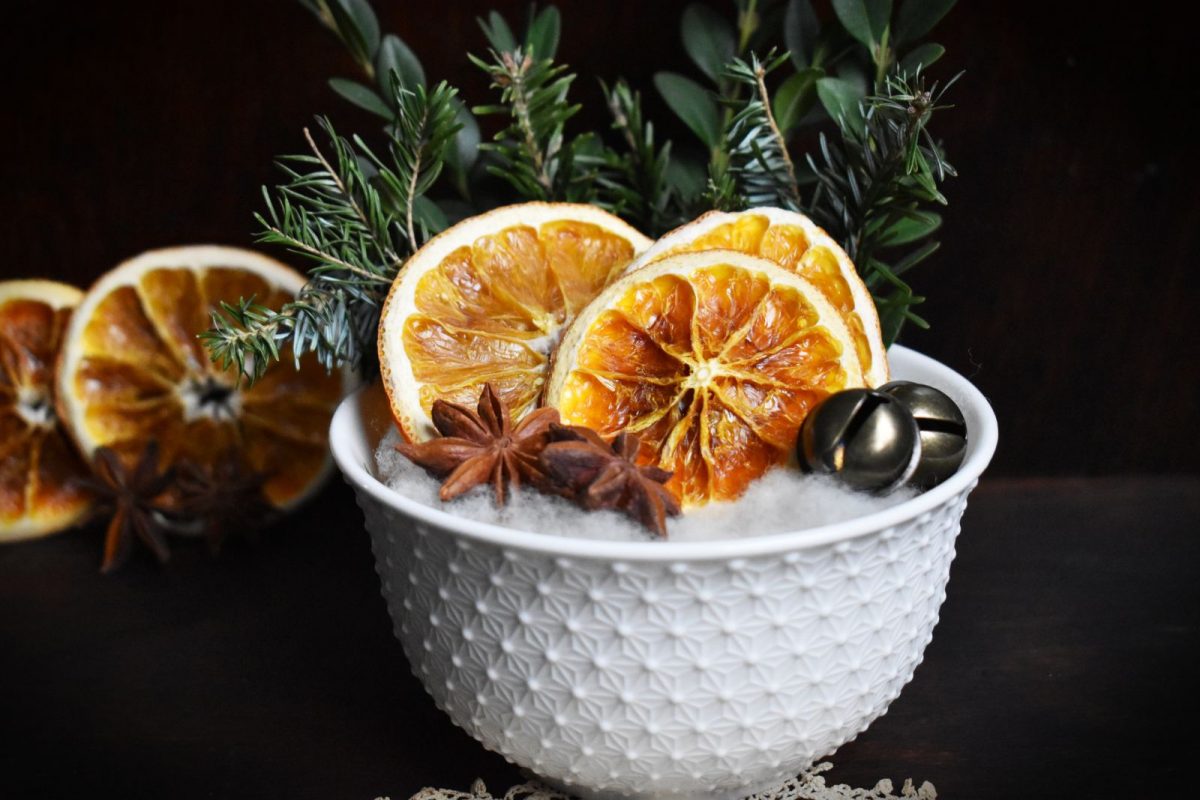
- Place in pretty bowls, teacups or mugs along with other natural festive elements and place around your home – they look festive and smell so lovely!
- Add a naturally festive touch to gifts by tying on with twine and adding a small branch of pine or boxwood beneath.




Best wishes for a lovely, happy & healthy festive season!


