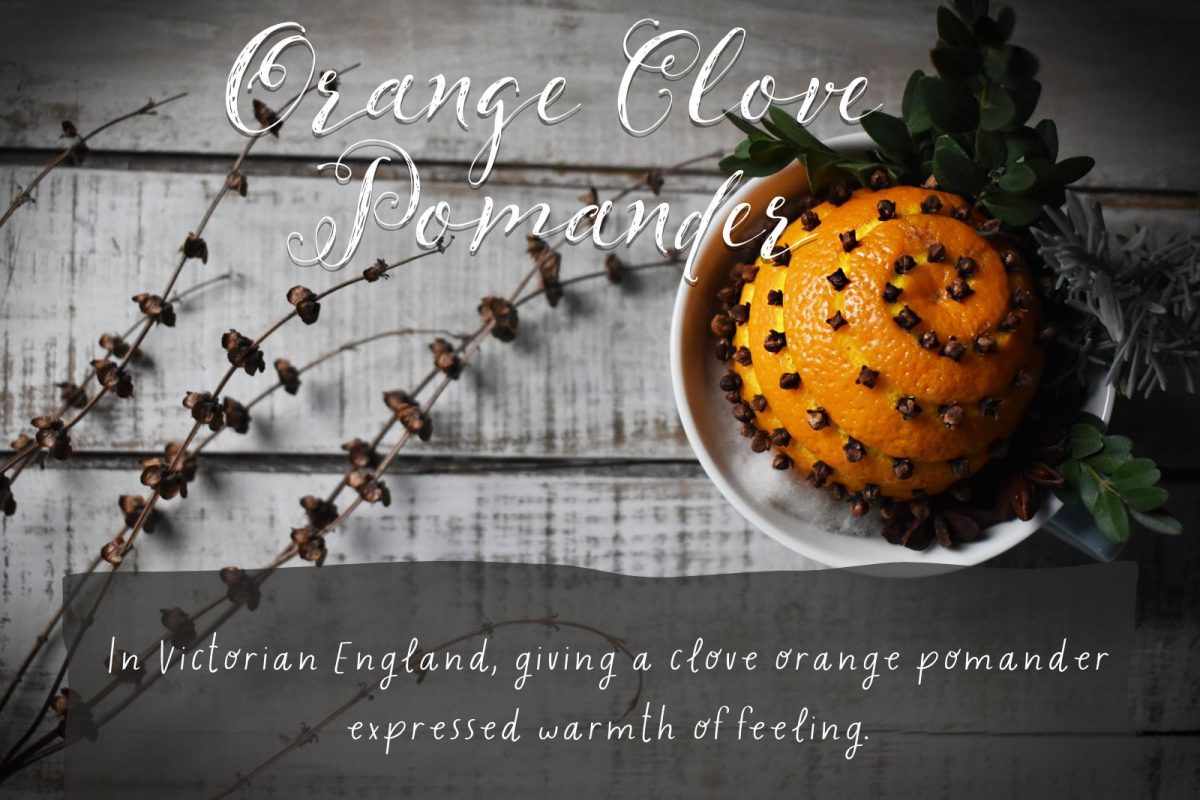
In Victorian England, giving a clove orange pomander expressed warmth of feeling.
Clove orange pomanders are so fun to make and are a lovely way to make your home smell festive and fresh! I remember my mum making orange pomanders when I was little and loved having one sitting prettily in a glass dish on the piano at Christmastime, greeting us with it’s lovely scent coming in the house on wintry days.
There are a number of ways you can make clove orange pomanders and I’ll detail a few options in this post, so you can try your hand at making whichever strikes your fancy! Not only do clove oranges smell delicious, but you can also create pretty festive bowls to display them in and add a lovely natural touch to your holiday décor this season.
what is a clove orange pomander?
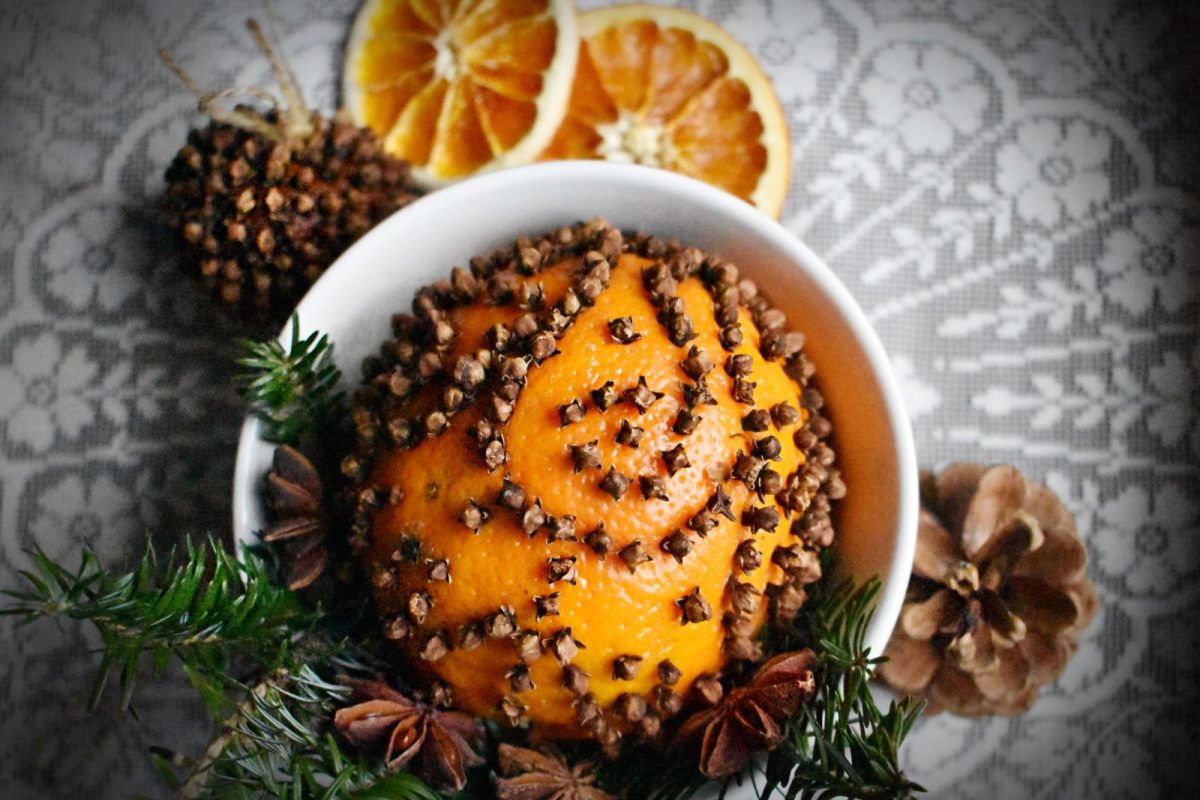
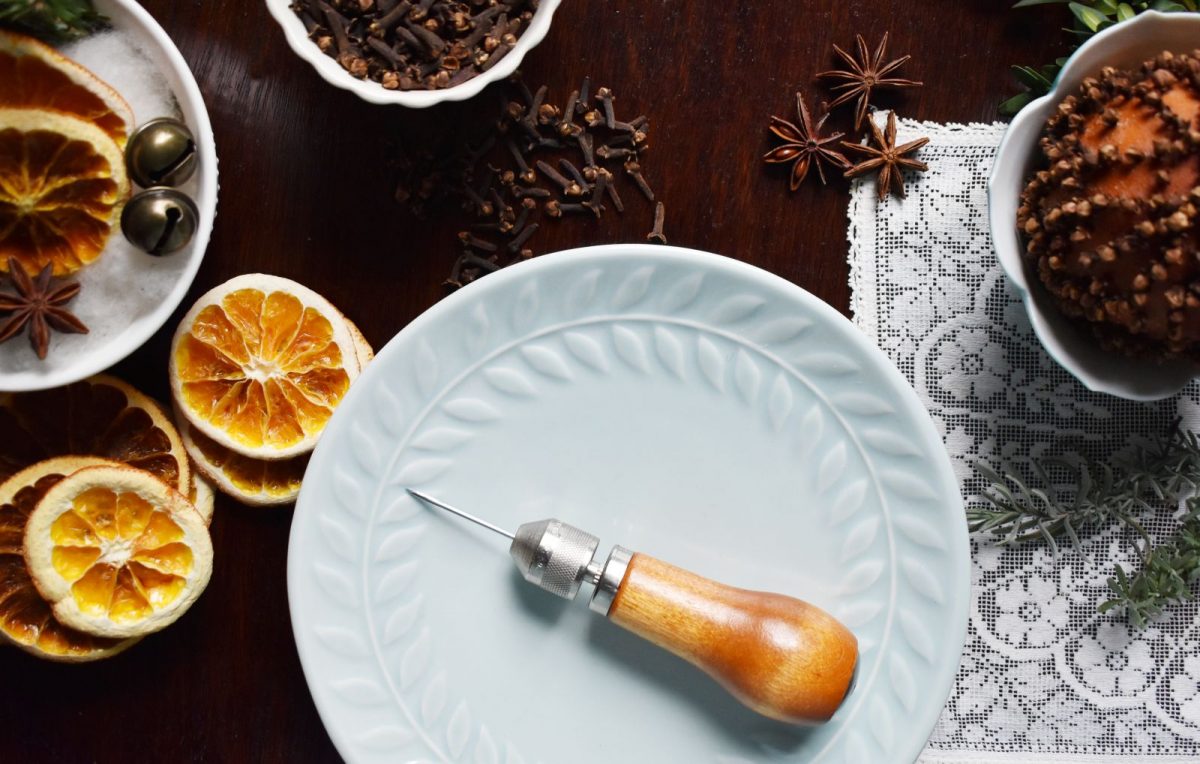
An orange clove pomander is a decorative ornament made by studding an orange with whole cloves. To make a pomander, you’ll need an orange, a package of whole cloves, and an awl, needle or other pointy instrument to poke holes in the orange so you can easily insert the whole cloves.
Start by poking the awl or needle into the orange to create a small hole, then insert a clove into the hole. Repeat this process until the orange is completely covered with cloves. The pomander will release a pleasant, spicy scent as the orange dries out.
To create a more decorative pomander, you can also add ribbon or other embellishments to the orange once it is covered in cloves. Pomanders are often used as holiday decorations, but they can also be hung in closets or drawers to add a pleasant scent to the air as well as to ward off pests such as moths (who dislike the smell of cloves).
using other citrus fruits
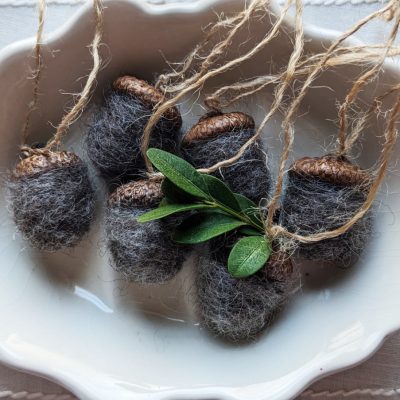
Not just reserved for oranges, you can also use other citrus fruits to make pomanders! I’ve used clementines to make smaller pomanders to hang on the Christmas tree and you can use lemons, limes, tangerines, etc. as you can easily stick cloves into these and they dry similarly to oranges.
4 decorative pomander ideas
Here are a few ideas for how you can make a variety of different clove orange pomander balls. Scroll down for details on how to make each type.
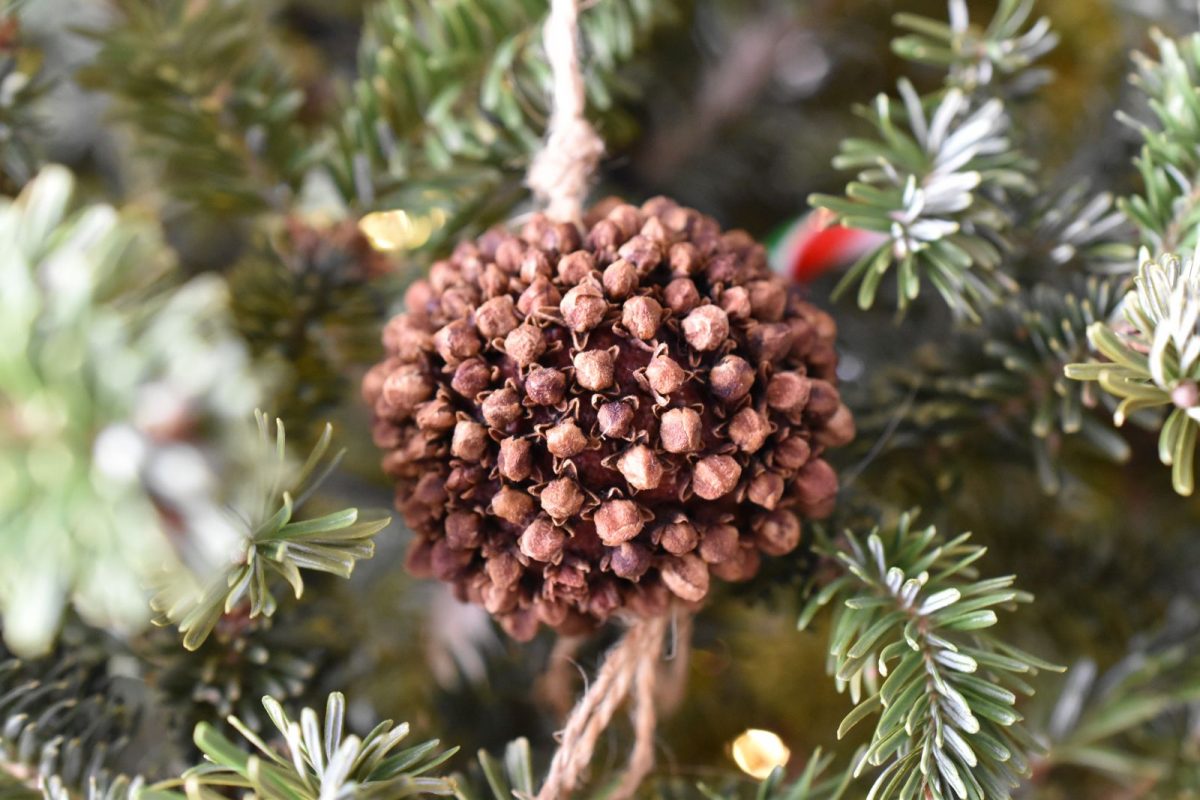
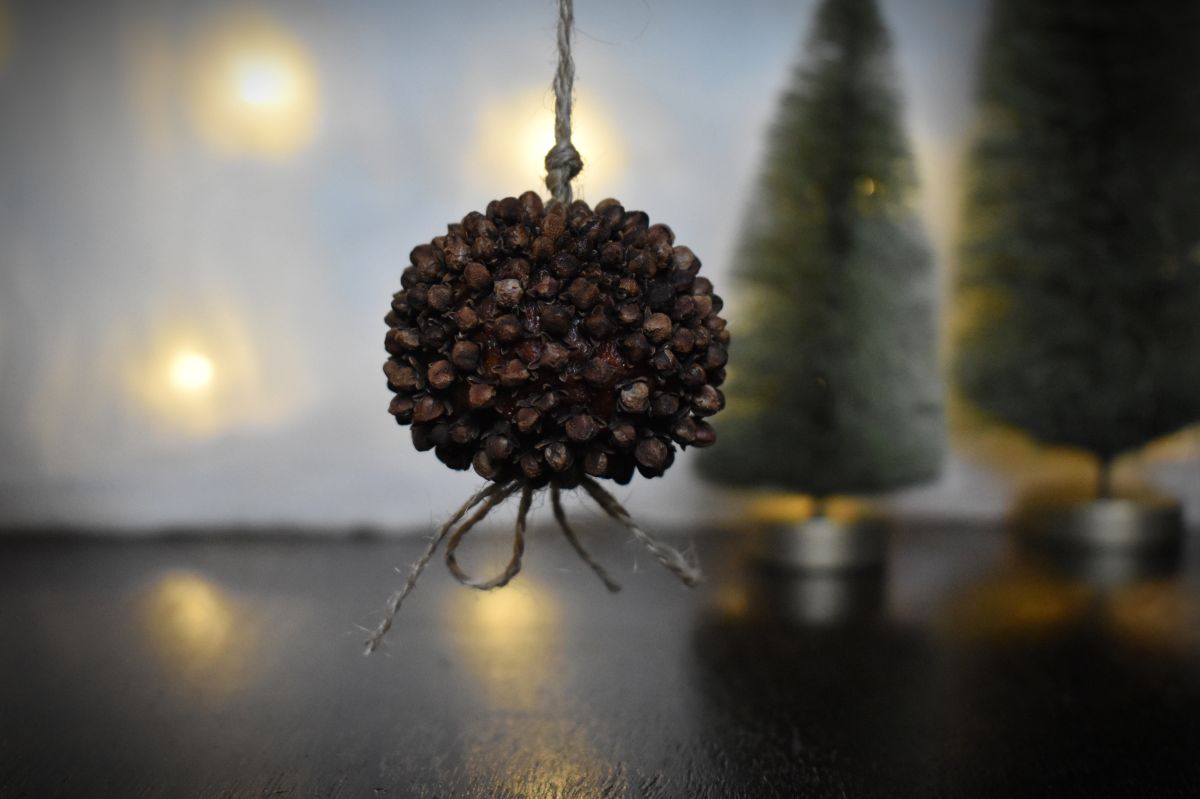
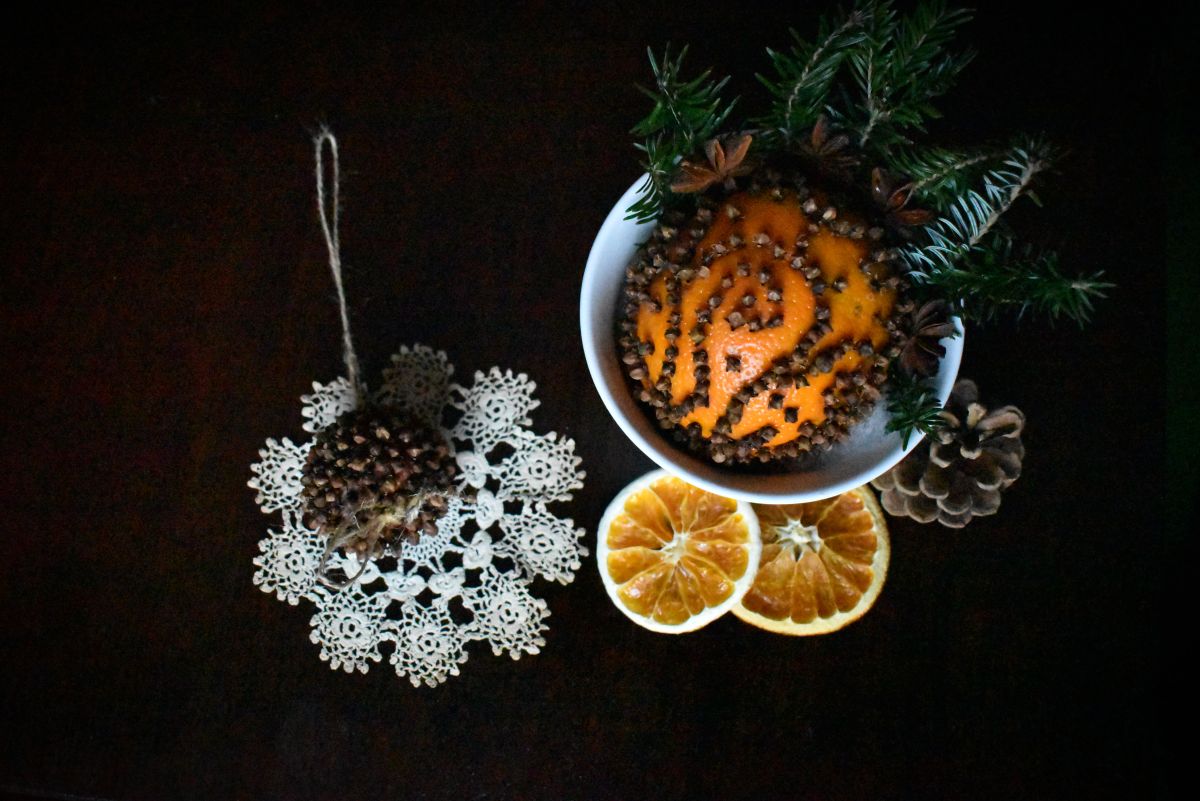
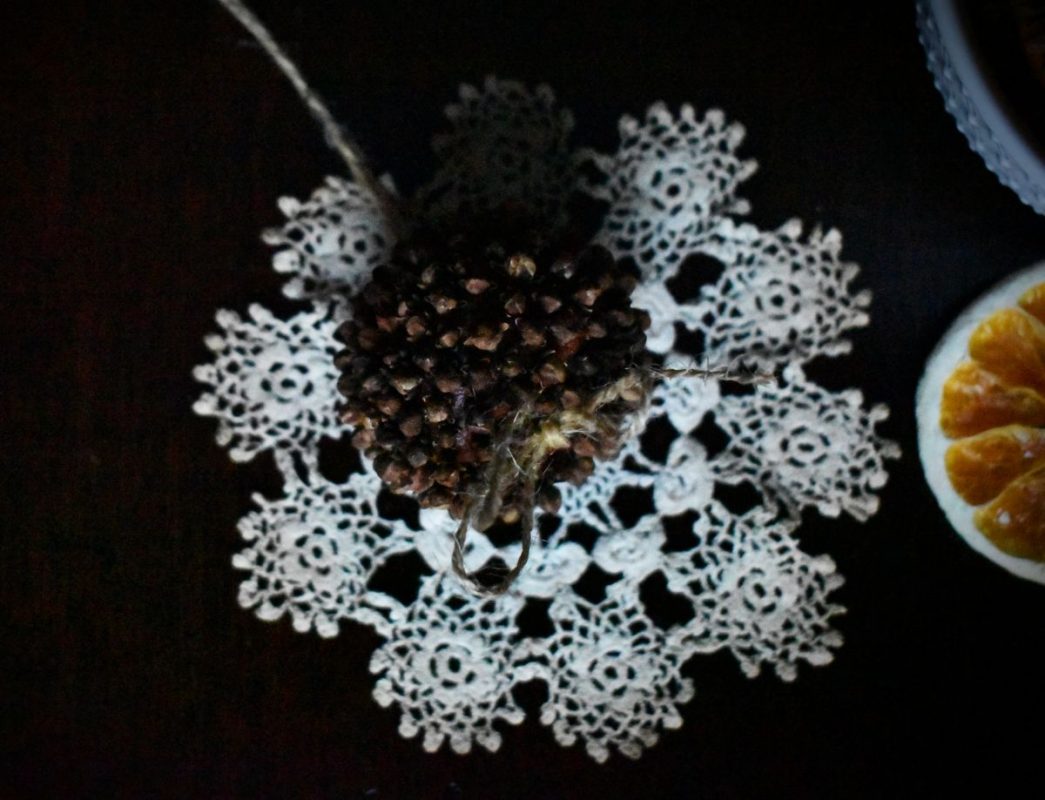
- COVERED – Completely cover with cloves, add twine through centre of fruit for hanging.
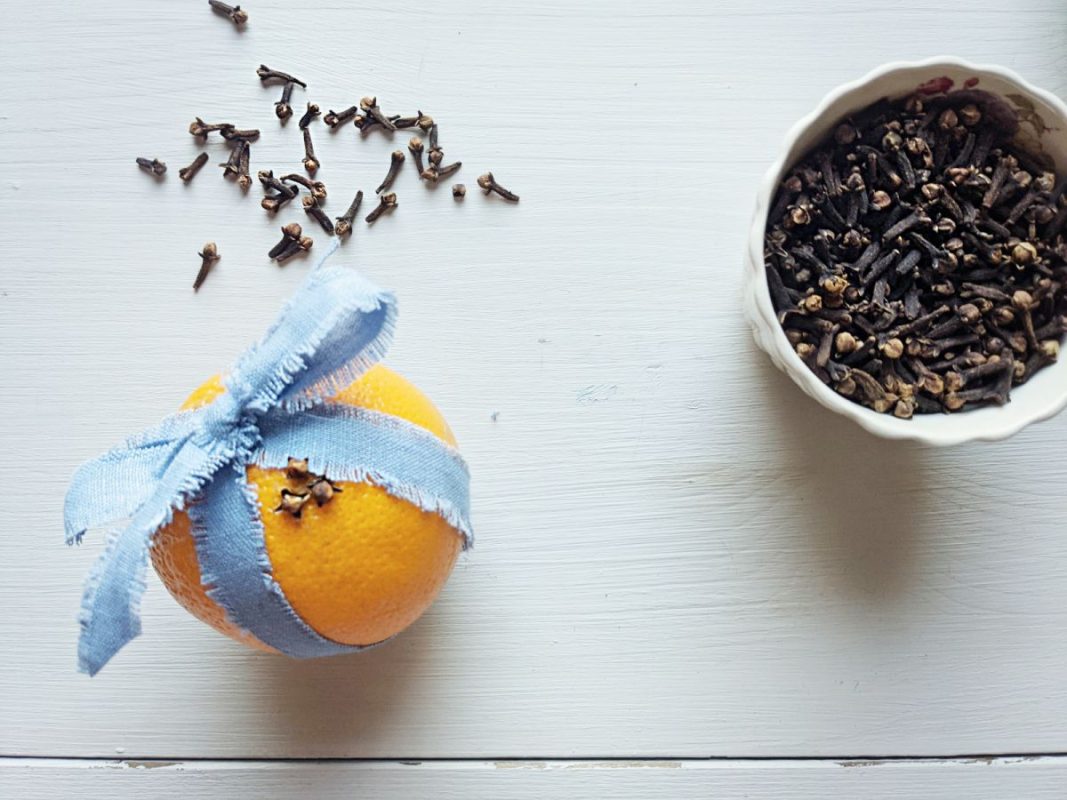
- RIBBON WRAPPED – Wrap a ribbon or cut a thin length of linen to wrap orange, leaving some parts of the orange showing. Add cloves to the uncovered parts.
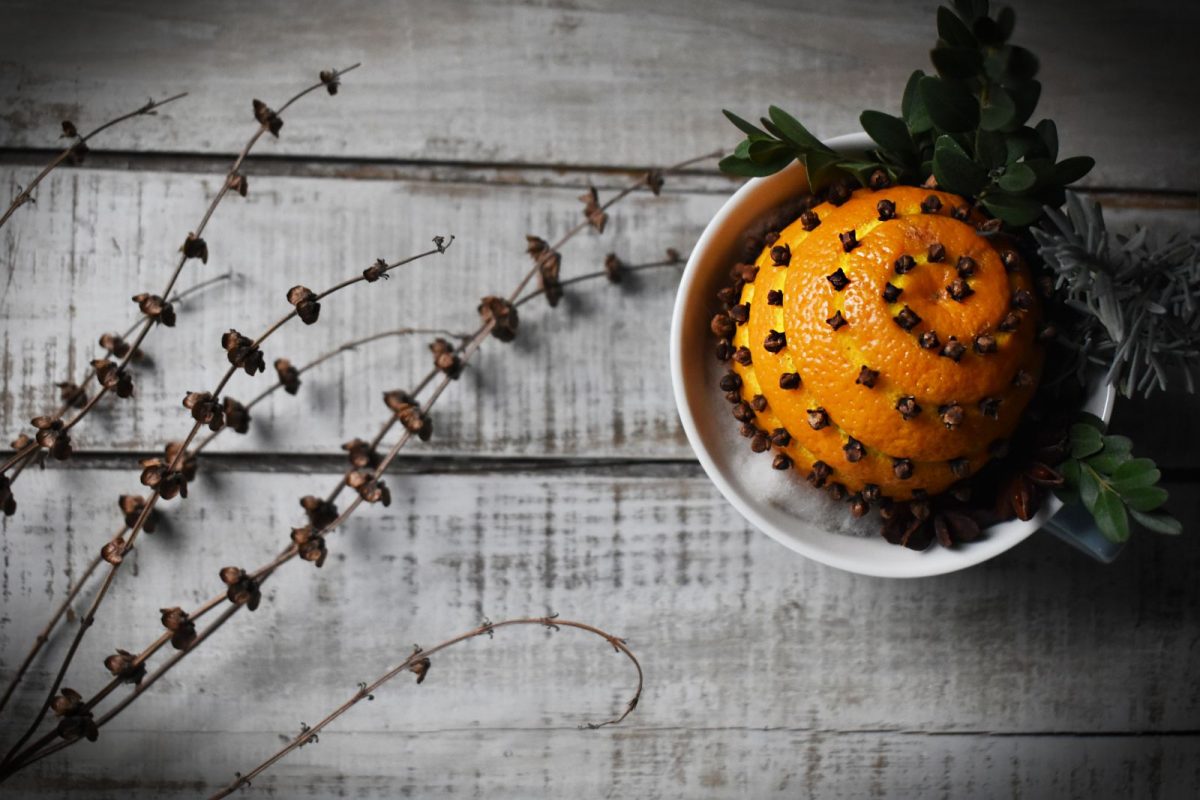
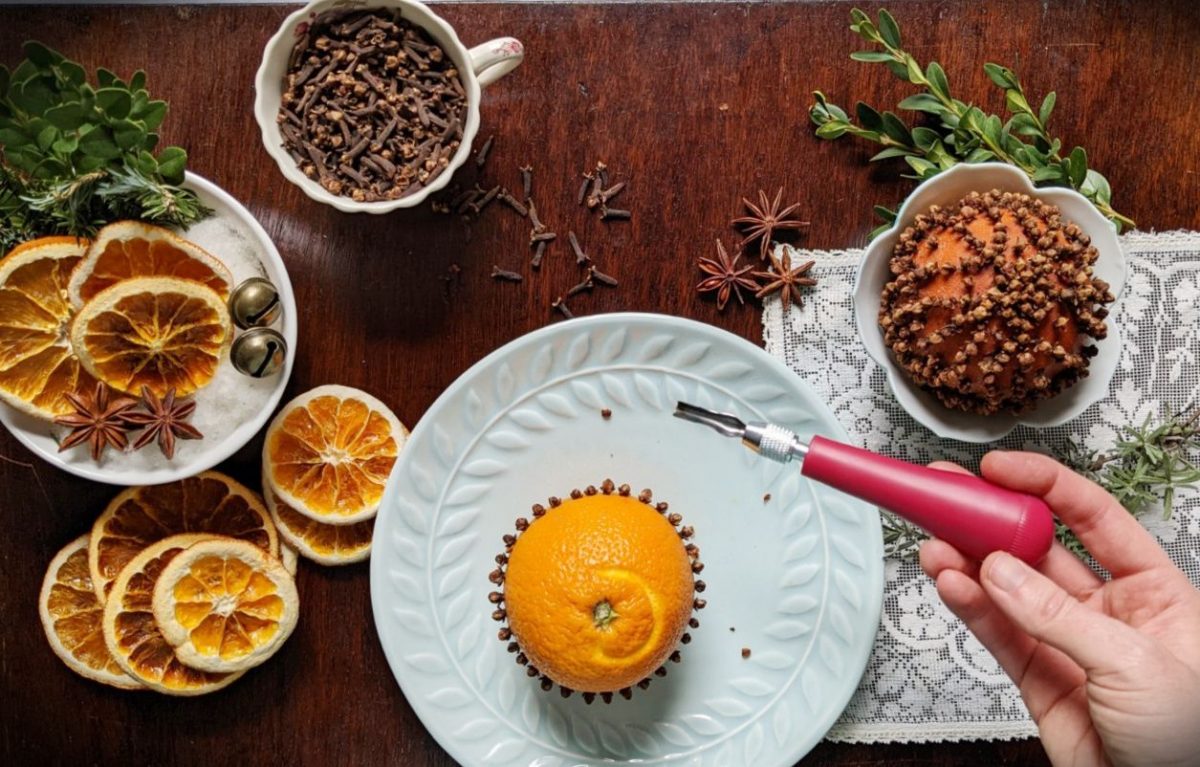
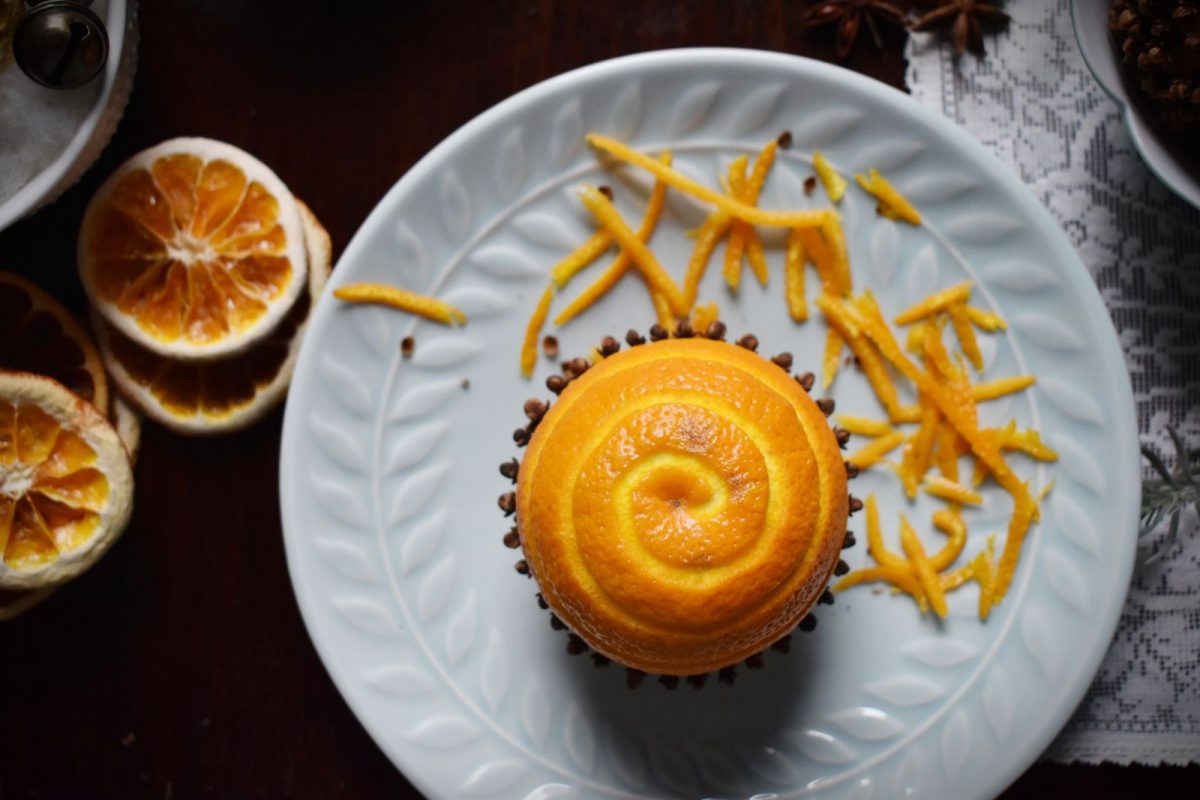
- CARVED DESIGN + CLOVES – Use a tool to scrape off parts of the orange rind so that the white of the pith is showing beneath. I found using a lino-cut tool is really great for this, but you can also use the corner of a zester or other sharp instrument to a similar effect. You can then dot cloves along the design you’ve created.
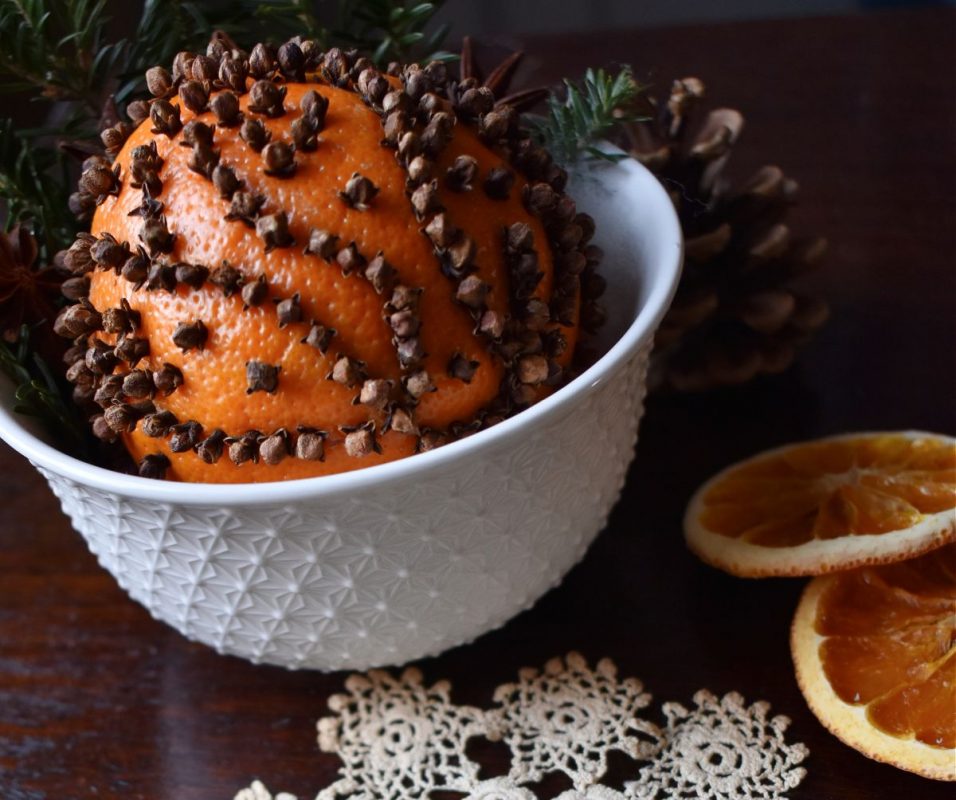
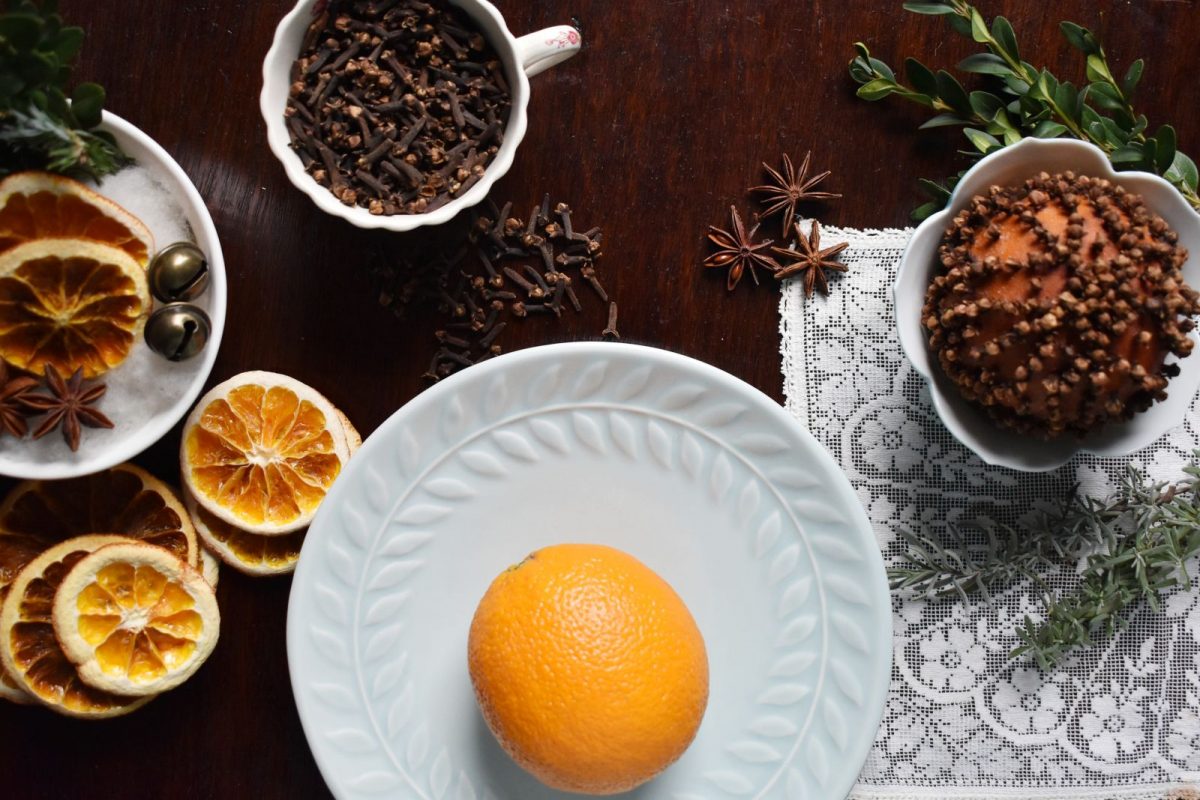
- DECORATIVE DESIGN USING CLOVES – Make a decorative design over the surface of the orange – as simple or complex as you’d like! Using an elastic band around the orange is very useful for keeping your lines straight. A scrolling design is also quite lovely.
#1 – clove covered orange pomander
what you will need
- Firm, ripe orange, clementine or other citrus fruit
- Awl, needle or sharp instrument for making holes
- Whole cloves
- Twine for hanging (optional)
- Large needle (optional)
Step 1. If making a hanging ornament, start by cutting a long piece of twine and threading large needle with it. Going from the bottom of the fruit, push the needle all the way through from one side to the other and then back down and through, so your needle comes out close to where you went in. Make a knot at the top and tie a bow at the bottom.
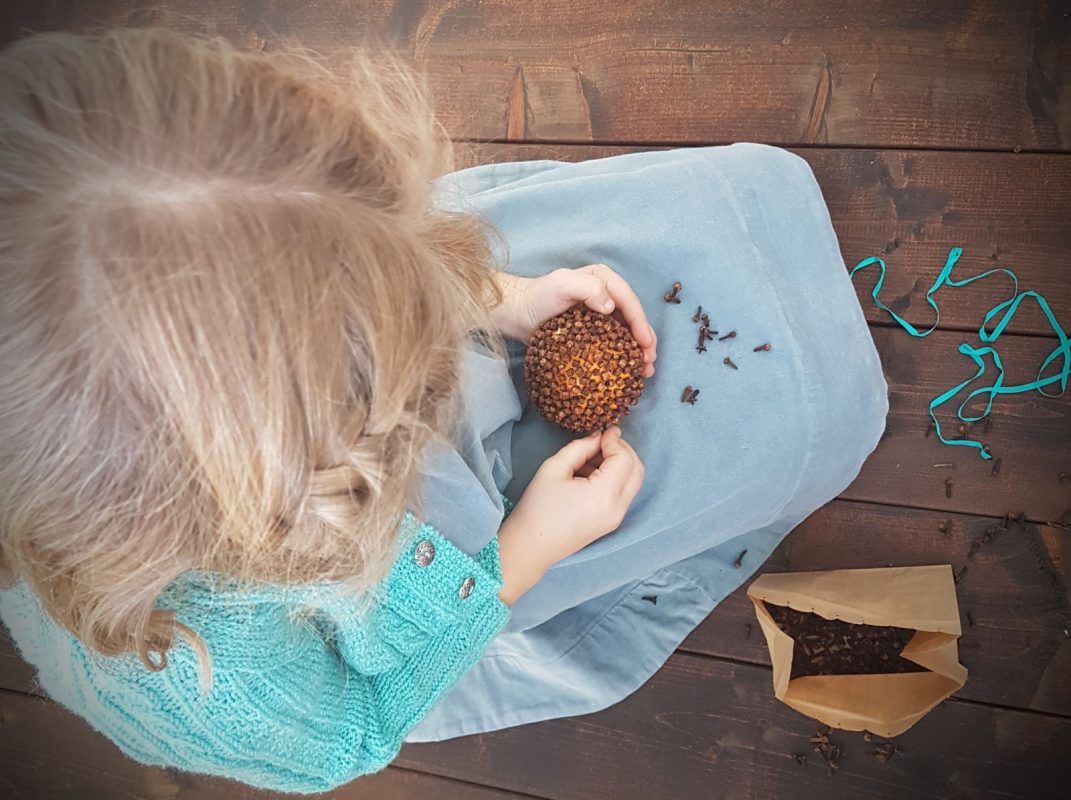
Step 2. Using your awl or needle, poke a few holes in the fruit and begin placing cloves in the holes. Continue until the entire fruit is covered.
Hang on your tree for a lovely scented ornament or year round in the closet to repel moths.
#2 – Ribbon wrapped orange pomander
what you will need
- Firm, ripe orange, clementine or other citrus fruit
- Awl, needle or sharp instrument for making holes
- Whole cloves
- Ribbon or narrow length of linen or cotton – length will depend on the size of the fruit
Step 1. Start by wrapping your ribbon around the orange so that you go over the orange and down the sides, cross the ribbon at the bottom side and come up to the top again. Tie the ribbon in a bow at the top.
Step 2. Begin making holes in the orange at the parts not covered by ribbon. Place cloves in the holes, continuing until all exposed parts of the fruit are covered.
Note: If you find that the juice of the fruit is messing your ribbon as you work, alternately you can make light pencil outline at the edges of the ribbon, remove the ribbon and add all the cloves, then retie the ribbon once all the cloves are in place.
Add an extra ribbon at the top for hanging by looping under the top of the ribbon already in place then hanging on the tree or on a doorframe, etc.
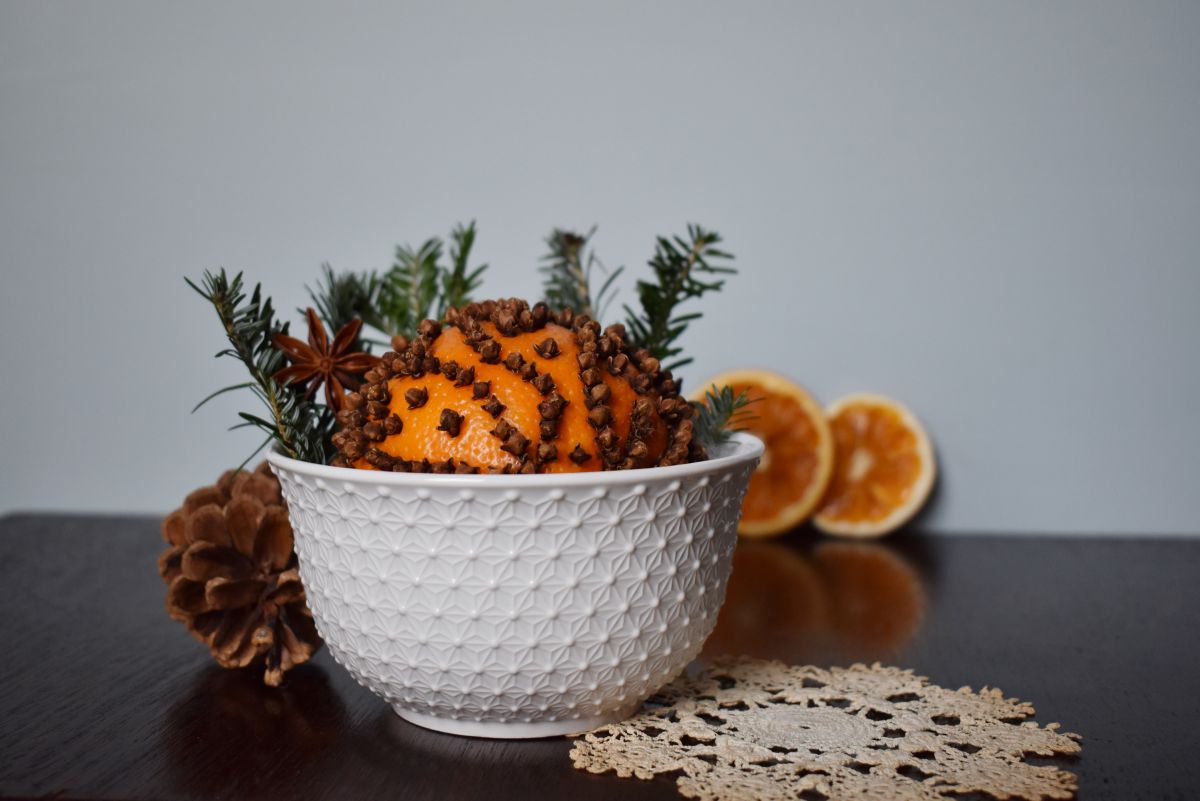
Another display idea is to place your clove orange pomander in a dish to display along with other festive natural items such as pine, boxwood, cinnamon sticks, anise, etc.
PLEASE NOTE: Oranges that are not completely covered with cloves are slower to dry out and risk molding rather quickly. To lessen the chance of your pomanders getting mold, you can add make your clove design, then place the orange in a paper bag to dry out for several days. Once the orange has dried you can then add ribbon and hang up.


#3 – Carved design with cloves orange pomander
what you will need
- Firm, ripe orange, clementine or other citrus fruit
- Awl, needle or sharp instrument for making holes
- Whole cloves
- Lino-cut tool or citrus zester
- Elastic bands
- Pencil for marking
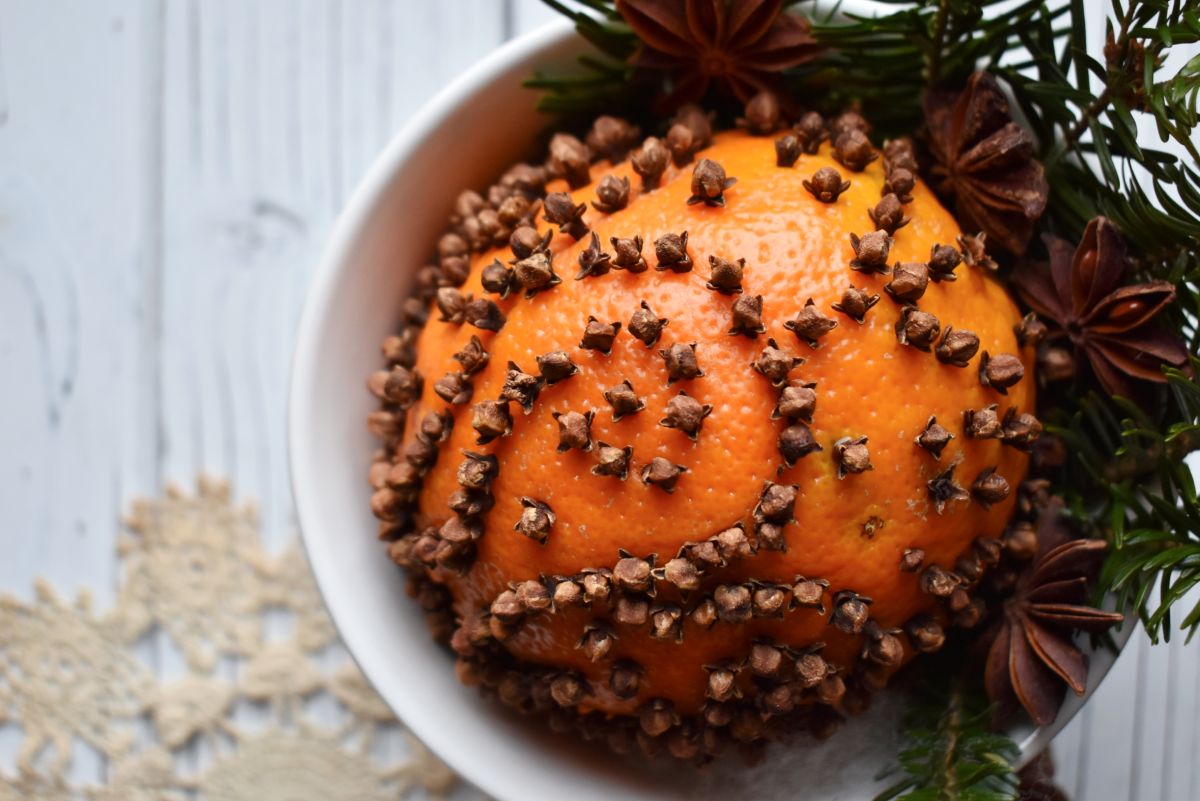
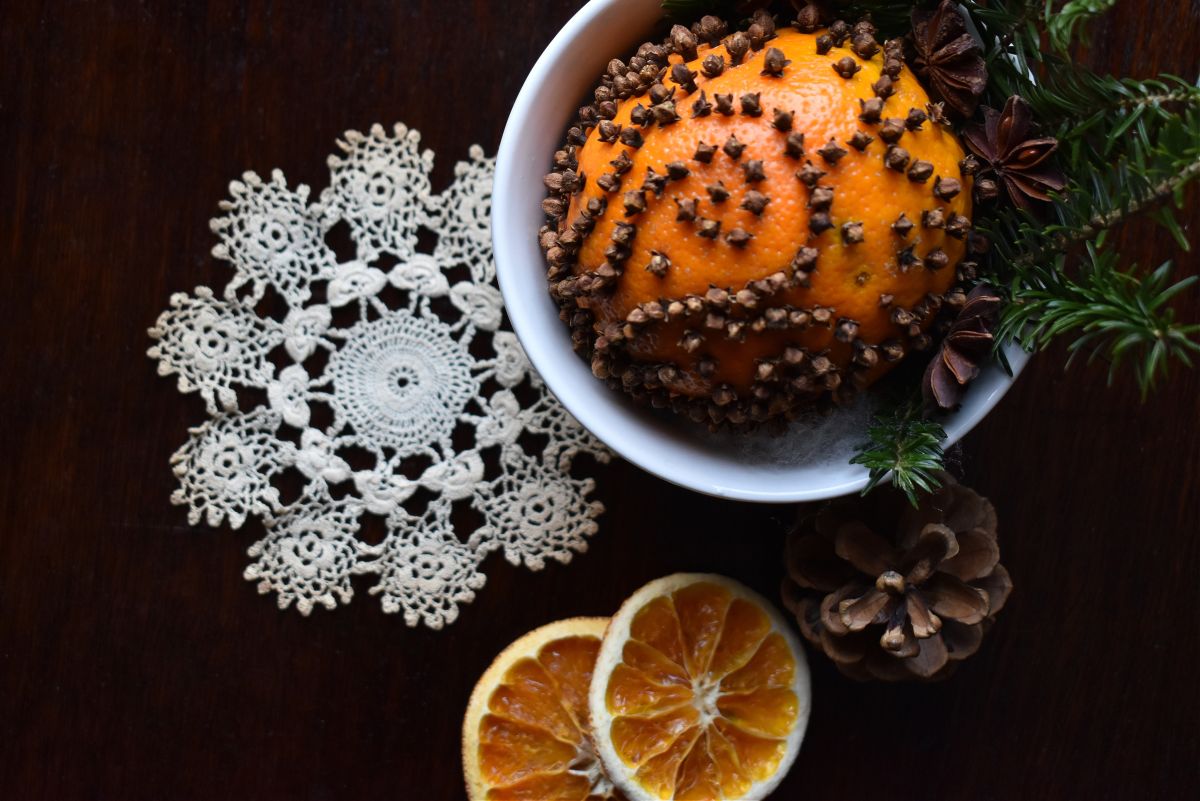
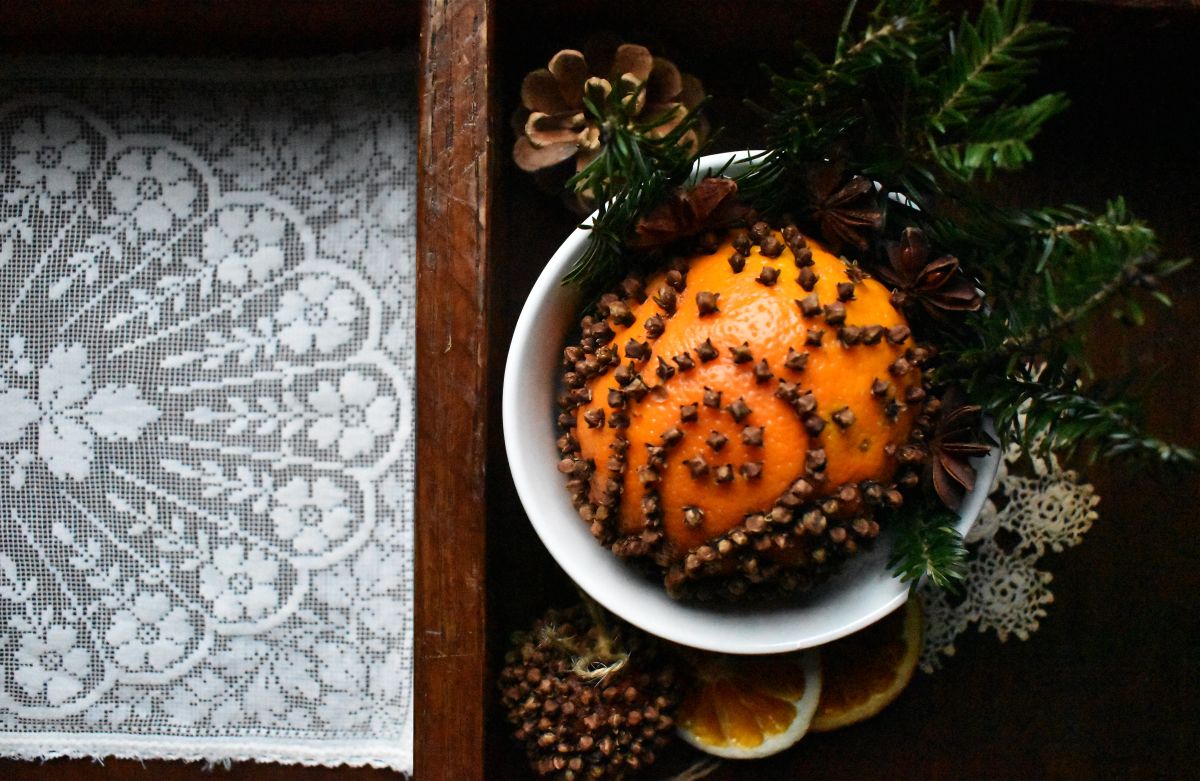
Step 1. If you wish to make straight lines of cloves on the orange, place an elastic around the fruit to use as a guide for placing the cloves. Use the awl or needle to make holes and then push the cloves into the holes. On the example below, I made one line of cloves around the centre and then made swirl lines using the lino-cut tool.
Step 2. Using a zester or lino-cut tool, make patterns and designs by cutting shallow lines into the peel.
Step 3. Place cloves along the lines you made with your cutter or zester.
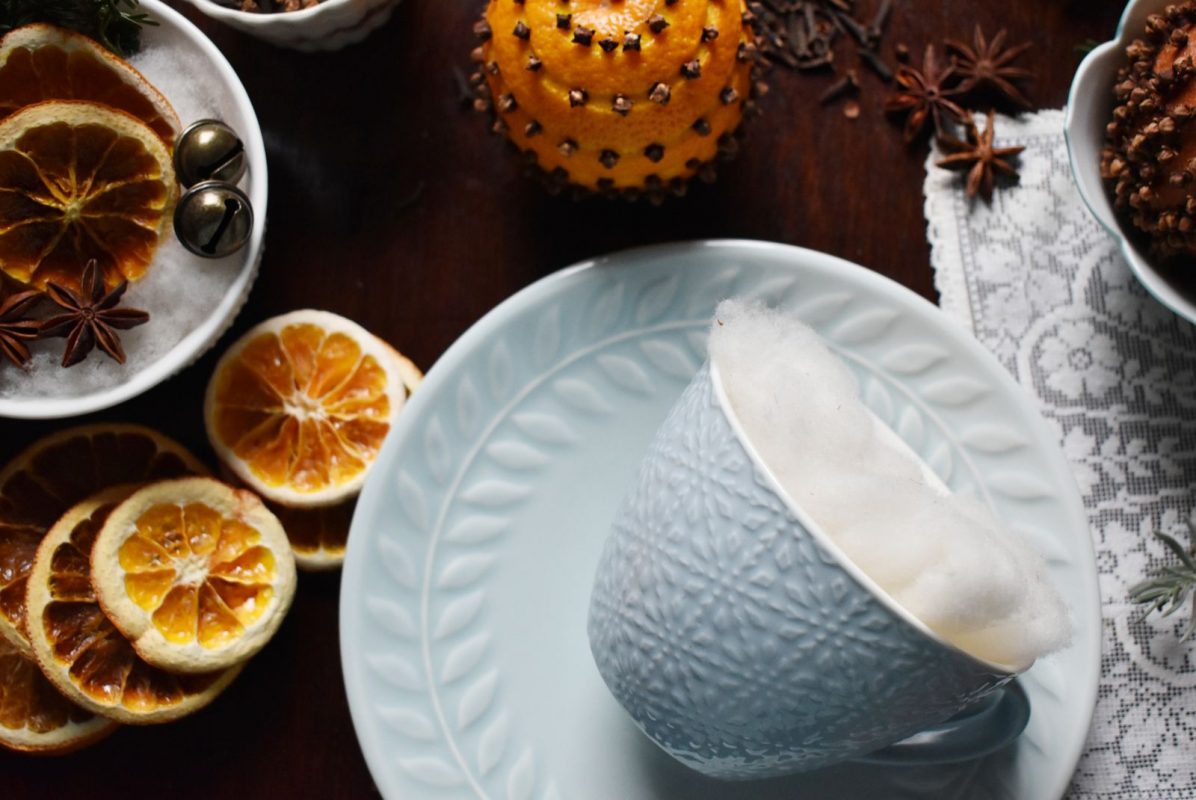
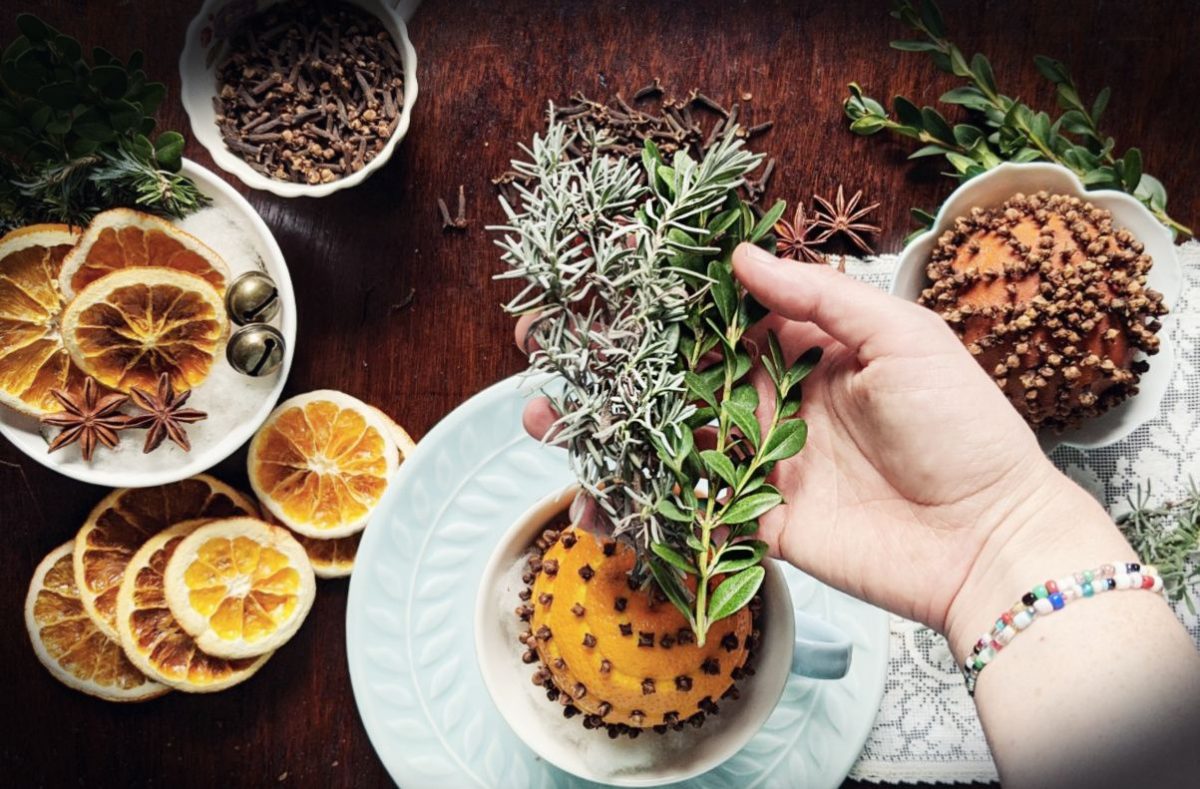
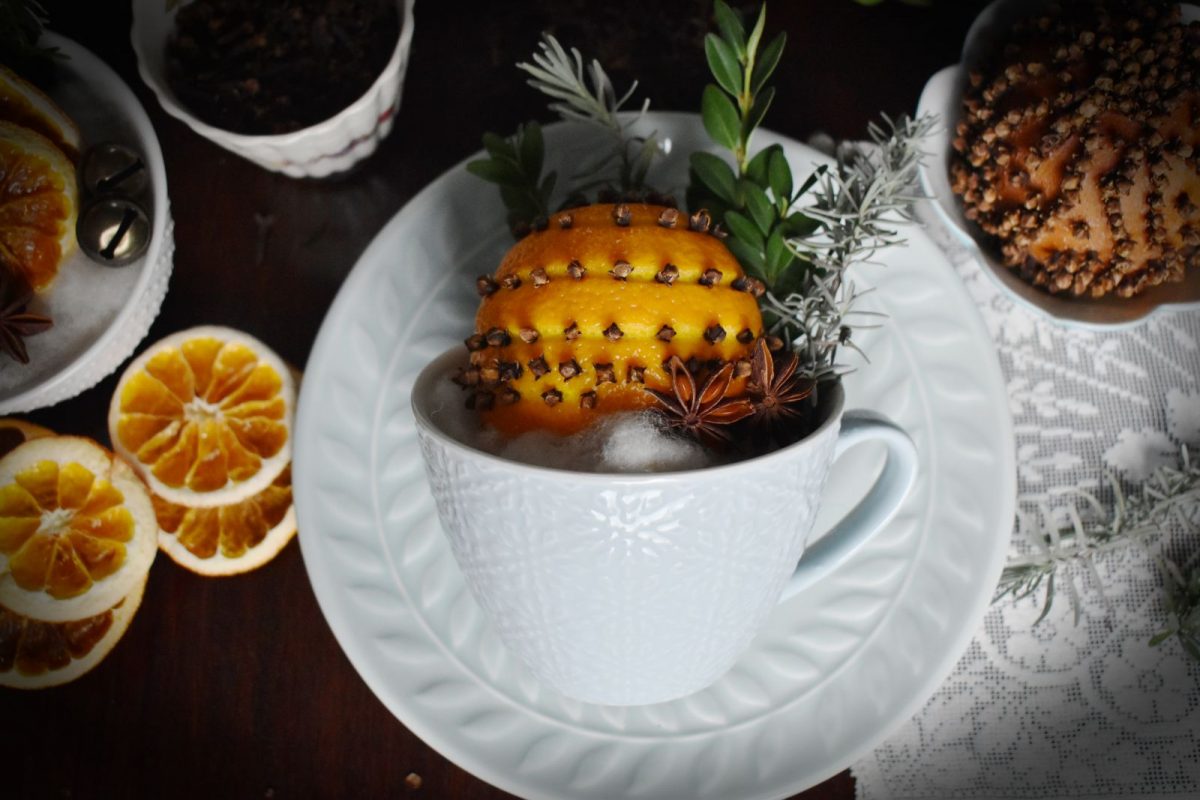
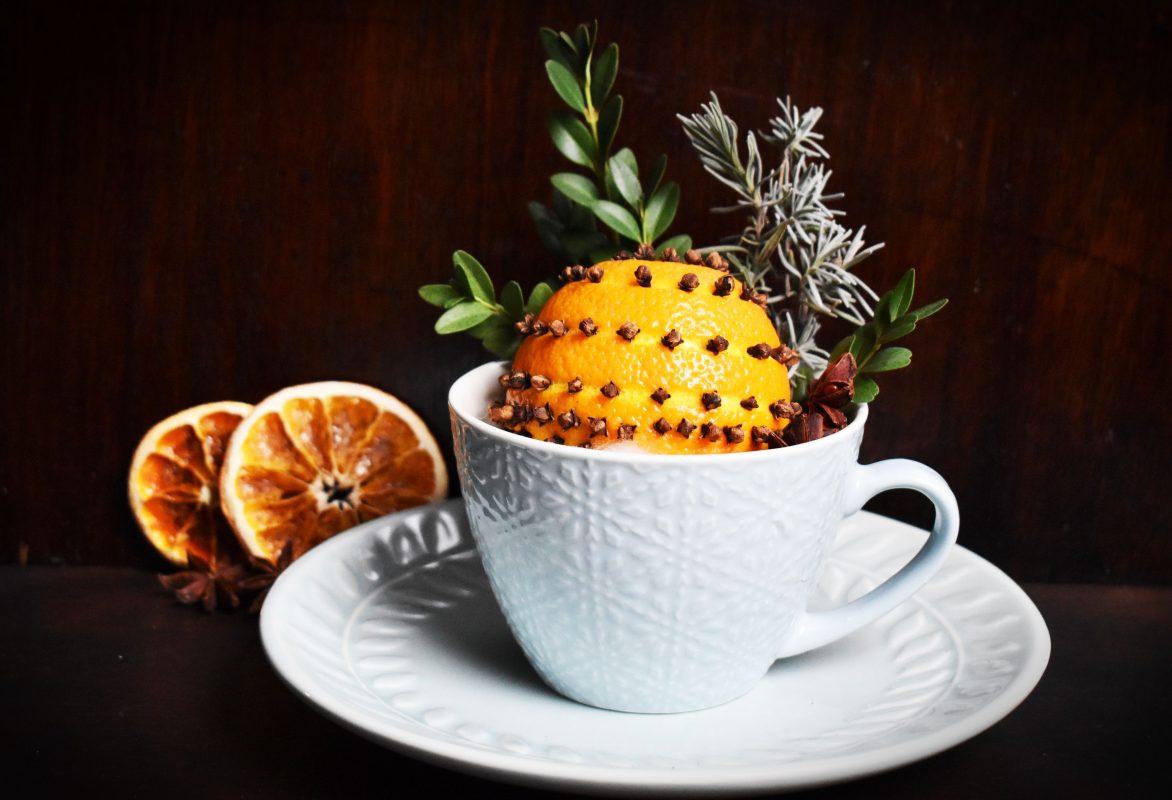
Make a pretty and festive display by placing a bit of raw wool in a wintry bowl or mug and placing the pomander on top, then tuck bits of natural elements such as lavender, holly, boxwood or pine behind the orange. Add anise, bells, cinnamon sticks, etc. to the bowl for a beautifully scented, festive presentation.
PLEASE NOTE: Oranges that are not completely covered with cloves are slower to dry out and risk molding rather quickly. To lessen the chance of your pomanders getting mold, you can add make your clove design, then place the orange in a paper bag to dry out for several days. Once the orange has dried you can then add ribbon and hang up.



#4 – Decorative design orange pomander
For this orange pomander idea, you will make a pattern over the surface of the orange using cloves. You can make a freehand design or if you like a bit more of a plan, try using a pencil to lightly map out your design on the surface of the orange peel.
what you will need
- Firm, ripe orange, clementine or other citrus fruit
- Awl, needle or sharp instrument for making holes
- Whole cloves
- Pencil for marking
Step 1. Map out your design idea. Swirling patterns look particularly nice, though radiating straight lines can look just as lovely! You can use a pencil to lightly mark the design or gently scratch the surface of the peel using a needle.
Step 2. Begin punching holes along your pattern lines and placing cloves in the holes. You can space the cloves either close together or further apart, depending the look you’re after.
Display your pretty patterned orange in a wintry mug or bowl with other festive elements such as pine branch bits, boxwood, berries and anise.
PLEASE NOTE: Oranges that are not completely covered with cloves are slower to dry out and risk molding rather quickly. To lessen the chance of your pomanders getting mold, you can add make your clove design, then place the orange in a paper bag to dry out for several days. Once the orange has dried you can then add ribbon and hang up.
