Vintage inspired Birthday Cupcakes

Little bit of a long overdue post, the lovely birthday girl in question celebrated in November and here I am posting about her birthday many months on! Ah well, ‘better late than never’ has always been my motto, along with ‘I’ll study tomorrow’ and um, ‘all in good time’… I think you can see the theme here. Anyway! I came across the birthday photos on my camera and realised I had not posted about them… or really much of anything in quite some time, so about time for a new post!
For my daughter Aoife’s 14th birthday, I went with a bit of a vintage theme since she’s been quite into vintage everything in the last little while – clothing, music, room décor, etc. – so thought she would appreciate some vintage-y themed decorations and treats.
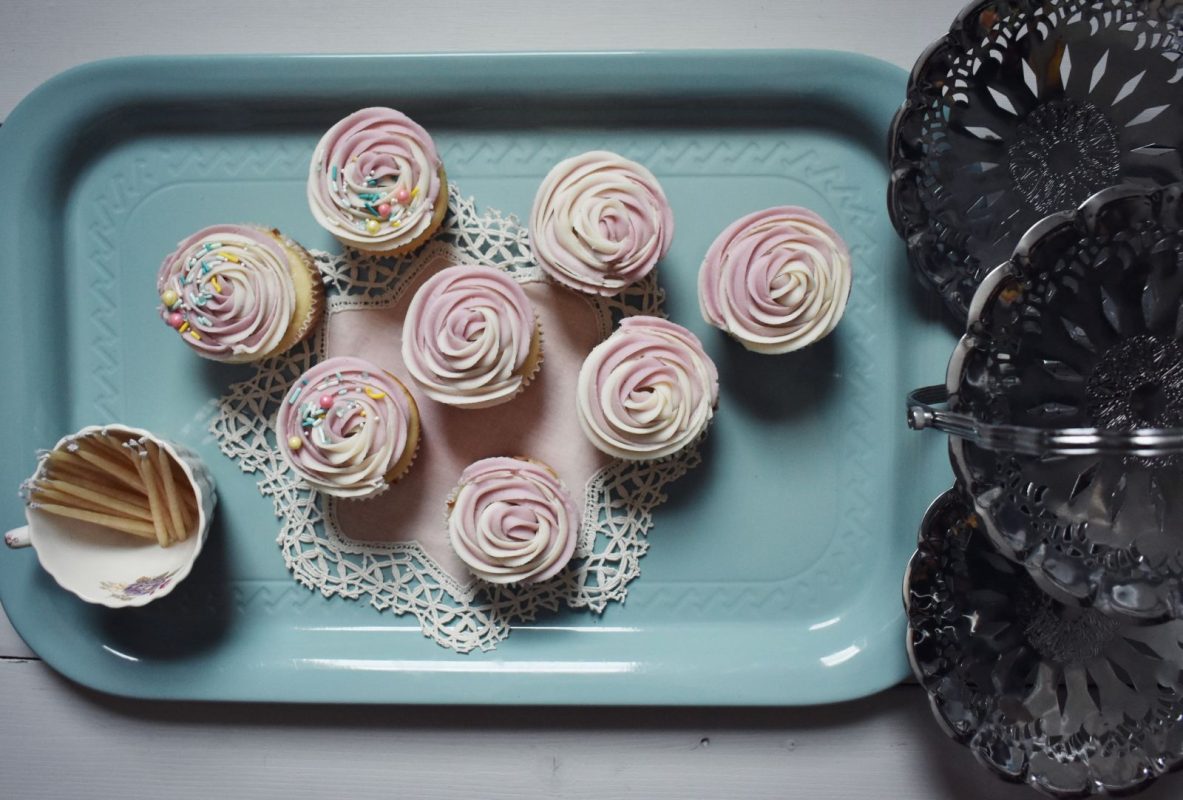
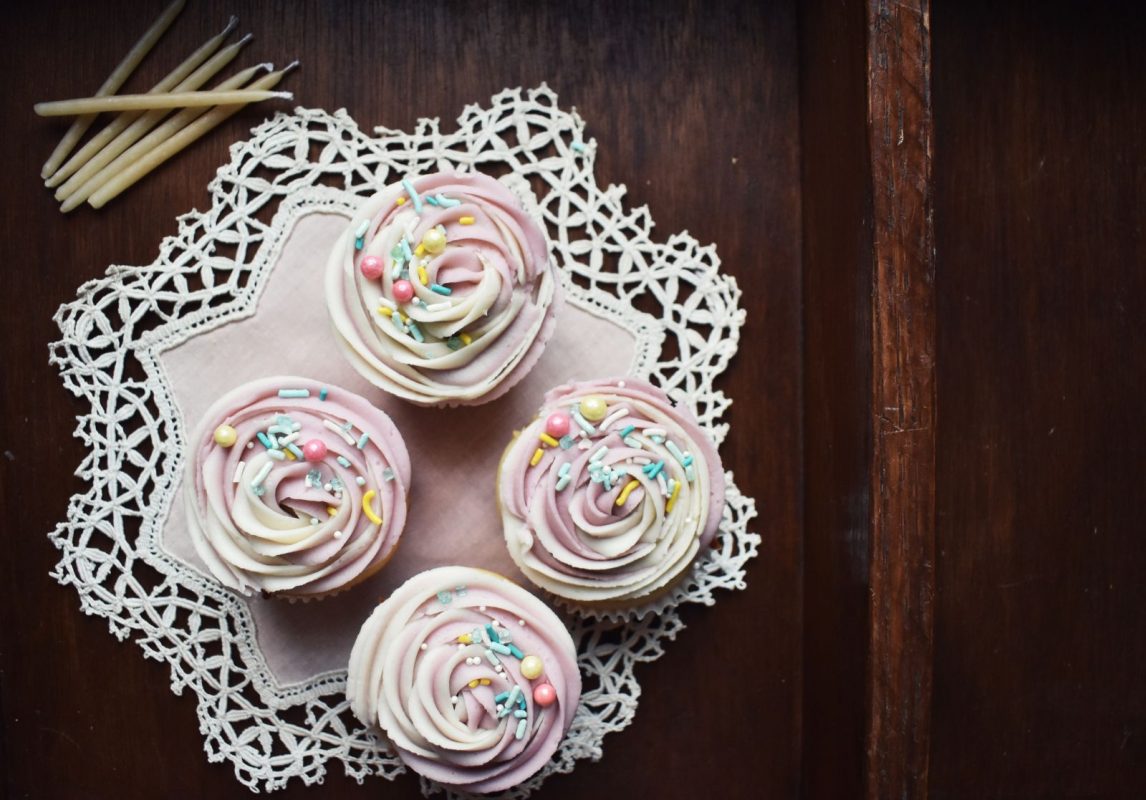
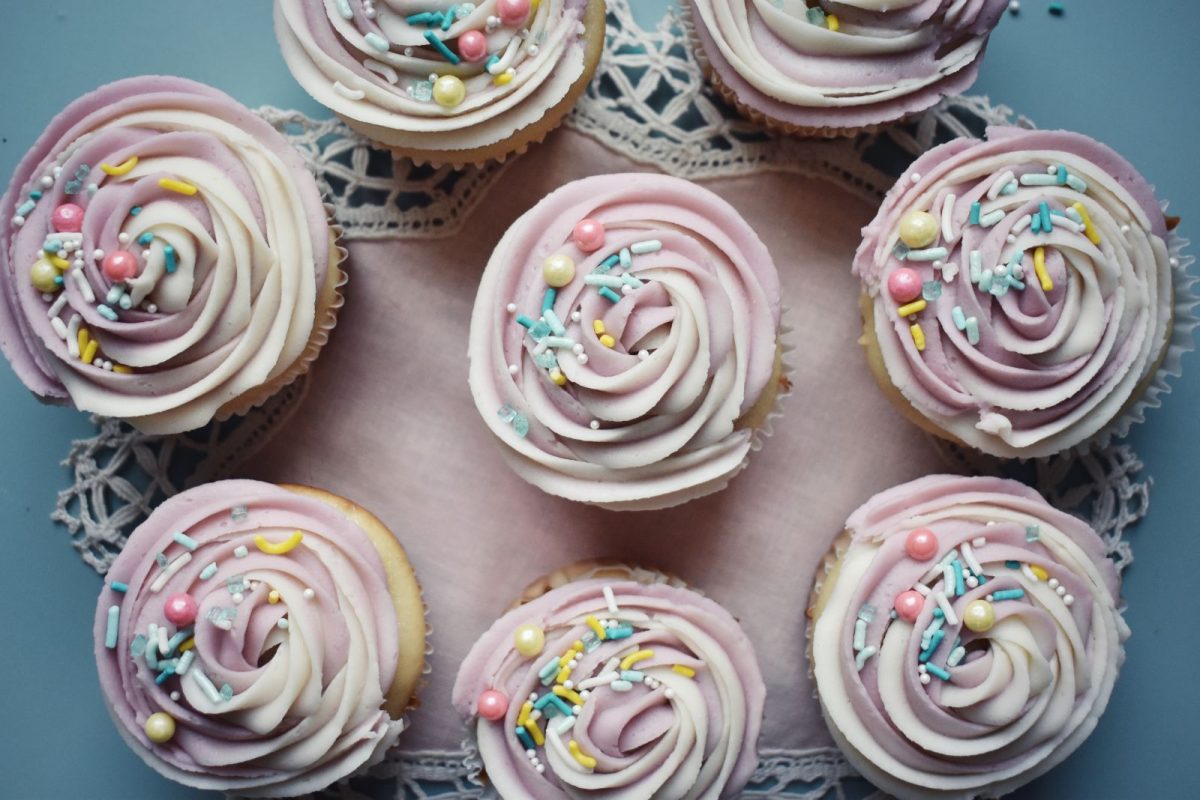
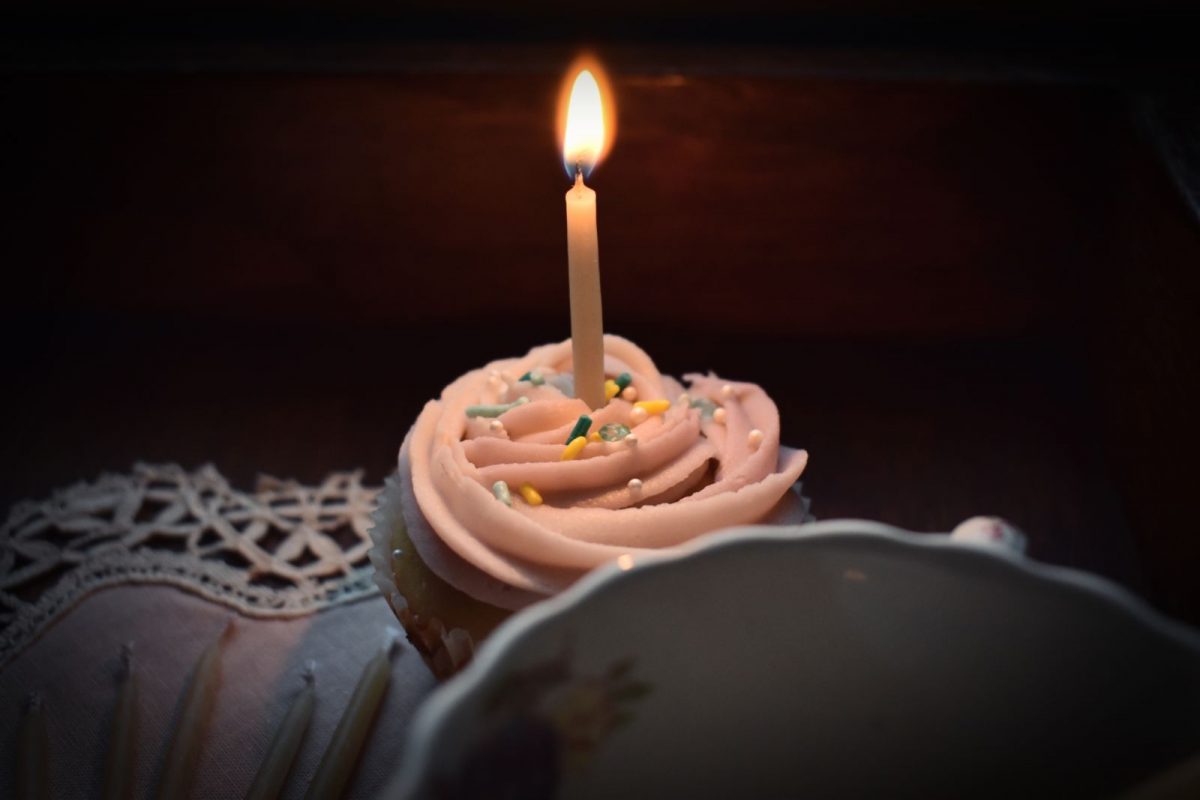
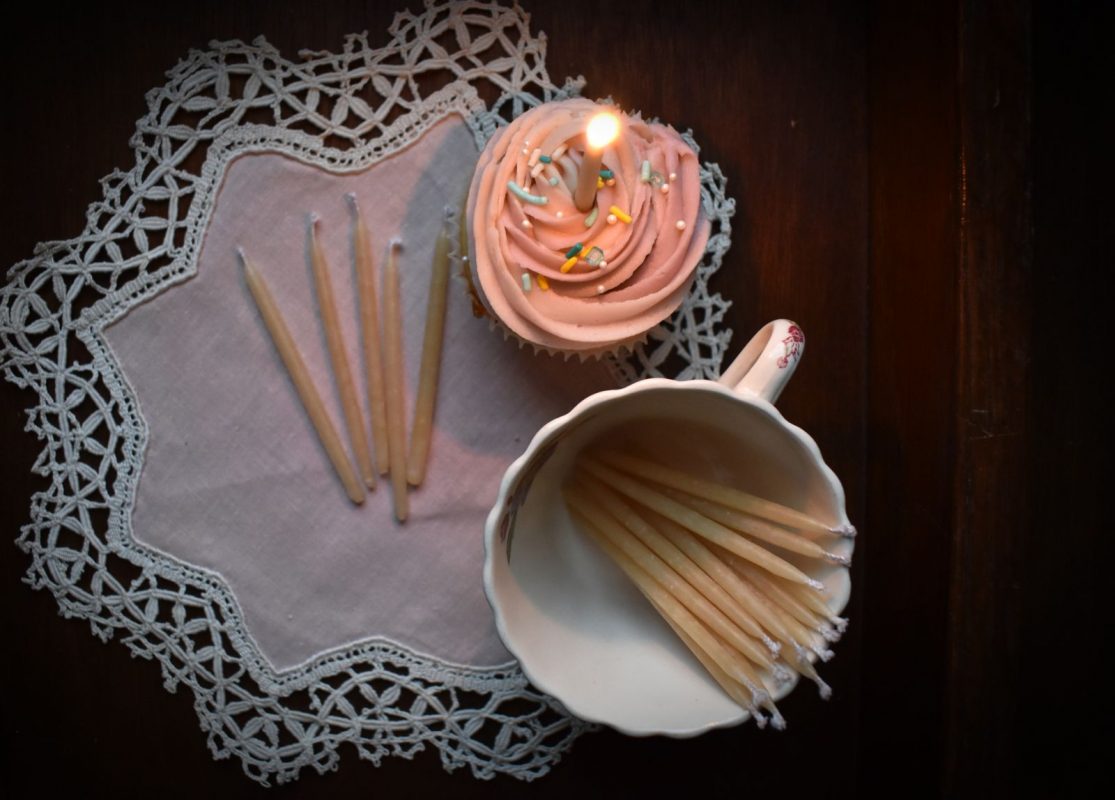
I came across these beautiful Two-Toned Frosting Rose cupcakes on Sally’s Baking Addiction and thought they would be perfect for the party. I am very much in amateur territory when it comes to any kind of baking decoration and in absolute awe of all the beautifully decorated cookies and cakes I see on Pinterest, but I’m actually quite pleased with how these turned out with Sally’s tutorial! Though mine are perhaps less ‘rosette’ and more ‘swirl’ I was just happy they looked presentable… which is all I really aim for when it comes to birthday cake decorating!
Scroll down for more on how to make a nice vintage rose colour for your icing/frosting, how to make your own vintage-look cupcake toppers and gifts and gift wrapping vintage (+ eco!) style ♥


Vintage Rose Pink Icing for Two Tone Roses
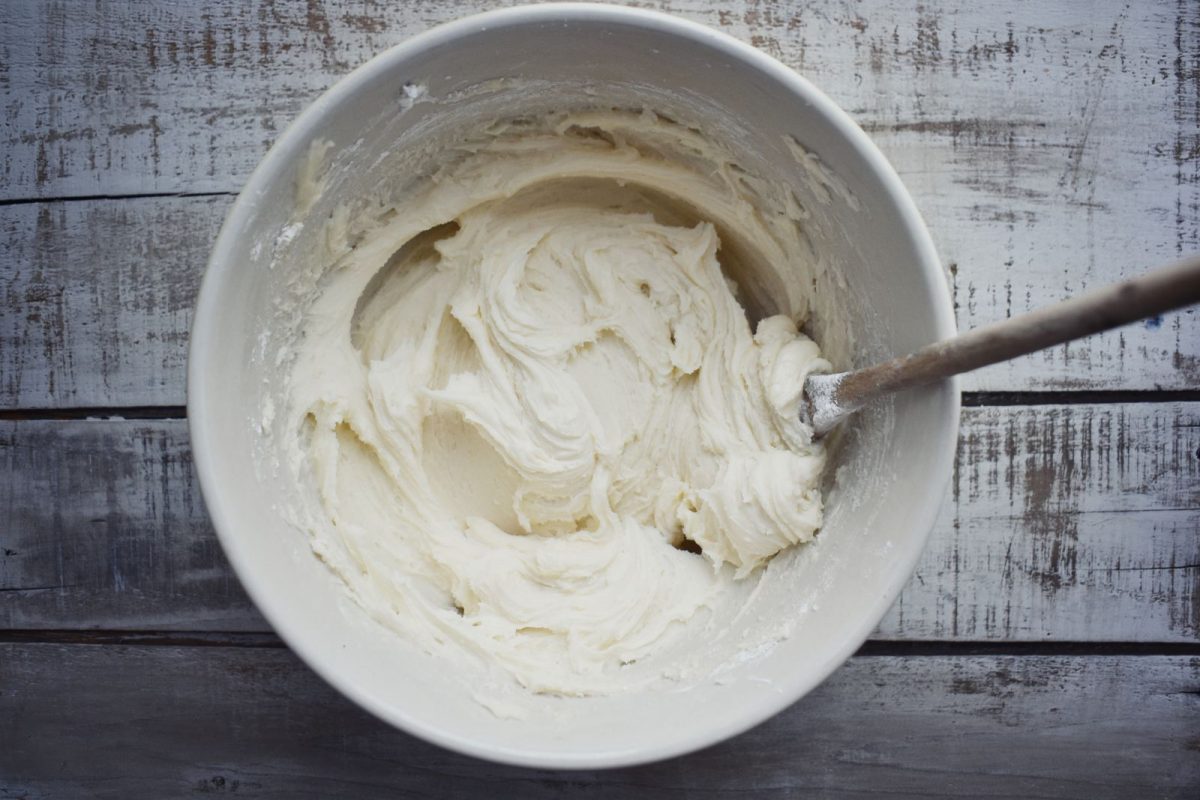
Start by making up a batch of Vanilla Buttercream icing/frosting from Sally’s Baking Addiction.
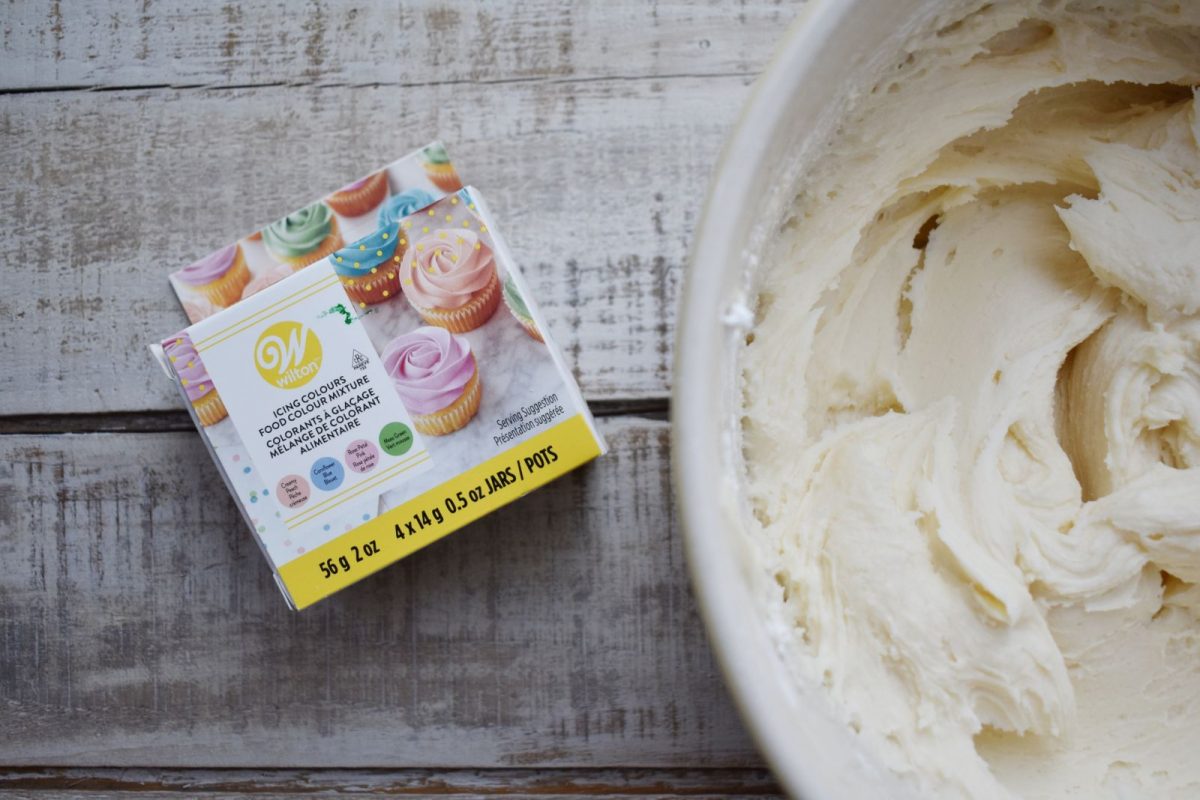
I found this pack of Wilton icing colours at my local Bulk Barn and thought they’d be perfect with their lovely muted tones of Creamy Peach, Cornflower Blue, Rose Petal Pink and Moss Green.
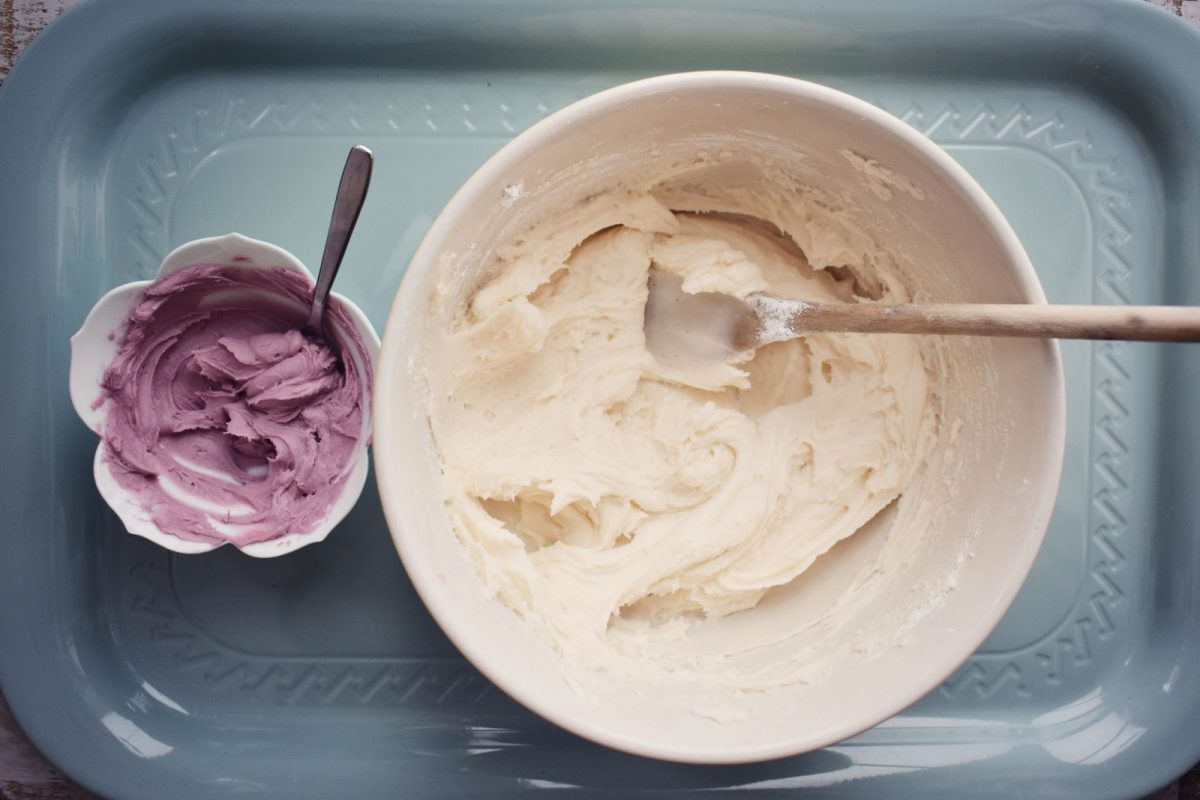
To make the two-tone rosettes, you need to keep half of the white icing aside and then add colouring to the other half.
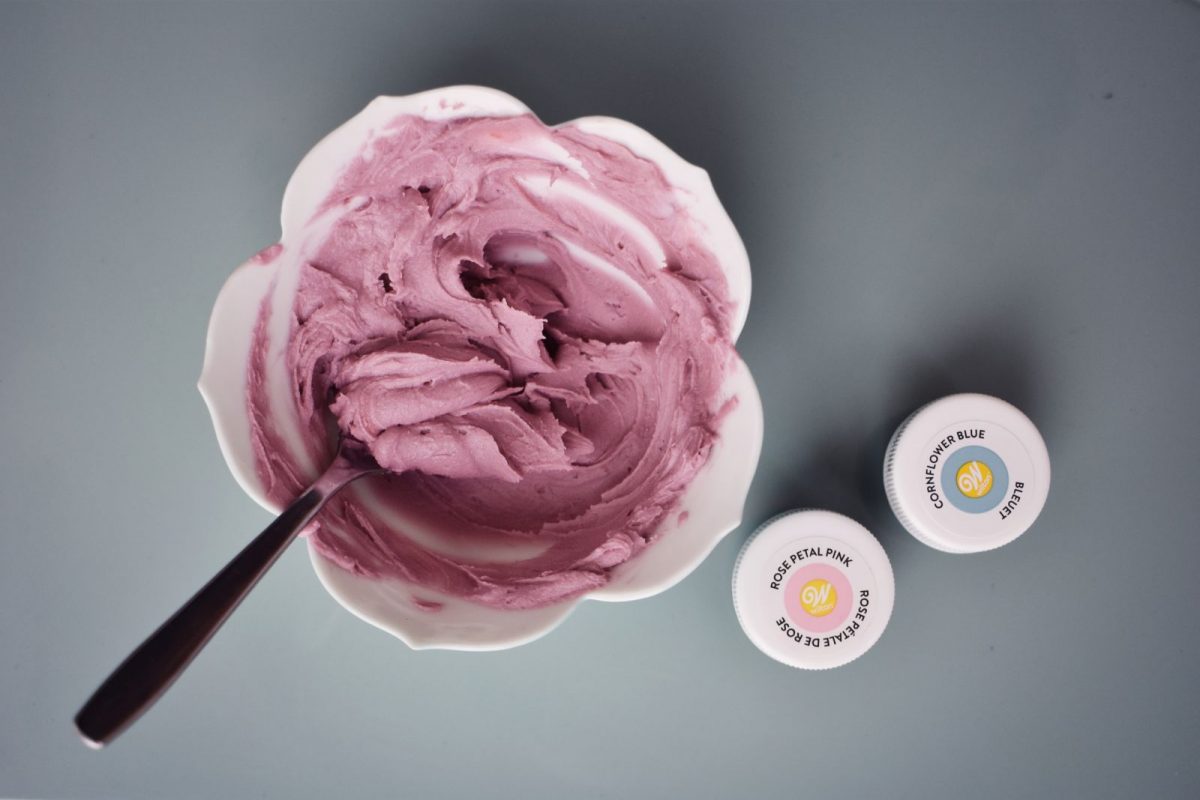
To the portion I wanted a vintage pink tone, I added 10 drops of each Rose Petal Pink and Cornflower Blue. It was a little too dark for my liking so I added a bit more of the white icing to get the tone I wanted.
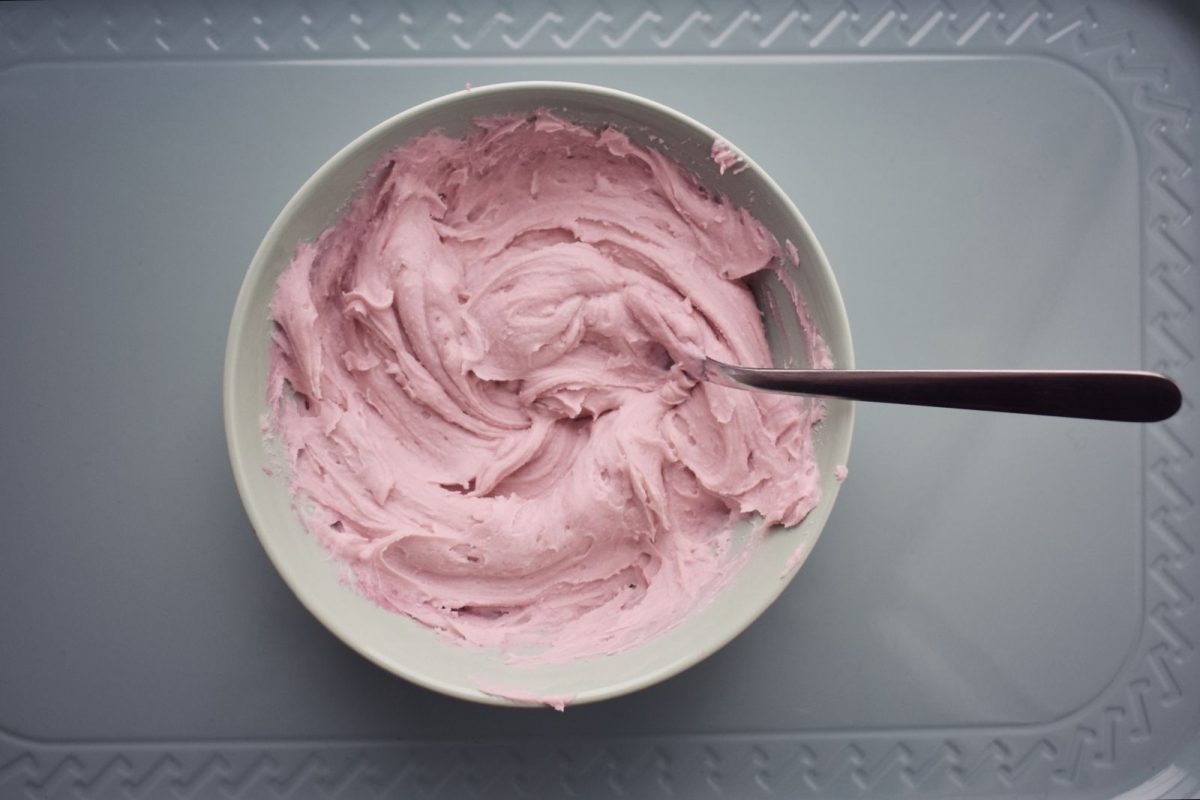
I thought this was such a lovely muted pink tone and would be perfect for the vintage-look cupcakes.
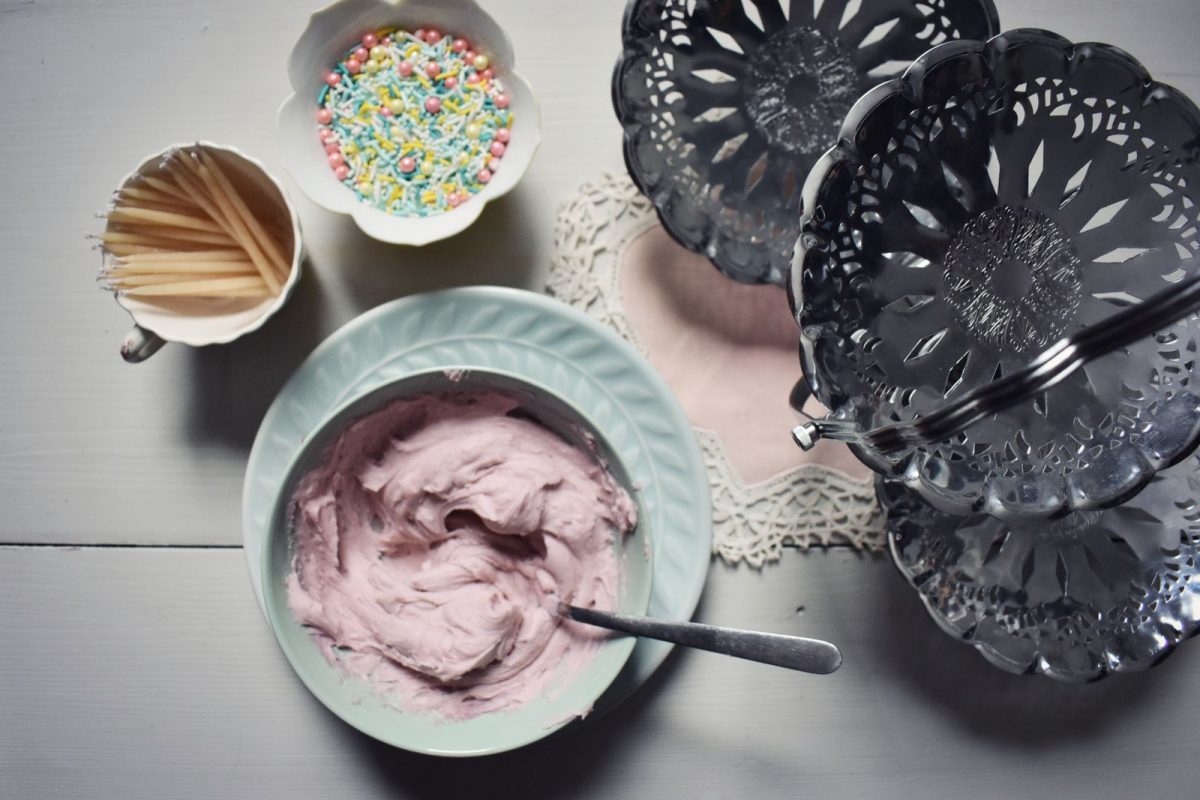
The sprinkles I found at Michaels and thought they were the perfect colour combination for vintage cupcakes. My lovely aunt gave me the gorgeous tiered cake plate on the right – I adore it and it makes me smile every time I get to use it!
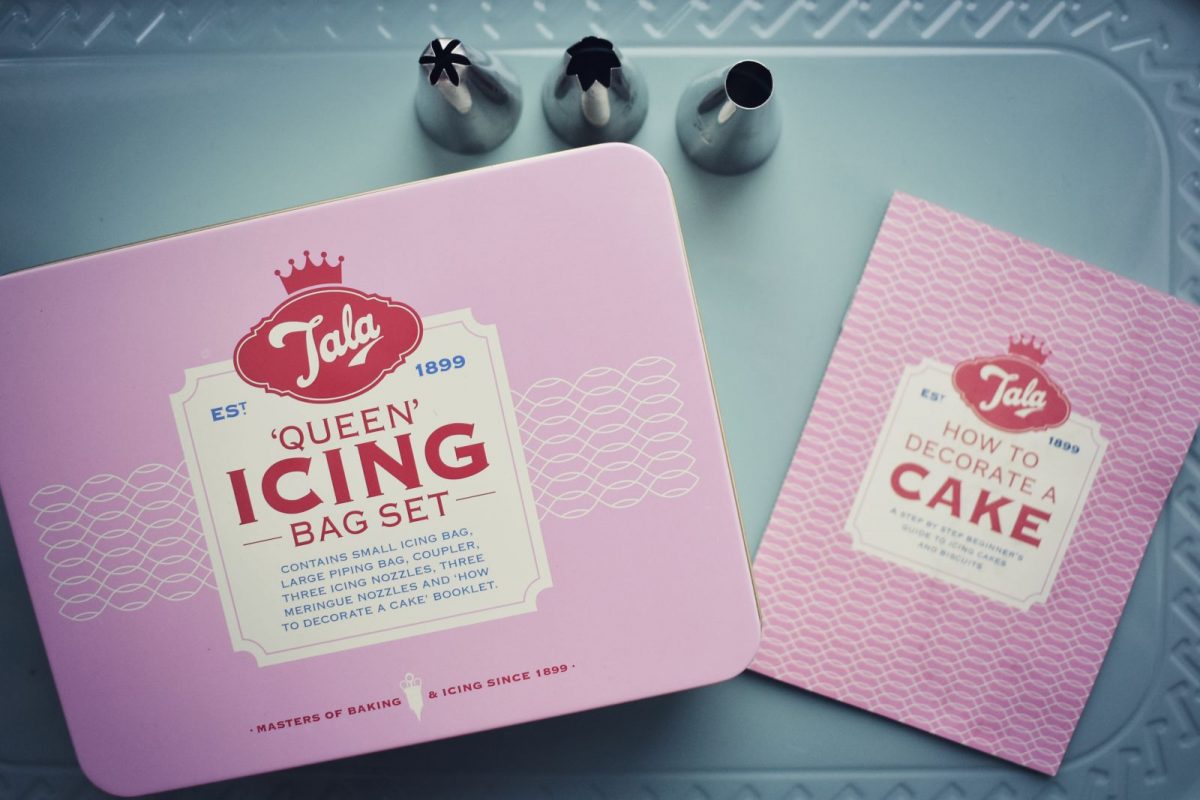
Don’t you just love the design of Tala products? I love that they haven’t changed their packaging design or logo and still sell products in this vintage style made of tin and steel – so lovely! Actually their iconic product – The Cook’s Measure – is such a part of the imagery of my childhood since my mum did a lot of cooking and baking, so the one she brought back from England years ago was always in use. Mum even brought me one back from England a few years ago and it is now a treasured part of my own cook/bakeware ♥ Just came across this great video on the history of the Tala company, who were founded in 1899 in Liverpool, England, and still make their products by hand using the same historical tools and presses.
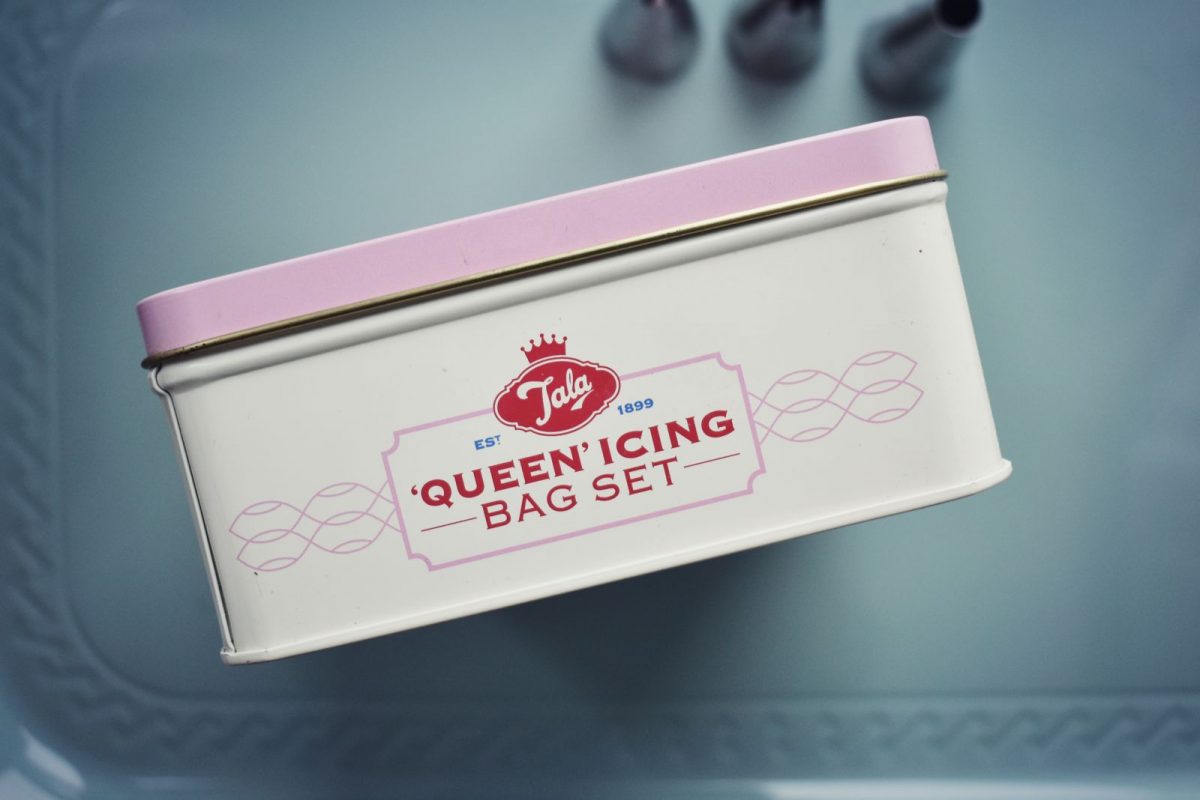
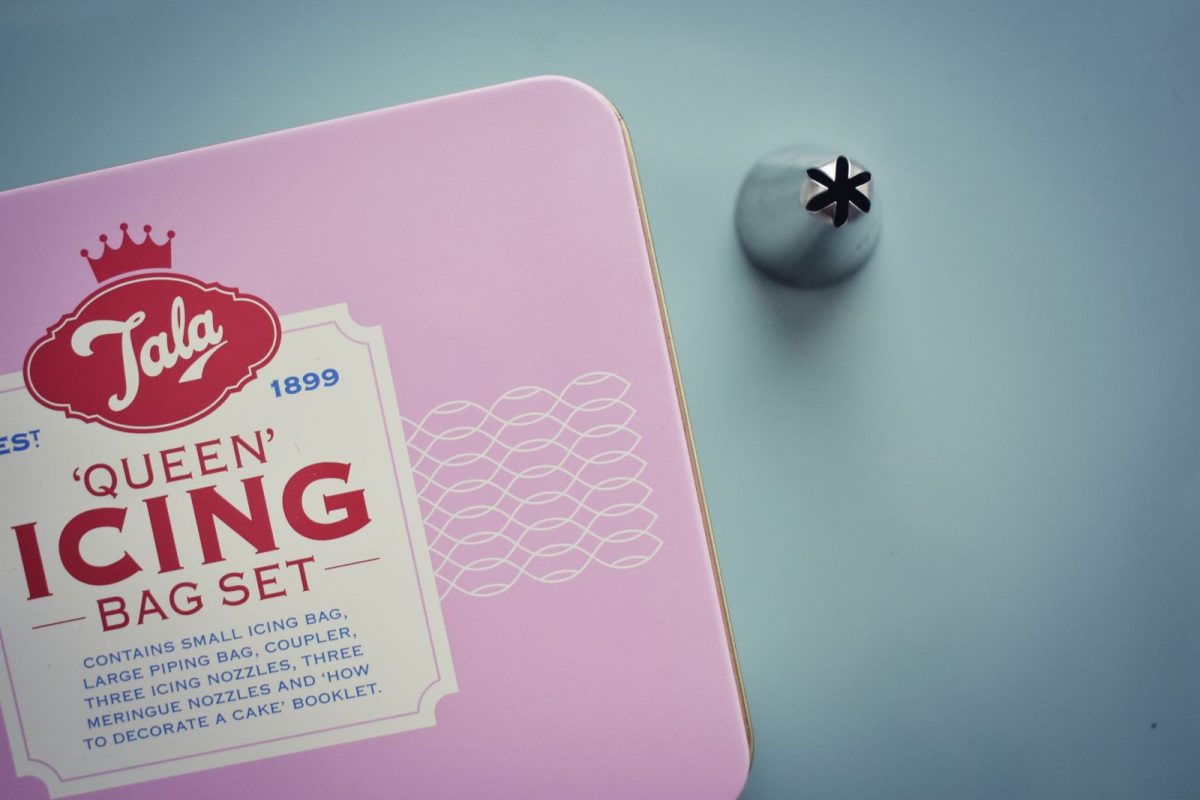
I used the closed star tip from the Tala icing bag set – the tutorial on Sally’s states you can use a 1M or 2D (closed star) tip and either will do well to make the roses.
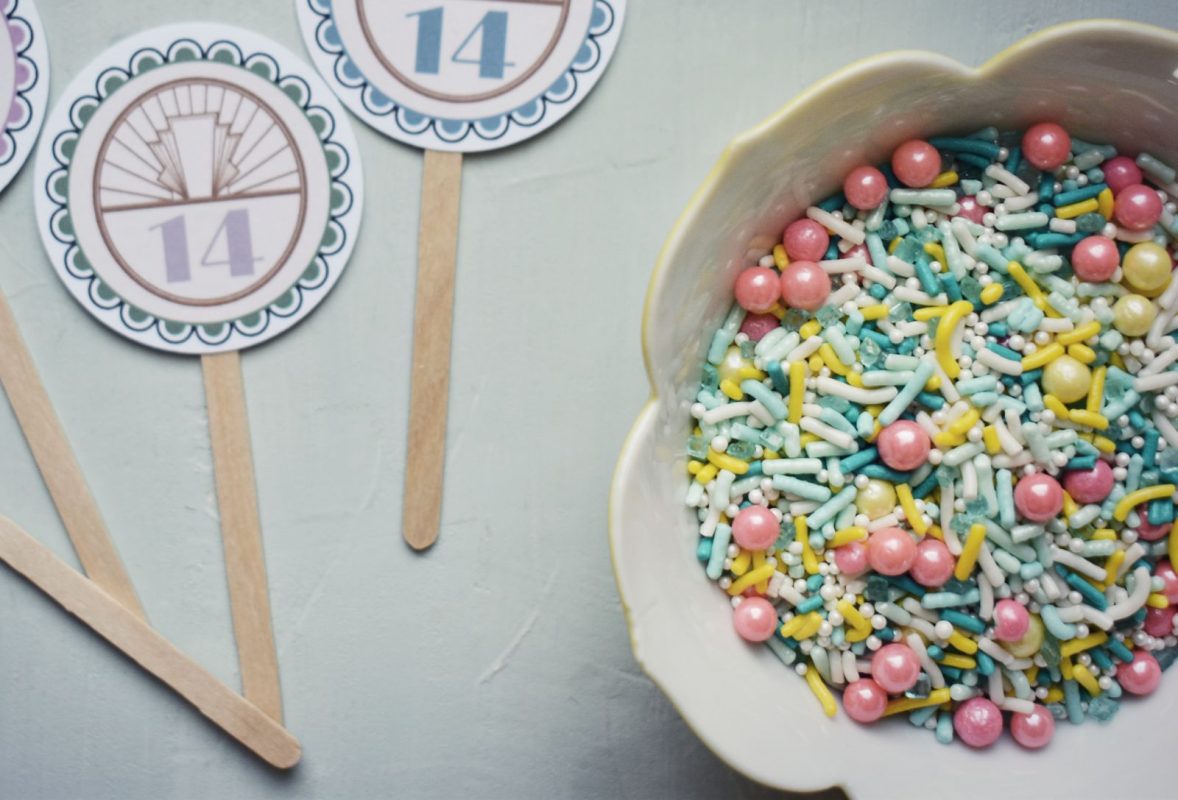
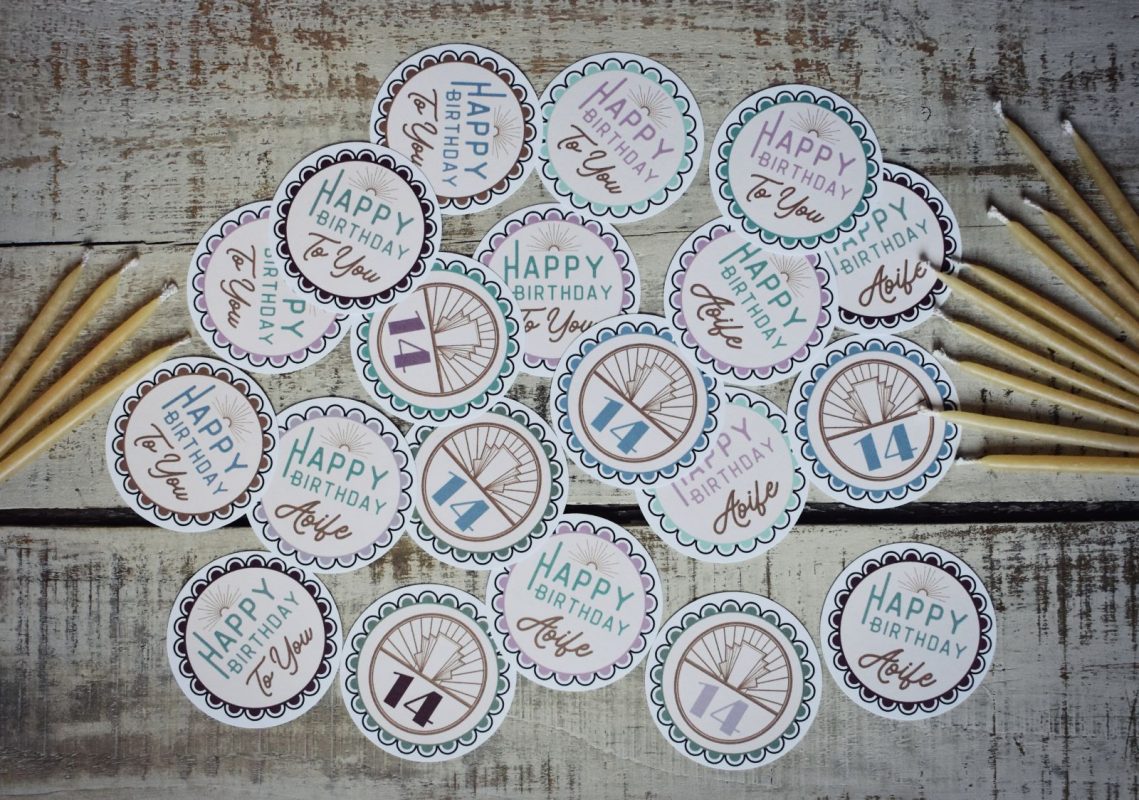
making Vintage cupcake toppers
I made these vintage-look cupcake toppers in Canva and you can easily make your own! Canva has lots of vintage elements and fonts and you can adjust elements to suit your tastes by choosing a vintage colour palette. Please scroll down for a link to the editable Canva template where you can add your own birthday message, name and birthday number!
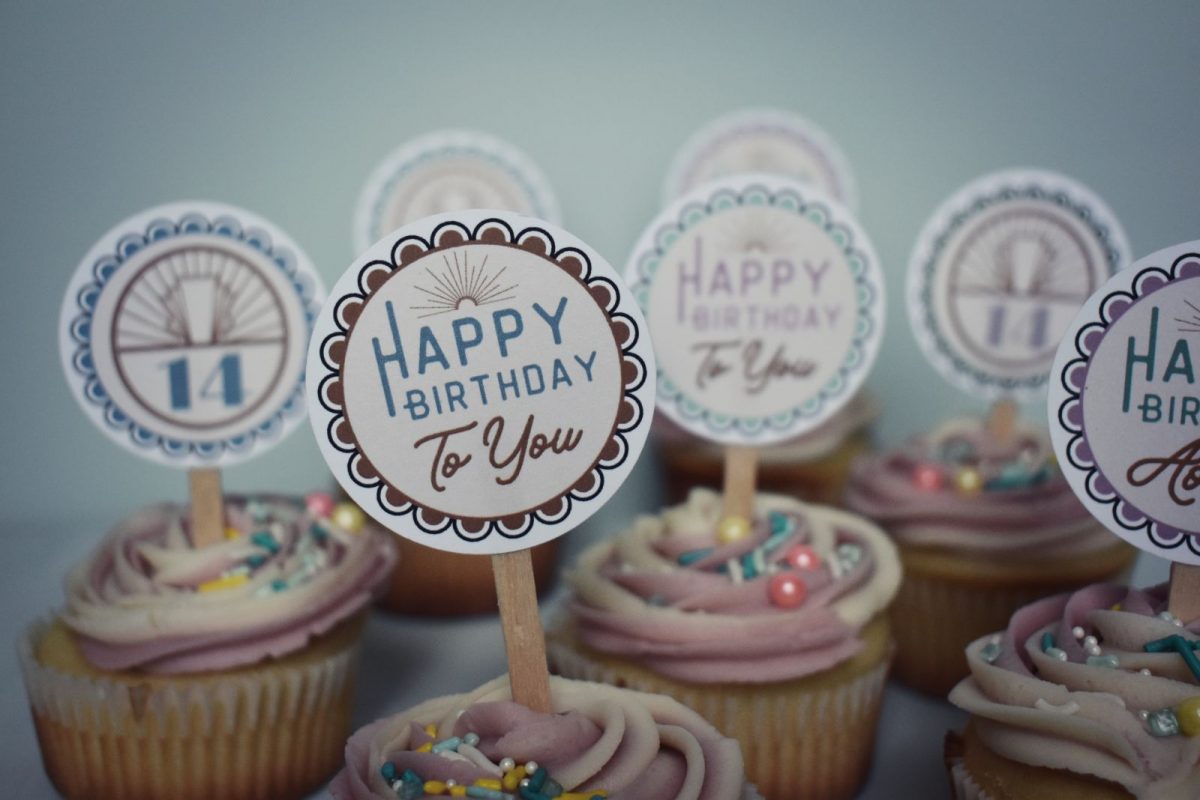
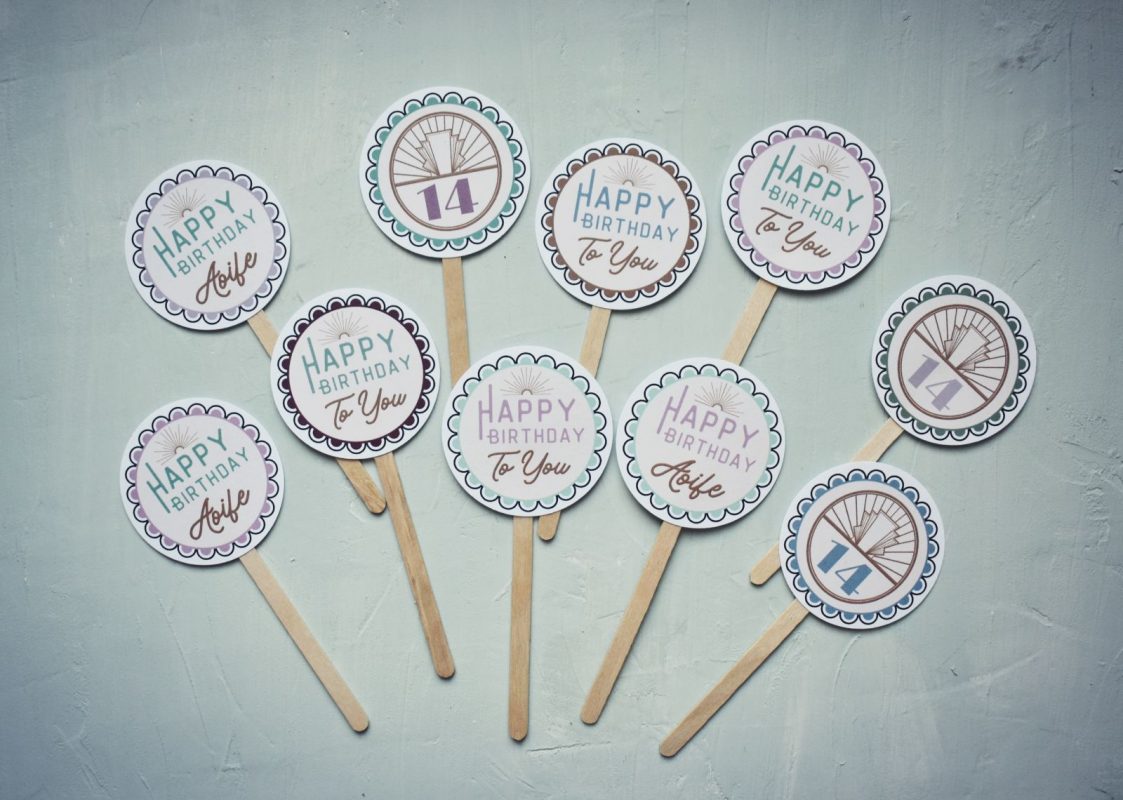
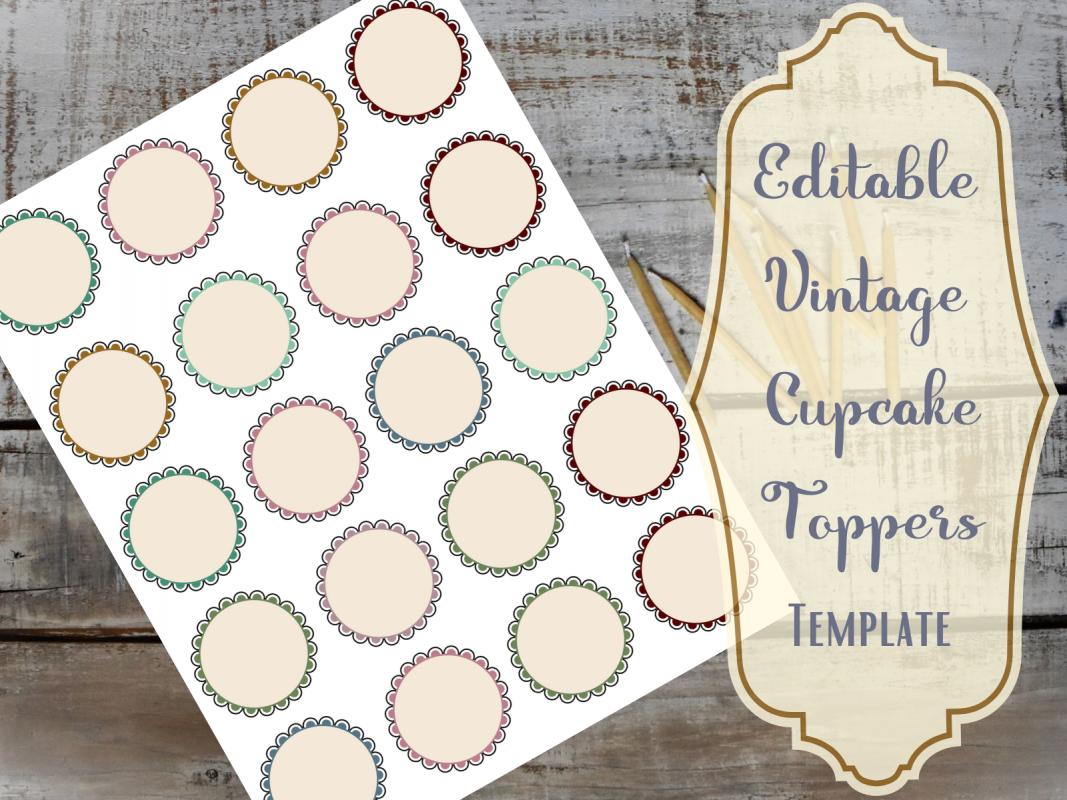
click here to access cupcake topper template
What You Will Need
- Printed cupcake toppers – just edit the template on Canva and print
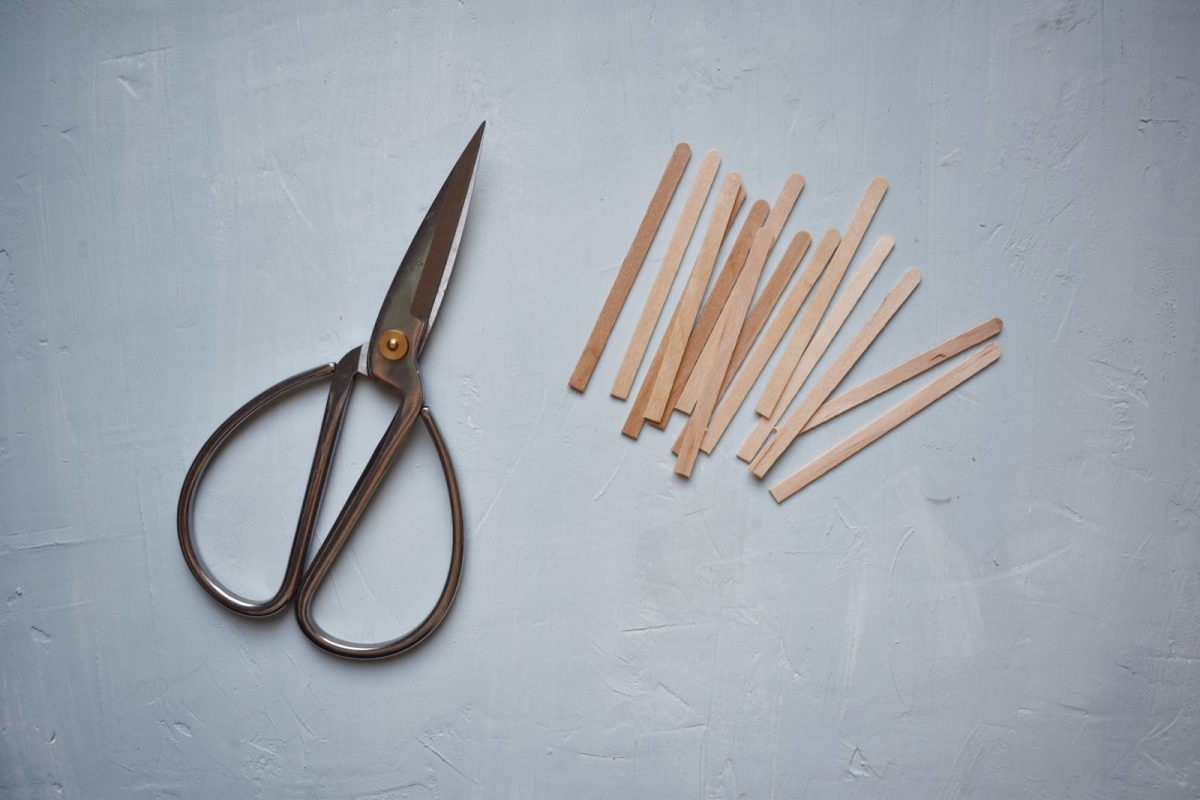
- Coffee stir sticks, toothpicks or lollipop sticks
- Tape or glue
Edit printable cupcake toppers on Canva. Print and cut out either by hand, with a 2-inch paper punch or with a Cricut machine or other electronic cutting machine.
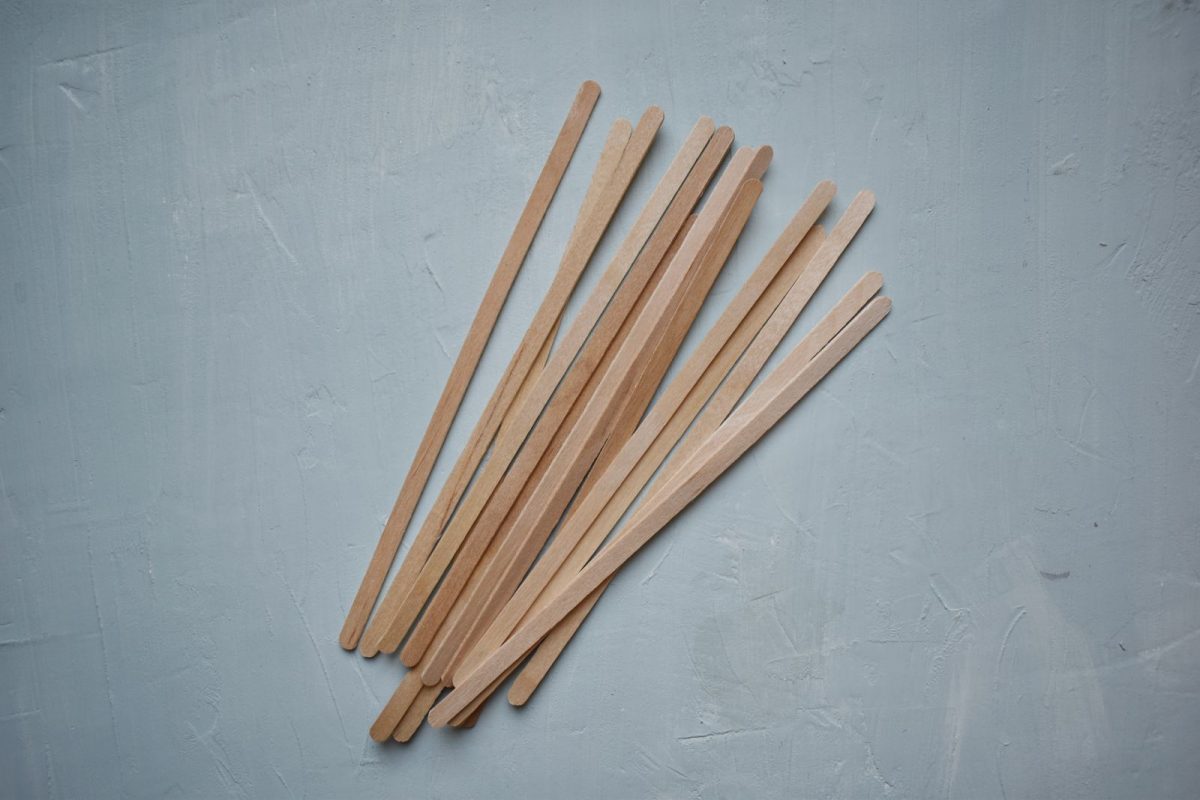
If using coffee stir sticks, they are quite long so I snip them in half for using for cupcake toppers. They work out quite a bit cheaper than using lollipop sticks and are something you might be likely to have lying around the house!
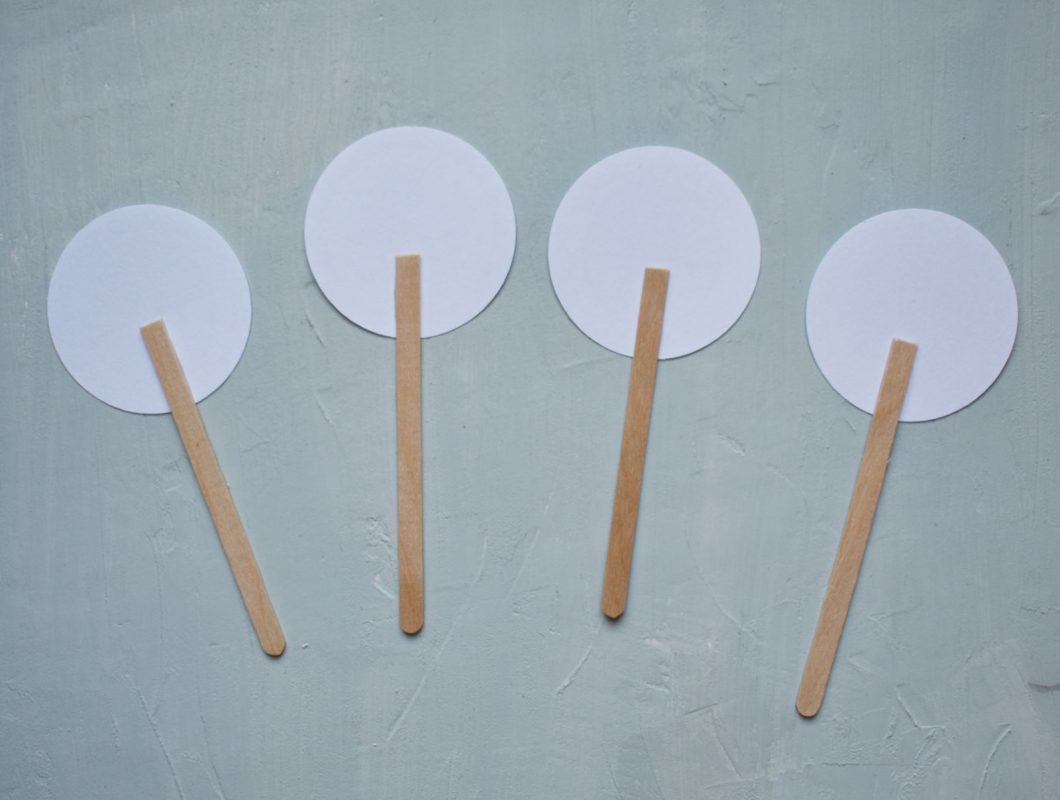
Glue or tape a stick to the back of each paper circle.
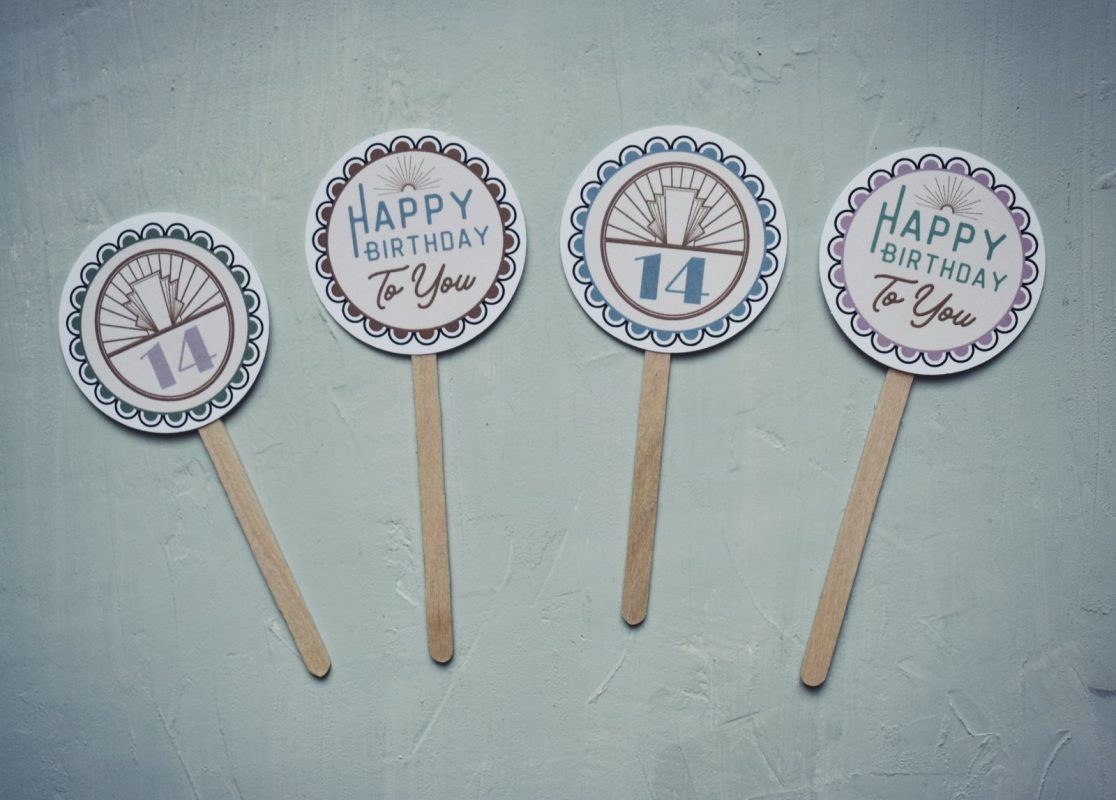
Your vintage cupcake toppers are all ready for the party!
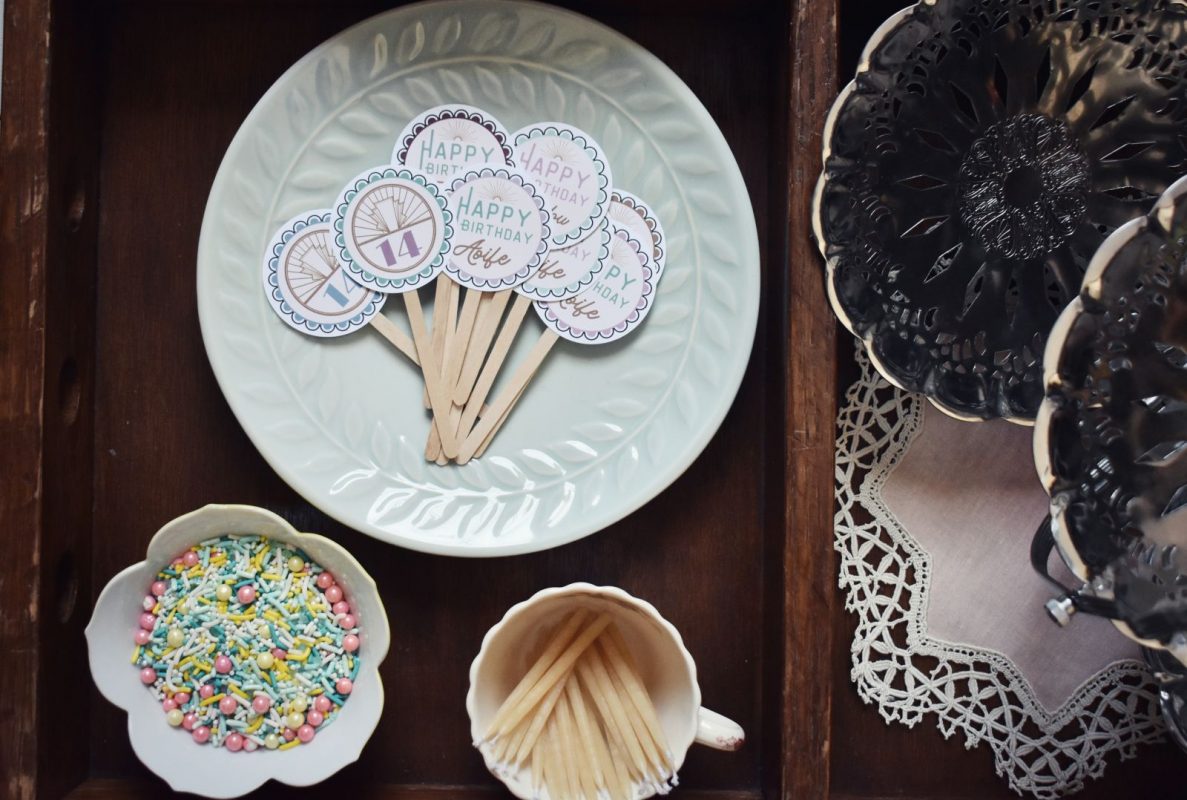
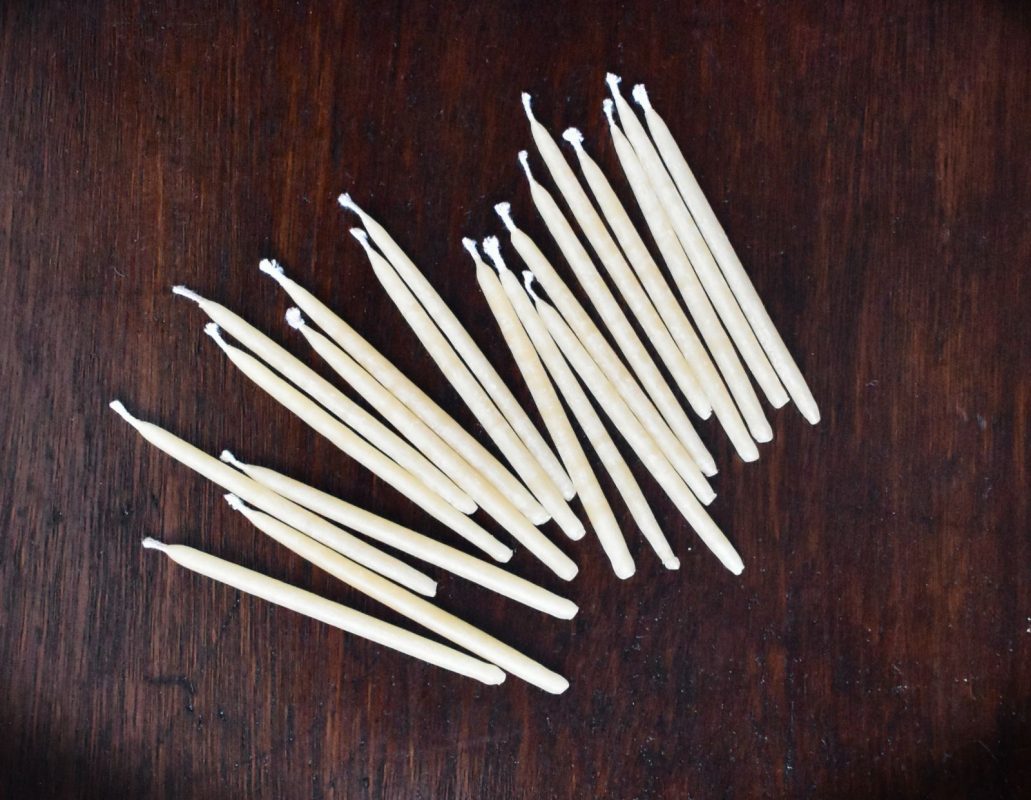
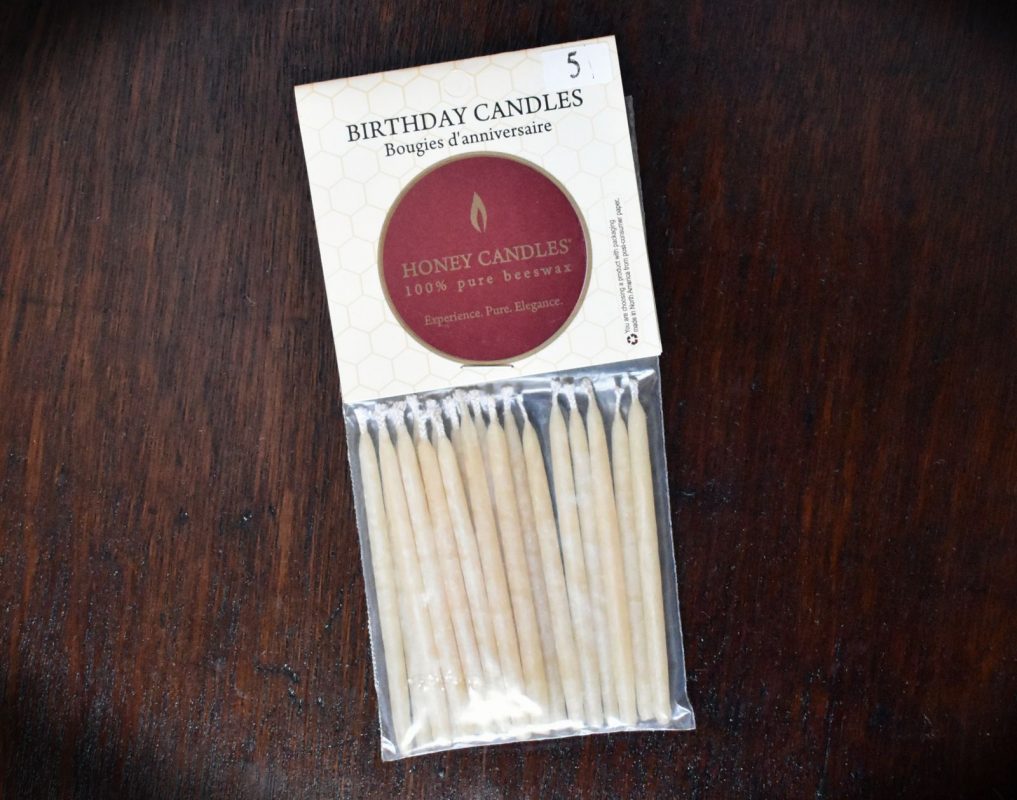
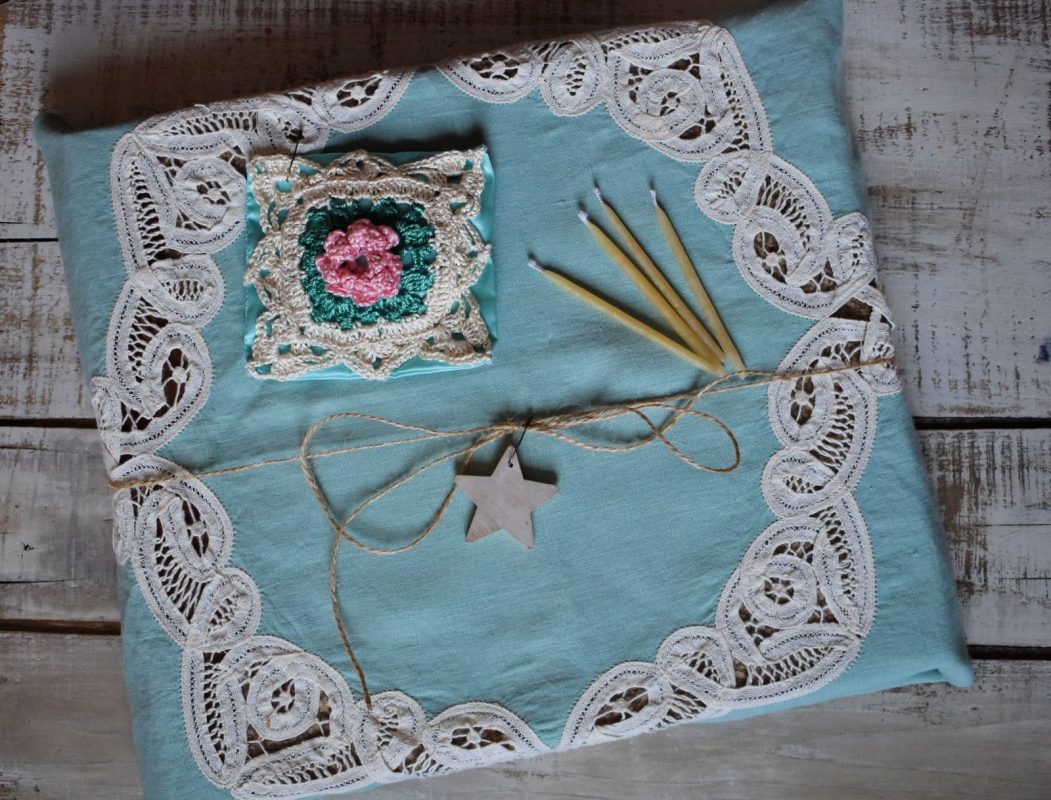
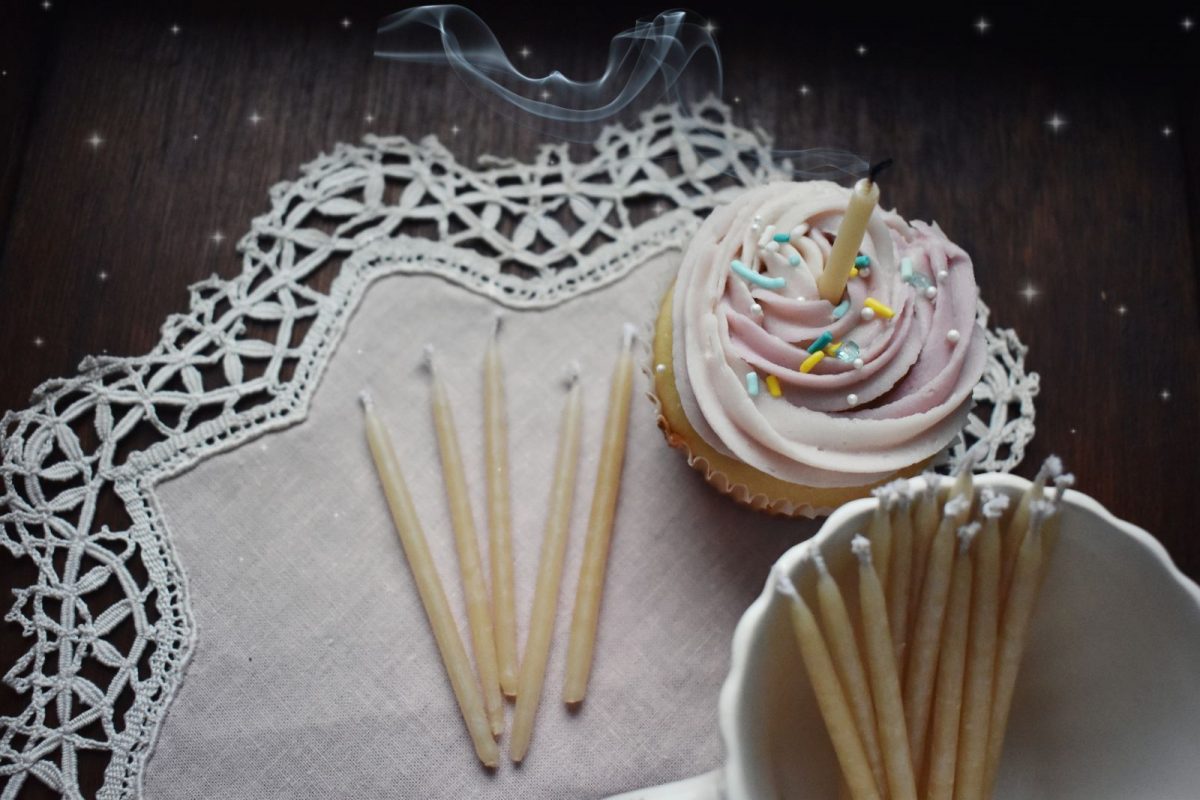
We were really pleased to find these sweet little pure beeswax birthday candles made by Honey Candles, at one of our favourite Toronto shops – The Handwork Department!
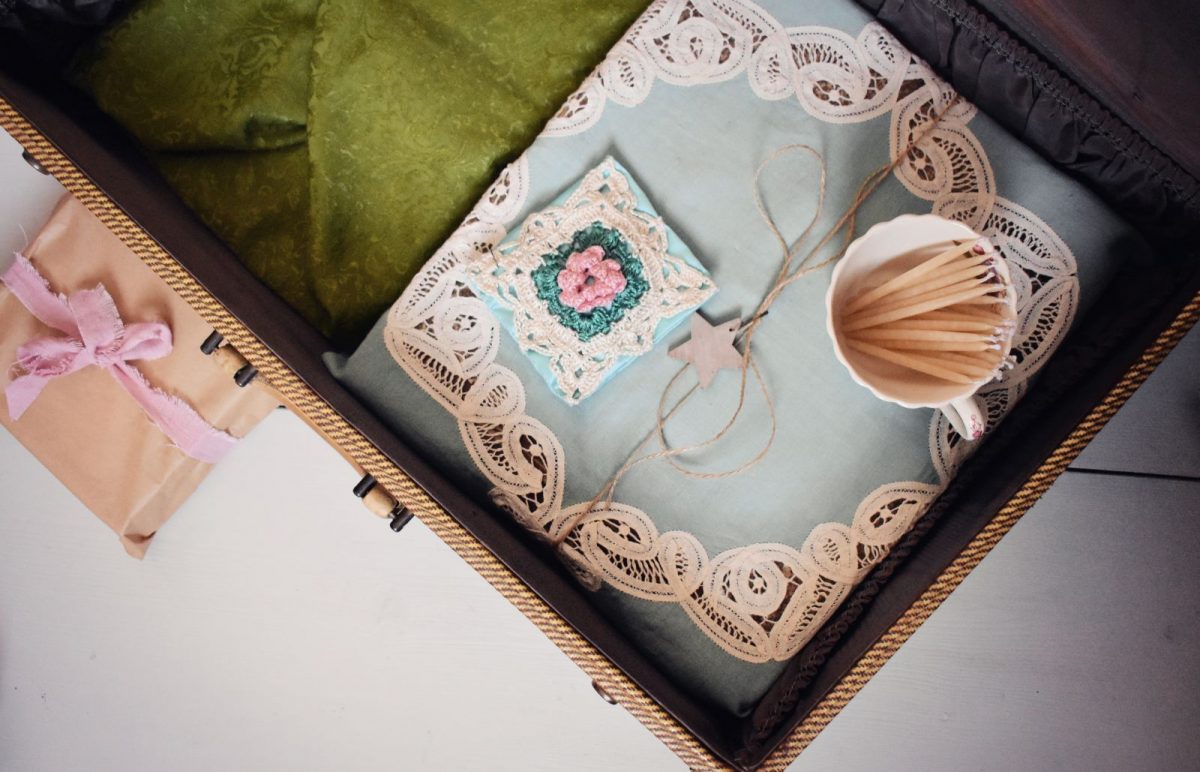
A vintage suitcase full of gifts
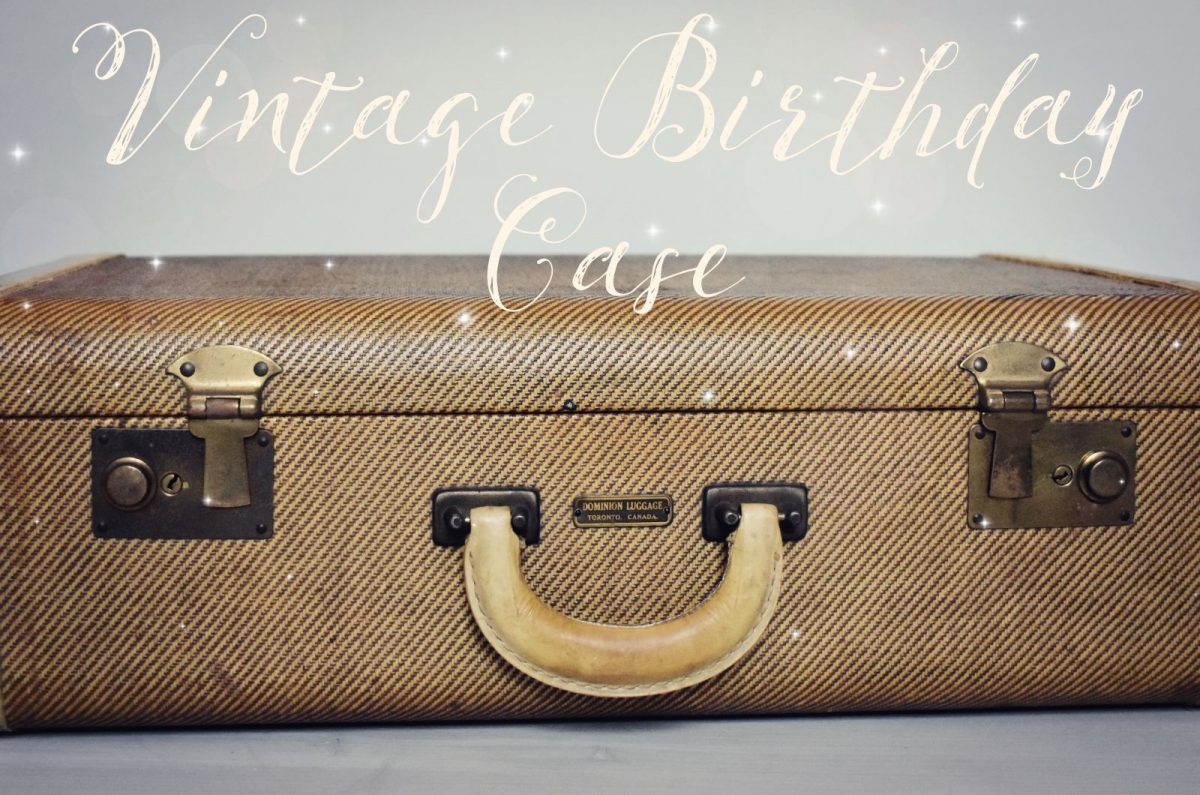
I have an old 1940s suitcase that I’d picked up whilst thrift shopping when I was a teenager in the 90s and had filled with ephemera and favourite little bits and pieces – concert ticket stubs, jewelry, writing, my own art, notes from friends, photos, poetry books and loads of magazines and clippings featuring my favourite bands and singers – Nirvana, Tori Amos, Pearl Jam , Hole and many others.
I brought this suitcase back with me after one of my visits home to see my family and my daughter loved looking through it and had expressed an interest in keeping one of her own. I had the idea to find one for her birthday and fill it with little presents both new and thrifted. I found the perfect case at one of my daughter’s favourite shops here in Toronto – Ethel! Ethel is such a lovely little shop, packed full of vintage treasures and I was so happy to find a lovely old suitcase there that matched mine almost exactly!
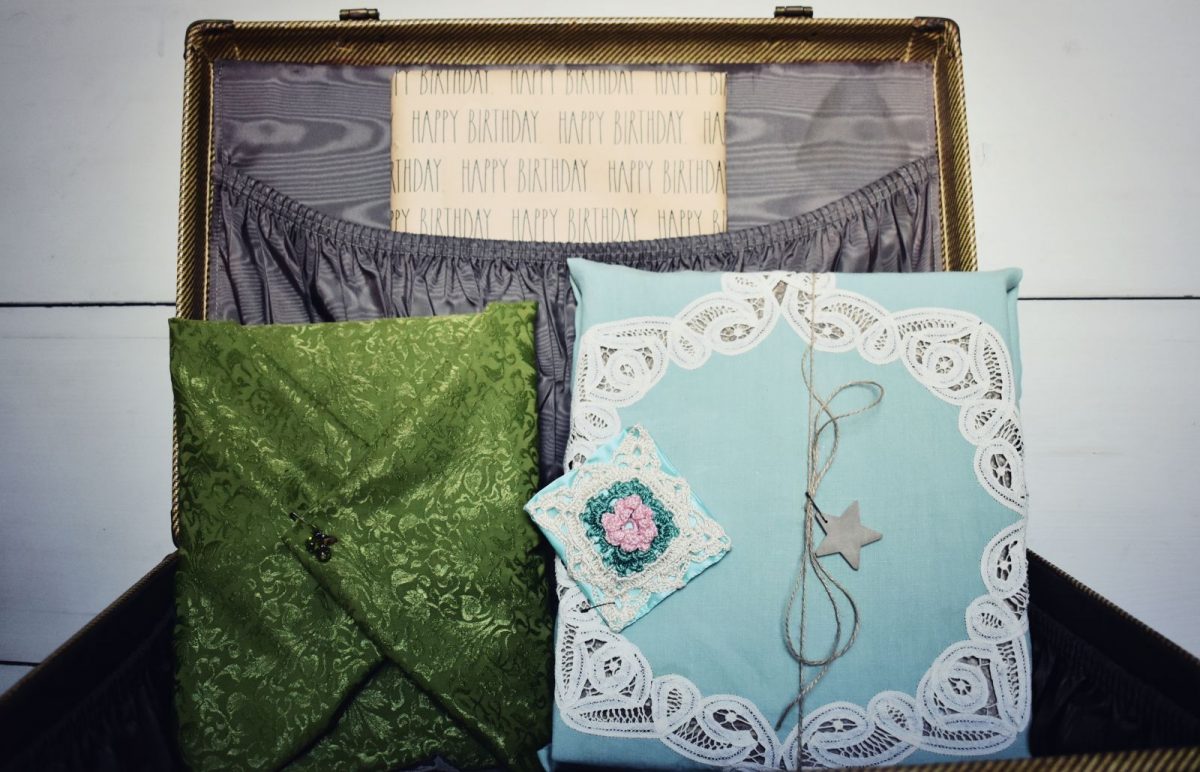
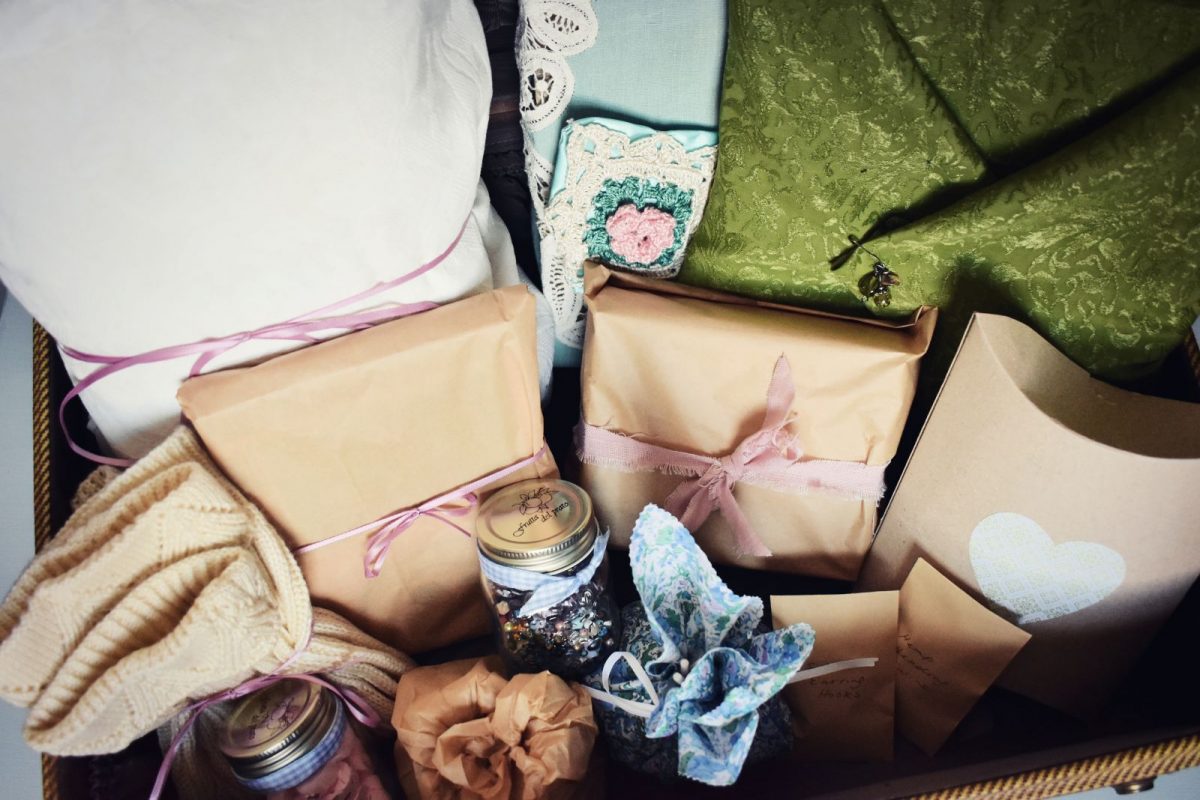
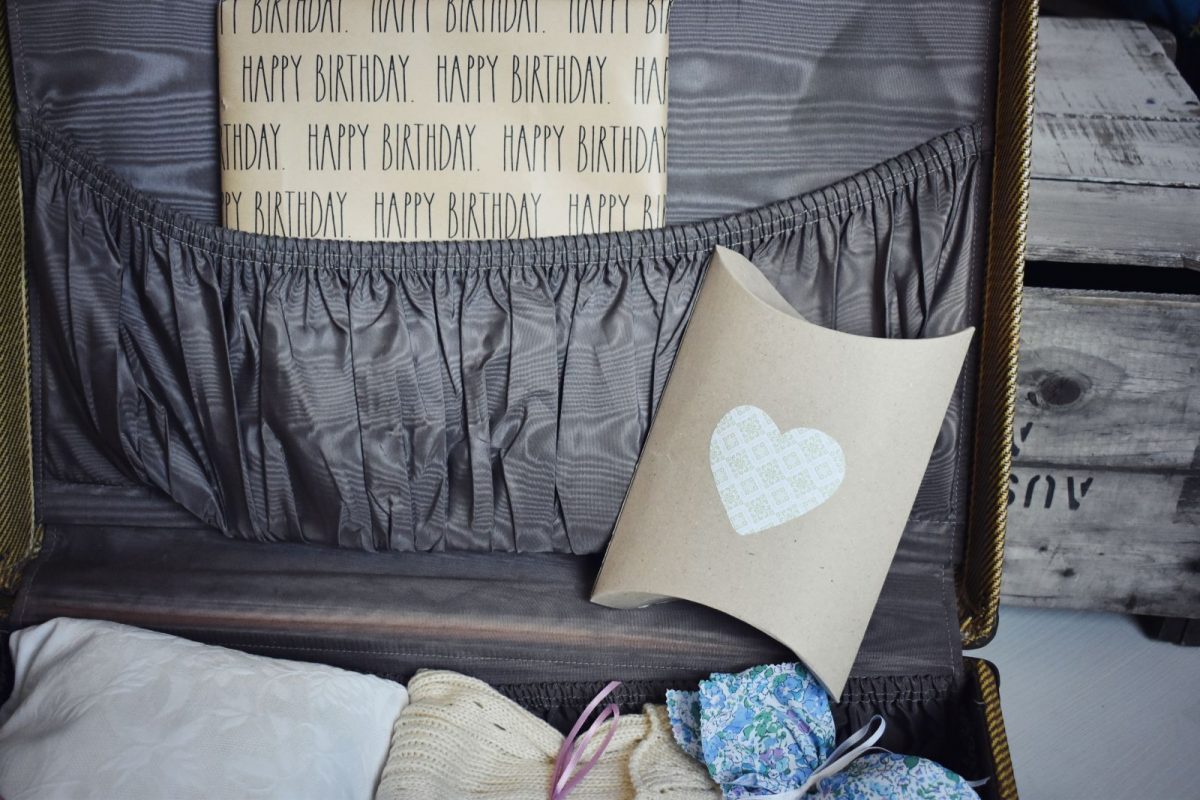
Here is my daughter’s birthday suitcase filled with birthday treats. I tried to wrap everything in ecologically-minded but still pretty and vintage way – so used some recycled birthday paper, a lacy vintage tablecloth with a pinned on sachet and used little glass jars decorated with fabric and bits of ribbon.
ecologically-minded gift wrapping
Ideas for Wrapping
- Use a large piece of fabric and fold in the same way you would paper wrapping, pin edges together with a pretty vintage pin or brooch
- Use beads placed onto safety pins for securing fabrics
- Vintage tablecloths and napkins make great wrap as they often have lovely lace edgings or embellishments
- Use a layer of plain fabric to conceal a gift and then wrap overtop using a vintage lace fabric or tablecloth
- Use recycled paper gift wrap and tie with a scrap piece of linen or silk to secure paper
- Recycled paper wrap can also be secured by gluing a vintage scrap paper to secure the edges – a simple and unique wrapping idea!
- Use jars to hold smaller items, then decorate the tops using small pieces of fabric secured with ribbon or twine
I hope you’ve enjoyed these ideas for a vintage birthday party! I’m relieved to have finished up this post at long last after having sat in my drafts folder for ages – I promise to be back with another post much sooner than it took me with this one! ♥